Introduction / Hook
Imagine a sunlit kitchen, the gentle sizzle of butter meeting a warm skillet, and the air filled with the soft perfume of citrus zest, vanilla, and fresh herbs. Mother’s Day is a celebration of love, warmth, and the comforting rituals that make a house feel like home. This curated collection—“25 Mother’s Day Brunch Ideas Moms Will Love”—is a passport to a morning that feels special from the first bite to the last crumb. It’s not just about feeding people; it’s about crafting an experience that says, with flavor and flair, that mom’s time is precious and her taste deserves celebration. From light, airy pastries that melt on your tongue to savory plates that feel like a hug, these ideas blend elegance with approachability, practicality with a touch of indulgence, and tradition with a dash of modern whimsy. Let your brunch be a canvas where color, aroma, and texture come together to tell a story of gratitude, connection, and shared joy.
The Story Behind the Dish
Brunch as a concept has long been a gentle rebellion against the tyranny of rigid mealtimes. Its origins trace back to the late 19th and early 20th centuries when social calendars began to blur the lines between breakfast and lunch. In many families, Mother’s Day brunch has evolved into a beloved ritual: a time to gather around a long table or a cozy kitchen island, to celebrate the person who keeps the household moving with grace, patience, and love. The dishes chosen for this day are often a blend of nostalgic favorites—piled-high stacks of pancakes that recall weekend breakfasts as a child—paired with contemporary twists that speak to grown-up palettes. The beauty of a 25-item brunch lineup lies in its versatility: you can weave in no-fuss options that can be prepped ahead, and you can spotlight flavors that feel celebratory without demanding every spare moment in the kitchen. Historically, many brunch staples—savory frittatas, bright citrus, herb-laced crostini, pillowy waffles, and fancier coffee beverages—mirror the cultural tapestry of shared meals across generations. The essence of these ideas is that brunch is not a single recipe but a philosophy: a menu designed around connection, generosity, and the small rituals that make a morning feel meaningful.
Why You’ll Love This Brunch Roundup
- Versatility for all skill levels: Whether you’re a seasoned entertainer or a busy parent, there are options that scale with time and effort.
- Make-ahead-friendly: Several ideas lend themselves to prep the night before, letting you enjoy the morning with mom rather than slugging through the kitchen.
- Balanced flavors and textures: From the crisp bite of a hollowed-out crostini to the velvety sweetness of a citrus-trosted dessert, the lineup offers a dynamic range of sensory experiences.
- All dietary preferences welcomed: The ideas can be adjusted for vegetarian, gluten-free, dairy-light, or plant-based guests without losing charm or appeal.
- Presentation that warms the heart: Colorful fruit platters, elegant stacks, and prettily arranged pastries create a visually inviting feast that feels intimate and celebratory.
Flavor Profile & Texture
The beauty of a well-curated brunch is that it treats the palate to a spectrum of profiles—bright, creamy, tangy, fragrant, and satisfyingly savory all in one spread. You’ll encounter citrusy brightness from orange blossom syrups and lemon zest, herbal notes from chives, dill, or rosemary, and dairy-rich indulgence from whipped cream, panna cotta, or cream cheese bells. Textural contrasts keep the experience lively: the crisp crack of a sugar-trowned pastry, the soft, pillowy embrace of a soufflé or pancake, the creamy whisper of a yogurt dip, and the crunchy, aromatic snap of toasted nuts or seeds. Savory elements might feature silky quiches, airy stratas, or herb-flecked crêpes that fold into savory fillings. Sweet components—think vanilla bean custards, berry compotes, and light, cloudlike mousses—provide a comforting counterpoint to the savory dishes. This balance is deliberate: you want a brunch that feels indulgent but not heavy, uplifting without being exhausting. The overall flavor arc celebrates sunshine and renewal, with gentle acidity to keep the palate energized and a lingering note of sweetness to remind you of the reasons you’re gathered—gratitude, love, and togetherness.
Textures to Delight Every Bite
- Creamy: whipped ricotta, mascarpone, or yogurt-based dips.
- Crunchy: toasted seeds, granola clusters, or caramelized fruits.
- Silky: custards, panna cotta, or soft scrambled eggs folded with herbs.
- Flaky: light pastries, croissants, and puffed fillings.
- Creamy-smooth: avocado blends, cheese spreads, and dollops of crème fraîche.
Occasions & Pairings
Mother’s Day brunch is inherently celebratory, but the mood you set will depend on the environment and the choosing of a few centerpiece ideas. If you’re hosting a cozy morning at home with immediate family, you can curate a relaxed, lingering spread that invites conversation and lingering glances at the sunny windows. For a more formal brunch, consider a longer table, elegant serveware, and small, refined bites that look as beautiful as they taste. The right pairings elevate the experience without overwhelming the host or the guests. Here are some pairing ideas to weave into your 25-brunch concept:
- Morning beverages: citrusy sparkling drinks, lightly caffeinated coffee blends, or a subtle herb-infused tea for a soothing start.
- Fruit-forward accents: citrus wedges, pomegranate seeds, and berries add color and a bright finish to plates.
- Savory companions: a light herb quiche or savory tartlets to cut through sweetness and keep the palate balanced.
- Sweet finales: a delicate lemon curd tartlet, a yogurt parfait with granola, or a small custard cup for a gentle ending.
- Seasonal touchpoints: fresh herbs from the garden, edible flowers for garnish, and locally baked pastries for a sense of place.
Tips, Variations & Substitutions
One of the joys of a brunch selection is its adaptability. Here are flexible ideas to tailor the 25 brunch concepts to your guests, pantry, and occasion:
- Make-ahead techniques: assemble overnight strata or bake-dry croissant puddings the night before, then finish in the oven in the morning. Prepare fruit salads and yogurt dips in advance and keep chilled for freshness.
- Diet-friendly options: offer plant-based fillings and dairy-free dairy substitutes, gluten-free bread or pastry bases, and egg-free yet satisfying alternatives like chickpea omelets or tofu scrambles.
- Regional twists: swap in regional cheeses, herbs, and fruits to reflect local flavors or family memories—think ricotta and fig in a Mediterranean touch or smoked salmon with dill for a Nordic vibe.
- Texture boosters: add a crunchy element to otherwise soft dishes with candied nuts, toasted coconut, or granola toppings.
- Color storytelling: choose a color palette for the spread—soft creams and pinks for a delicate vibe, or bright yellows and greens for a sunshiny, energetic mood.
Storage & Make-Ahead Ideas
When planning a brunch that honors mom, you want flexibility. Many components can be prepared in advance, leaving you free to focus on the moment of connection. Consider these storage and make-ahead tips to keep your menu fresh and vibrant:
- Pastries and breads: store in airtight containers at room temperature for up to two days; freeze for longer storage and rewarm gently to regain flakiness.
- Custards and yogurts: prepare the custards a day ahead and keep refrigerated; assemble toppings just before serving to maintain texture.
- Fruit components: wash, dry, and cut fruits the day of, or keep whole fruits refrigerated and slice shortly before serving to preserve color and texture.
- Savory dishes: bake strata and quiches the night before; reheat gently to preserve moisture and prevent drying.
- Make-ahead beverage options: cold-brew coffee and tea concentrates can be prepared in advance; set out fresh syrups or citrus for a quick, customized pour.
Fun Facts & Trivia (Optional)
Mother’s Day as a holiday carries a global tapestry of traditions. In the United States, Mother’s Day was established in the early 20th century as a day to honor maternal figures with family gatherings and thoughtful gestures. Across other cultures, similar celebrations emphasize a mother’s role in family cohesion, resilience, and nourishment. The concept of brunch itself—combining breakfast and lunch—was popularized in urban centers where social calendars began to blend. In culinary circles, brunch is also a laboratory for technique: the soufflé that rises gracefully at the table, the crêpe that folds into a delicate package, or the custard that wobbles with a hint of vanilla. The recipes that populate this collection carry a whisper of that history—an homage to mothers who have taught us to savor the present moment, to share, and to care through food. A well-planned brunch is a living memory, a sensory postcard of affection that families will recall with warmth long after the plates are cleared.
Inspiration Gallery: A Preview of the 25 Ideas
While the sections above lay the groundwork for a thoughtful, flavorful Mother’s Day brunch, here is a teaser of the directions these ideas can take. Each item in the final lineup can be adapted to taste, season, and setting. The aim is to craft a menu that feels cohesive and celebratory, yet flexible enough to accommodate changes in guest count, dietary needs, or kitchen equipment.
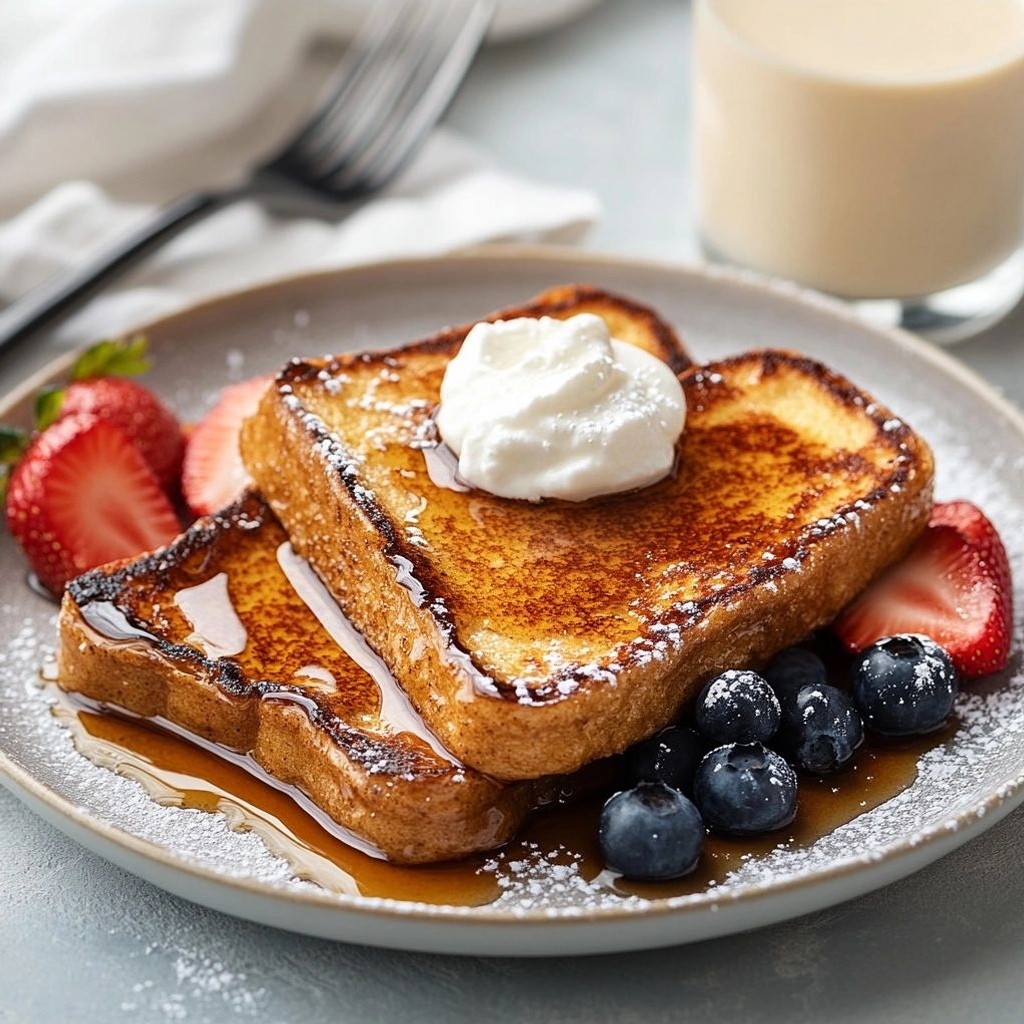
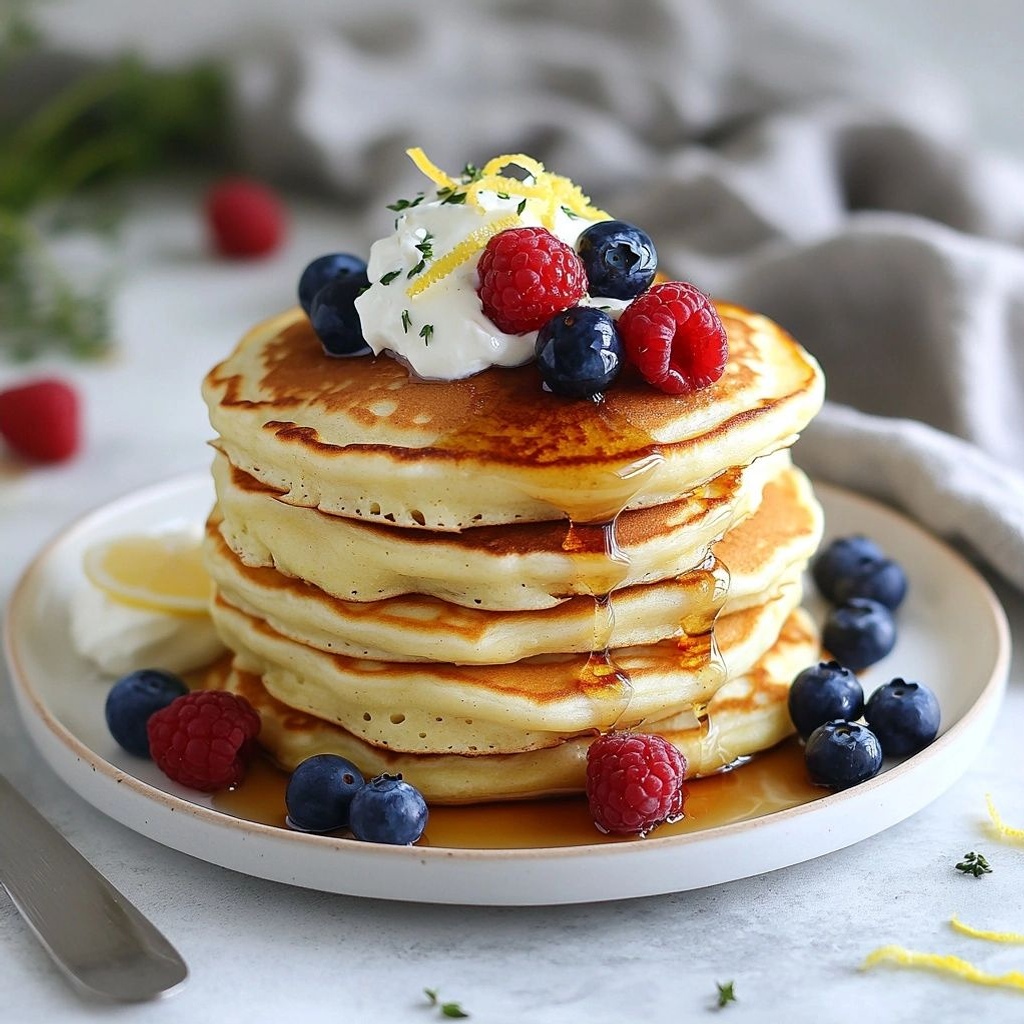
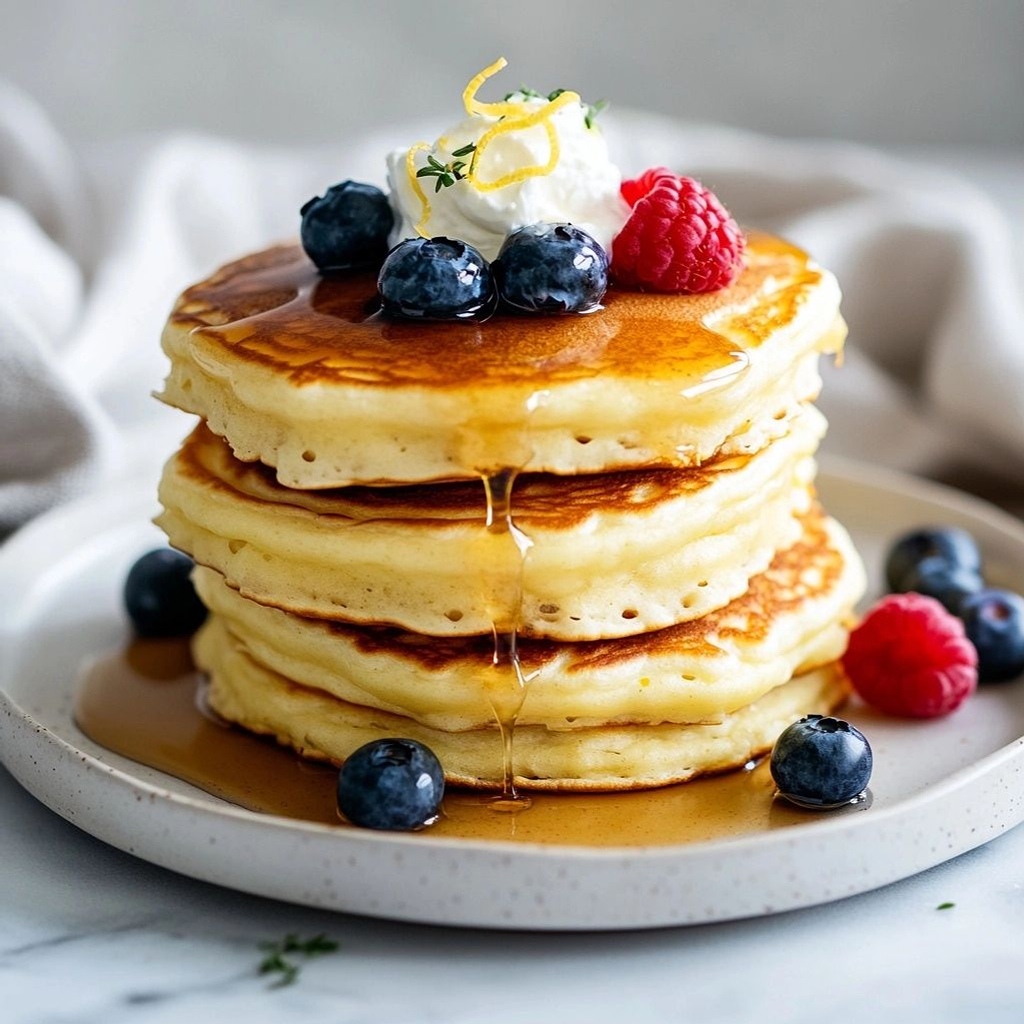
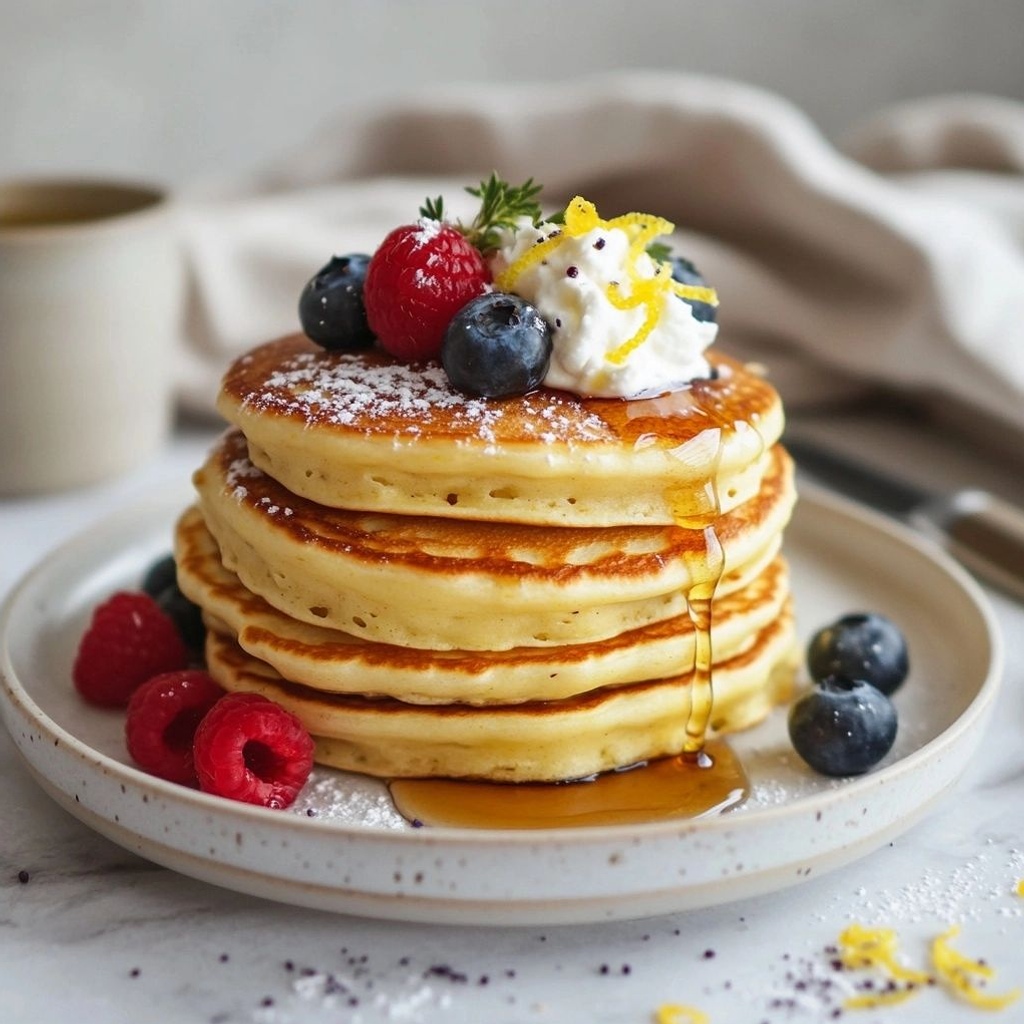
- Fluffy citrus brunch pancakes with vanilla-scented yogurt and a berry compote.
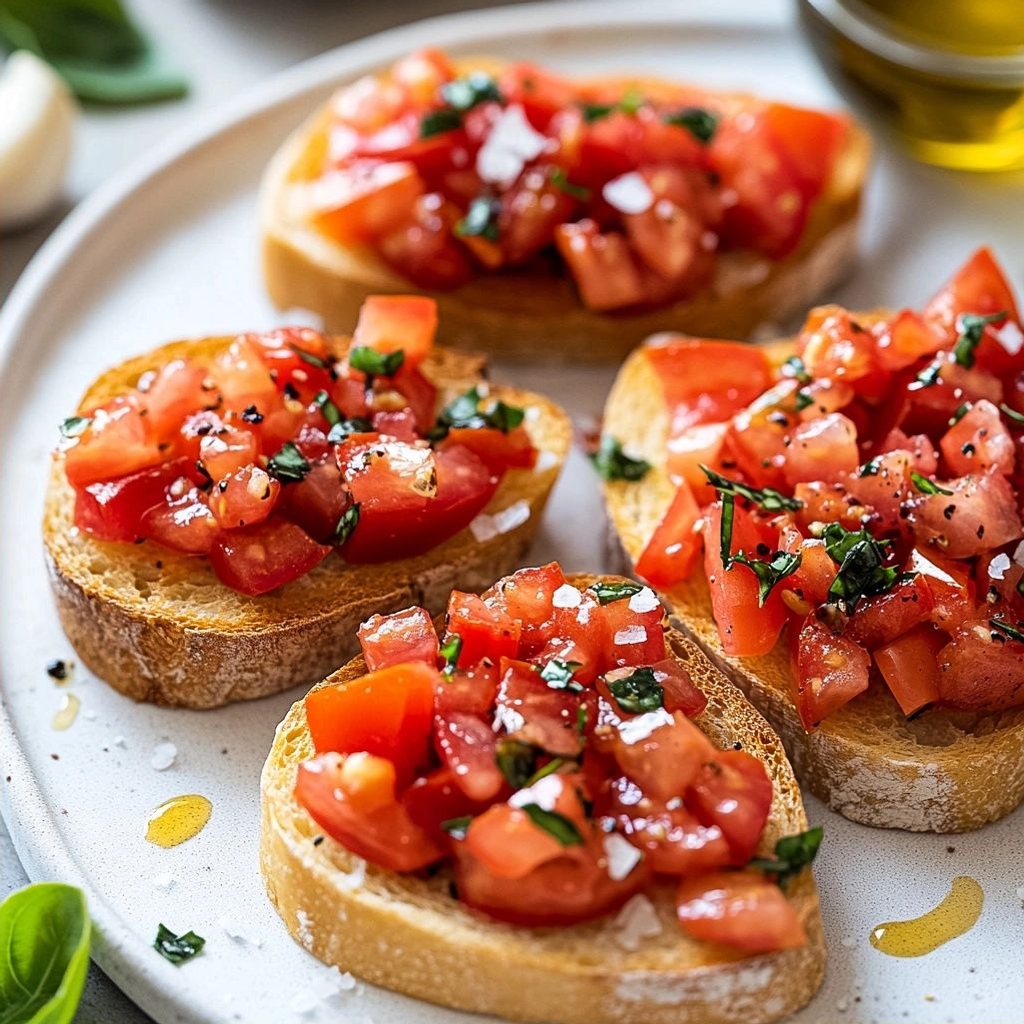
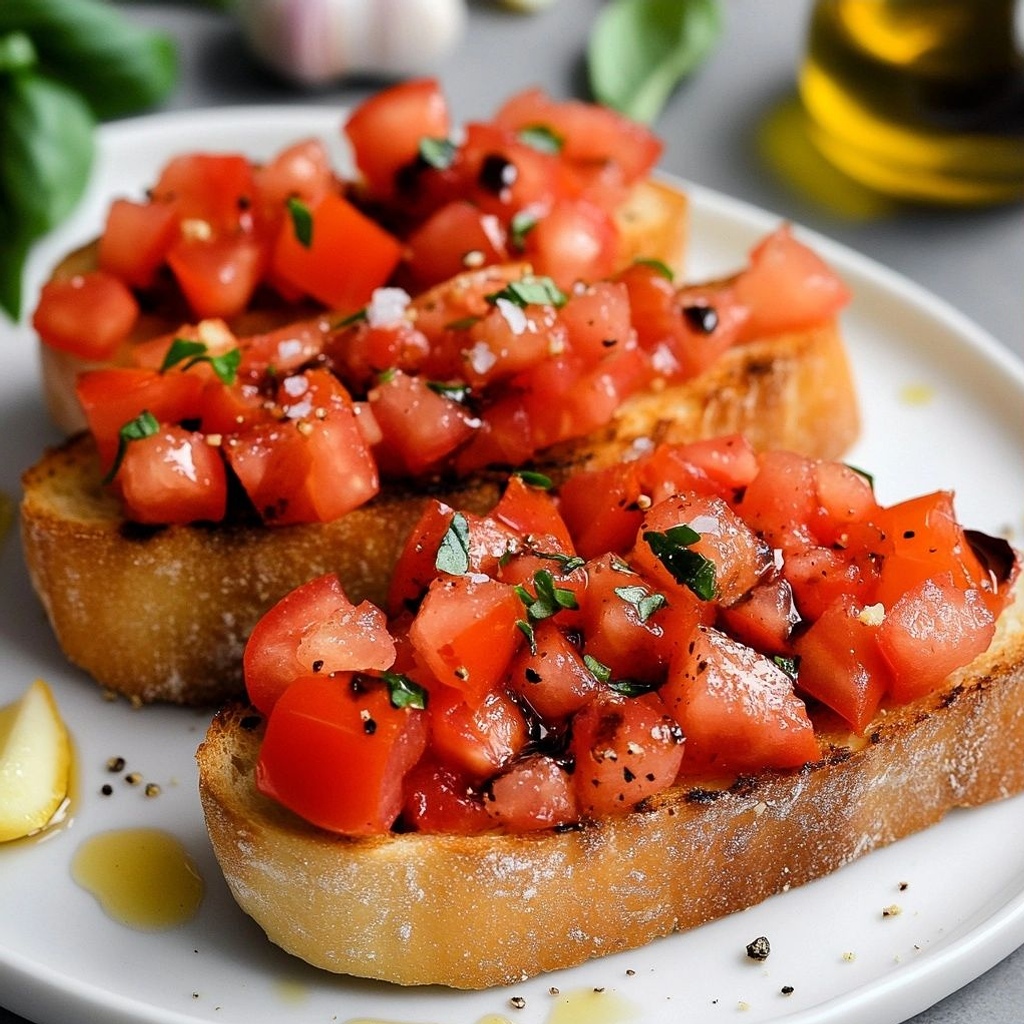
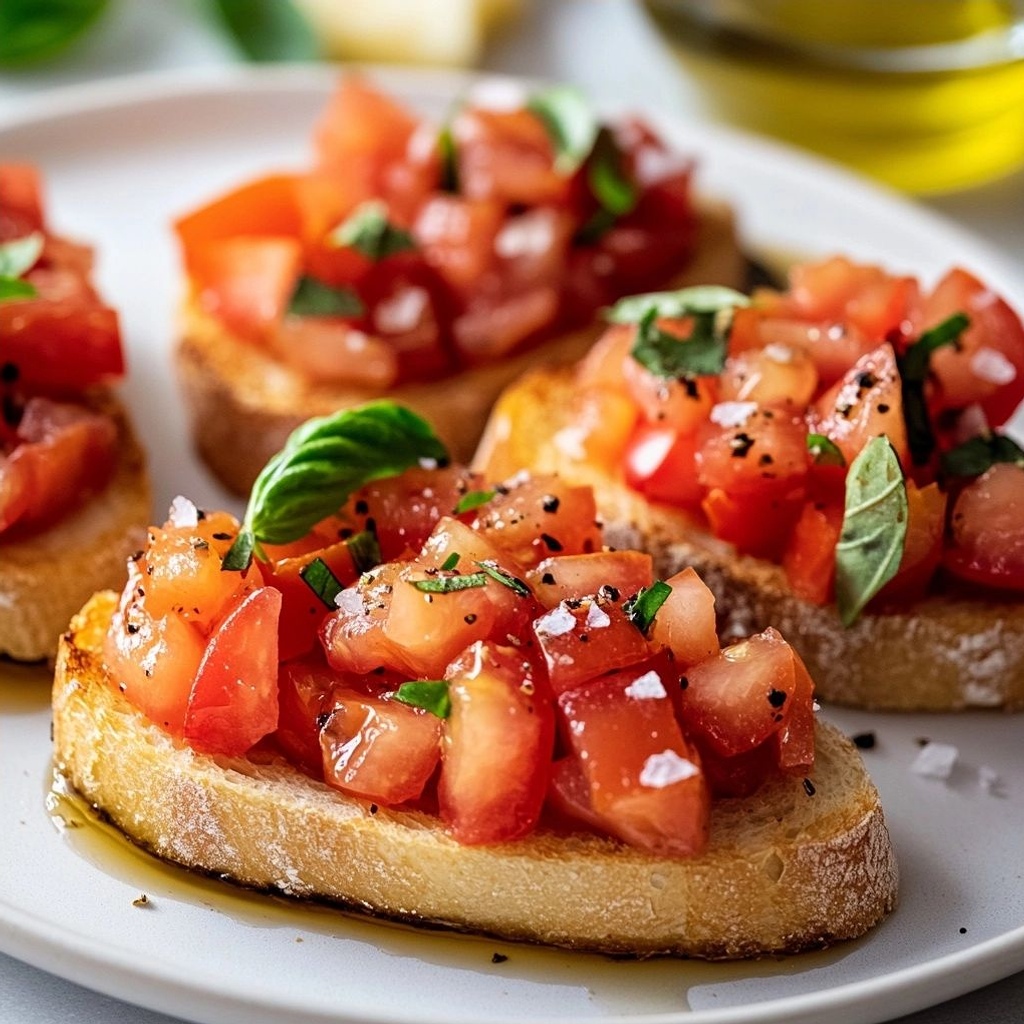
- Herbed goat cheese and sun-dried tomato crostini with a delicate balsamic drizzle.
- Smoky mushroom quiche with a parmesan crust and fresh chives.
- Grapefruit honey granola clusters with almond milk yogurt and edible flowers.
- Spinach and feta strata baked in a shallow dish, served warm with roasted cherry tomatoes.
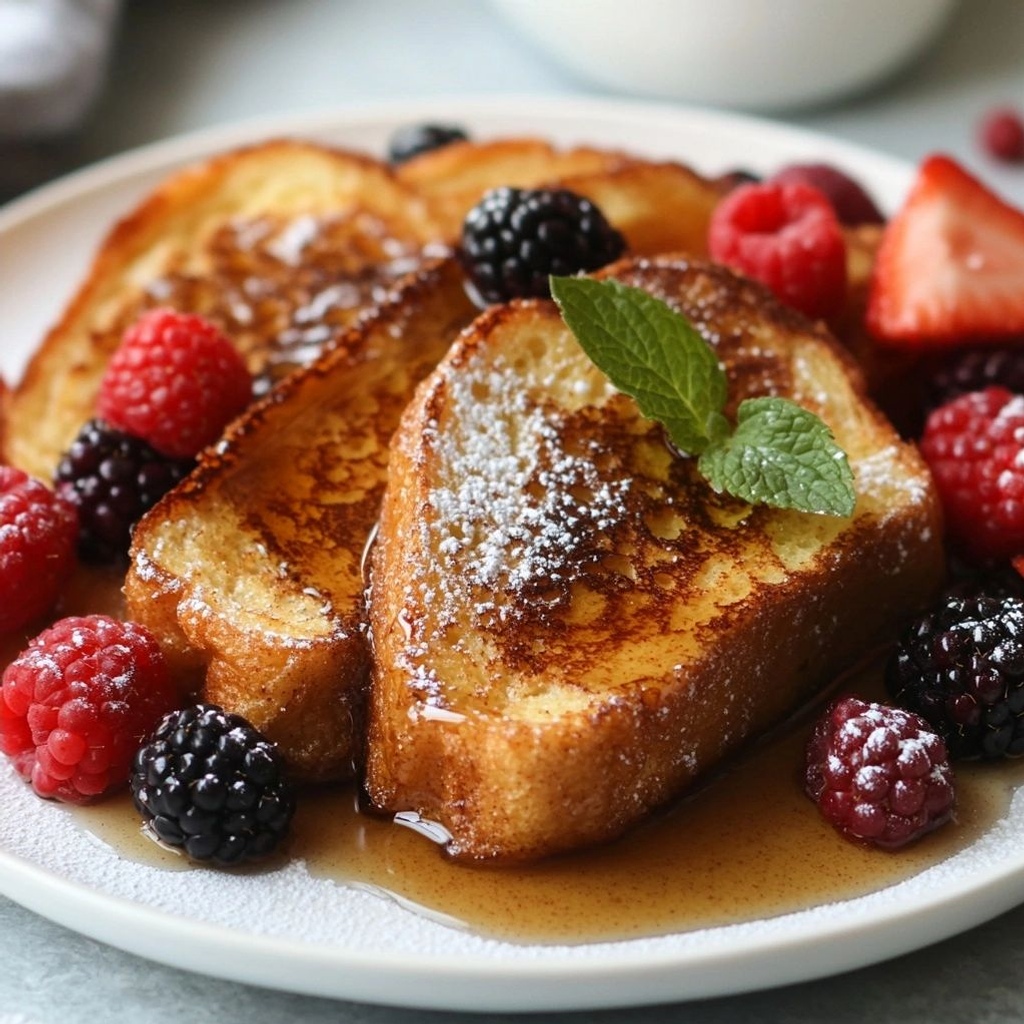
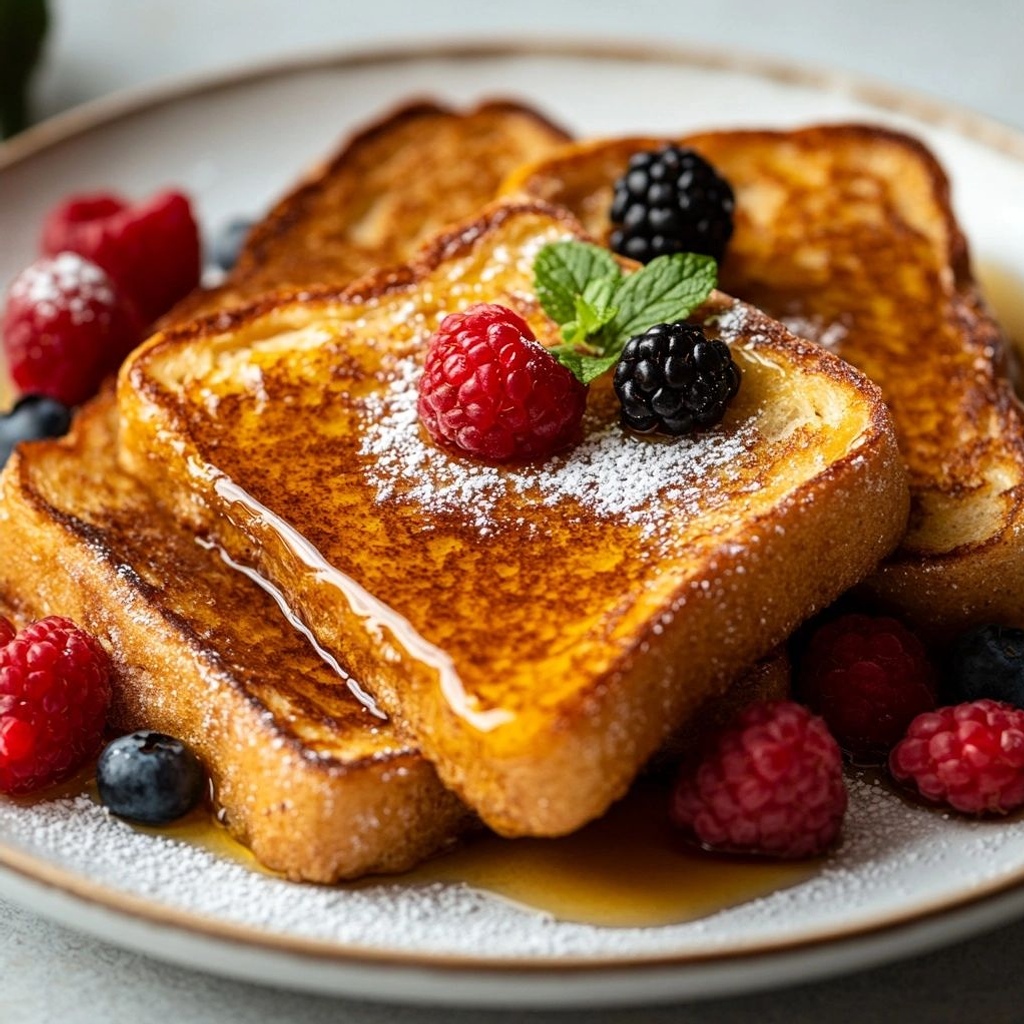
- Sweet ricotta-stuffed crepes with lemon zest and a dusting of powdered sugar.
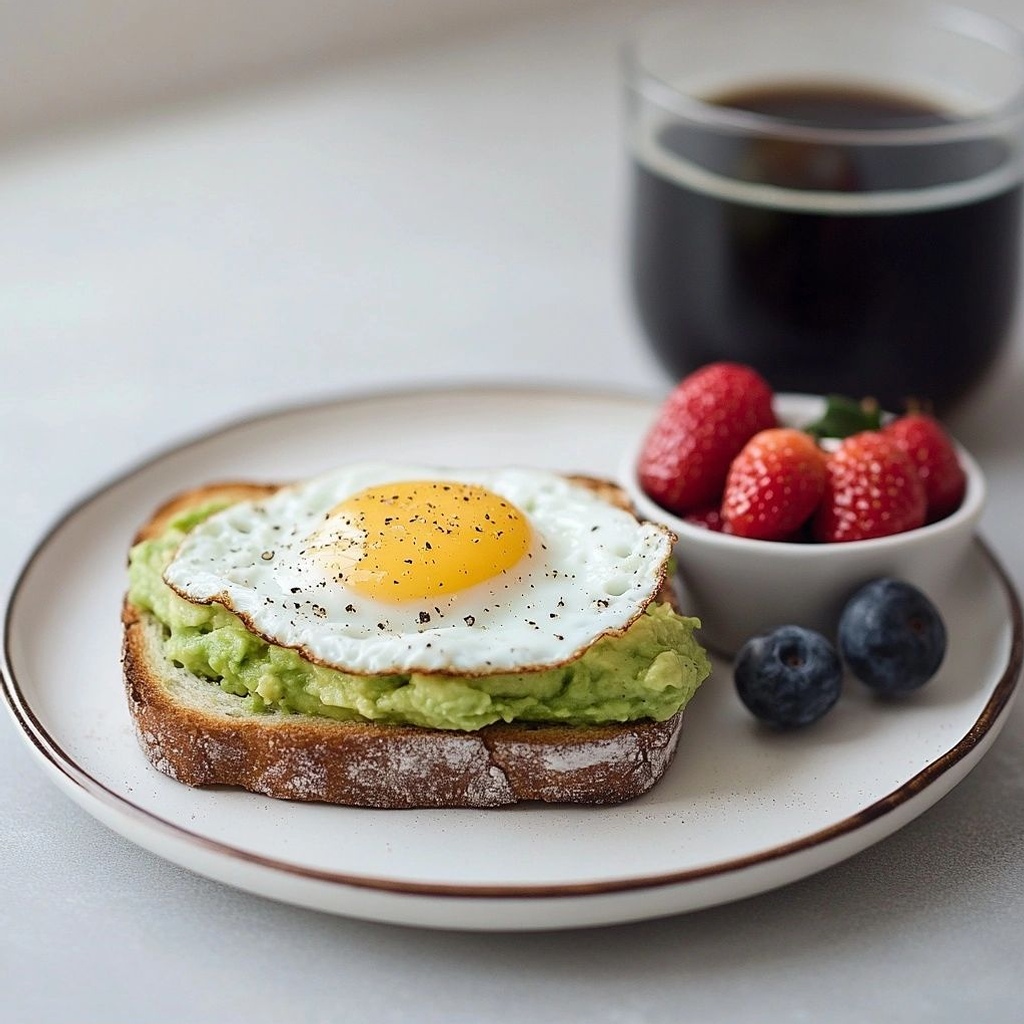
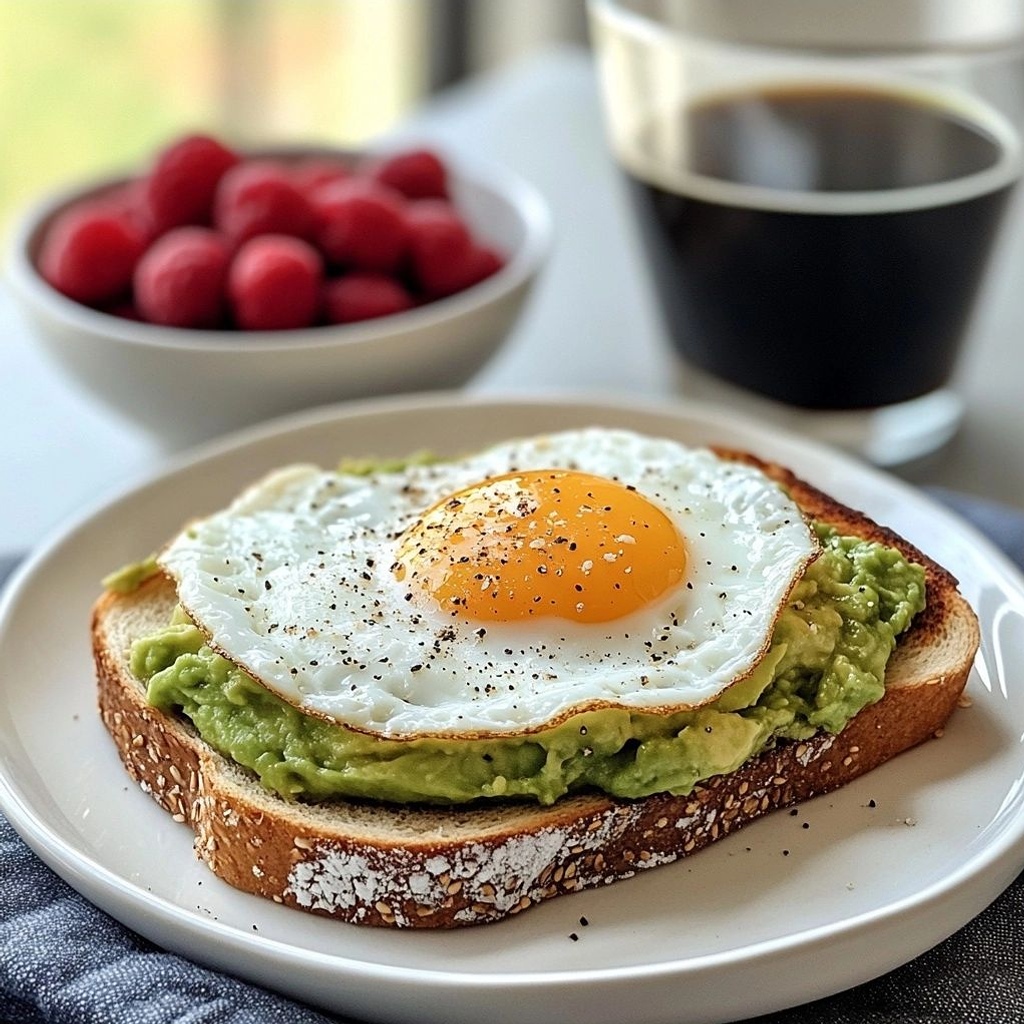
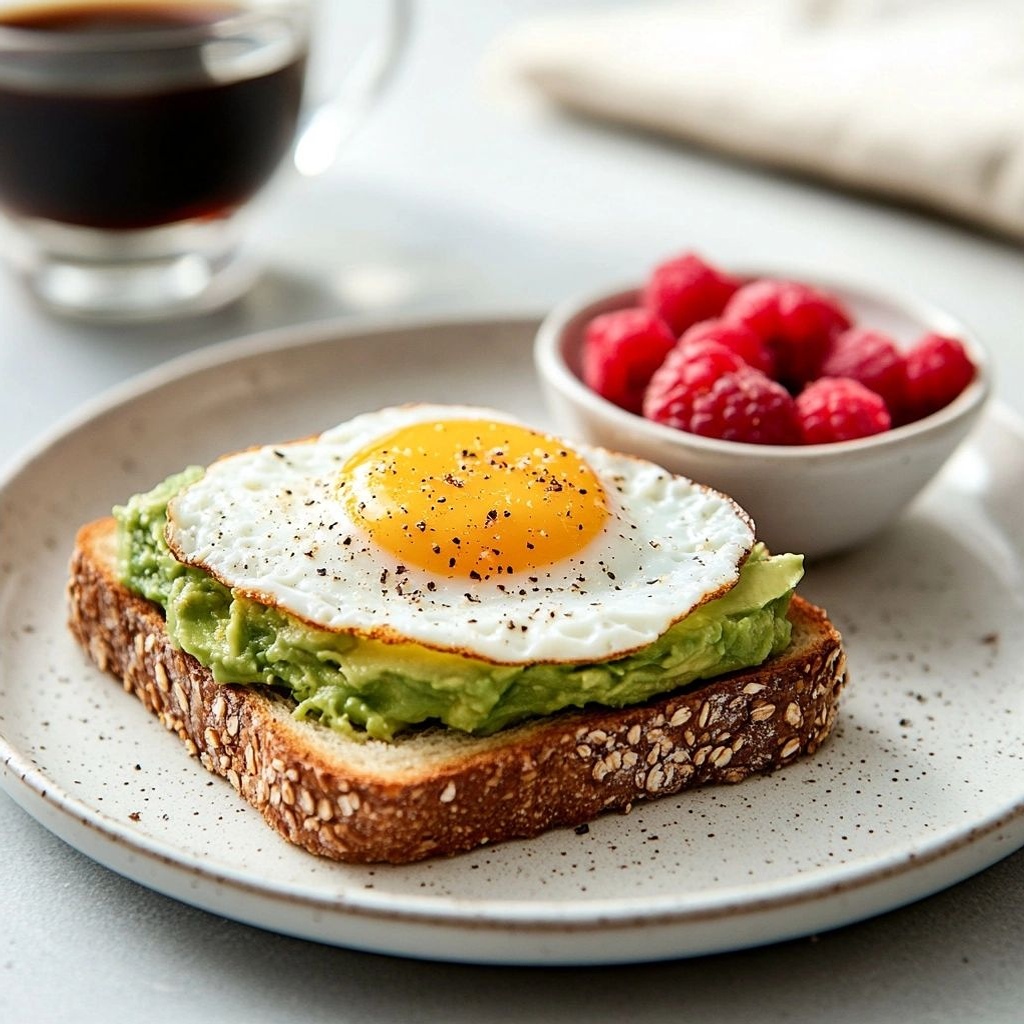
- Mini sourdough baskets filled with avocado smash, pickled red onion, and microgreens.
- Buttermilk biscuits with honey butter and a side of maple pecan butter for dipping.
- Chive-cream cheese cucumber boats for a refreshing bite between sweet courses.
- Berry-topped lemon panna cotta cups with crisp almond praline.
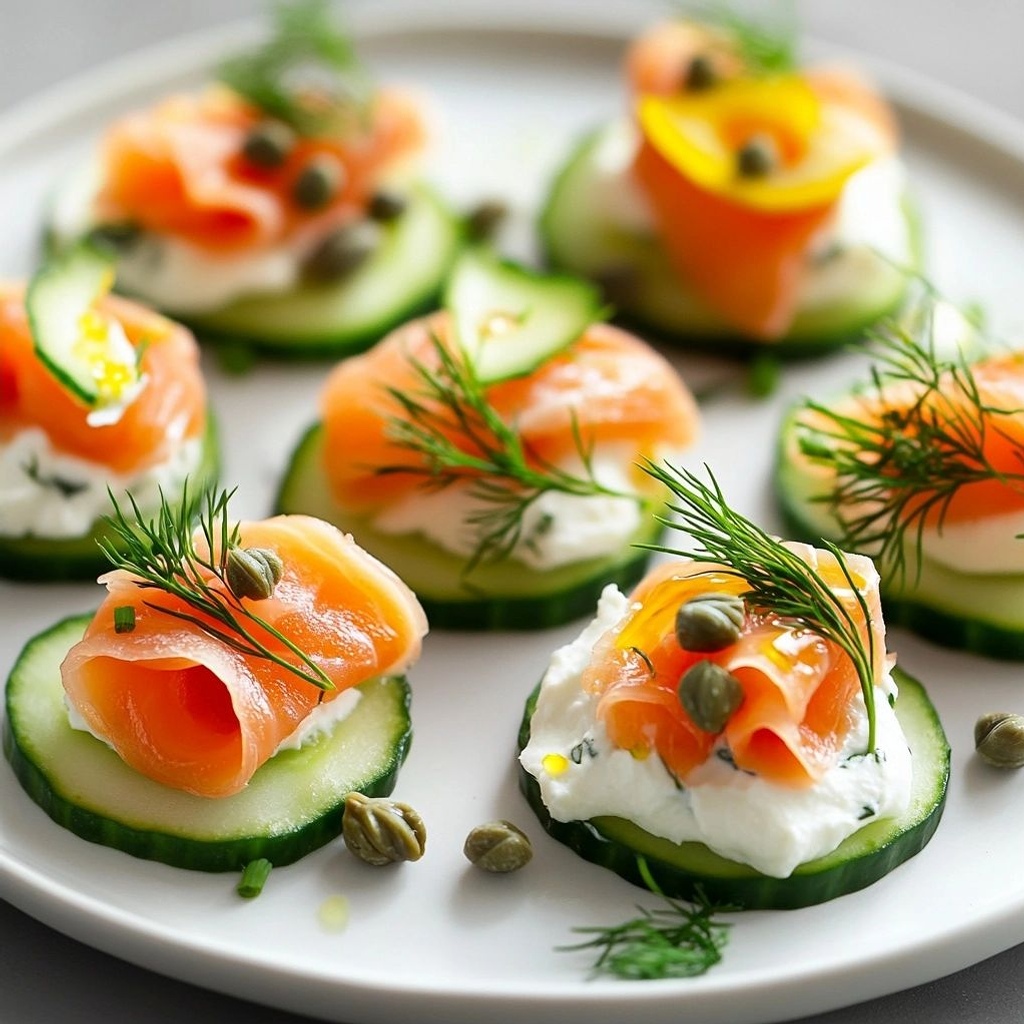
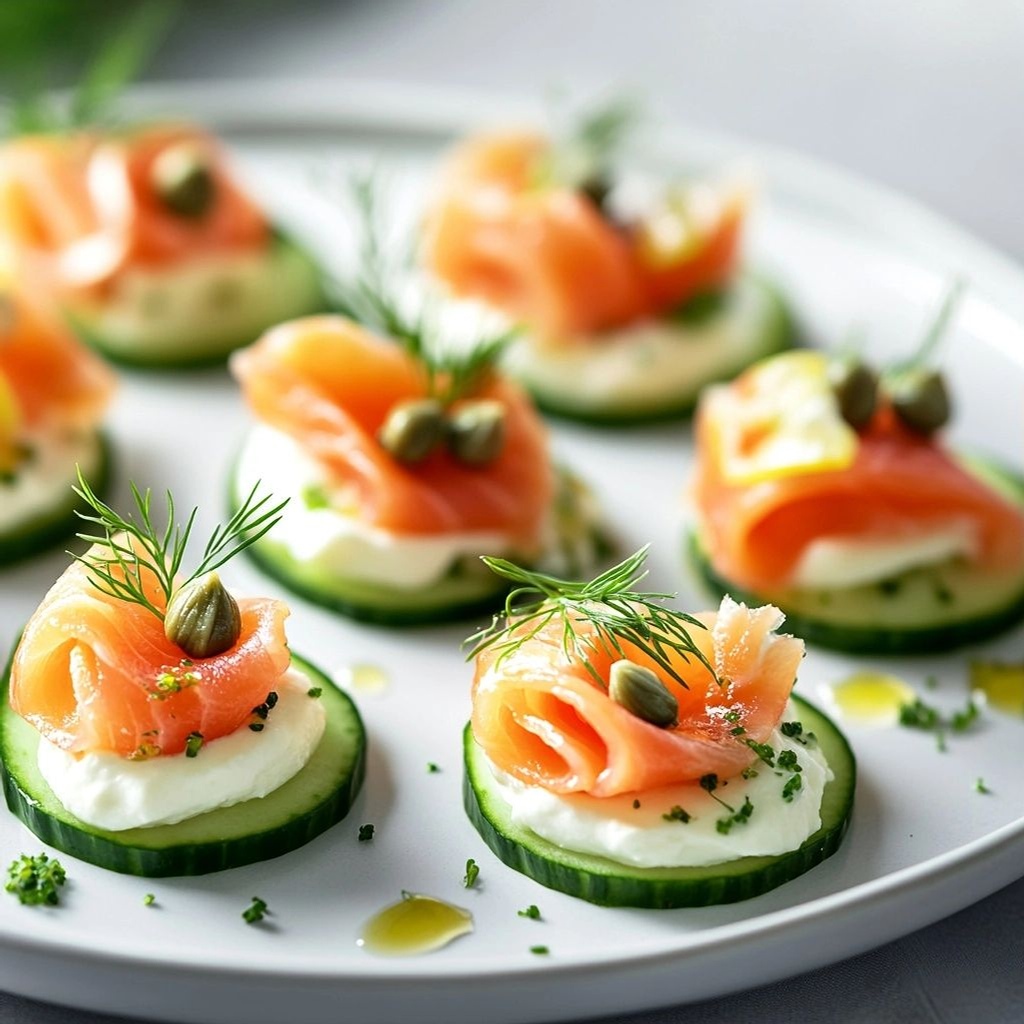
- Herb-crusted salmon bites with dill yogurt sauce for a savory, celebratory note.
- Green goddess smoothie bowls featuring kiwi, spinach, avocado, and a sprinkle of chia.
- Smoked salmon and dill quiche bites served in petite pastry shells.
- Peach and basil flatbreads with burrata and a drizzle of aged balsamic.
- Eggs in purgatory-inspired skillet with tomatoes, olives, and olives—bright and comforting all at once.
- Orange blossom glaze for morning pastries that perfumes the room with a delicate sweetness.
- Warm citrus–herb potatoes—crispy on the outside, fluffy inside.
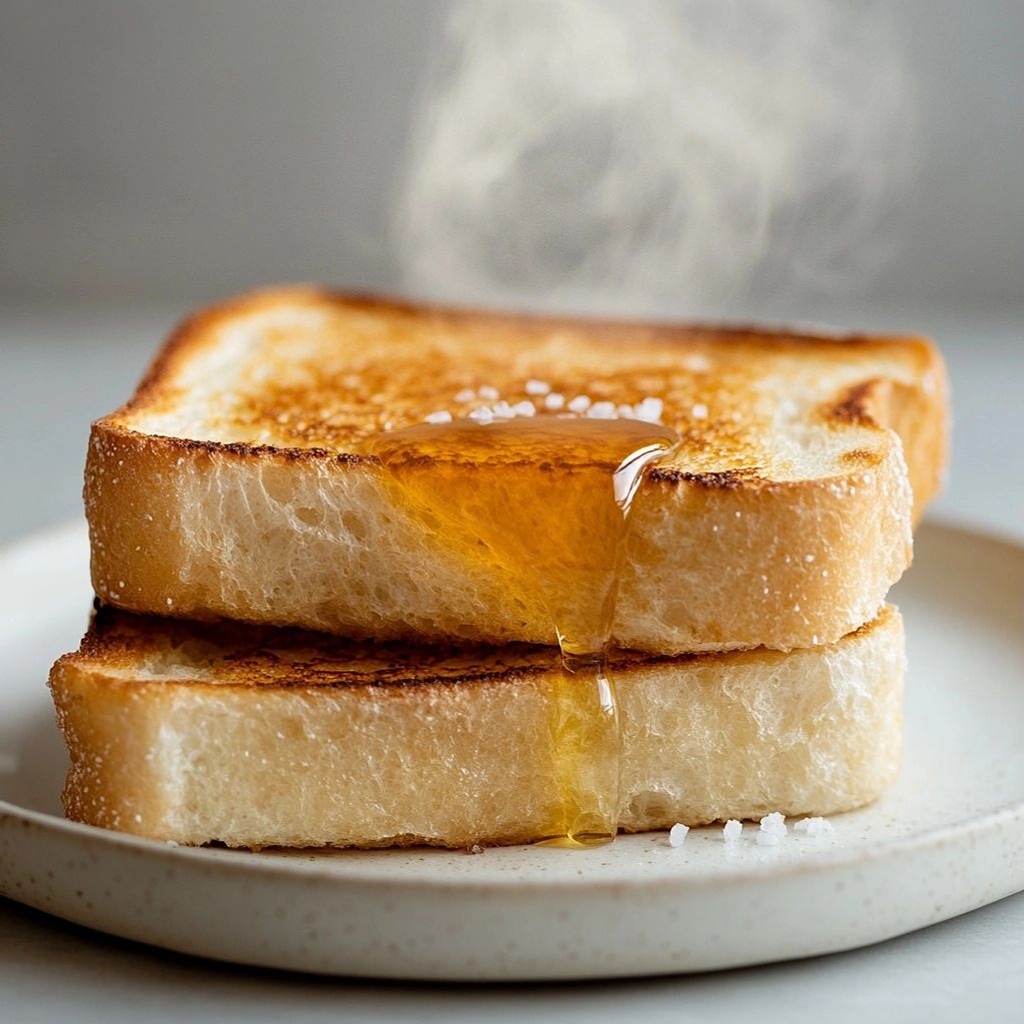
- Crème fraîche-topped honey ricotta toast with sesame seeds and pomegranate arils.
- Ginger-pear muffins with a crumble topping for a warm-spiced bite.
- Blueberry almond baked oatmeal—perfect for serving in wedges with whipped cream.
- Herbed yogurt parfaits layered with granola and citrus segments.
- Frittata slices featuring roasted vegetables and parmesan shavings.
- Mini cinnamon sugar churro muffins—fun, playful, and indulgent.
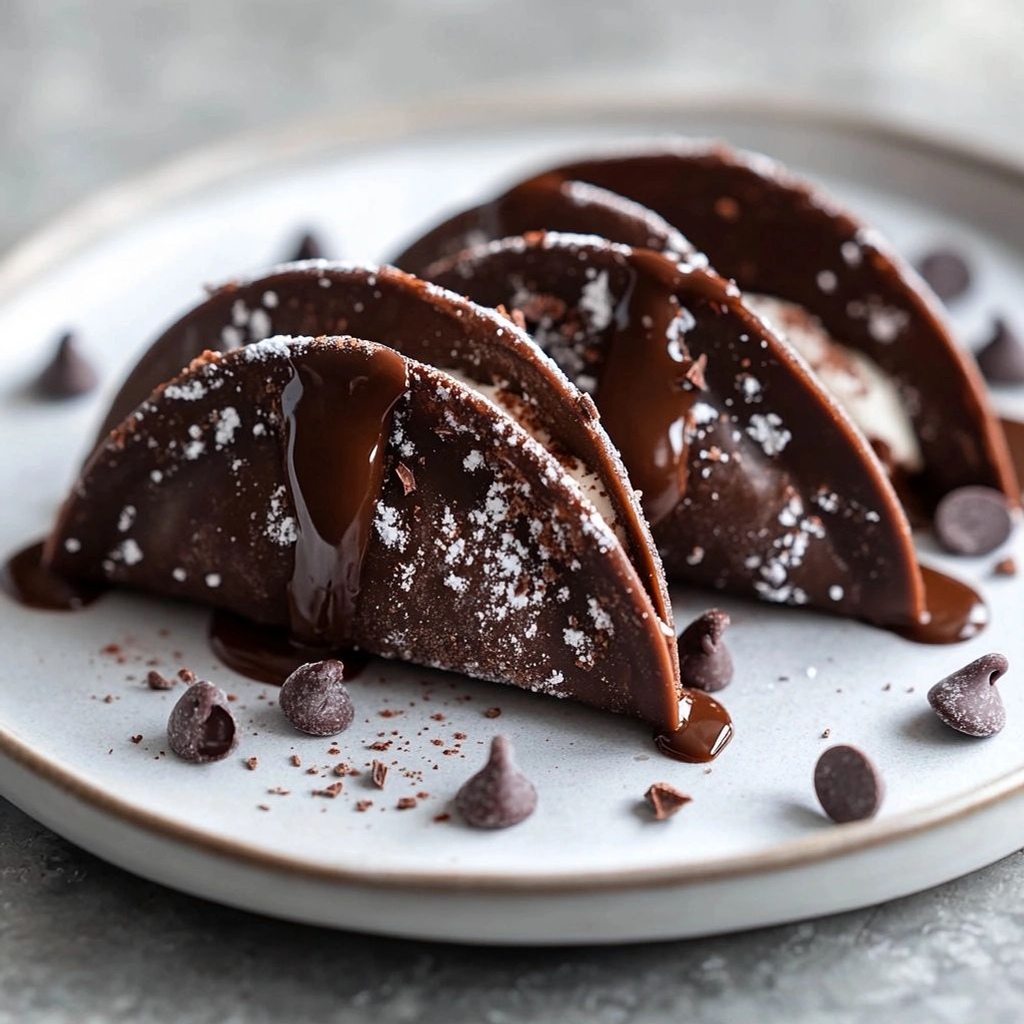
- Chocolate-dipped orange segments with a sprinkle of sea salt for a little surprise.
Closing Thoughts
Creating a memorable Mother’s Day brunch is less about following a fixed script and more about curating a moment of care. The 25 ideas offer a flexible framework that suits a mood—from elegant and refined to cozy and family-friendly. The secret ingredients are intention, flexibility, and a willingness to pause, savor, and celebrate. When mom walks into the room and sees the spread you’ve shaped for her, it will feel like a warm embrace in edible form—bright, comforting, and deeply personal. Use this collection as a starting point to design a morning that honors her tastes, her stories, and the shared joy of gathering around a table. The menu can evolve with the seasons, incorporating local produce, or weave in nostalgic favorites that evoke tender memories. Most of all, let the time spent together be the main course—the rest is just the delicious accompaniment that makes the moment unforgettable.
Ingredients
Brunch Beverages
– 1 liter club soda or sparkling water (chilled)
→ Provides the effervescence and refreshing base for a light, celebratory brunch drink. Use well-chilled sparkling water so the beverage stays crisp without needing excessive ice. If you prefer a sweeter profile, substitute a portion with a mild tonic water, but balance the sweetness to avoid overpowering citrus notes.
– 1/2 cup fresh lemon juice (about 2–3 lemons)
→ Supplies bright acidity that lifts the flavor of the drink and pairs wonderfully with basil. Squeeze lemons just before mixing to maximize aroma; strain to remove pulp if you want a cleaner beverage. Fresh juice yields a cleaner, more vibrant taste than bottled juice.
– 1/4 cup honey or agave syrup (adjust to taste)
→ Adds gentle sweetness without masking citrus and herbal notes. Warm the sweetener slightly in a small amount of water to dissolve fully if using honey; agave blends more easily if added directly. Adjust to guest preferences; you can offer a simple syrup in a separate pitcher for easier dosing.
– 6–8 fresh basil leaves (slivered or torn)
→ Infuses herbal brightness and a pleasant aroma that complements citrus. Tear or gently bruise the leaves to release oils before adding to the drink; remove large stems to prevent bitterness in the final beverage. Add just before serving to preserve bright green color and fresh fragrance.
– Ice cubes or crushed ice (as needed)
→ Keeps the drink chills without diluting it too quickly. If serving at brunch tables, pre-chool the glasses and use larger ice cubes to minimize rapid dilution. For a frosty finish, you can muddle a few basil leaves with ice briefly before adding liquids for a hint of infusion.
Savory Classics
– 8 large eggs
→ The foundation of many brunch staples, providing protein, richness, and structure. For best results, bring eggs to room temperature before cooking to ensure even cooking and better volume. Use freshest eggs you can for a silky texture in hollandaise and poached preparations.
– 4 slices Canadian bacon or 8 oz smoked salmon (thinly sliced)
→ Adds savory depth and texture; Canadian bacon yields a classic benedict vibe, while smoked salmon offers a delicate, oceanic note. If using salmon, pat dry to prevent soggy bases and rewarm gently to avoid tough texture. Store chilled until just before assembly.
– 4 English muffins, split and lightly toasted
→ Provide a sturdy, toasty base that holds toppings without becoming soggy. Toast until just golden with a crisp edge; this enhances flavor and creates a pleasant contrast to creamy hollandaise and soft eggs. You can lightly butter the cut sides before toasting for extra richness.
– Hollandaise sauce (see components below)
→ Rich, silky emulsion that brings luxurious creaminess and a tangy lemon note to the dish. Hollandaise should be prepared just before serving; keep warm over a gentle heat or in a warmed water bath until ready to pour, whisking occasionally to maintain smoothness. If you’re avoiding raw egg risk, use pasteurized yolks or a blender hollandaise variant.
– 1 avocado, sliced
→ Adds creamy texture and healthy fats to balance the richness of eggs and hollandaise. Slice just before assembly to prevent browning; drizzle with a touch of lemon juice to maintain vibrant color. For best texture, slice with a sharp knife and fan out on each muffin half.
– Sea salt to taste
→ Essential for enhancing the flavors of the overall dish; sprinkle in small amounts and adjust after tasting. Flake salt rather than fine powder for a quicker flavor bloom and a pleasant crunch when sprinkled atop the finished dish.
– Freshly ground black pepper to taste
→ Provides a mild heat and sharp contrast to creamy components. Grind just before serving to preserve aroma. If you’re using smoked salmon, start with a lighter sprinkle and adjust to avoid overpowering the delicate fish flavor.
Sweet Treats
– 2 cups all-purpose flour (or 1 3/4 cups all-purpose plus 1/4 cup almond flour for tenderness)
→ Forms the structure for muffins or small baked bites. If using a gluten-free blend, choose a mix with xanthan gum to mimic regular gluten structure; sift flour to aerate and ensure even mixing for a lighter crumb. For gluten-free versions, consider 1:1 substitutes with appropriate binding agents.
– 1/2 cup granulated sugar
→ Provides sweetness and helps balance acidity and fat in baked goods. If you prefer less sugar, reduce by up to 1/4 cup and compensate with a touch more ripe fruit or vanilla. For richer flavor, substitute half with brown sugar to introduce a gentle caramel note.
– 2 tsp baking powder
→ Leavening to create rise and a tender crumb. Ensure your baking powder is fresh for optimal lift; whisk with dry ingredients to distribute evenly and avoid dense pockets in the batter. If using a dairy-free batter, ensure powder is appropriate for vegan recipes.
– 1/2 tsp baking soda
→ Helps with browning and tenderness, especially when acidic ingredients (buttermilk, yogurt, lemon zest) are included. Use in conjunction with an acid to activate leavening; too much can impart a metallic taste, so measure carefully and balance with the corresponding acidic component.
– 2 large eggs
→ Bind, add structure, and contribute moisture and richness. Use eggs at room temperature for better emulsification when whisking into batters. If making a dairy-free version, consider aquafaba or a flax/chia egg as a substitute to mimic binding properties.
– 1 cup milk (dairy or plant-based)
→ Hydrates dry ingredients and contributes moisture and tenderness. Use whole milk for richer crumb; swap to almond, soy, or oat milk for dairy-free versions. For lighter muffins, reduce slightly or use a 1:1 plant-based yogurt/milk blend to add tang.
– 1/2 cup unsalted butter, melted (or 1/3 cup neutral oil)
→ Provides fat to keep the crumb tender and moist; melted butter enriches flavor, while oil creates a moist, longer-lasting muffin. If dairy-free, use a neutral oil like canola or light olive oil. Let butter cool slightly before mixing to avoid curdling eggs.
– 1 tsp vanilla extract
→ Enhances overall sweetness and aroma; use pure vanilla for a more robust, rounded flavor compared to imitation varieties. If using vanilla bean, scrape seeds for additional depth and speckled appearance in the batter.
– 1 cup blueberries or berries of choice (fresh or frozen, thawed and drained)
→ Bright, juicy pockets of sweetness and color. If using frozen, do not thaw completely to prevent color bleed and soggy crumbs; gently fold into batter at the end to distribute evenly. Toss berries in a tablespoon of flour before folding to prevent sinking.
– Pinch of salt
→ Amplifies flavors and balances sweetness; add to the dry mix to ensure even distribution. Use fine sea salt for even dissolution and a cleaner saltiness in each bite.
Optional Add-ins
– 1/2 cup chopped walnuts or pecans (optional)
→ Adds delightful crunch and a toasty, nutty contrast to the soft muffin crumb. Toast nuts briefly at 350°F until fragrant to heighten flavor, then fold in just before the final mixing to prevent over-breaking the batter. Store leftovers in an airtight container to preserve crunch.
– 1/4 cup mini chocolate chips or white chocolate chips (optional)
→ Introduces pockets of melt-in-mouth sweetness that pair well with berries. Chill chips before folding to minimize sinking; fold gently to keep chips evenly distributed without overworking the batter.
Grains & Sides
– 1 cup quinoa (for a light grain side)
→ A protein-rich, fluffy base or side that complements morning flavors with a neutral, slightly nutty character. Rinse quinoa under cold water to remove bitterness, then simmer in 2 cups water or broth until tender. Fluff with a fork and let cool slightly before mixing with herbs; it scales well for a brunch spread and can be served warm or at room temperature.
– 2 cups water or vegetable broth (for cooking quinoa)
→ Provides liquid for simmering quinoa; using broth adds depth of flavor. If you want a milder taste, use water and season quinoa after cooking with salt, pepper, and a drizzle of olive oil or lemon juice.
– 1 tablespoon olive oil (for dressing quinoa)
→ Adds gentle richness and helps keep grains separated rather than clumping. Use extra-virgin olive oil for fruitier, more robust flavor; drizzle while still warm to help carry through herbs and citrus. Store any leftovers sealed for up to several days in the fridge.
– 1 cucumber, diced
→ Crunchy, refreshing freshness that brightens the grain side; pat dry if it’s very watery to prevent soggy grains. Dice evenly to ensure uniform texture in each bite and whisk with herbs and lemon for a light dressing.
– 1 cup cherry tomatoes, halved
→ Adds juiciness and color; tomatoes release a bit of sweetness and acidity that brightens the dish. If using plum or larger tomatoes, dice into small, uniform pieces to distribute flavor evenly. For extra brightness, sprinkle with a pinch of flaky salt right before serving.
– 1/4 cup fresh parsley or dill, chopped
→ Brings herbaceous brightness and aroma to the grain side. Chop finely to distribute evenly; add just before serving to keep the herbs vibrant. If using dill, pair with cucumber and lemon for a crisp, springy profile.
– 1 lemon, zested and juiced
→ Adds citrus lift that ties the grain salad to the brunch theme and complements seafood, avocado, and yogurt dishes. Zest finely to maximize aroma; juice before serving to avoid bitterness from the seeds. Reserve a small wedge for guests who want extra brightness.
Instructions
- Chill the 1 liter of club soda or sparkling water in the refrigerator until ice-cold.
→ A cold, bubbly base preserves crispness and minimizes the need for excess ice, ensuring the drink remains refreshing from first sip to the last. - Juice the 2–3 lemons to yield about 1/2 cup of fresh lemon juice, then strain to remove pulp if you prefer a cleaner beverage.
→ Fresh citrus aroma and brightness are best when the juice is freshly prepared; straining prevents bitterness and textural chatter from citrus pulp. - Warm the honey or agave slightly with a teaspoon of warm water to dissolve completely, then whisk into the lemon juice until fully integrated.
→ A smoothly dispersed sweetness avoids graininess or uneven flavor distribution in the final drink, especially when served in large batches. - Gently tear or bruise the 6–8 fresh basil leaves to release essential oils, then set aside until just before serving.
→ Fresh basil oils provide a bright, aromatic infusion; tearing prevents bruised bits that may harbor bitterness, and adding at the end preserves color and fragrance. - Fill a pitcher with the chilled club soda, then pour in the lemon-honey mixture and add the torn basil leaves.
→ Combining the base with the citrus-sweetener early creates a cohesive flavor profile, while basil infuses a delicate herbal note without overwhelming the drink. - Stir the mixture gently to avoid excessive foam, then taste and adjust sweetness or acidity with a touch more honey or lemon juice if needed.
→ Gentle stirring preserves the effervescence; balancing sweetness and acidity ensures the beverage suits a range of palates at brunch. - Prepare the savory foundation by bringing 8 large eggs to room temperature, ensuring even cooking and better volume in hollandaise and poached preparations.
→ Room-temperature eggs emulsify more reliably and produce richer textures in sauces and poached eggs, contributing to a luxurious plate. - If using Canadian bacon, pat dry and crisp in a lightly oiled skillet over medium heat until edges brown, then transfer to a warm plate; if using smoked salmon, arrange thinly sliced portions ready for assembly.
→ Proper patting and gentle searing render fat and crispness without greasiness; for salmon, thin slices prevent soggy bases and preserve delicate texture when warmed briefly. - Toast 4 English muffins until just golden with a crisp edge, then lightly butter the cut sides if desired and set, cut sides up, on a warm platter.
→ A toasted, sturdy base prevents sogginess from hollandaise and adds a contrasting texture that enhances forkfuls with creamy toppings. - Prepare Hollandaise sauce using pasteurized yolks or a blender method, whisking with clarified butter and a squeeze of lemon until smooth and glossy; keep warm over a gentle heat or in a warmed water bath until serving.
→ A silkier emulsion delivers a luxurious mouthfeel and a bright citrus tang; gentleness is key to avoid breaking the sauce, and warm storage slows separation. - Slice 1 avocado just before serving to prevent browning, then fan the slices on each muffin half and season lightly with sea salt.
→ Fresh avocado adds creamy richness and a clean, buttery finish; fanning creates an appealing presentation and helps distribute in every bite. - Assemble the Benedict-style plates by placing a toasted muffin half, a layer of Canadian bacon or smoked salmon, a poached or soft-cooked egg, then a generous spoonful of hollandaise, finishing with avocado slices and a crack of black pepper.
→ Layering in this order preserves texture: muffin base remains crunchy, protein adds savor, egg yields silkiness, and hollandaise coats evenly for harmonious flavor with the avocado’s creaminess. - For the Sweet Treats, whisk 2 cups all-purpose flour with 1/2 cup sugar, 2 tsp baking powder, 1/2 tsp baking soda, and a pinch of salt; whisk in 2 large eggs and 1 cup milk, then fold in 1/2 cup melted butter and 1 tsp vanilla. Gently fold in 1 cup blueberries, coating them with a small amount of flour to prevent sinking.
→ Proper dry-wet integration creates a tender crumb; coating berries helps distribute them evenly and reduces bleeding, maintaining the batter’s color and texture. - Scoop the batter into lightly greased or lined muffin cups until about 3/4 full, optionally sprinkling tops with extra sugar or a few additional berries for a polished finish. Bake at 375°F (190°C) for 18–22 minutes, or until a toothpick inserted in the center comes out clean.
→ This bake time yields a golden exterior with a moist, domed interior; testing with a toothpick ensures doneness without overbaking, which can dry the crumb. - Cool muffins on a rack for 5–10 minutes before transferring to a plate or serving tray to prevent crumbling and to set a lightly tender crumb.
→ Proper cooling prevents steam from continuing to cook the interior, preserving delicate structure and preventing soggy bottoms. - Prepare the Grains & Sides by rinsing 1 cup quinoa under cold water, combining with 2 cups water or broth, and simmering, covered, until the grains are tender and the liquid is absorbed; fluff with a fork and season to taste.
→ Rinsing removes bitter saponins; cooking in broth adds depth, and fluffing achieves a light, separate grain structure essential for a bright side dish. - Dice 1 cucumber and halve 1 cup cherry tomatoes, then whisk with 1/4 cup chopped fresh parsley or dill, the zest and juice of 1 lemon, and 1 tablespoon olive oil; fold into the quinoa and adjust with sea salt and pepper.
→ A vibrant herbaceous dressing brightens the grain bowl, enhances texture with crisp vegetables, and the lemon ties the dish to the citrus-forward beverages for a cohesive brunch spread. - Arrange the grain salad on a platter or individual bowls, optionally topping with extra parsley or dill for color, and serve with the lemon wedges set at the side for guests to adjust brightness.
→ Finishing with a fresh herb flourish and citrus wedges allows guests to customize intensity, ensuring the dish appeals to a range of tastes and keeps the prep feeling presentable and festive.
Notes
These 25 Mother’s Day brunch ideas bring a celebratory vibe with a mix of refreshing beverages, savory classics, and sweet treats that are as thoughtful as they are delicious. The menu leverages bright citrus, fresh herbs, creamy textures, and light grains to create a well-rounded spread that can be assembled with minimal stress while still feeling special.
- Brunch Beverages: Use well-chilled club soda or sparkling water as the crisp, refreshing base. Add fresh lemon juice and a touch of honey or agave for natural sweetness, then finish with torn basil leaves for aromatic brightness. For a lighter, lower-sugar option, adjust sweetness with a simple syrup on the side. Serve over ice with extra lemon wedges and a sprig of basil for a visual, fragrant touch.
- Savory Classics: The combination of eggs, English muffins, and hollandaise creates a luxe brunch foundation. Prepare poached or softly scrambled eggs while keeping hollandaise warm just before serving. Choose Canadian bacon for a traditional Benedict vibe or smoked salmon for a lighter, oceanic note. Slice avocado just before assembling to maintain color, and finish with a delicate crack of black pepper and flaky sea salt for contrast.
- Sweet Treats: Muffins or baked bites pair beautifully with berries and vanilla. If baking for gluten-free guests, use a 1:1 gluten-free blend with binding agents or flour adjustments as noted. Fold in blueberries right before the batter comes together and consider optional add-ins like chopped nuts or chips for texture variation. Fresh fruit can balance sweetness and add color to the plate.
- Grains & Sides: A quinoa side provides a light, protein-rich addition that travels well for a brunch spread. Dress the warm quinoa with olive oil, lemon zest, and chopped herbs, then fold in cucumber and cherry tomatoes for a crisp, refreshing salad. Finish with parsley or dill and a final squeeze of lemon juice for a bright finish that complements seafood, eggs, and yogurt dishes.
Make-ahead and prep tips
- Keep beverages simple: mix the citrus-basil base a few hours ahead and refrigerate; add herbs just before pouring to preserve aroma and color.
- Hollandaise can be tricky to keep warm. Prepare the components separately and whisk together just before serving, or use a blender-based hollandaise kept in a warm water bath to maintain emulsification.
- Eggs: poach or softly scramble close to serving time to preserve texture. If serving a crowd, consider keeping poached eggs in warm water and finishing with a quick reheat just before plating.
- Bake muffins or sweet treats ahead of time; rewarm briefly in a low oven to restore tenderness before plating.
- Grain salads can be made a few hours ahead and dressed just before serving to keep the grains fluffy and prevent sogginess.
Substitutions and dietary considerations
- For dairy-free guests, swap hollandaise with a cashew-based or vegan hollandaise and use plant-based milk in muffins. Choose olive oil or a neutral oil in place of melted butter as needed.
- Gluten-free options: use a trusted gluten-free flour blend for muffins and ensure any baking powder is gluten-free. Use xanthan gum if your blend omits it.
- Vegetarian and pescatarian variations: use smoked salmon or Canadian bacon as the protein; avocado adds creaminess without meat.
- Nut allergies: skip optional add-ins like nuts and use cinnamon or citrus zest to add warmth and aroma instead.
Plating and presentation ideas
- Use a mix of tall and short serving platters to create visual interest. Lean on bright lemons, basil sprigs, and fresh herbs as natural garnishes.
- Offer a small board with a selection of muffins, berries, and a few slices of avocado along with a bowl of hollandaise for guests to customize their plates.
- Provide labeled stations: a beverages station with citrus-basil spritz, a hot savory station with eggs and hollandaise, and a sweet bite station with muffins and fruit.
Storage and safety notes
- Store fresh produce and herbs in the coolest part of the fridge. Basil should be kept dry and used soon after purchase to maintain aroma and color.
- Hollandaise and egg dishes are best served fresh; if you need to hold them, keep them warm over a gentle heat or in a water bath and whisk occasionally to maintain smoothness.
- Leftover baked muffins and grain sides can be stored in an airtight container at room temperature for 1-2 days or frozen for longer storage. Reheat muffins in a warm oven or toaster to restore moist crumb.
Tips
- For the Brunch Beverages, prepare a dedicated pitcher station with chilled club soda, lemon juice, and honey/agave within easy reach. Add basil and ice just before serving to preserve aroma and color. If guests prefer a lighter bubbly, top up with extra sparkling water rather than more juice.
- To intensify citrus aroma, grate a small amount of lemon zest directly into the pitcher before adding juice. Strain pulp for a cleaner look, or leave pulp in if you want a rustic, garden-fresh appearance.
- If you’re making a larger batch, mix the syrup and citrus first, then slowly fold in the soda at the end to maintain fizz. Have a separate bowl of crushed ice ready to stagger dilution.
- For basil freshness, tear leaves by hand rather than chopping to minimize oxidation and bruising. Add basil just before serving and consider a small basil leaf garnish on each glass.
- Use large ice cubes to slow dilution during brunch service. If you expect refills, pre-chill glasses and prepare a second pitcher with the same ratio so guests can top off easily.
- For Savory Classics, bring eggs to room temperature before cooking to improve texture and volume. They whip up lighter and fluffier for hollandaise-based dishes.
- When choosing between Canadian bacon and smoked salmon, consider offering both as a station option. Pat salmon dry before assembly to prevent soggy bases; gently warm if needed to avoid toughness.
- Toast English muffins until just golden and crisp around the edges. A quick brush of melted butter on the cut side before toasting adds depth and prevents sogginess from toppings.
- Hollandaise should be freshly prepared and kept warm safely. Keep it over very low heat or a warm water bath, whisking occasionally. If worried about raw eggs, use pasteurized yolks or a blender-based hollandaise.
- Slice avocado just before assembly to prevent browning; a light squeeze of lemon or lime juice helps preserve color.
- Salt and pepper should be added gradually; finish with a delicate sprinkle after tasting to avoid overpowering the delicate fish or avocado.
- For Sweet Treats, measure dry ingredients accurately and sift to ensure a light crumb. If making gluten-free muffins, use a blend with xanthan gum and follow a 1:1 substitution ratio with an appropriate binder.
- To keep muffins moist without excess grease, ensure melted butter is not hot when added to eggs to avoid curdling. Mix until just combined to prevent dense pockets.
- Fold in berries gently and coat with a small amount of flour to prevent sinking during baking. If using frozen berries, do not thaw completely to preserve color and texture.
- Optional add-ins like nuts or chocolate chips should be added at the end of mixing to prevent overworking the batter and to keep distribution even.
- For a brighter vanilla note, scrape seeds from a vanilla bean into the batter in addition to extract.
- Grains & Sides can be prepared ahead; cook quinoa in well-flavored liquid (broth) and let it cool slightly before mixing with herbs and lemon. This helps the grains stay separate rather than clumping.
- Rinse quinoa thoroughly to remove bitterness and ensure a clean finish. Fluff with a fork after cooking to keep grains light.
- Dress quinoa while still warm with olive oil and lemon juice to enhance sheen and prevent sticking. Chill or serve warm depending on your menu.
- Dice cucumber evenly and pat dry to avoid watery grains. A quick squeeze of lemon over the cucumber will brighten flavor and maintain texture.
- Cherry tomatoes can be halved or diced according to how you want the bite to feel. A light sprinkle of flaky salt right before serving heightens their sweetness.
- Fresh parsley or dill should be added just before serving to maintain vivid color and aroma. Dill pairs particularly well with cucumber and lemon.
- Zest and juice the lemon ahead of time, but add zest just before serving to keep essential oils vibrant. Reserve a wedge for guests who want extra brightness.
FAQ
What is the best way to choose 25 Mother’s Day brunch ideas for a crowd?
Start with a mix of light, savory, and sweet dishes, plus a few drinks. Aim for keepers that can be made ahead and reheated or served at room temperature. Consider dietary needs (vegetarian, gluten-free) and include a kid-friendly option.
Which dishes are great to make ahead for Mother’s Day brunch?
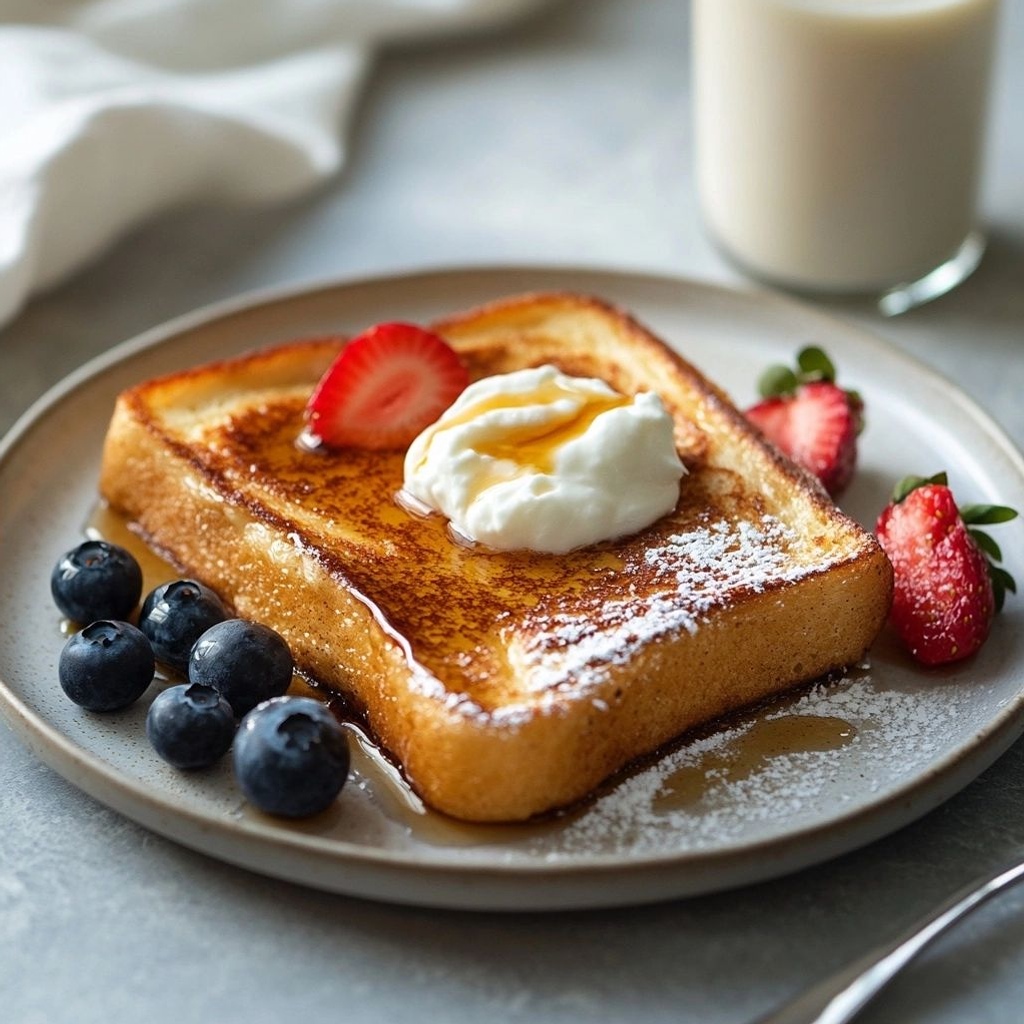
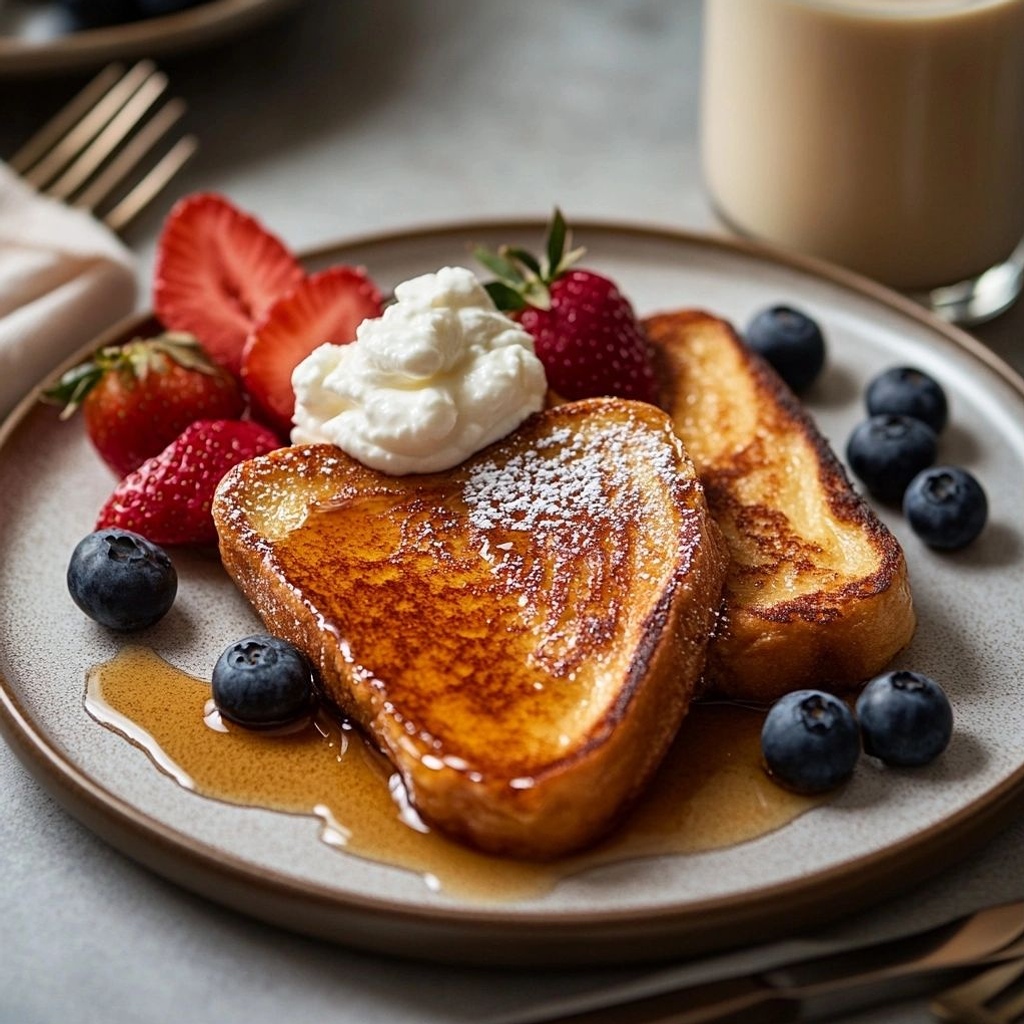
Make-ahead options include overnight casseroles (like a veggie quiche or strata), baked French toast, overnight oats jars, yogurt parfaits, and lemon-blueberry muffins. Prepare toppings or sauces the night before to save time in the morning.
How can I accommodate dietary restrictions (vegetarian, gluten-free, dairy-free) without sacrificing flavor?
Offer a few clearly labeled options: a vegetarian frittata or tofu scramble, gluten-free quiche crust or crustless quiche, dairy-free yogurt parfaits with coconut or almond yogurt, and a hearty veggie bake with olive oil for dairy-free richness. Use robust herbs and spices to boost flavor in each dish.
What are some kid-friendly brunch ideas that moms will love too?
Think colorful, fun, and simple: mini fruit skewers, lemon-poppy yogurt parfaits, fluffy pancakes or waffles with a topping bar, mini quiches, and smoothie bowls. Keep portions small and offer mild flavors.
How can I balance savory and sweet options on the menu?
Pair a couple of savory dishes (quiche, frittata, roasted veggie tarts) with a few sweet options (fruit salad, muffins, pancakes). End with a light dessert like citrus olive oil cake or a yogurt-fruit bowl to keep things balanced.
What is a simple, elegant brunch menu using 5-6 items?
Suggested menu: 1) Spinach and feta frittata, 2) Baked French toast with orange-vanilla glaze, 3) Roasted tomato and herb crostini or mini quiches, 4) Fresh berry salad, 5) Yogurt parfait bar, 6) Sparkling citrus mocktails or a light champagne for adults.
Any tips for timing everything to be ready together?
Start with dishes that can sit warm or at room temperature. Bake casseroles first, reheat portions as needed, and assemble cold or room-temperature items last. Create a timeline for prep steps and set out serving stations to minimize last-minute juggling.
What is a budget-friendly brunch menu that still feels special?
Choose a few affordable staples: a veggie frittata, skillet potatoes, a yogurt parfait bar with seasonal fruit, and a simple baked French toast. Use in-season produce and bulk-items like oats and eggs to save costs, and decorate with fresh herbs or edible flowers.
What beverages pair well with Mother’s Day brunch?
Offer a sparkling option like lemon-mint mocktails or a simple orange juice spritzer. For adults, provide a light champagne or prosecco with a splash of fruit juice. Have coffee, tea, and a flavored water option available as well.
How should I label dishes to help guests with allergies or preferences?
Place small cards or sticky notes next to each dish listing key ingredients (e.g., contains nuts, dairy-free, gluten-free). Use color-coded tags and clearly indicate vegetarian or vegan options to help guests navigate the spread.