Introduction / Hook
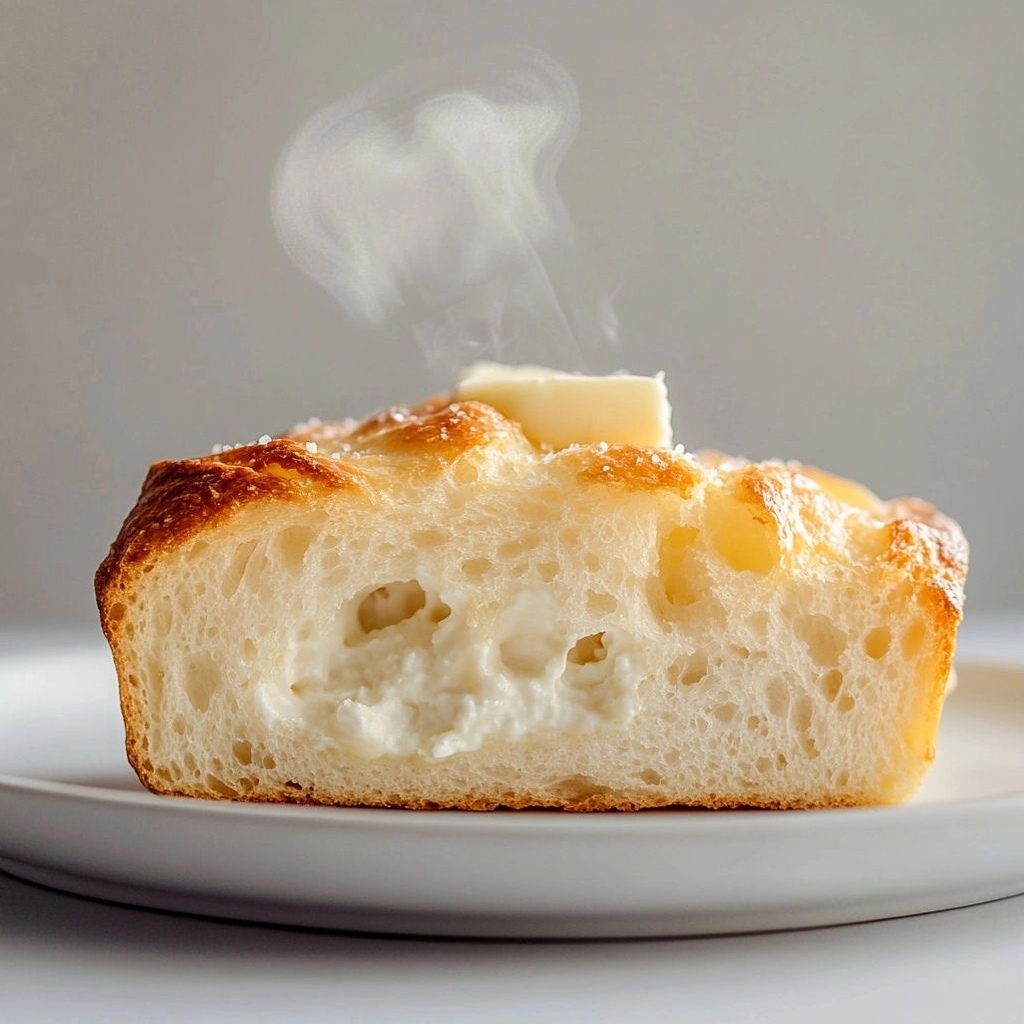
Imagine a loaf that comes together with almost no effort, yet tastes like a comforting bakery treasure—crisp crust, cloud-soft interior, and a whisper of tang from cottage cheese that surprises you with its subtle elegance. Welcome to the two-ingredient cottage cheese bread, a humble marvel that turns a simple pantry staple into a warm, irresistible centerpiece for breakfast, lunch, or a cozy evening snack. This is the kind of recipe you whip up in minutes, but the aroma wafts through your kitchen for hours, inviting everyone at the table to gather closer, to slice, to tear, and to savor. The beauty of this bread lies not only in its ease but in its versatility: a blank canvas that welcomes butter, jam, avocado, garlic, or a savory smear of herbed cream cheese. It’s the kind of bake that makes you feel both clever and indulged, as if you’ve discovered a tiny shortcut to homemade happiness.
The Story Behind the Dish
Two-ingredient recipes have a way of appearing in kitchen folklore when a tired cook asks, “What can I make with what I have left?” Cottage cheese, long a pantry teammate for its protein punch and creamy tang, lends its moisture and body to bread in a way that’s almost magical. The concept isn’t new—home bakers across cultures have experimented with dairy-fermented breads, kneaded doughs that quiet down with a pillow of curdled dairy, and quick breads that rely on the moisture and richness of dairy to rise gently. What makes this particular bread feel modern and irresistible is the simplicity: just cottage cheese and an egg, blended to a smooth, living batter, transformed by heat into a tender loaf with a crust that crackles ever so slightly as it cools. It’s the kind of dish that travels well in memory—fondly recalled as the snack you baked late at night as a child, the bread you shared on a lazy weekend with friends, the warm slice you paired with soup after a long day. It’s also a testament to the era of smart cooking, where fewer ingredients can yield more smiles, where texture, aroma, and comfort can come from a minimal list and a patient bake in a hot oven.
Why You’ll Love This Recipe
- Ridiculously quick and easy: No kneading, no long rising times—just blend, shape, bake, and enjoy.
- Minimal ingredients, maximum payoff: Cottage cheese provides moisture, protein, and a gentle tang, acting as both binder and flavor enhancer.
- Versatile for any meal: Slice it for breakfast with jam or honey, use it as the base for a hearty avocado toast, or serve it warm with soups and stews.
- Customizable texture: Depending on bake time and pan choice, you can coax a crusty exterior or a softer crumb—your call.
- Kid-friendly and crowd-pleasing: Its mild flavor makes it a perfect partner for both simple toppings and bold spreads.
- Storage-friendly: It holds well for a couple of days and can be repurposed into toast points or croutons for salads.
Flavor Profile & Texture
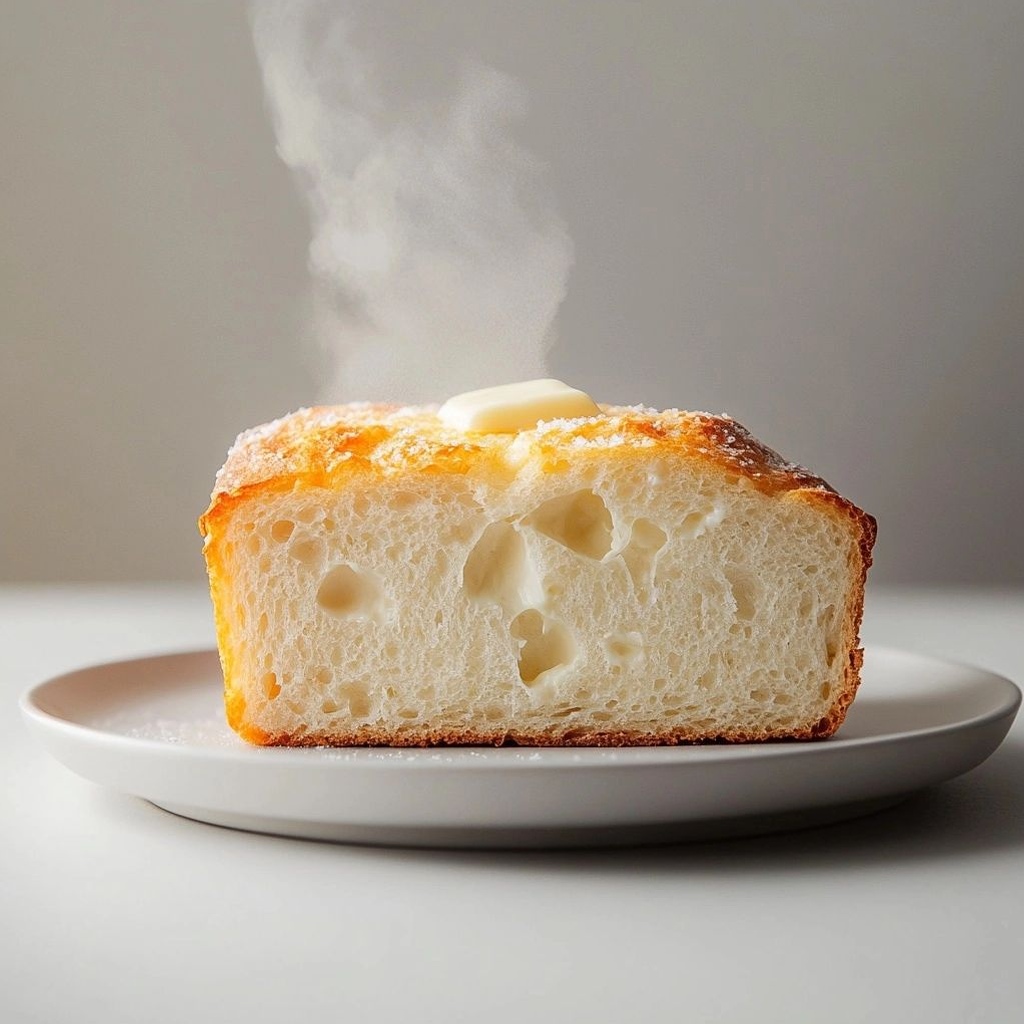
The flavor of this bread is gently savory with a delicate tang, courtesy of the cottage cheese. It isn’t a wacky dairy-forward sourdough; rather, it’s a balanced, comforting note that harmonizes with butter, salt, and the aroma of a warm oven. The interior crumb tends to be tender and lightly springy, reminiscent of a quick bread but with a slightly denser, more homemade feel. Depending on your cottage cheese’s salt level and whether you add any salt to the batter, the bread can swing from softly salted to almost neutral—always ready to take on toppings and flavors you pair it with. The crust, if baked in a high-heat setting or in a cast-iron skillet, develops a satisfying, delicate crackle that gives way to a moist interior. The texture is forgiving enough for novice bakers, yet nuanced enough to feel like a thoughtful, comforting bake. When you tear into a warm slice, you’ll notice the way the crumb holds together without crumbling, the way a thin butter layer melts into the porous interior, and the gentle aroma of baked bread mingling with the faint dairy sweetness that underlyingly anchors the loaf. It’s a simple harmony: soft, comforting, and very moreish.
Occasions & Pairings
This two-ingredient cottage cheese bread shines on many stages. It’s ideal for everyday breakfasts and hurried weeknights, but it also holds its own for more special moments. Here are some occasion-focused ideas:
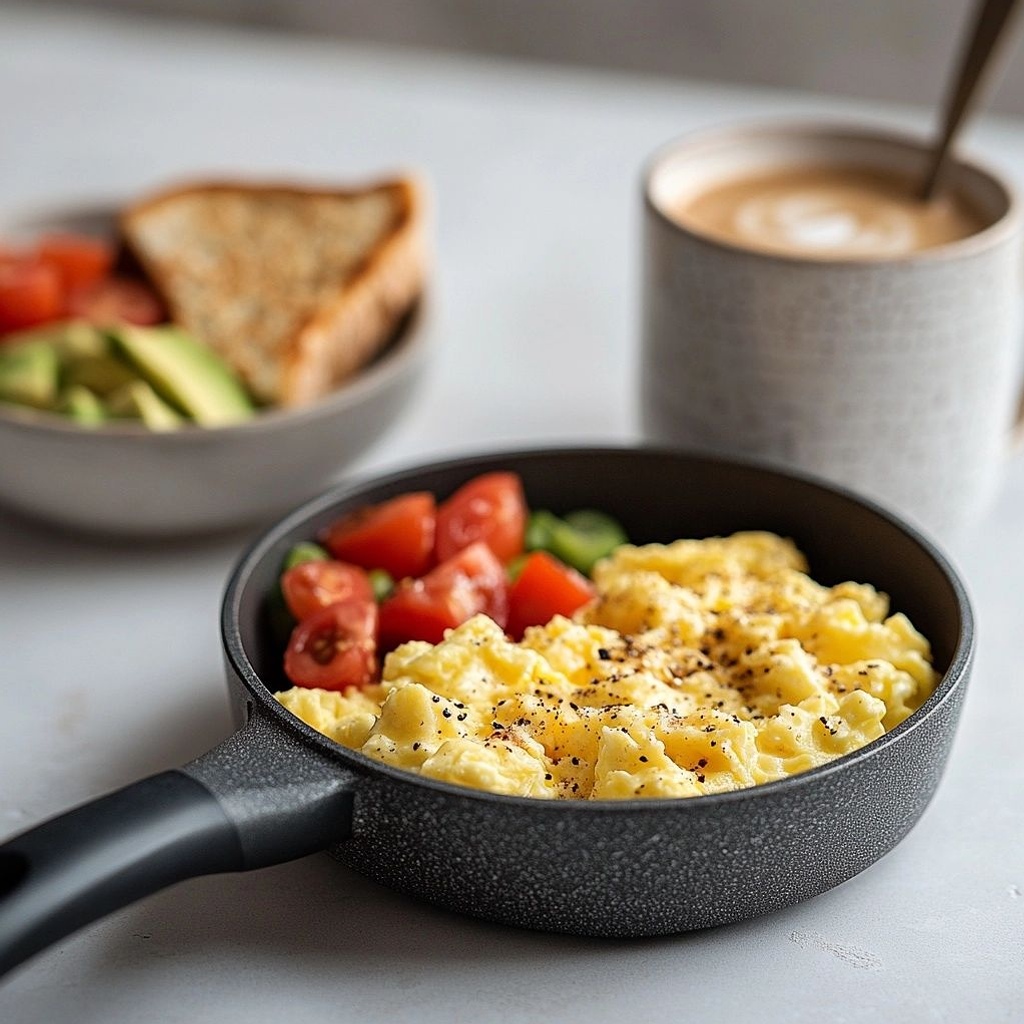
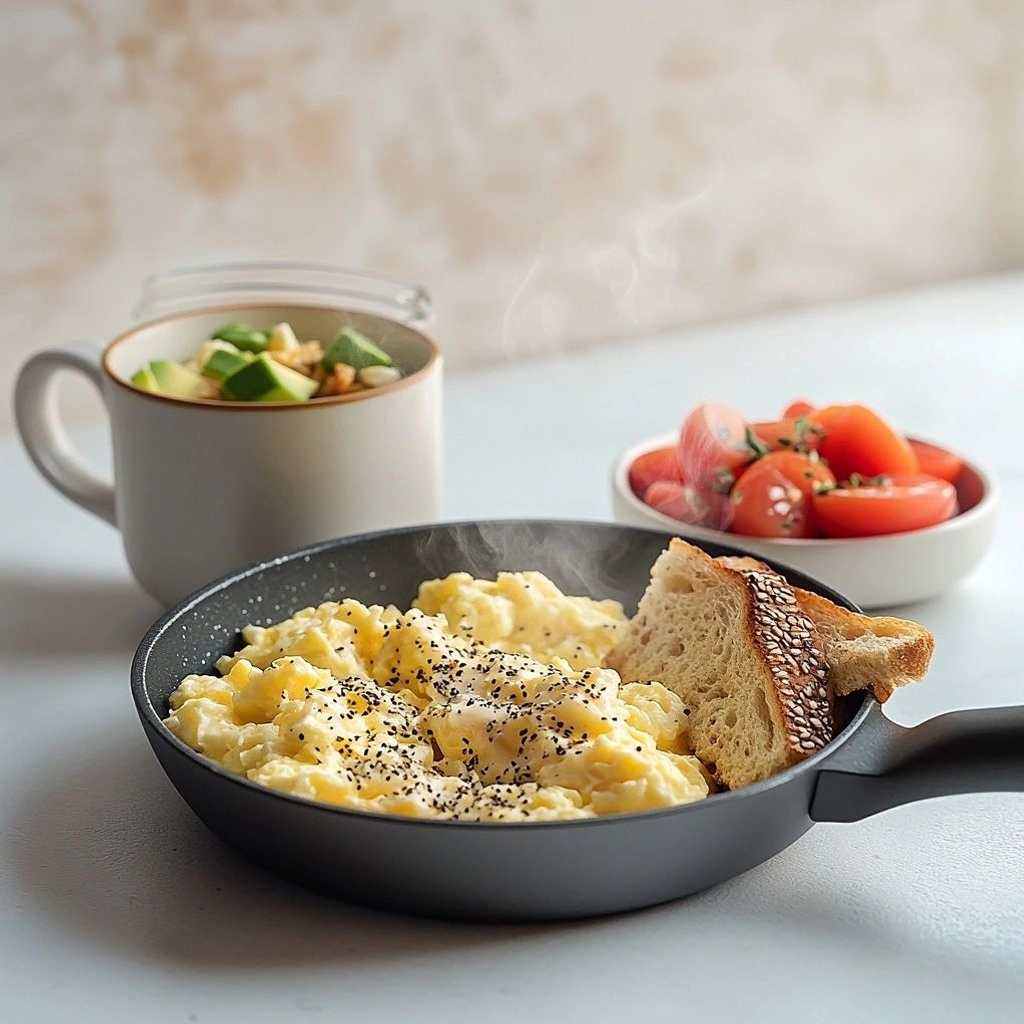
- Weekday breakfasts: Toast slices and top with jam, honey, or ricotta and fruit for a quick, satisfying start to the day.
- Soup night companion: Serve warm slices alongside creamy tomato soup, giving guests a comforting dunkable bite.
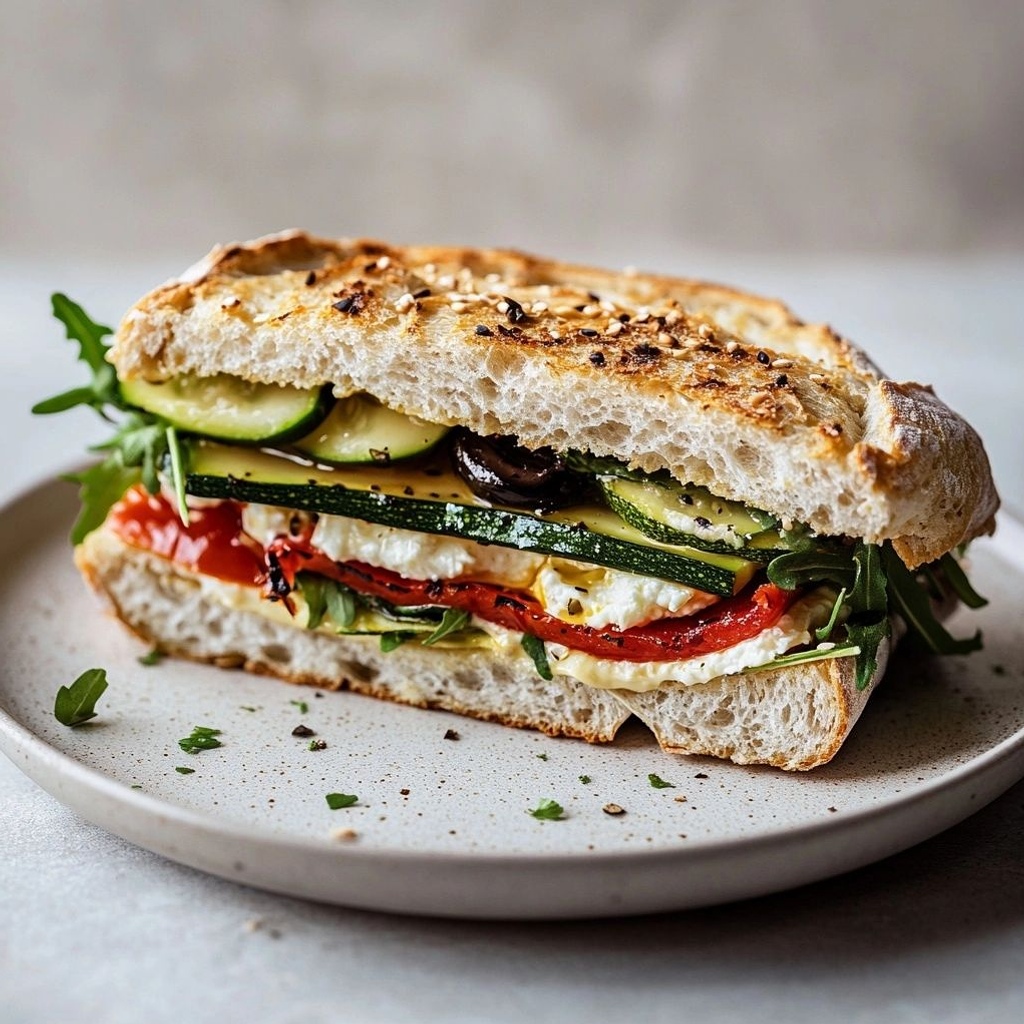
- Brunch centerpiece: Create a spread with avocado smash, smoked salmon, whipped feta, and herbs—this bread will act as the perfect vessel.
- Snack time: A rustic slice with a knob of butter or a dollop of garlicky herb butter makes a comforting mid-afternoon treat.
- Lunchbox staple: Turn slices into a quick, kid-friendly grilled cheese with sharp cheddar or Gruyère for a toasty, melty bite.
Pairings to consider:
- Butter, cultured butter or ghee to layer on while the bread is still warm
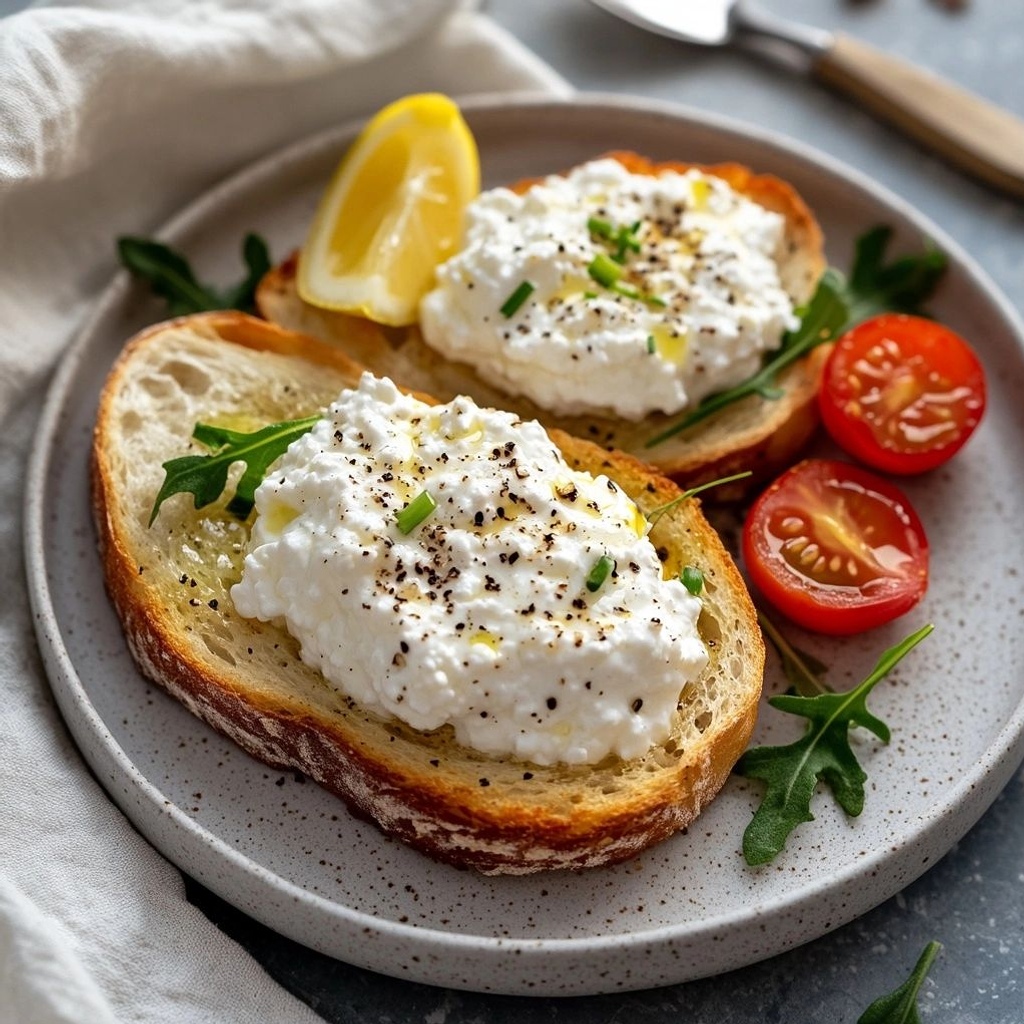
- Herbed cream cheese, garlic butter, or a bright lemony ricotta spread
- Fresh tomato slices and a sprinkle of flaky salt
- Avocado, chili flakes, and lime for a vibrant open-faced sandwich
- Roasted vegetables, soft cheeses, or a light vinaigrette for a savory, wholesome bite
- Soups such as tomato, minestrone, or creamy mushroom for dipping goodness
Tips, Variations & Substitutions
Here are expert tips to tailor the recipe to your taste, dietary needs, or pantry stash:
- Texture tweaks: For a crisper crust, bake the loaf on a preheated baking stone or a heavy sheet pan at a higher temperature (around 425-450°F / 220-230°C) and brush with a light glaze or oil before baking. For a softer crust, bake at a slightly lower temperature and cover the loaf loosely with foil for the first part of the bake.
- Cheese variations: Use full-fat cottage cheese for richer flavor, or try a low-fat version if you’re watching calories. A small amount of cream cheese folded in can add extra creaminess, though it’s optional.
- Flavor boosters: Add a teaspoon of honey or a pinch of sugar if you want a hint of sweetness in the crust. Mix in finely grated citrus zest (lemon or orange) for a bright aroma, or fold in chopped fresh herbs (rosemary, thyme, chives) to make it savory and fragrant.
- Gluten-free adaptation: For gluten-free lovers, replace all-purpose flour with a 1:1 gluten-free flour blend and a pinch of xanthan gum if your mix lacks it. The texture will be slightly different, but still delightful with the right bake time.
- Vegan option: Replace the egg with a flax egg (1 tablespoon ground flaxseed mixed with 3 tablespoons water, set to gel) and use a dairy-free cottage cheese alternative or silken tofu blended until smooth. Expect a slightly denser crumb, but a satisfying result.
- Herb-forward version: Mix in finely chopped fresh herbs like dill, parsley, or chives to brighten the loaf with a garden-fresh aroma.
- Garlic and butter upgrade: Brush the loaf with melted garlic butter right after baking for an irresistible, restaurant-style finish.
- Whole grain twist: Add a few tablespoons of whole-grain flour (such as whole wheat or spelt) to deepen flavor and give a heartier crumb, adjusting hydration as needed.
Storage & Make-Ahead Ideas
One of the charms of this bread is its flexibility when it comes to storage and make-ahead planning. Here are practical approaches to keep it fresh and tasty:
- Room temperature: Store in an airtight container or a resealable bag at room temperature for up to 2 days. If you slice it, it’s best to reheat gently to restore softness and aroma.
- Refrigeration: You can refrigerate for up to 5 days, but the bread may lose some tenderness. Reheat gently in the oven or toaster to revive texture.
- Freezing: Slice the loaf, wrap individual portions tightly, and freeze for up to 2–3 months. Thaw at room temperature or toast directly from frozen for a quick breakfast or snack.
- Make-ahead options: Prepare the batter in advance and refrigerate for up to 24 hours before baking. Baking time may extend slightly when starting from chilled batter.
- Leftover transformations: Use leftover slices to make croutons by cubing and toasting in olive oil with garlic. They’re perfect for topping salads or soups.
Fun Facts & Trivia (Optional)
Every good recipe has a little spice of trivia that makes it memorable. Here are a few morsels tied to the cottage cheese bread phenomenon:
- Two-ingredient magic: The idea of making bread with just two main components echoes a broader movement toward minimalism in cooking, where technique yields flavor with minimal input.
- Dairy in bread: Dairy-based breads have appeared in many culinary traditions, from soft sandwich rolls enriched with milk to brioche-like loaves that rely on eggs and dairy to create a luxurious crumb.
- Texture science: Cottage cheese introduces moisture and acidity that can help tenderize the crumb and contribute to a slightly finer crumb than typical water-only doughs, depending on the ratio used.
- Flavor psychology: A mild tang can awaken appetite without dominating the plate. The tang from cottage cheese provides a gentle foil to rich butter and savory toppings, creating a balanced eating experience.
Conclusion / Final Thoughts
In a world of elaborate baking projects and long-rise breads, this two-ingredient cottage cheese bread is a refreshing reminder that simplicity can be deeply satisfying. It invites you to trust the basics: good ingredients, proper heat, and a little patience as the oven works its magic. The result is a loaf that feels homemade in the most comforting sense—soft enough to tear with your fingers, aromatic enough to make your kitchen feel like a bakery, and adaptable enough to suit a wide range of moods and menus. Once you’ve tasted it, you’ll understand why it deserves a regular spot on your baking rotation. It’s the kind of bread that greets you with a warm aroma when you come home, makes you reach for the toaster or a knife, and invites you to pause, savor, and share. So preheat, blend, bake, and prepare to fall in love with a soulfully simple loaf that proves less can indeed be more when it’s made with care and a little creativity.

Ingredients
-
Bread Base
-
1 cup cottage cheese (full-fat or low-fat, blended to smooth)
→ Cottage cheese provides the base moisture and protein that allows the bread to bake up tender and lightly crumbly without added flour. For best texture, drain any excess whey and blend or whip the cottage cheese until completely smooth before mixing with the eggs. If you prefer a lighter crumb, use a low-fat cottage cheese; for richer flavor and slightly moister crumb, choose full-fat. Ensure it’s well blended to avoid a grainy texture in the finished bread. -
3 large eggs (room temperature, beaten)
→ Eggs act as the binding and gentle leavening agent, helping the batter set into a cohesive loaf with a soft interior. Beating the eggs lightly before combining with the cottage cheese promotes even emulsification and better rise. Using eggs at room temperature yields a smoother batter and helps with volume; if you refrigerate them, let them sit at room temp for about 15–20 minutes before using. Do not overbeat after combining with cottage cheese to avoid a dense crumb.
Instructions
- Preheat your oven to 350°F (175°C) and lightly grease a 9×5-inch loaf pan or line it with parchment paper to prevent sticking.
→ A steady, moderate temperature ensures even rise and a uniform crumb, while greasing or lining the pan creates a smooth release and prevents the delicate bread from tearing when you invert or slice it. - Drain any excess whey from the cottage cheese and blend or whip it until completely smooth, then transfer to a large mixing bowl.
→ Blending removes graininess and creates a creamy, uniform base that binds with the eggs without leaving lumps, resulting in a tender, cohesive loaf. - Lightly beat the eggs in a separate bowl until the whites and yolks are fully combined and just blended, then whisk them into the smooth cottage cheese mixture until uniform.
→ Room-temperature eggs emulsify more smoothly with the dairy, promoting even distribution and a gentle lift without overmixing which could toughen the crumb. - Gently fold or whisk the cottage cheese–egg mixture until no streaks remain and the batter is smooth and glossy, avoiding any aggressive mixing that could incorporate too much air.
→ Gentle incorporation preserves the batter’s moisture and prevents the formation of large air pockets that could create an uneven crumb or bubble bursts during baking. - Pour the batter into the prepared loaf pan and smooth the top with a spatula, tapping the pan once or twice on the counter to remove surface air and level the batter.
→ Tapping settles the batter and reduces large air voids, promoting an even rise and uniform crust across the loaf. - Place the loaf in the center of the oven and bake for 45 to 55 minutes, or until the top is golden brown and a toothpick inserted into the center comes out with only a few moist crumbs.
→ The range accounts for oven variations; a fully set interior prevents a gummy crumb, while the surface color indicates proper Maillard reaction and crust development. - Begin testing for doneness at 45 minutes by inserting a thin skewer or toothpick into the center; if it exits clean or with a few dry crumbs, the bread is ready, otherwise continue baking and recheck every 5 minutes.
→ This avoids underbaking, which can leave a dense center, and overbaking, which can dry the bread and crumble the crumb. - Remove the loaf from the oven and allow it to rest in the pan for 10 minutes, then transfer to a rack to cool completely before slicing.
→ Resting helps the interior set and rehydrate slightly, making the slices hold together more cleanly and preventing crumbling while cutting. - Slice with a sharp serrated knife, using a gentle sawing motion and clean, even strokes, to produce uniform slices without tearing the crumb.
→ A sharp blade minimizes drag, preserves the loaf’s soft interior, and yields aesthetically pleasing portions suitable for toast or sandwiches. - Store any leftovers in an airtight container at room temperature for up to 3 days or freeze slices individually wrapped for longer storage, then rewarm gently to restore softness.
→ Proper storage maintains moisture and prevents the surface from drying out, while freezing individual slices preserves texture for quick breakfasts or snacks.
Notes
These 2-ingredient cottage cheese bread are incredibly simple to make and yield a tender, lightly crumbly loaf with a protein-rich base. You can customize the texture and flavor by choosing full-fat or low-fat cottage cheese, and by adding optional mix-ins like chives, grated cheese, or cracked pepper. For best texture, drain any excess whey and blend or whip the cottage cheese until completely smooth before mixing with the eggs. Beating the eggs lightly before combining with the cottage cheese promotes even emulsification and a better rise. Let the batter sit for a few minutes to allow any moisture to settle and the batter to thicken slightly. Bake until the loaf is golden and a toothpick inserted into the center comes out with just a few crumbs. This bread freezes well—slice before freezing for easy, fast toasting. Reheat in a toaster or warm oven for best results. If you’re serving with toppings, a light spread of butter or cream cheese enhances the texture without overpowering the subtle flavor of cottage cheese. Always ensure your cottage cheese is plain and as natural as possible to keep the flavor clean and versatile.
Tips
- Drain the cottage cheese well before blending to prevent excess moisture from making the loaf dense. Pat dry with paper towels if you notice extra whey separating.
- Blend the cottage cheese until completely smooth and lump-free. Any graininess will translate into the crumb, so take a full minute or two and scrape the sides of the blender as needed.
- Let the eggs reach room temperature (about 15–20 minutes out of the fridge) for better emulsification and a more even rise. If you’re short on time, gently warm them in a bowl of warm water for a few minutes.
- When mixing, whisk the eggs lightly first, then fold into the blended cottage cheese rather than overmixing all at once to avoid air pockets that can collapse during baking.
- Use a non-stick loaf pan or line it with parchment paper and lightly grease the surface to prevent sticking, especially since this bread has a light, tender crumb.
- Center the rack in your oven and bake at 350°F (175°C) for about 25–30 minutes, or until the top is lightly golden and a toothpick inserted into the center comes out clean. Ovens vary, so start checking at 22 minutes.
- If you prefer a slightly taller loaf, you can add up to 1–2 tablespoons more cottage cheese or eggs, but avoid adding flour or other additives that will change the texture.
- Let the loaf cool in the pan for 10–15 minutes, then slide out onto a rack to finish cooling. This helps prevent a soggy bottom and makes slicing easier.
- For a heartier crust, brush the top with a little melted butter or olive oil while it’s warm, then return to the rack for a minute to set the coating.
- Slice once fully cooled; if you’re planning to toast slices, a slightly drier crumb to crisp up is ideal. Toasting adds flavor and a satisfying crunch without adding calories.
- Storage: store leftovers in an airtight container in the fridge for up to 3–4 days. For longer storage, freeze slices in a single layer, then transfer to a freezer bag; they freeze well and reheat in the toaster or oven.
- Flavor variations: add 1–2 tablespoons of finely chopped fresh herbs, garlic powder, or a pinch of shredded cheese to the batter for a savory twist without changing the base texture.
FAQ
What is 2-Ingredient Cottage Cheese Bread?
A simple, fluffy bread made with just cottage cheese and eggs (and optional extras). It’s quick to make and naturally low in carbs compared to traditional bread.
What are the two ingredients I must use?
The classic version uses cottage cheese and eggs. Some variations may add a pinch of salt or a dash of baking powder for extra lift, but the two essential ingredients are cottage cheese and eggs.
Do I need to drain the cottage cheese?
Yes. For a smoother batter, drain or blend the cottage cheese to remove excess moisture before mixing with the eggs.
How do I mix the batter?
Blend cottage cheese until smooth, then whisk in eggs until fully combined. If you’re using a blender, pulse just until the mixture is uniform to avoid overworking it.
Can I add flavor or mix-ins?
Absolutely. Try a pinch of salt, garlic powder, herbs, shredded cheese, or seeds. For sweetness, you can fold in a little maple extract and chia or flaxseeds. Roll-ins like jam or honey work best baked into the center just before shaping.
Is this bread gluten-free?
Yes. The basic recipe uses only dairy and eggs, which are gluten-free. Always check cottage cheese labels to ensure no gluten-based additives are included if you have a sensitivity.
How do I bake it and at what temperature?
Typically bake at around 350°F (175°C) until golden and set, usually 20–25 minutes depending on thickness. The loaf should feel firm to the touch and lightly browned on top.
How long does it keep and how should I store it?
Store leftovers in an airtight container at room temperature for a day or two, or refrigerate for up to 4–5 days. It’s best warmed briefly before serving.
Can I freeze the bread?
Yes. Slice and freeze in a sealed bag. Reheat slices in the toaster or a toaster oven for a quick snack or meal.