Introduction / Hook
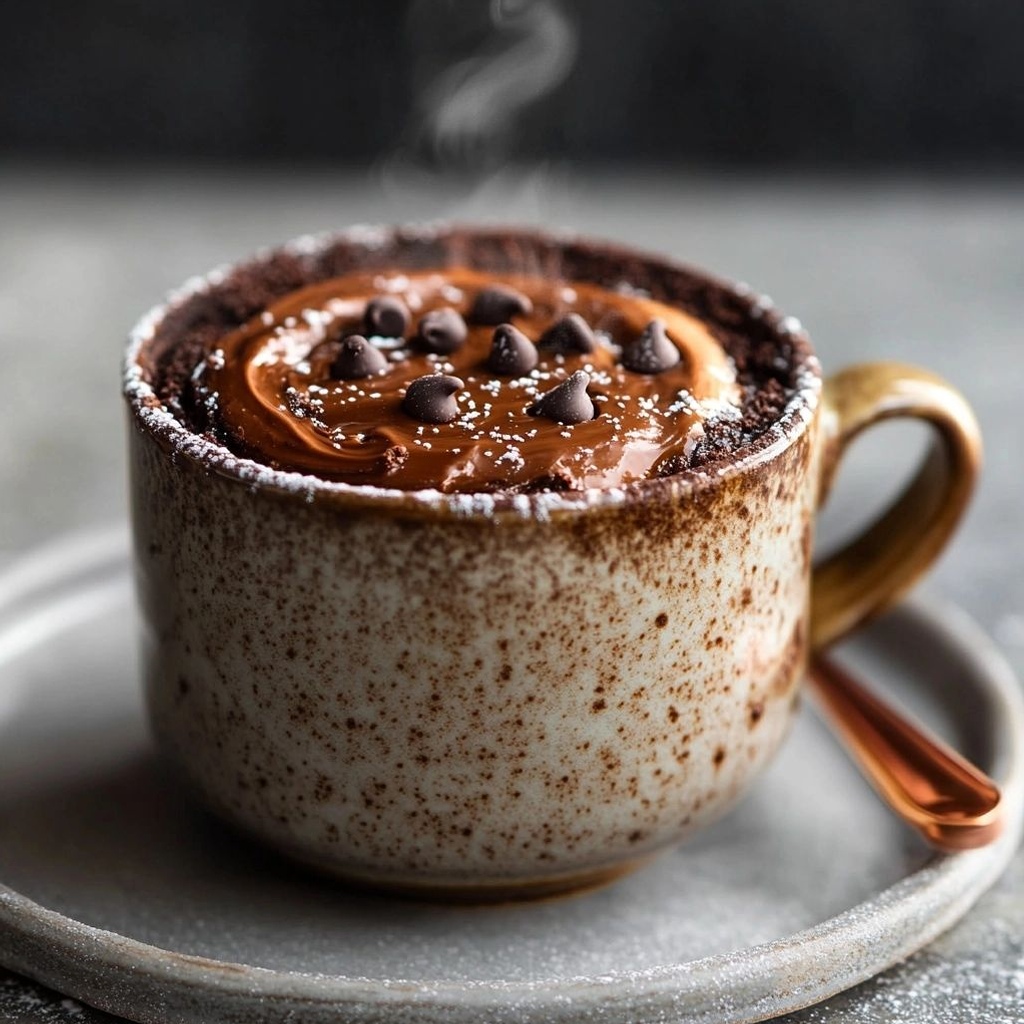
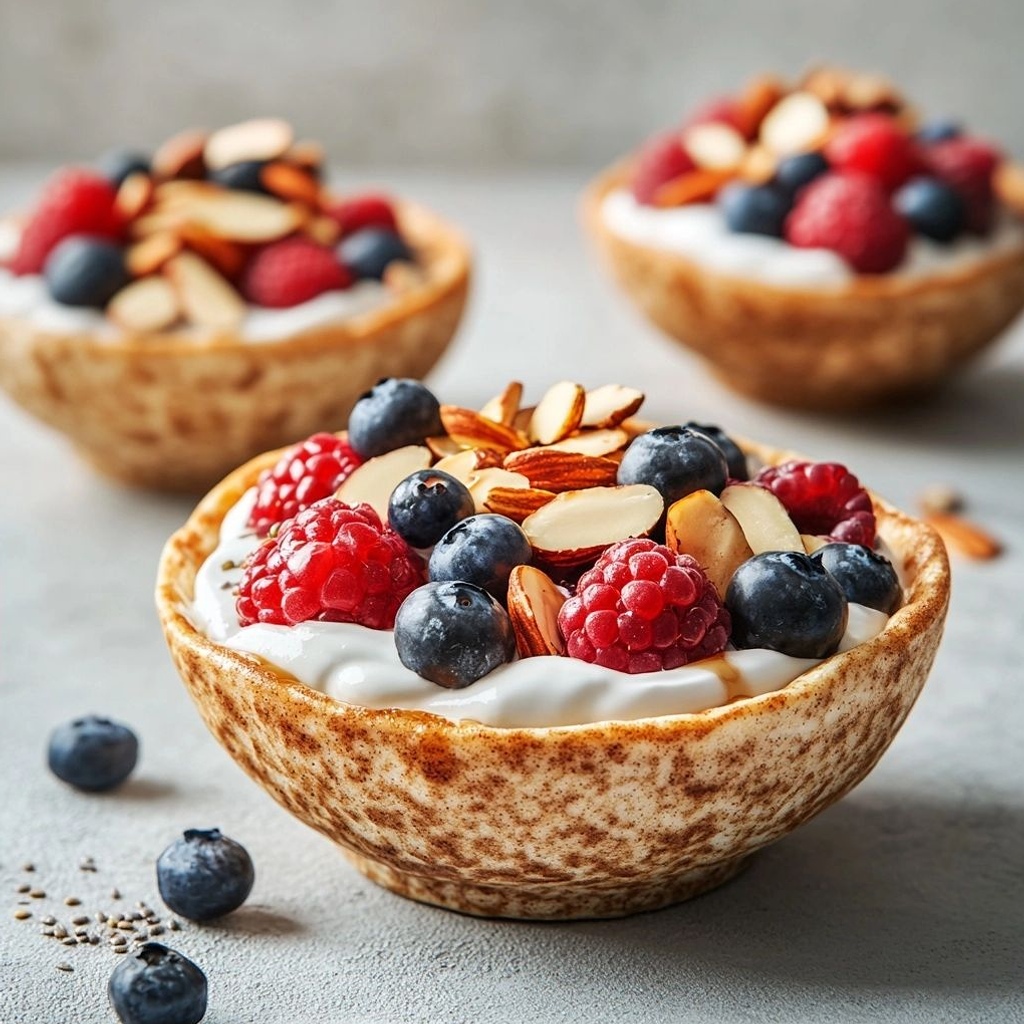
Imagine a bowl that looks and feels indulgent but quietly nods to your healthy goals: a warm, cloud-soft pancake that’s baked rather than fried, packed with protein, and ready in a fraction of the time you’d expect. Welcome to the world of Baked Protein Pancake Bowls. This recipe isn’t merely breakfast; it’s a morning ritual that blends the comforting nostalgia of a stack of pancakes with the modern practicality of meal-prep convenience. The moment you lift the lid of one of these bowls, you’re greeted by a gentle steam that carries the scent of vanilla, a whisper of cinnamon, and the faint caramelized edge that hints at toasty perfection. Each bite delivers a delicate structure—airy yet satisfying—swirling with pockets of melted fruit, a hint of nutty richness, and a protein-forward punch that fuels your day.
What makes these bowls truly special is their adaptability. They are built for mornings when you crave something that feels celebratory but doesn’t derail your plans. They are equally at home on a busy weekday, slid into a lunchbox for a post-workout recovery, or plated as a weekend brunch centerpiece that still respects your time. The batter comes together quickly, and because these pancakes are baked in a dish, you can scale up or down with ease—cook a big pan for the week or bake a small single-serving bowl for today’s breakfast. And there’s a certain joy in the ritual: preheating the oven, whisking to combine, watching the batter puff and set, then slicing through along inviting steam.
The Story Behind the Dish
Pancakes have long held a place of comfort at breakfast tables around the world. They started as simple batter grilled on a hot surface, evolving into stacks drenched in syrup and butter, and eventually into modern interpretations that honor health-conscious goals without sacrificing flavor. The idea of “baked” pancakes is a nod to home baking traditions where warmth, texture, and convenience converge. In many households, baking something that yields consistent portions is a family favorite for meal planning, bringing the sense of a crafted treat to the entire week rather than the single moment of a rushed morning.
Baked Protein Pancake Bowls are a contemporary evolution of this lineage. They honor the comforting sensibilities of a classic pancake—soft interior, a hint of sweetness, and a touch of caramelization at the edges—while infusing them with protein-rich ingredients that make them a fitting option for active lifestyles. The result is a versatile canvas: you can fold in berries that burst with brightness, nuts for crunch and heartiness, or a swirl of nut butter for a luxurious finish. The dish pays homage to culinary traditions of transformation—ordinary breakfast ingredients reimagined through the lens of efficiency and nourishment.
Why You’ll Love This Recipe
- Protein-Packed Start: Each bowl is designed to deliver a balanced amount of protein, helping you feel fuller longer and support steady energy through the morning.
- Make-Ahead Friendly: Bake in large batches, portion, and refrigerate or freeze. Reheat gently for a quick, satisfying breakfast all week.
- Customizable Flavors: The base batter is forgiving. Add your favorite mix-ins—berries, chocolate chips, banana, peanut butter, or a touch of citrus zest—to tailor the bowls to your mood.
- One-Pan Convenience: A single baking dish yields multiple servings, cutting down on cleanup and kitchen time compared to stacking, flipping, and flipping again on the stovetop.
- Balanced Texture: The baked approach creates a soft, pancake-centered interior with a delicate crisp at the edges, reminiscent of a perfectly toasted muffin rather than a soggy stack.
- Kid- and Crowd-Friendly: The portion-controlled bowls are ideal for family breakfasts, brunch gatherings, or feeding a crowd with minimal effort.
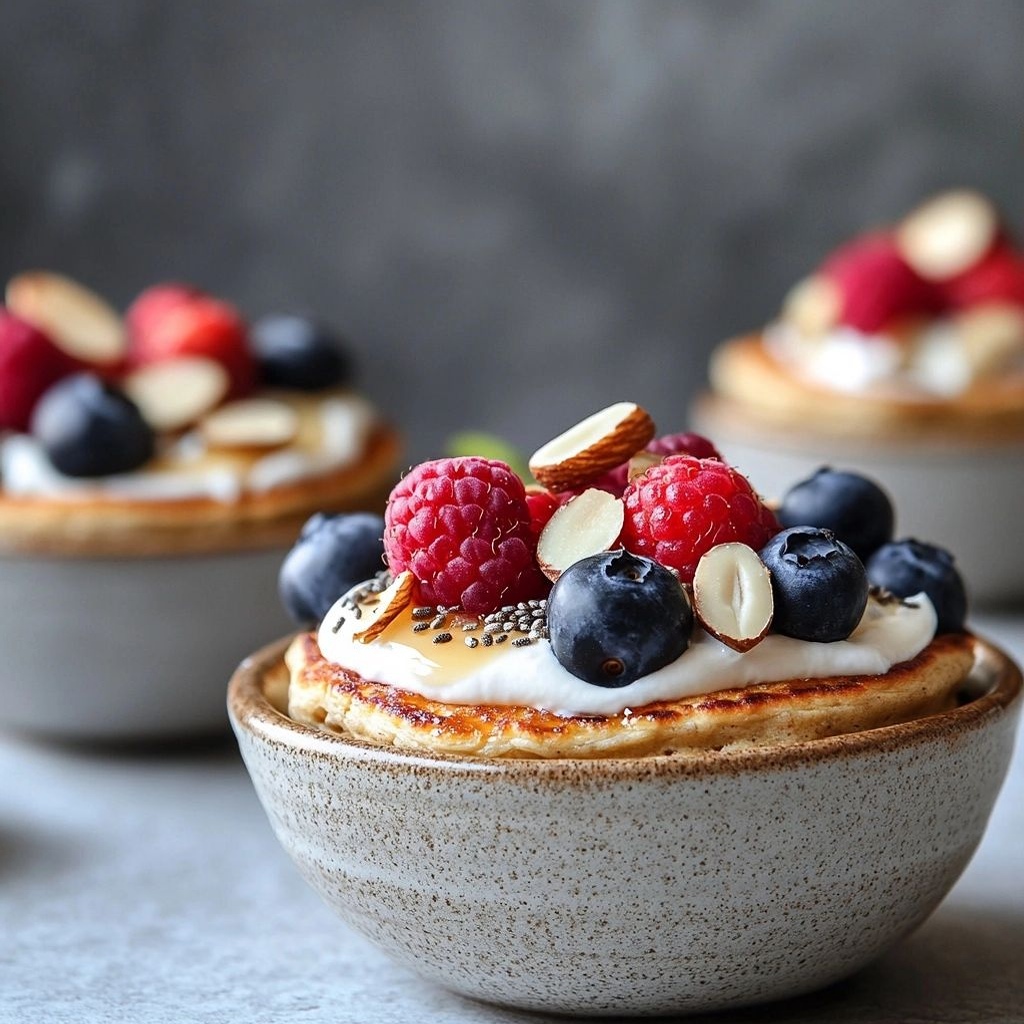
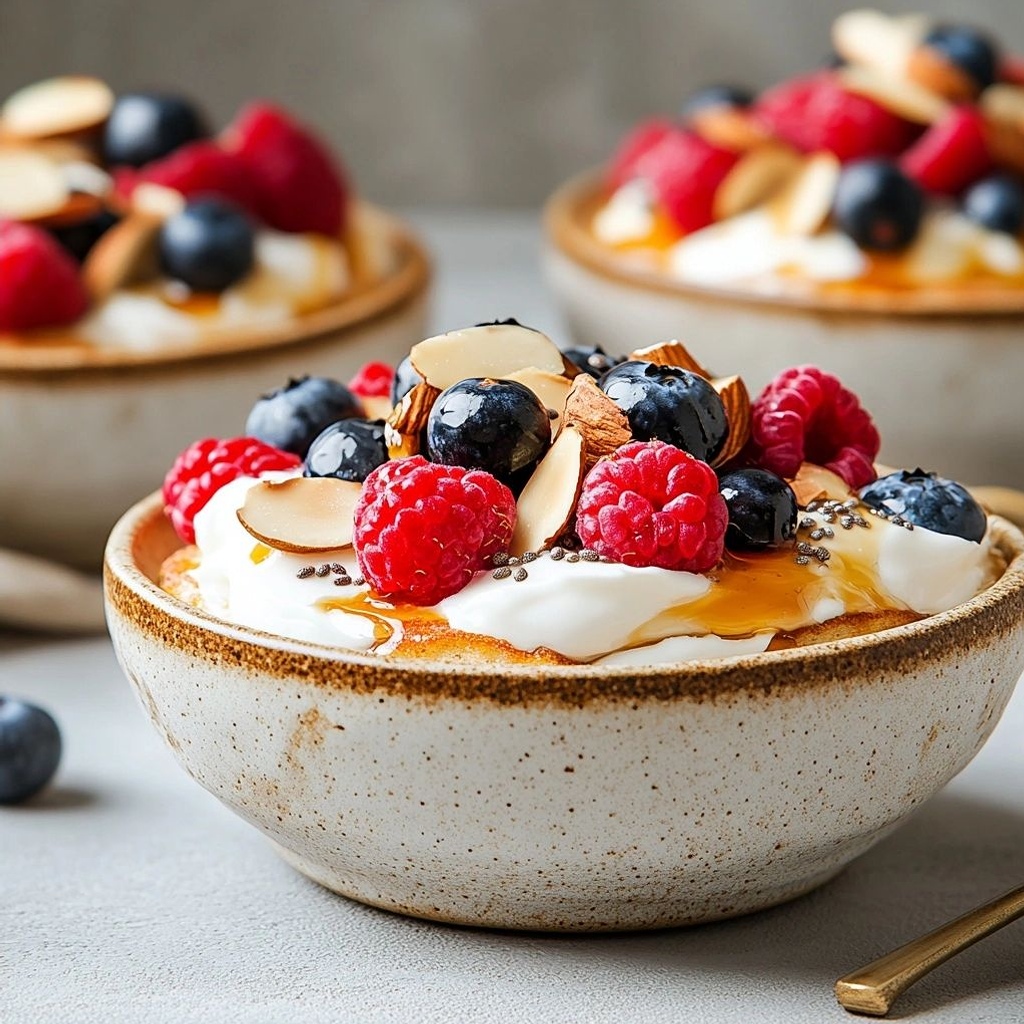
- Versatile Serving Options: Serve warm with fruit, yogurt, honey, or maple glaze. They pair beautifully with café-style toppings while staying within a nourishing framework.
Flavor Profile & Texture
These bowls are a study in balance. The base batter delivers a light, cake-like crumb—soft, fluffy, and cushiony on the palate. Vanilla provides a gentle aroma that wraps around each bite, while a pinch of cinnamon or nutmeg adds warmth without overpowering the delicate sweetness. The interior carries a subtle moisture from dairy or dairy alternatives and, depending on your additions, a light tang if you incorporate yogurt or a splash of lemon zest.
Texture-wise, you’ll notice a contrast that keeps things interesting: an outer rim that crisps ever so slightly in the edges, creating a gentle juxtaposition against the tender center. If you prefer a bit more chew, fold in a small amount of rolled oats or finely milled almond flour. For a creamy accent, swirl in a spoonful of almond butter, peanut butter, or Greek yogurt into the batter before baking. The protein component—often from a whey or plant-based protein powder—adds a pleasant fullness and a faint, almost nutty backdrop that harmonizes with the batter’s sweetness.
Flavor-wise, the bowls welcome a spectrum of accents. Fresh fruit—strawberries, blueberries, raspberries—brightens the dish with natural tartness and juicy bursts that pop when you bite in. Citrus zest, whether orange or lemon, introduces a fragrant acidity that cuts through the richness. A touch of pure maple syrup or honey offers a gentle caramel sweetness that mirrors the toasty notes of the baked surface. For a more indulgent twist, a ribbon of dark chocolate chips or mini chunks of white chocolate can be stirred in, allowing you to experience a dessert-like delight without veering far from a balanced breakfast.
Occasions & Pairings
Baked Protein Pancake Bowls are surprisingly versatile and fit a variety of occasions. They shine on weekend brunch tables, where their warm aroma can welcome guests and spark conversation as the bowls emerge from the oven. They are equally at home for a busy weekday morning, offering a comforting, nourishing option that requires minimal hands-on time. They also make excellent meal-prep for athletes or busy families who want a reliable, protein-forward breakfast that’s ready to heat and eat.
Pairing ideas to elevate the experience:
- Fruit compotes: a simple simmered mix of berries with a touch of lemon juice.
- Greek yogurt or skyr dolloped on top for extra tang and creaminess.
- A drizzle of pure maple syrup, honey, or a dab of almond butter for richness.
- Fresh fruit slices (banana, kiwi, mango) to add brightness and color.
- Crunchy toppings like toasted nuts, granola, or cacao nibs for contrast.
- Pair with a glass of cold brew, a mug of chai tea, or a splash of dairy-free milk for a soothing beverage pairing.
Occasions in Detail
For holiday mornings, these bowls can be dressed with festive berries and a light dusting of powdered sugar, transforming them into a celebratory start without sacrificing practicality. On weeknights, they offer a comforting, nourishing option after a long day, especially when you have a little extra time on the weekend to bake a larger batch that can be portioned and enjoyed later in the week. They also make excellent post-workout breakfasts, where the protein content helps with muscle recovery and the carbohydrates provide the replenishment your body needs.
Tips, Variations & Substitutions
Here are some practical tips to tailor Baked Protein Pancake Bowls to your pantry, dietary preferences, and flavor ambitions.
- Flour and Protein Variants: The base can work with regular all-purpose flour, whole-wheat flour, or a gluten-free blend. If using gluten-free flours, you may want to adjust the liquid slightly to achieve a batter with a pourable but thick consistency. For protein, choose a whey, casein, soy, pea, or mixed plant-based protein powder. Start with the recommended scoop size on your protein powder and adjust for desired texture.
- Dairy Alternatives: Use dairy milk, almond milk, soy milk, oat milk, or coconut milk according to your preference. If you need a dairy-free version, you can also use yogurt alternatives or applesauce to contribute moisture.
- Sweeteners: Adjust sweetness by choosing honey, maple syrup, stevia, or coconut sugar. For a lower-sugar option, rely on the natural sweetness of ripe fruit and a touch of vanilla to carry flavor.
- Fruit Add-ins: Blueberries, sliced bananas, diced peaches, raspberries, or chopped strawberries all work beautifully. For a warm fall twist, fold in diced apples with a pinch of cinnamon and nutmeg.
- Nuts and Seeds: Chopped almonds, walnuts, pecans, chia seeds, or flaxseeds add texture and nutrition. Toast them lightly to heighten their aroma before stirring into the batter.
- Flavor Enhancers: A splash of vanilla extract, almond extract, or citrus zest can dramatically lift the aroma. A pinch of cinnamon, nutmeg, cardamom, or a small amount of ginger can transform the flavor profile for different occasions.
- Vegan & Gluten-Free Versions: Use a vegan protein powder and a dairy-free milk along with a gluten-free flour blend. A binding agent like mashed banana or applesauce helps achieve a cohesive texture in dairy-free versions.
- Low-Carb Spin: Swap in almond flour or oat fiber for a lower-carb version, and reduce sweeteners accordingly. Consider adding additional spices and citrus zest to compensate for the reduced natural sweetness.
- Regional Twists: For a Mediterranean flair, fold in chopped dates, pistachios, and a hint of orange blossom water. For a tropical vibe, add shredded coconut and crushed pineapple, with a lime zest finish.
Storage & Make-Ahead Ideas
One of the biggest advantages of Baked Protein Pancake Bowls is their compatibility with batch cooking strategies. After baking, allow the bowls to cool completely, then store them properly to preserve texture and flavor.
- Refrigeration: Individually portioned bowls can be wrapped or stored in airtight containers in the refrigerator for up to 4–5 days. Reheat gently in the microwave in short intervals, or rewarm in a 325°F (165°C) oven until warm and set again.
- Freezing: Freeze individual portions in airtight containers or freezer-safe bags for up to 2–3 months. To reheat, thaw in the refrigerator overnight and warm in the microwave or oven until hot.
- Make-Ahead Strategy: Bake a larger batch, portion into serving sizes, and keep in the fridge or freezer. In the morning, you can top with fresh fruit and a drizzle of syrup, or heat and then finish with a bright accent like a squeeze of lemon or a sprinkle of zest for a fresh aroma.
- How to Reheat: For the best texture, reheat in the oven at a low temperature (around 300°F / 150°C) until warmed through, or use the microwave in short 15–20 second bursts to avoid drying out the edges.
Fun Facts & Trivia (Optional)
Did you know that the concept of baking batter into a single-serving dish dates back to early home ovens where cooks sought to maximize efficiency and portion control? This approach not only streamlines breakfast service but also reduces the risk of overcooking or undercooking, since the oven does the heavy lifting. Pancakes themselves have a rich history across cultures, with variations that reflect local grains, dairy availability, and culinary traditions. The modern lean toward protein-enriched breakfast foods mirrors a broader appetite for meals that deliver pleasure without compromising nutrition. Baked Protein Pancake Bowls sit squarely at this intersection, offering a bridge between indulgence and nourishment.
Another fun fact: the aroma of vanilla and cinnamon that fills the kitchen when these bowls bake is often as appetizing as the taste itself. Aromas can prime the palate and elevate the perception of sweetness, which means you can enjoy a deeply satisfying breakfast with a naturally balanced flavor profile, potentially reducing the need for heavy syrups or toppings. The bowls’ versatility also makes them a favorite among families with different dietary needs, as everyone can customize their serving with toppings and mix-ins that suit individual preferences.
In closing, Baked Protein Pancake Bowls are more than a recipe; they are a daily invitation to enjoy something comforting, nourishing, and adaptable. They honor the timeless joy of pancakes while embracing the realities of modern life—swift mornings, meal-prep capability, and a protein-forward approach that supports an active lifestyle. Whether you’re cooking for one or feeding a hungry crew, these bowls invite you to start your day with intention, warmth, and a little bit of culinary charm.
Ingredients
Baked Protein Pancake Bowls
Muffin Base
- 1 cup vanilla or unflavored whey or plant-based protein powder
→ Protein powder provides the primary structure and high-protein content for the bowls. Choose a protein powder with minimal sugar and a flavor you enjoy; vanilla blends well with fruit and spices. If using unflavored, you may want to add a touch more vanilla extract or cinnamon to enhance flavor. Ensure powder is well mixed to avoid clumps; sift if needed for a smoother batter. - 1 cup rolled oats, blended into a coarse flour (quick or old-fashioned)
→ Blending the oats into flour helps mimic pancake batter texture while adding whole grains and fiber. For a smoother texture, blend until very fine; for a heartier bite, stop at a slightly coarse consistency. If gluten-free is required, ensure oats are certified gluten-free. - 1 cup milk of choice (dairy or plant-based)
→ Milk adds moisture, creaminess, and helps activate baking powder. Adjust quantity slightly if your protein powder is very absorbent. For thicker bowls, use less milk; for looser batter, add a splash more. If using unsweetened milk, consider a touch of sweetener in the next ingredient. - 2 large eggs or 2 flax eggs (for gluten-free/vegan option)
→ Eggs provide structure, leavening, and moisture. If using flax eggs, mix 2 tablespoons ground flaxseed meal with 6 tablespoons water per egg and let thicken 5–10 minutes before adding. This substitution helps with binding when avoiding animal products. - 1/2 cup Greek yogurt or dairy-free yogurt (unsweetened)
→ Yogurt adds moisture, tenderness, and a slight tang that complements berries and vanilla. If dairy-free, choose a yogurt with live cultures for added protein and creaminess. For a thicker bowl, use full-fat yogurt; for lighter bowls, use low-fat or non-fat options. - 1 teaspoon baking powder
→ Baking powder aerates the batter to create light, fluffy pancake bowls. Ensure it is fresh for reliable rise; avoid using expired powder as it can lead to dense results. If you’re using a higher-protein powder, you may need a touch more leavening to counteract density. - 1/2 teaspoon ground cinnamon
→ Cinnamon adds warmth and depth, complementing vanilla and fruit. Freshly grind if possible for a stronger aroma. If you’re sensitive to spice, you can reduce to 1/4 teaspoon or omit. - Pinch of salt
→ Salt enhances sweetness and modulates flavors, helping to balance the batter. If using salted yogurt, reduce this slightly to prevent oversalting. A tiny pinch is sufficient in most batches.
Optional Add-ins
- 1/2 cup fresh or frozen blueberries
→ Blueberries provide bursts of juiciness and sweetness without added sugar. If using frozen berries, do not thaw completely; fold them in gently to avoid color bleeding and to maintain a nice marble effect in the bowls. Coating berries lightly in a teaspoon of flour can reduce sinking to the bottom. - 1/4 cup mini chocolate chips or dark chocolate chips
→ Chocolate chips add pockets of sweetness and a pleasant contrast to the tangy yogurt. Use mini chips to distribute evenly; fold in at the end to prevent melting into the batter. For a lower-sugar option, use a small amount or opt for sugar-free chips. - 1/4 cup chopped nuts (walnuts, almonds, or pecans)
→ Nuts add crunch, healthy fats, and protein. Toast the nuts lightly in a dry skillet for extra aroma before folding in. If you have a nut allergy, omit or substitute with pumpkin seeds for crunch. - 1 tablespoon chia seeds or ground flaxseed (for extra fiber and binding)
→ Adds omega-3 fatty acids and helps with moisture retention. If using whole chia seeds, you’ll get a slight gel texture; for smoother batter, grind the seeds first. Increase liquid slightly if you add seeds that absorb moisture.
Toppings
- 2–4 tablespoons pure maple syrup or honey (to serve)
→ Sweeteners for serving; choose pure maple syrup for a refined flavor or honey for a floral sweetness. Drizzle after cooking to control sweetness and avoid soggy bowls. If you prefer a healthier option, pair with fresh fruit and a light dusting of cinnamon. - Fresh fruit slices (banana, strawberry, kiwi, or berries)
→ Fresh fruit adds brightness, moisture, and natural sweetness with vibrant color. Slice fruits just before serving to prevent browning for apples/pears. Layer on top or serve on the side for customization. - A dollop of yogurt or dairy-free yogurt (optional)
→ Extra dairy or non-dairy creaminess to top the bowls, plus a tangy balance to the sweet toppings. If using dairy-free yogurt, choose a thicker variety to hold shape better as a topping.
Instructions
- Preheat your oven to 350°F (175°C) and generously grease a 12-c cup muffin tin with nonstick spray or line with paper liners; this ensures the bowls release cleanly after baking and prevents sticking.
→ A stable, nonstick surface makes unmolding easy and preserves the shape of each pancake bowl for neat servings. - Place the rolled oats in a blender and pulse until they resemble a coarse flour; this creates the batter’s structure while keeping some texture; sift if you want an ultra-smooth consistency.
→ Flour-like oats integrate into the batter evenly, avoiding gritty pockets and ensuring even rising. - In a large bowl, whisk together the protein powder, oat flour, baking powder, ground cinnamon, and a pinch of salt to create a uniform dry mix; this distributes leavening and spices so the bowls rise evenly.
→ Even distribution prevents streaks of baking powder or uneven flavor in individual bowls. - In a separate bowl, whisk the eggs (or flax eggs) with the milk and yogurt until completely smooth; this hydrates the dry ingredients and creates a cohesive batter.
→ Proper emulsification prevents lumps and yields a tender crumb with better moisture distribution. - Add the wet mixture to the dry ingredients in two parts, stirring gently with a spatula until just combined; do not overmix to avoid dense bowls, and scrape down the sides as needed.
→ Minimal mixing develops a tender structure, while overmixing can tighten the batter and create a tougher texture. - Fold in the optional add-ins (blueberries, chocolate chips, nuts, and/or chia seeds) so they are evenly distributed without overworking the batter; keep chips toward the center to prevent sinking.
→ Even distribution ensures each bowl has a balanced bite and prevents clusters of add-ins from overshadowing the batter. - Spoon the batter evenly into the prepared muffin cups, filling each about three-quarters full to allow space for a gentle rise; this prevents overflow and ensures uniform cooking.
→ If cups are too full, batter can spill and bake unevenly, while underfilling can yield dense, flat bottoms. - Lightly tap the filled tin on the counter a few times to expel air pockets and create a smooth, level surface on the top of each bowl; this improves evenness of bake and the final appearance.
→ Bursts of air can cause uneven texture; tapping encourages a consistent crumb and loaf-like shape. - Bake in the preheated oven for 16–20 minutes, or until the tops are set, a toothpick inserted into the center comes out clean or with a few dry crumbs, and the edges are golden; this confirms proper doneness without drying out the centers.
→ Timed checks prevent underbaking, which leaves a gummy center, or overbaking, which dries the bowls. - Remove the muffin tin from the oven and allow the bowls to rest in the pan for 5 minutes, then transfer to a wire rack to cool completely; this stabilizes the structure and makes handling easier.
→ Resting prevents collapsing from steam and helps the exterior set for a neat presentation. - While the bowls cool, prepare toppings by arranging fresh fruit slices and optional yogurt in small bowls for guests to customize; this enhances flavor and adds color for a visually appealing plate.
→ Accessible toppings encourage balanced portions and allow personal preference without altering the base recipe. - Once cooled, store any leftovers in an airtight container in the refrigerator for up to 3 days or freeze individual bowls for longer storage; reheat gently in a toaster oven or microwave before serving to restore softness.
→ Proper storage preserves moisture and flavor, and gentle reheating prevents drying out or rubbery textures. - To serve, top each bowl with a drizzle of maple syrup or honey, a few fresh fruit slices, and a dollop of yogurt if desired; this creates a complete, balanced meal with protein, carbohydrates, and fat.
→ Toppings add sweetness, acidity, and creaminess to contrast the mild, protein-forward base, elevating the dish to a breakfast-worthy bowl.
Notes
These baked protein pancake bowls are a hearty, high-protein breakfast option that come together with simple pantry staples and flexible add-ins. The batter uses a blend of protein powder, oats ground into flour, and yogurt for moisture and tenderness, then bakes into convenient bowls you can portion for the week.
You can customize the flavor profile by choosing vanilla or unflavored protein powder and adding cinnamon for warmth. If you prefer a lighter texture, use a bit less milk; for extra creaminess, opt for full-fat yogurt and a touch more yogurt in the mix. If you’re vegan or dairy-free, substitute flax eggs and dairy-free yogurt, and select a plant-based milk you enjoy.
To keep the bowls wholesome, choose a protein powder with minimal added sugar and ensure your oats are certified gluten-free if you have gluten intolerance. The 1 teaspoon baking powder is key for a soft, pancake-like rise, so make sure it’s fresh for best results.
For mix-ins, blueberries, chopped nuts, or a sprinkle of chia or ground flaxseed boost fiber and texture. If using frozen berries, fold them in gently to maintain a marbled look and prevent over-sinking. Chocolate chips add pockets of sweetness, but you can omit them or use sugar-free chips for a lighter option.
Serve warm with a drizzle of pure maple syrup or honey, a dollop of yogurt, and fresh fruit for a balanced breakfast with natural sweetness. These bowls freeze well—simply reheat in the microwave or a quick 350°F oven until warm, making them an excellent grab-and-go solution for busy mornings.
Storage tip: once baked, cool completely and refrigerate in an airtight container for up to 4 days or freeze individual portions for up to 2–3 months. Reheat covered with a splash of milk to restore creaminess.
Tips
General batter tips
- Whisk the dry ingredients (protein powder, oats, baking powder, cinnamon, and salt) together separately from the wet ingredients to avoid clumps and ensure even distribution.
- Sift the protein powder if it tends to clump, then gradually whisk in the milk and yogurt to create a smooth, lump-free batter.
- Let the batter rest for 5–10 minutes after mixing. This allows the oats to hydrate and the mixture to thicken slightly, resulting in tender bowls.
Texture and consistency
- Adjust milk by small increments: a thicker batter yields denser bowls, while a thinner batter produces lighter, fluffier results. If using a very absorbent protein powder, add a splash more milk or yogurt.
- For a lighter texture, beat the eggs well or use one extra egg white per batch; for vegan options, flax eggs will provide binding with a slightly chewier crumb.
- If you notice sinking of mix-ins (berries, chocolate chips), toss them with a teaspoon of flour or fold them in right before the batter hits the pan to help suspension.
Flavor boosters
- Enhance vanilla by adding a touch of almond extract (1/4 teaspoon) or a pinch of meringue powder for a lighter, airy crumb.
- Replace some milk with yogurt for extra tang and tenderness; dairy-free yogurts with live cultures work well too.
- If you like spice, a pinch of nutmeg or ginger can add warmth that complements berries and maple syrup.
Baking and cooking tips
- Grease or line muffin cups well to prevent sticking. Silicone muffin cups reduce sticking but may require longer bake times.
- Bake at a moderate temperature (350°F/175°C) until the centers are set and edges are lightly golden, about 18–22 minutes depending on your pan and batter thickness.
- To check doneness, insert a toothpick into the center; it should come out clean or with a few moist crumbs.
Mix-ins and toppings
- Toast nuts lightly in a dry pan before folding in for extra aroma and crunch.
- Fresh berries hold their shape better if folded in at the end rather than at the start; frozen berries should be added still icy to prevent color bleed.
- Drizzle maple syrup or honey after baking to control sweetness and keep the tops from becoming soggy.
Make-ahead and storage
- Prepare the batter the night before and refrigerate; give it a quick stir before portioning into bowls the next day.
- Store baked bowls in an airtight container in the fridge for up to 3 days; reheat in the microwave in 15–20 second bursts or in a 350°F/175°C oven for a few minutes.
- Freeze baked bowls for longer storage; reheat from frozen, covered, in a 350°F/175°C oven until warm.
Serving variations
- Swap Greek yogurt for a dairy-free yogurt with higher protein content to maintain creaminess.
- Top with sliced banana and a sprinkle of chia seeds for extra fiber and texture.
- For a chocolatey version, increase cocoa-free protein or add a tablespoon of cocoa powder to the batter and pair with berries.
FAQ
What are Baked Protein Pancake Bowls?
They are a high-protein, fluffy breakfast snack built from pancake batter baked in a muffin-tin or baking dish, often topped with fruits, nuts, or yogurt for extra protein and flavor.
What ingredients do I need?
Common ingredients include almond flour or oats, protein powder, eggs or liquid eggs, milk (dairy or non-dairy), a touch of sweetener (like maple syrup or honey), baking powder, vanilla extract, and optional mix-ins such as blueberries, banana slices, chocolate chips, or cinnamon.
Can I use regular pancakes batter instead of protein powder?
Yes, you can. If using regular pancake batter, you may want to adjust the amount of flour or add a little extra protein powder to keep the texture dense and protein-rich. Monitor batter consistency to avoid it being too runny or too thick.
How do I bake them and what’s the cooking time?
Pour batter into a greased muffin tin or a small baking dish. Bake at 350°F (175°C) for about 18–22 minutes, or until the tops are set and a toothpick comes out clean. Times may vary based on pan size and oven.
What energy and macronutrient content can I expect?
Nutrition varies by ingredients and portion size, but a single bowl typically provides a good amount of protein (from eggs and protein powder), moderate carbohydrates, and healthy fats from nuts or seeds. For precise values, calculate using your exact ingredients and serving size.
How can I customize with flavors or add-ins?
Try blueberries, sliced bananas, raspberries, chocolate chips, peanut butter swirls, cinnamon, or vanilla. Swirl a little yogurt into the batter before baking for a creamy layer. You can also fold in chopped nuts for crunch.
Are these suitable for meal prep?
Yes. Bake a batch, portion into containers, and refrigerate for up to 4 days or freeze for up to 2–3 months. Reheat in the microwave or oven. They make quick, protein-rich breakfasts or snacks.
What equipment do I need?
Essential: a mixing bowl, whisk or spoon, and a muffin tin or small baking dish. Optional: silicone muffin cups for easy removal, a pastry brush to oil the pan, and a kitchen scale for precise measurement.
Are there common substitutions for dietary restrictions?
Yes. Use plant-based protein powder or extra eggs with a splash of dairy-free milk for dairy-free versions. Use almond or coconut flour in place of regular flour, and ensure baking powder is gluten-free if needed. Switch sweeteners as desired (applesauce, mashed banana, or maple syrup).