Introduction / Hook
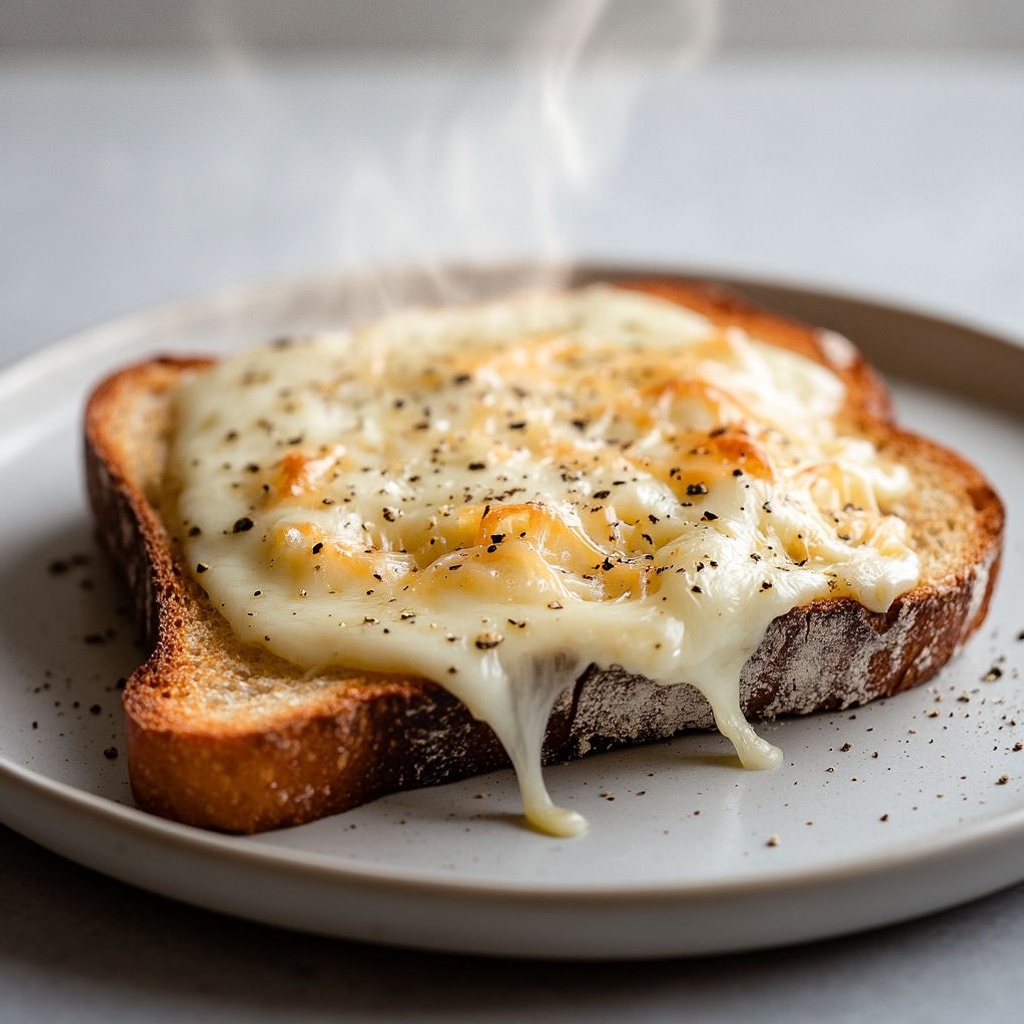
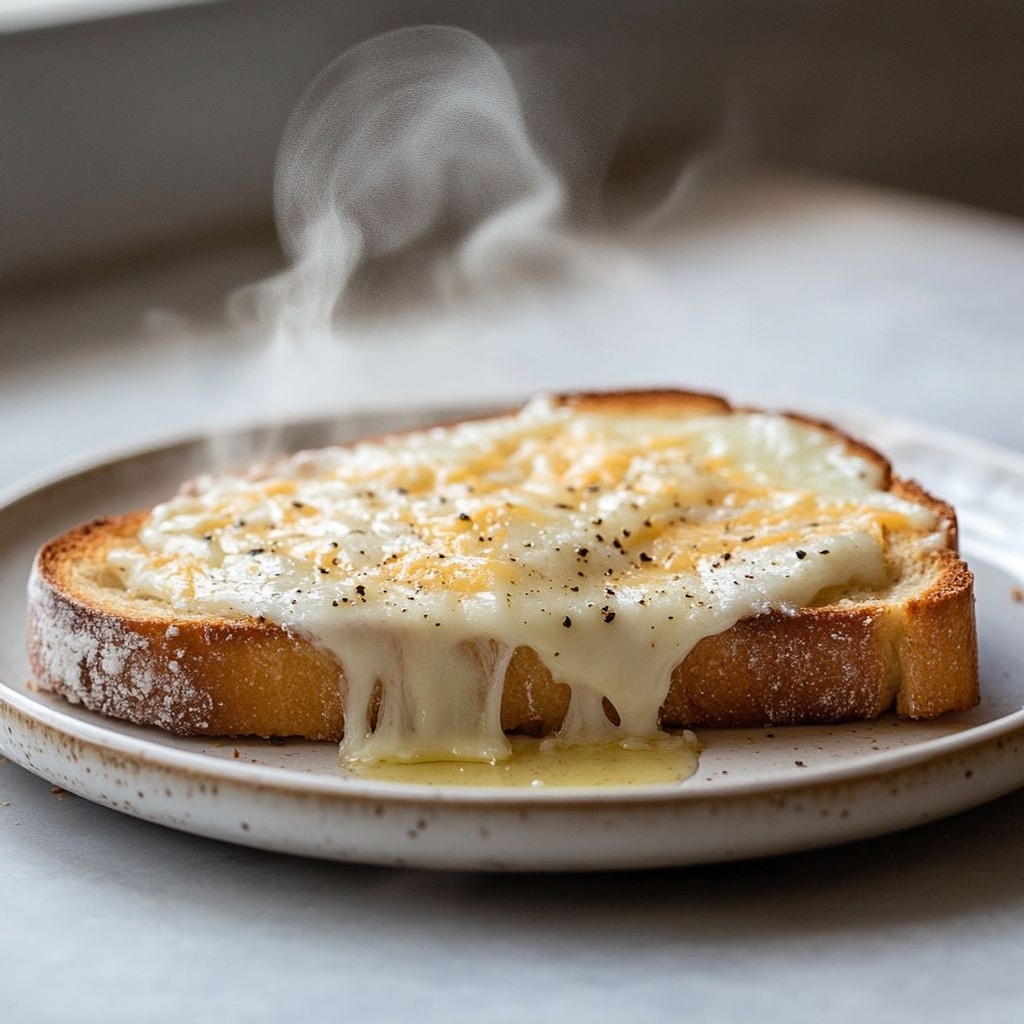
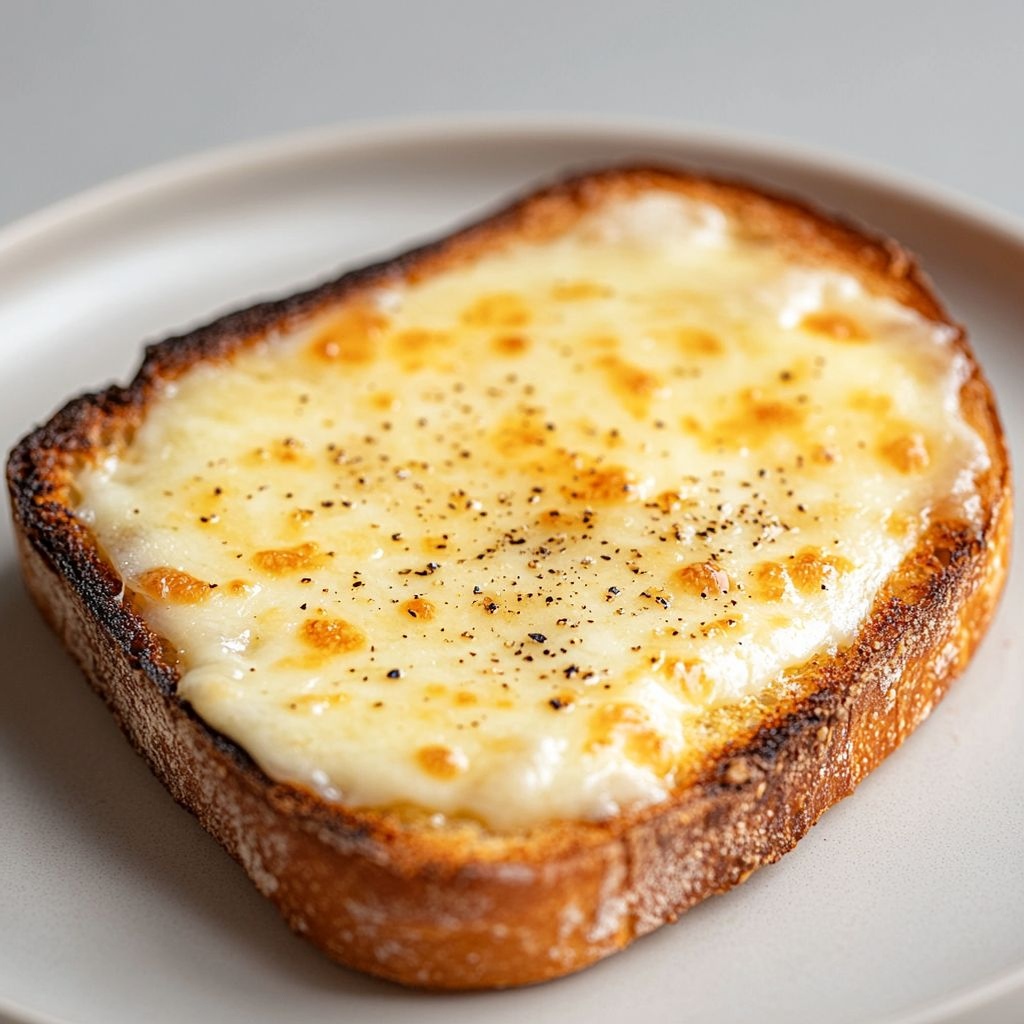
Picture a slice of bread that has learned the art of alchemy: the moment it meets heat, the edges brown to a golden crisp while the center remains soft and stubbornly chewy, a molten crown of cheese bubbling and curling at the sides. The aroma is a warm invitation—nutty, toasty, almost caramel-scented, with a whisper of melted dairy that makes the room feel cozier than a sweater on a chilly morning. Crisp crust, gooey, stringy cheese, and a kiss of butter or olive oil—this is crispy cheese toast, the small dish with big mood. It’s the kind of snack that feels indulgent without demanding a long list of ingredients, a simple pleasure you can whip up in minutes and savor with the satisfaction of a chef who has just unlocked a comforting secret. It’s rustic, it’s versatile, and it’s taught by memory to governments of home cooks who want something that tastes like a hug but behaves like an efficient workhorse in a busy kitchen.
Crispy cheese toast is more than just bread with melted cheese—it’s a celebration of contrast. The first bite introduces a delicate crunch that gives way to a soft, warm center where cheese pools and threads in delight. The flavors are straightforward, but the texture is generous enough to feel like a treat, even when you’ve had a long day. It’s a dish that invites experimentation—swap in a different cheese, add herbs, a dash of chili, or a splash of mustard for a tangy kick—yet remains unmistakably simple at its core. If you’ve ever stood by a hot grill watching a single slice transform into something irresistible, you know the exact moment this recipe is speaking to you: you matter, comfort matters, and speed can be a virtue in the kitchen without sacrificing depth of flavor.
In many ways, crispy cheese toast is a modern heirloom. It belongs to the family of quick, comforting foods that travel well, scale to feed a crowd, and transform with just a few thoughtful tweaks. It’s the kind of dish you’ll reach for in the morning when you want a breakfast that feels like a treat, at a lunch break when you crave something satisfying but not heavy, or in the evening when you’re curled into the couch with a movie and a plate of something that sparkles with melted goodness. It’s dating with its own sense of nostalgia—every bite a memory of kitchen windows glimmering with sunshine, of late-night shrieks from a sizzling skillet, of the first slice of bread toasted to a perfect amber. And yet it remains unpretentious: bread, cheese, a touch of fat to encourage browning, a heat source, and a little patience as the cheese softens and the crust crisps. That’s all there is to it, and that’s what makes crispy cheese toast so endlessly reversible and endlessly lovable.
The Story Behind the Dish
Every culture has its own version of bread plus something melty and comforting. The concept of toasting bread and layering it with cheese is ancient in spirit—an efficient way to stretch simple ingredients into something satisfying. In Britain and Ireland, toad-in-the-hole for savory breakfasts and, later, cheese on toast became a beloved fixture of cafés and homes alike. The urban legend and practical truth converge in late-night kitchens and student flats, where a toaster or grill can conjure up weeknight miracles with little more than bread, cheese, and a dash of salt. In France, the grilled cheese has a glamorous cousin in the croque monsieur, where bread is enriched with creamy béchamel and a crown of cheese that melts into a molten finish. The joy of cheese on toast, in its most unadorned form, is its democratizing power: a humble loaf, a humble wedge of cheese, and heat that turns them into something worth stopping for, even if only for a few minutes.
Over the decades, cooks around the world have riffed on this idea, turning it into comfort food that travels with you: in the morning on a crowded commuter train, in the afternoon as a quick snack between meetings, or as a family-friendly addition to a weekend brunch. The technique evolves—better bread, bolder cheeses, a skillet instead of a toaster, a broiler’s hot kiss, or a dash of olive oil to help crisp edges—and yet the essence remains the same: a simple thing done with care that yields a reward you can taste in the first bite and remember long after the plate is empty.
There is also a story to be told about the humble ingredients and how they invite creativity. Bread acts as a canvas, a vehicle for toasty goodness; cheese provides flavor, texture, and that irresistible pull when it stretches. The simplest variations—grated cheddar with a pinch of paprika, or a combination of Gruyère and mozzarella for depth and melt—echo the culinary truth that good food often comes from balancing heat, texture, and a touch of salt. In many households, crispy cheese toast has evolved into a personal signature: the kind of dish your family claims as their own, built from a pantry of favorites and tuned to the vibes of the day. This dish invites stories, too—from the moment you first laid eyes on a slice browning in a pan to the shared memory of dipping a warm, cheese-kissed piece into a bowl of soup or a dab of mustard, mayonnaise, or pickled relish. It’s a small stage for big flavor, and a reminder that sometimes the simplest foods hold the most meaning.
Why You’ll Love This Recipe
- Speed and ease: a few minutes are all you need to transform plain bread into a crave-worthy snack or meal.
- Versatility: endless cheese combinations and flavor additions let you tailor it to your mood, season, or dietary needs.
- Crowd-pleasing comfort: universally appealing, it satisfies with a satisfying crunch and a melty centerpiece.
- Minimal ingredients, maximum satisfaction: you can create something luxurious with just bread, cheese, and a little fat for browning.
- Perfect for all meals: breakfast, lunch, dinner, or a snack, it pairs beautifully with soups, salads, or a crisp pickle on the side.
- Kid-friendly and adult-approved: simple enough for kids to enjoy, with room for grown-up upgrade ideas for adults.
- Make-ahead and meal-prep friendly: you can prepare components in advance and finish with a quick heat-up when hunger strikes.
- Texture mastery: the contrast between the crisp, browned exterior and the creamy melt inside creates a memorable eating experience.
- Budget-friendly luxury: elevates everyday ingredients without breaking the bank, offering restaurant-like satisfaction at home.
Flavor Profile & Texture
The flavor profile of crispy cheese toast is elegantly simple yet deeply satisfying. The bread provides a toasty, slightly caramelized foundation, its flavor concentrated by the heat and the natural sugars in the crust. Cheese contributes a symphony of savory, salty notes, with fat and proteins melting into a velvet pool that stretches and clings with each bite. Depending on your choice of cheese, you can evoke nuttiness, sharp tang, creamy mildness, or a robust, almost umami-rich bite. A well-chosen cheese will offer a balance between melt and flavor intensity, so that even when the cheese is gooey and luxurious, the bread’s character remains audible and not overpowered.
The texture story is where this dish shines. The exterior crackles in the most satisfying way—edges browning to a crisp amber, a light crackle heard as you bite through. The interior stays tender, almost pillowy, inviting you to sink your teeth in and enjoy the melt as cheese threads pull away in playful strands. The tempo of the bite is a dance: first the crisp, then the creamy melt, with a faintly salty finish that lingers pleasantly on the palate. If you add a dash of pepper, paprika, garlic powder, or chili flakes, you invite aroma and heat to flirt with the cheese’s natural richness, creating a layered sensory experience that lingers long after the plate is empty.
A note on balance: you don’t want the cheese to overwhelm the bread. The best crispy cheese toast achieves harmony where the crust’s texture and the cheese’s melt interact as partners, not opponents. A little butter or olive oil helps fat carry flavor and improve browning, but you can also keep it lighter with a touch of olive oil and a sprinkle of sea salt to finish. The result is a toasty, cheesy bite that is indulgent but approachable, decadent without being heavy, and always ready to be shared, whether with a friend over coffee or with family during a lively brunch.
Occasions & Pairings
Crispy cheese toast is the chameleon of the snack world, equally at home as a quick breakfast, a comforting lunch, or a cozy dinner side. Here are some occasions and pairing ideas to inspire your menu:
- Brunch star: serve alongside a fresh green salad, a bowl of tomato soup, or a small platter of cured meats and pickles for a balanced spread that feels indulgent yet effortless.
- Weeknight comfort: pair with a simple soup (like leek and potato or tomato-basil) or a bright, crisp side salad to add contrast.
- Party-friendly bites: cut into smaller triangles or squares and serve with a trio of dips—spicy mayo, garlic butter, or a tangy salsa.
- Kids’ lunch or after-school snack: customize with milder cheeses and a sprinkle of mild paprika or oregano for color and scent.
- Pairings: tomato soup, roasted tomato salad, lightly dressed greens, a side of pickles or lightly salted olives, a bright vinaigrette, and a crisp sparkling beverage or a light beer to cut through the richness.
- Seasonal twists: during colder months, add a pinch of nutmeg or cinnamon to cheese blends for a comforting warmth; in warmer months, keep it light with mozzarella and fresh basil for an Italian-inspired twist.
Tips, Variations & Substitutions
Cheese choices
The cheese is the heart of this dish. For a classic, consider a sharp cheddar blended with mozzarella for melt and bite. Gruyère or Fontina add a nutty, creamy depth, while Swiss provides moisture and a gentle sweetness. If you want a more robust flavor, try aged cheddar or a bit of Parmigiano-Reggiano grated on top for a salty, savory boost. A combination of cheeses often yields the best melt and flavor balance: a silky, melty core with a sharper edge on the crust.
Dietary tweaks
- Vegan: use a dairy-free cheese blend with a touch of nutritional yeast for savoriness; finish with a drizzle of olive oil for shine.
- Gluten-free: substitute gluten-free bread; the technique stays the same with a calm skillet or toaster oven finish to ensure a crisp crust.
- Low-fat: use a lighter cheese blend and a thinner spread of butter or oil—focus on a hot surface to drive browning while keeping the fat content modest.
Flavor additions
- Herbs: add minced thyme, chives, or parsley for fresh brightness after the toast comes off the heat.
- Spice: a pinch of chili flakes, smoked paprika, or garlic powder elevates the cheese with a gentle heat.
- Umami boosters: a whisper of miso butter or a drizzle of truffle oil after toasting can transform the dish’s depth.
- Texture twists: top with a few toasted pine nuts or sesame seeds for a subtle crunch and aroma.
- Regional riffs: Italian-inspired with mozzarella and basil; French-inspired with Gruyère and a touch of Dijon; Mexican-inspired with a sprinkle of cotija and cilantro.
Cooking methods
You can achieve crispy perfection in several ways. A skillet on medium heat allows precise browning and easy control, especially if your cheese melts quickly. A broiler or toaster oven can toast evenly and create an extra-crisp top. A grill pan adds char lines and a smoky edge. Each method has its charm, so choose based on what you have on hand and how you want the final texture to feel in your mouth.
Flavor balance tips
Salt balances the cheese’s natural saltiness and enhances flavor. If you’re using a very salty cheese, you may want to cut back a touch on added salt or omit it entirely until you taste. A light brush of olive oil around the edges can promote browning without making the slice greasy. If you’re layering multiple cheeses, consider a high-mloat cheese for thickness and a sharper cheese for bite to maintain a pleasing contrast.
Storage & Make-Ahead Ideas
While crispy cheese toast is best enjoyed fresh, you can plan ahead to enjoy it later in the day or the next day. Here are practical ideas to maximize its convenience without sacrificing texture or flavor:
- Make-ahead components: slice your bread to the desired thickness and store it in an airtight bag. Grate or slice cheeses and keep them refrigerated until ready to assemble. You can also pre-season with herbs or spices for a quick finish.
- Storing leftovers: if you have leftover toast, store it in an air-tight container for up to 1 day. Reheat in a hot skillet or in a 350°F (175°C) oven for a few minutes until the crust recrisps and the cheese softens again.
- Freezing ideas: freeze plain, pre-toasted bread slices for future use. Add cheese after thawing, then finish in the oven to melt and crisp. The texture may be slightly different, but the flavor remains satisfying.
- Reheating tips: rewarm in a dry skillet over medium-high heat to re-crisp the edges, then top with a quick melt of cheese or a sprinkle of grated cheese to refresh the surface.
Fun Facts & Trivia (Optional)
- Short history, long love: The idea of toasted bread with cheese spans centuries and continents, evolving from practical sustenance to comfort food icon.
- Cheese alchemy: The best melted cheese must balance fat, moisture, and proteins to avoid oiliness or dryness—this is why a blend is often preferred over a single cheese.
- Texture science: Browned crusts are not just about flavor—they create a diffusion of flavors as the surface cells caramelize, intensifying aroma and mouthfeel.
- Global twists: Each region’s version of cheese toast reflects local ingredients—Italian-inspired blends with basil and mozzarella; French-inspired with Gruyère and a touch of Dijon; American-style with sharp cheddar and a hint of paprika.
Ingredients
Crispy Cheese Toast Base
-
– 2 slices crusty bread (such as sourdough or rustic white), about 1/2 inch thick
→ Bread forms the foundation of the toast and must stand up to the cheese and browning without becoming soggy. Choosing a sturdy loaf helps achieve a crisp exterior while still delivering a soft, chewy crumb inside. If your bread is very fresh, toasting it lightly first or letting it dry out for a few hours will yield a crisper result.
– 2 tablespoons unsalted butter, melted (or 1 tablespoon extra-virgin olive oil as alternative)
→ Fat is essential for crisping the surface and adding rich flavor. Melted butter provides a toasty, creamy note and helps the cheese adhere, while olive oil yields a crisper edge and is dairy-free. If using butter, brush lightly to avoid soggy spots; if using oil, distribute evenly across both bread sides for uniform browning.
Cheese Layer
-
– 1 cup shredded cheese (a melty blend such as cheddar + mozzarella, or Gruyère)
→ The cheese melt creates the gooey layer that binds the toast during toasting. A mix of cheddar and mozzarella gives good flavor and stretch, while Gruyère or fontina adds depth and a creamy finish. Shred cheese freshly for best melt; pre-shredded varieties often contain anti-caking agents that can hinder melting and texture.
Seasonings and Aromatics
-
– 1 small garlic clove, minced (optional)
→ Garlic introduces an aromatic sharpness that complements the cheese. If you prefer a milder profile, omit or rub the bread with the cut garlic before topping. Mince finely so it distributes evenly and doesn’t burn under high heat; you can also press the garlic into the cheese for a stronger infusion.
– Pinch of fine salt, to taste
→ Salt elevates the cheese flavor and balances richness. Cheese can vary in saltiness, so start with a small pinch and adjust after the cheese melts. If using a particularly salty cheese, you may need little to no additional salt.
– 1/4 teaspoon freshly ground black pepper
→ Pepper adds a subtle kick that complements the melt. Distribute evenly either into the cheese mixture or scattered on top before toasting; adjust to your heat preference or omit if you prefer a milder flavor.
– Pinch of red pepper flakes (optional)
→ A light touch of heat brightens the dish and pairs nicely with melted cheese. Start with 1/8 teaspoon and increase to taste. The flakes also contribute a bit of color and a gentle kick without overpowering the cheese.
Optional Add-ins
-
– 1 tablespoon chopped fresh herbs (parsley, chives, or thyme)
→ Fresh herbs add brightness and color to the finished toast. Sprinkle on after toasting to preserve aroma; if adding into the cheese, use sparingly to avoid soggy texture and burning during browning. Parsley and chives give a clean, vibrant finish, while thyme offers a subtle earthy note.
– 1 tablespoon grated Parmesan cheese (optional)
→ Parmesan adds a sharp, savory bite and extra crusty texture. Sprinkle on top of the cheese layer before toasting to maximize crust formation and depth of flavor. Use finely grated Parmesan for even distribution and a clearer cheese crust.
– Drizzle of extra-virgin olive oil (optional)
→ A light finish of olive oil can enhance gloss and round out the cheese’s mouthfeel. Use sparingly to avoid an oily result; this is optional but gives a restaurant-quality finish when you want extra richness.
Instructions
- Preheat your oven to 425°F (220°C) with a rack in the middle and line a baking sheet with parchment paper or a silicone mat.
→ This setup promotes even browning and prevents the cheese from sticking to the pan as it melts. - If the bread is very fresh or has a soft crumb, lightly toast or dry the slices on a dry surface or in a toaster for 1–2 minutes per side to remove surface moisture.
→ A drier surface browns more evenly and yields a crisper base once topped with cheese. - Melt 2 tablespoons unsalted butter in a small saucepan over low heat until completely liquid, or measure 1 tablespoon olive oil as an alternative and keep warm.
→ Melted fat gives a rich flavor, promotes even browning, and helps the cheese adhere to the bread. - If using garlic, whisk the minced garlic into the melted butter (or olive oil) so the fat carries the aroma evenly; you can also rub the cut side of a garlic clove onto the bread for a milder, diffused note.
→ Even distribution prevents concentrated bites of raw garlic and ensures consistent flavor across every bite. - Brush both sides of each bread slice with the melted butter or oil mixture using a pastry brush, applying a thin, uniform coat without pooling at the edges.
→ A thin, even coat fosters uniform browning and prevents soggy spots where cheese can pool. - Season with a pinch of fine salt on the buttered sides and, if desired, a few grinds of freshly ground black pepper to balance richness.
→ Salt enhances the cheese’s flavor, while pepper adds a subtle kick that complements the melt. - Top each slice with an even layer of 1 cup shredded cheese in total, spreading to cover the surface up to the edges to ensure a cohesive melt.
→ A uniform cheese layer melts smoothly into a gooey, binding crust that preserves texture when crisped. - Optionally, sprinkle about 1 tablespoon grated Parmesan evenly over the cheese layer to deepen the savory bite and form a crustier edge.
→ Parmesan contributes sharper flavor and a more pronounced crust as the toast roasts. - Optionally, reserve 1 tablespoon chopped fresh herbs to sprinkle over the toast after baking for brightness and aroma; do not add herbs now if you plan to preserve their fresh scent post-bake.
→ Fresh herbs lose aroma if subjected to prolonged heat; adding after baking keeps their green color and fresh fragrance. - Place the prepared bread slices on the lined baking sheet and bake in the preheated oven for 6–10 minutes, or until the cheese is fully melted and the bread edges are deep golden brown. Rotate the pan halfway for even browning.
→ The timing ensures a crisp exterior without under-melting the cheese; rotation prevents hot spots from over-browning one side. - For extra crispness, switch to the broiler and toast for 1–2 more minutes, watching closely to prevent burning; remove once the cheese is bubbling and the edges are deeply golden.
→ A brief broil adds a blistered, caramelized crust that resembles restaurant-style cheese toast. - Remove the toasts from the oven and let them rest on the sheet for 1–2 minutes to set the cheese and avoid burns when handling; the cheese will continue to firm slightly as it cools.
→ Resting stabilizes the melt and makes the slices easier to lift without tearing. - If using the reserved fresh herbs, generously sprinkle them over the hot toasts just before serving; also, if desired, drizzle a light amount of extra-virgin olive oil across the surface for gloss and richness.
→ Finishing olive oil adds sheen and a touch of extra mouthfeel without sogginess when used sparingly.
Notes
These crispy cheese toasts are a quick, comforting treat built on sturdy bread and a molten cheese layer. To ensure a crisp exterior and a tender, cheesy center, choose a loaf with a sturdy crust (such as sourdough or rustic white) and avoid soggy results by toasting the bread lightly if very fresh or letting it dry out a bit before topping. Fat from melted butter or olive oil helps browning and flavor; brush bread lightly with melted butter (or drizzle olive oil) on both sides for even crisping and better cheese adhesion. For the cheese layer, shred the cheese freshly (a melty blend like cheddar + mozzarella or Gruyère works well) to promote a smooth melt and a satisfying pull. Optional aromatics like a minced garlic clove add a sharp note; season with a pinch of salt, about 1/4 teaspoon freshly ground black pepper, and a pinch of red pepper flakes if you like a hint of heat. Add fresh herbs after toasting for brightness (parsley, chives, or thyme), or sprinkle a little grated Parmesan on top before browning for extra crust and savoriness. A light finish of extra-virgin olive oil can elevate gloss and mouthfeel. These toasts are best enjoyed immediately while the cheese is molten and the crust is crisp; to reheat leftovers, warm in a preheated oven or toaster oven at 350°F (175°C) for 5–7 minutes to recrisp rather than microwaving, which can make them soggy. If you want to prep in advance, assemble the bread and cheese separately and toast just before serving; for a dairy-free version, use plant-based butter or oil and a melt-friendly vegan cheese, then finish with herbs for freshness.
Tips
Choosing and prepping the bread
- Use a sturdy loaf (sourdough, rustic white) that can stand up to the cheese without becoming soggy. If the bread is very fresh, dry it out a bit in a 300°F (150°C) oven for 8–12 minutes or toast lightly to improve crispness.
- Keep slices about 1/2 inch thick to provide a solid base with a soft crumb inside and a crisp exterior once browned.
Butter, oil and how to apply
- Spread melted butter for a rich, toast-ready surface, or brush on extra-virgin olive oil for a crisper edge. If using butter, apply lightly to avoid soggy spots; with oil, distribute evenly on both sides for uniform browning.
- Allow the fat to coat the bread evenly so the cheese adheres well and browns consistently.
Cheese selection and melt
- Freshly shredded cheese melts more evenly and smoothly than pre-shredded varieties; a cheddar + mozzarella blend or Gruyère works well for flavor and stretch.
- Spread or scatter cheese in an even layer; a very thick pile can insulate and prevent browning. For extra crust, sprinkle a little grated Parmesan on top before toasting.
Seasoning and aromatics
- Minced garlic adds aromatic sharpness—if you want a milder note, rub the bread with the cut garlic or omit entirely.
- Season with a pinch of fine salt, tasting after the cheese melts since cheeses vary in saltiness.
- Freshly ground black pepper (and a pinch of red pepper flakes, if desired) enhances the cheese. Distribute evenly for a balanced bite; adjust to heat tolerance.
Optional add-ins and finishing touches
- Sprinkle 1 tablespoon chopped fresh herbs (parsley, chives, or thyme) after baking for brightness. If adding into the cheese, use sparingly to avoid sogginess or burning.
- Parmesan adds a sharp bite and extra crust; sprinkle on top before toasting for a more pronounced crust.
- A light drizzle of extra-virgin olive oil after toasting adds gloss and rounds out the richness; use sparingly for the right balance.
Cooking method and browning tips
- Preheat the oven to 425°F (220°C). Bake on a rack set over a sheet pan to allow air to circulate and promote even browning.
- Place bread coated side up on the rack and bake until the edges are golden and the cheese is melted, about 6–10 minutes depending on oven strength. If needed, rotate the sheet halfway through for even browning.
- For extra crispness and a bubbly top, finish under a hot broiler for 1–2 minutes, watching closely to prevent burning.
Make-ahead, storage and variations
- Assemble the base (bread with butter/oil) ahead of time and refrigerate; add cheese and toppings right before toasting for best melt and texture.
- Gluten-free option: use a sturdy gluten-free bread that holds up to toasting. Dairy-free option: use olive oil and a dairy-free cheese blend; adjust to melt and browning times as needed.
- Leftovers can be reheated in a hot oven (around 350°F / 175°C) for 5–7 minutes to re-crisp; avoid microwaving, which can make the bread soggy.
FAQ
What is Crispy Cheese Toast?
A quick, savory snack made by toasting bread and melting cheese on top until the edges become golden and crispy. It’s simple, satisfying, and great for a fast bite.
What ingredients do I need?
Basic: slices of bread, cheese (such as cheddar, mozzarella, Swiss, or a blend), and a little butter or olive oil. Optional: garlic powder, salt, pepper, tomato slices, fresh herbs, or red pepper flakes for extra flavor.
How to make crispy cheese toast in the oven?
Preheat to 425°F (220°C). Lightly butter one side of each bread slice and place them buttered side down on a baking sheet. Evenly sprinkle or layer cheese on top. Bake 6–10 minutes until cheese is melted and the bread edges are golden and crisp. For extra crisp, broil for 1–2 minutes watching closely to prevent burning.
How to make crispy cheese toast on a skillet?
Place a skillet over medium heat and melt a small amount of butter or oil. Put a bread slice in the pan, buttered side down, then top with cheese. Cover the pan to trap heat and help the cheese melt. Cook 4–6 minutes until the cheese is melted and the bottom is golden and crisp. If needed, flip gently and cook another 1–2 minutes.
What cheeses work best?
Melty cheeses are ideal. Try a blend: mozzarella for melt, cheddar for flavor, and a little Gruyère or Parmesan for crispness. Avoid very dry cheeses that don’t melt well. Shredded or sliced cheese both work—shredded melts faster.
How can I prevent the cheese from sliding off the bread?
Use an even cheese layer, press it gently onto the bread, and choose shredded cheese or slices that melt well. Pre-crisp the bread lightly if needed, and avoid overloading with cheese. A light touch helps the cheese stay in place as it melts.
How long does it take to cook?
Oven: 6–10 minutes at 425°F (220°C); optional 1–2 minutes under the broiler. Skillet: 4–6 minutes on medium, plus 1–2 minutes if you want the top extra melty. Air fryer: about 5–6 minutes at 360°F (182°C). Times can vary with bread thickness and cheese amount.
Can I customize with toppings?
Yes. Try tomato slices, fresh herbs (parsley or basil), crushed red pepper, garlic butter, or a sprinkle of paprika. For a heartier version, add a few slices of pepperoni, ham, or a thin layer of pesto under the cheese.
How should I store and reheat leftovers?
Best enjoyed fresh. If you have leftovers, cool, then refrigerate the bread with any toppings for up to 1–2 days. Reheat in the oven or toaster oven at 350°F (175°C) for 5–6 minutes until the cheese melts again and the edges are crisp. Avoid microwaving, which can make the bread soggy.
Can I make crispy cheese toast in a toaster or air fryer?
Toaster ovens work well—set to 425°F (220°C) for 6–10 minutes. Air fryer works too: 360°F (182°C) for 5–6 minutes. Place bread on parchment if needed to prevent sticking and ensure even cooking.