Introduction / Hook
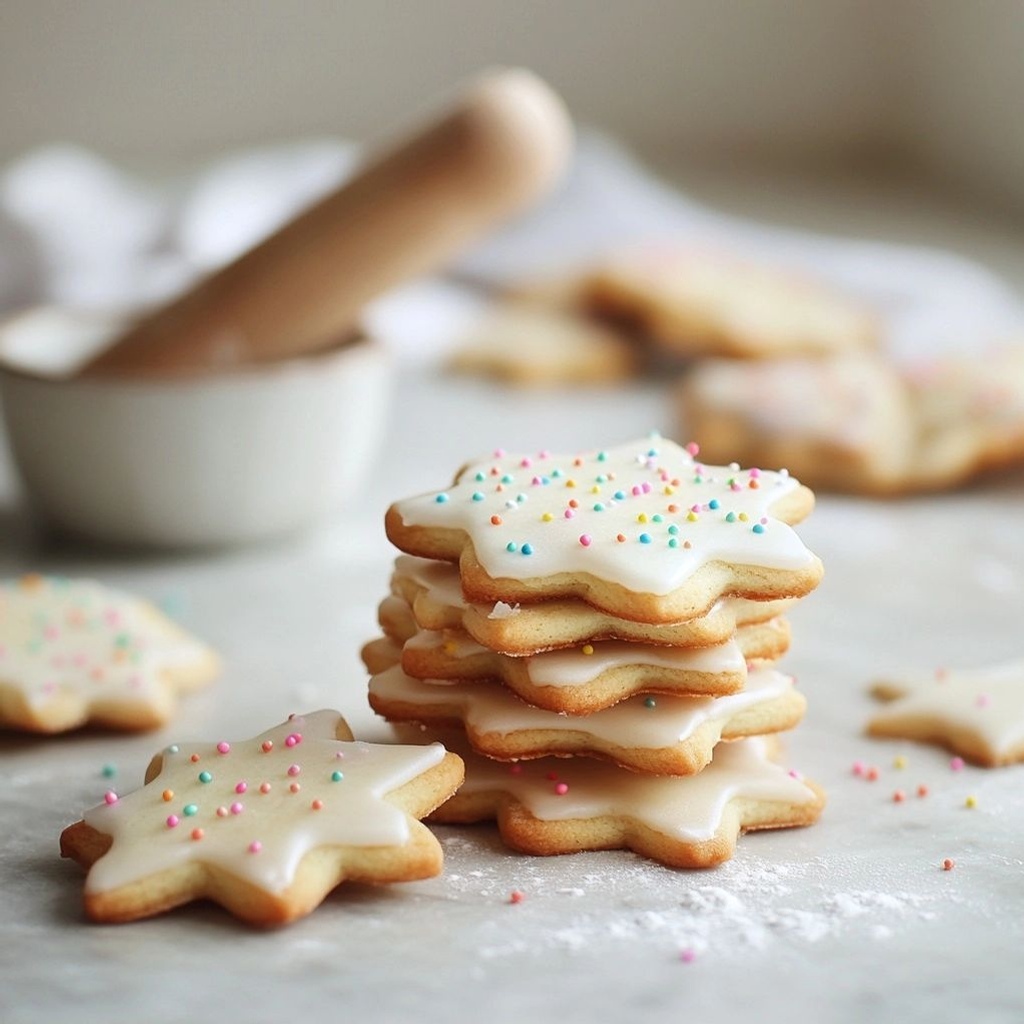
Imagine a tray of sugar cookies cooling on a wire rack, their edges just barely turning a shade of pale gold, a whisper of vanilla rising in the kitchen like a memory you’ve been chasing since childhood. Sugar cookies are the kind of timeless treat that feel like a warm season of the year—bright, comforting, and somehow both simple and magical at once. They’re not just cookies; they’re blank canvases that invite creativity, celebration, and a little bit of nostalgia. The moment you bite into one, the crumb dusts your lips with a delicate sweetness, and you taste faint notes of butter, vanilla, and a whisper of almond if you choose. It’s the kind of cookie that pairs perfectly with a mug of tea or a glass of milk, and it has a way of bringing people together—neighbors, kids, friends, and family—no matter the occasion.
The Story Behind the Dish
Sugar cookies have a storied place in many culinary traditions, evolving from early European butter cookies to the modern, mass-produced delights we recognize today. The ruddy, slightly crisp edges that give way to a tender crumb can trace their lineage to flour, fat, and sugar—three humble ingredients that once defined the boundaries of improvised baking in home kitchens. In the United States, sugar cookies became a staple during the 19th and 20th centuries, celebrated for their versatility, their ability to hold shape when cut with cookie cutters, and their capacity to become festive canvases. They appear in all manner of seasonal colors, from snowy whites and pastels to bold, celebratory hues, making them a go-to for holidays, birthdays, and school events. The story behind these cookies is really a story of togetherness: families gathered around a table, rolling dough, dusting flour, and watching sugar cookies come to life under a warm oven light. Whether you’re revisiting a grandmother’s recipe or exploring a modern adaptation, sugar cookies carry with them the comforting aura of home and the promise of shared sweetness.
Why You’ll Love This Recipe
- Classic comfort with a modern, foolproof technique that yields tender, melt-in-your-mouth cookies every time.
- Versatile base that accepts a wide range of add-ins and decorations—edible pearls, citrus zest, a touch of almond extract, or a sprinkle of cinnamon for a cozy twist.
- Perfectly suited for both intimate moments and festive celebrations, from intimate tea parties to grand gatherings.
- Kid-friendly and easy to customize—great for little hands helping in the kitchen, from mixing to pressing shapes.
- Make-ahead friendly: dough can be prepared in advance, chilled, and rolled out when you’re ready to bake.
- Low-stress bake that teaches essential skills: creaming, chilling, rolling, and precise timing—without the drama.
Flavor Profile & Texture
Sugar cookies present a delicate, balanced flavor profile. The base is rich with butter, which lends a comforting, dairy-sweet depth, while granulated sugar provides a crisp, slightly crystalline sweetness that sings as the cookies bake. Vanilla is the star aroma—sometimes accompanied by a whisper of almond or citrus—creating a fragrance that evokes bakery aromas and holiday memories. The texture is where sugar cookies truly shine: the exterior often sets to a faint crispness, giving way to a soft, tender crumb inside. When properly baked, they offer a pleasing contrast—slightly crumbly at the first bite, then smoothly crumbly as they dissolve on the tongue. The mouthfeel is indulgently even, not dry, with a subtle melt that invites a second, third bite. Decorations, if you choose to add them, introduce additional layers of texture: a glossy royal icing, a crunch of sugar crystals, or a delicate dusting of powdered sugar that melts on contact with warmth. They’re the culinary equivalent of a little celebration in every bite: familiar, comforting, and intriguingly versatile in how you choose to dress them up or keep them simple.
Occasions & Pairings
Sugar cookies are the chameleons of the baking world. They shine in multiple contexts, each rewarding in its own way.
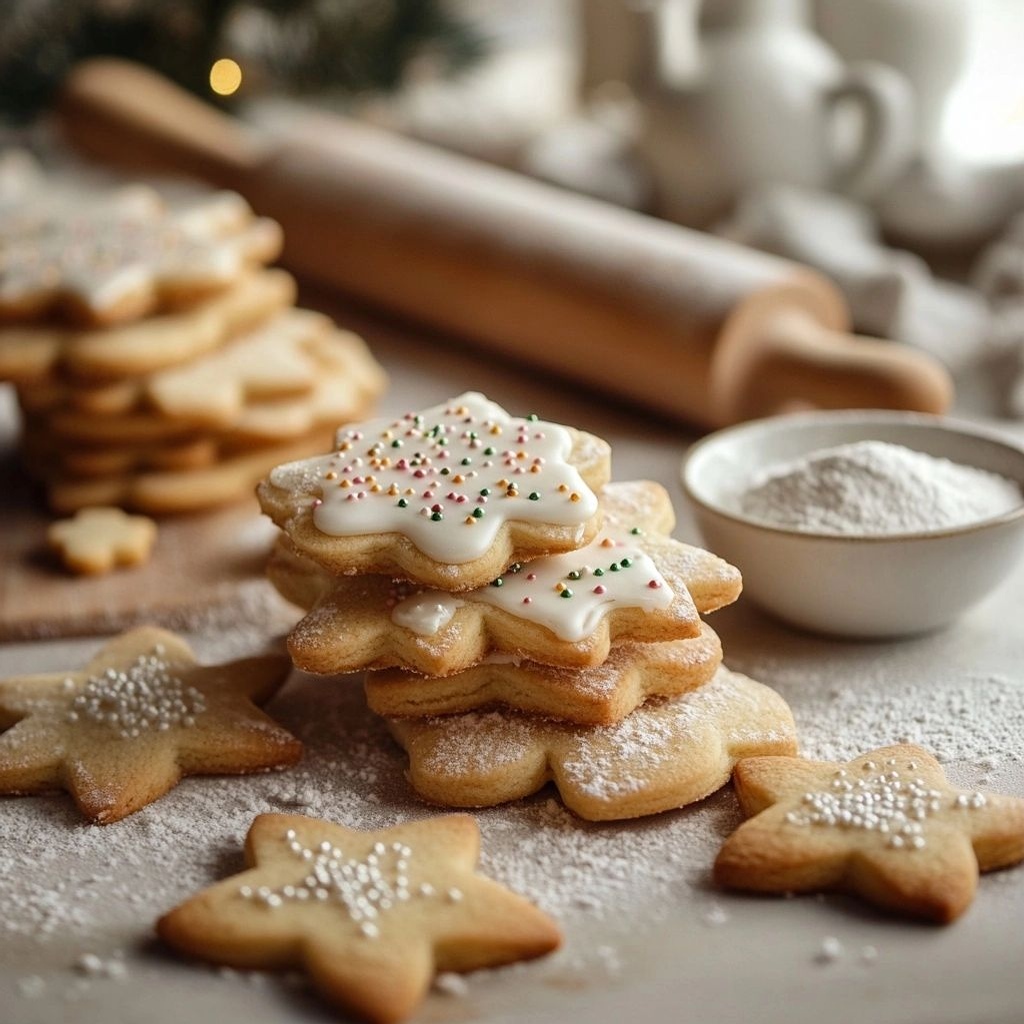
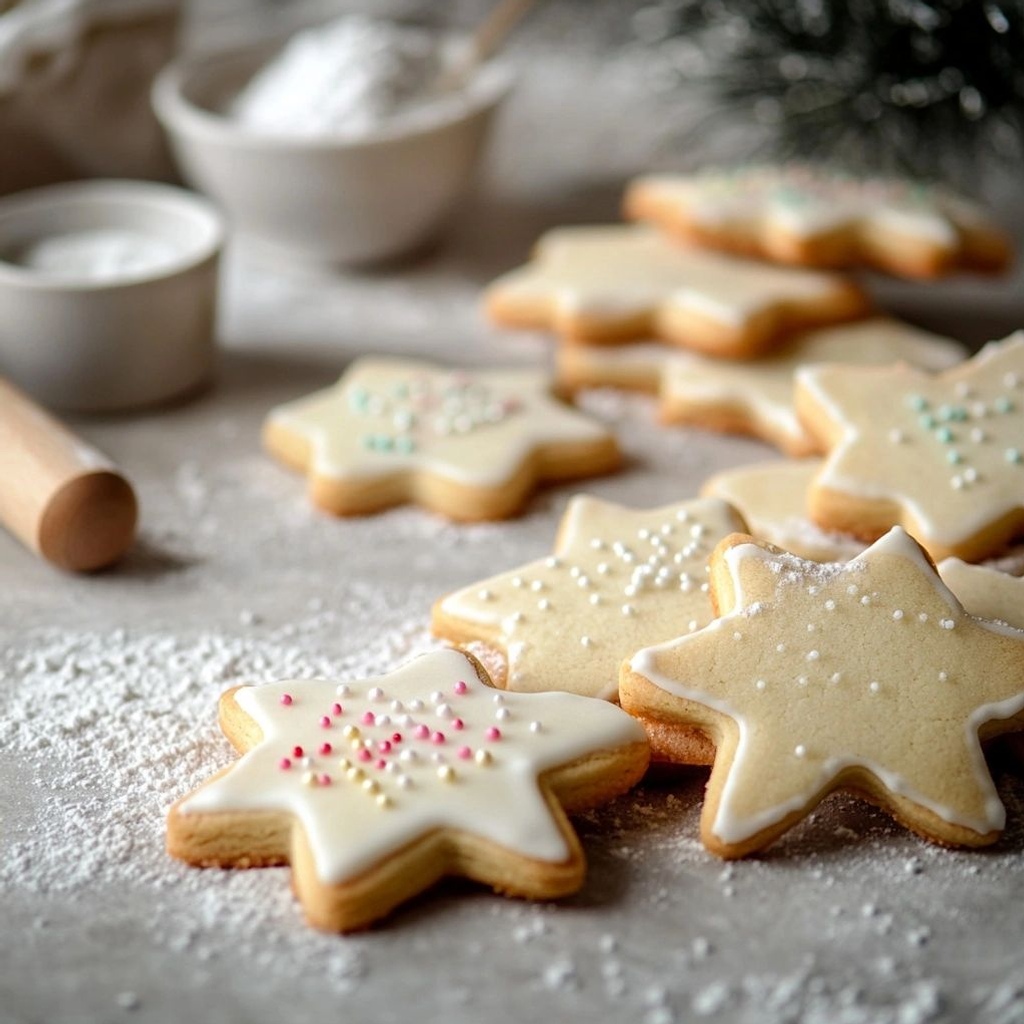
- Holidays and celebrations: Cut into shapes like stars, hearts, trees, or gingerbread people for an instantly festive mood.
- Everyday treats: A quick bite with tea or coffee for a comforting afternoon break.
- Baking with kids: A wonderful activity that teaches measuring, rolling, and decorating, with an instantly gratifying result.
- Giftable sweets: Pack them in tins or boxes for thoughtful, handmade gifts that feel personal and heartfelt.
- Special occasions: Use them as a neutral palette for themed icing, marbling, or royal icing portraits on birthdays or weddings.
Pairings that elevate the experience include:
- Drinks: A glass of milk, a fragrant cup of black tea, or a velvety latte.
- Decorations: Royal icing in pastel colors, edible glitter, or simple powdered sugar dustings for a snowy finish.
- Side treats: A small platter with fruit preserves, lemon curd, or a dark chocolate dip to provide a fruity or chocolatey contrast.
Tips, Variations & Substitutions
Here are practical ideas to tailor sugar cookies to your preferences, dietary needs, or the occasion at hand:
- Chill the dough: For clean, precise shapes, chill the dough for at least 1 hour or up to 3 days. Cold dough holds its shape better during baking, preventing the cookies from spreading too much.
- Rolling and cutting: Lightly flour the surface and rolling pin. For ultra-clean cuts, roll the dough between parchment papers and chill again before cutting.
- Texture variations: If you prefer crisper cookies, bake a minute longer; for a softer center, pull them out just as the edges begin to color.
- Flavor variations: Add a teaspoon of lemon or orange zest to brighten the flavor, or replace part of the vanilla with almond extract for a nutty aroma. A pinch of ground cinnamon can add cozy warmth.
- Glaze and decorations: Royal icing (confectioners’ sugar, egg white, and a splash of lemon juice) dries to a smooth, glossy finish. For a simpler aesthetic, brush cookies with a thin glaze of apricot jam or melted white chocolate, then sprinkle with colorful sugar crystals.
- Dietary twists:
– Gluten-free: Use a 1:1 gluten-free flour blend with a touch more binding agent (like a pinch of xanthan gum) to mimic elasticity.
– Dairy-free: Substitute butter with coconut oil or a neutral vegetable oil, though this may alter texture slightly.
– Vegan: Use a plant-based butter substitute and a vegan glaze option such as aquafaba-based royal icing. - Regional twists: For a European-inspired version, add a hint of citrus zest and a touch of ground almond to echo biscotti-like flavors, then pair with a drizzle of dark chocolate for a celebratory contrast.
Storage & Make-Ahead Ideas
One of the great strengths of sugar cookies is their flexibility when it comes to storage and make-ahead planning. By treating the dough and the baked cookies with a few simple steps, you can save time or prepare for a party well in advance.
- Make-ahead dough: Prepare the dough, shape into discs, wrap tightly, and refrigerate up to 3 days. Or freeze the dough discs for up to 2 months; thaw in the fridge before rolling.
- Storing baked cookies: Store baked cookies in an airtight container at room temperature for up to 1 week. Layer with parchment to prevent sticking if stacking.
- Freezing baked cookies: Freeze baked cookies in a single layer on a tray, then transfer to a freezer bag. They can be kept up to 3 months and refreshed briefly in a 300°F (150°C) oven for a quick warm-up.
- Decorating ahead: If you plan to decorate, bake cookies a day or two in advance and store until decorating day to keep the icing crisp and vibrant.
- Flavor-forward make-ahead: If you’re planning a themed event, you can bake plain cookies ahead of time and decorate on the day of the event to ensure the frosting looks fresh and the colors pop.
Fun Facts & Trivia (Optional)
Delightful tidbits that add a bit of whimsy to your baking knowledge:
- Shape-driven cookies: Sugar cookies are beloved in part because they hold their shape so well when cut with cookie cutters, making them a favorite for holidays, bridal showers, and children’s parties.
- Royal icing origins: The glossy, hard-drying icing used on many sugar cookies has roots in European cake decorating and adds a professional touch to home baking.
- Colorful traditions: In some cultures, sugar cookies are a symbol of sweetness and good fortune, and families often bake them together to celebrate harvests, new beginnings, or seasonal transitions.
- Texture science: The balance of fat, sugar, and flour affects the texture—more sugar and butter typically yields a crumblier, more tender cookie, while chilling and careful oven timing help maintain shape and bite.
- Decorating as storytelling: The decoration choices—colors, shapes, and motifs—can tell a story about the occasion or personal memories, turning cookies into edible postcards from the cook.
Ingredients
- Cookie Dough Base
- All-purpose flour – 2 3/4 cups (350-355 g)
→ Provides the structure and body of the cookies. Sift lightly to remove lumps and ensure a tender crumb. If you prefer a crisper edge, you can measure by scooping and level; for a softer, cake-like texture, spoon into the cup and level off. Use a high-quality all-purpose flour for the best flavor balance with butter and sugar. - Baking powder – 1/2 teaspoon
→ Acts as a leavening agent to give a slight lift and a softer interior without spreading or rising too much. Ensure it’s fresh for reliable leavening; old powder can yield flat cookies. If you want a flatter, crisper cookie, omit or reduce slightly. - Salt – 1/2 teaspoon
→ Enhances overall flavor and balances sweetness, while also strengthening dough structure by tightening gluten development just enough. If using salted butter, reduce salt to 1/4 teaspoon. - Unsalted butter – 1 cup (226 g), softened to room temperature
→ The fat provides richness, tenderness, and a melt-in-your-mouth crumb. Soften to a pliable, cool consistency (not melted) to achieve proper creaming with sugar. For best flavor, use high-quality, unsalted butter; salted butter can alter the balance of salt. - Granulated sugar – 1 1/2 cups (300 g)
→ Creamed with butter to create air pockets that yield a mildly delicate crumb and slight spread on baking. For a softer cookie with more moisture, you can substitute part with powdered sugar, but this will reduce structure and texture contrast. Ensure the sugar is free of clumps for even mixing. - Eggs – 2 large, at room temperature
→ Bind the dough and contribute to the structure and moisture. Room-temperature eggs incorporate more easily into creamed butter, producing a smoother dough. If you don’t have time for full tempering, place eggs in warm water for 5–10 minutes before using. - Vanilla extract – 2 teaspoons
→ Adds depth and aroma; vanilla enhances the sweetness while complementing the butter and sugar. For a more pronounced vanilla note, use a high-quality pure vanilla extract or a vanilla bean paste; if using vanilla bean, reduce to 1/2 teaspoon ground bean paste per batch and scrape the seeds into the butter and sugar. - Milk or water – 1–2 tablespoons (optional)
→ Used sparingly if the dough feels too stiff or dry. A small amount of liquid helps achieve a smooth, cohesive dough that is easy to roll out and cut. Use room-temperature dairy or a neutral-tavored plant milk to keep cookies tender without affecting flavor. - Optional Add-ins – 1 batch
- White chocolate chips – 1/2 cup (90 g) (optional)
→ For pockets of creamy sweetness that complement vanilla and butter. Add after the dough comes together and just before chilling to avoid overworking the dough. Chill well to prevent the chips from melting into the dough during baking. - Chopped nuts (walnuts or pecans) – 1/3 cup (45 g) (optional)
→ Adds texture and a toasty, nutty flavor. Chop finely so they distribute evenly and don’t weigh the dough down. Toasting nuts lightly before adding can intensify flavor; ensure they are cooled before mixing in. - Colored sugar or sprinkles – 2–3 tablespoons (optional)
→ Used for decorating the tops of cookies before baking. Use coarse sugar for sparkle and crunch, or festive sprinkles if desired. Sprinkle just before baking to ensure they adhere and don’t blur into the dough.
Instructions
- Preheat your oven to 350°F (175°C) and line two baking sheets with parchment paper or silicone mats to prevent sticking and promote even baking.
→ A consistent preheat ensures cookies bake uniformly from edge to center and prevents dough from spreading excessively on hot pans. - Sift together all-purpose flour, baking powder, and salt, then whisk briefly to distribute evenly; set aside to maintain a tender crumb and predictable structure.
→ Sifting and whisking break up any lumps and create a light, uniform dry base that folds smoothly into the creamed butter and sugar. - Cream unsalted butter and granulated sugar on medium-high speed until light and fluffy, about 3–5 minutes, stopping to scrape the bowl halfway; this traps air for a delicate, pale crumb.
→ Proper creaming emulsifies fat and sugar, creating pockets that expand during baking for a softer interior and a slight lift. - Beat in eggs one at a time and then add vanilla extract, mixing until fully incorporated and the batter looks glossy; tempering helps prevent curdling and ensures even distribution of fat.
→ Eggs provide moisture and structure; room-temperature eggs mix in smoothly for a cohesive dough and uniform texture. - With the mixer on low, gradually add the dry ingredients to the butter-sugar mixture in two or three portions, alternating with 1 tablespoon of milk or water if the dough feels too stiff, until a cohesive dough forms.
→ Low-speed addition minimizes gluten development, yielding a tender cookie; the small amount of liquid helps achieve a rollable, sliceable dough without being sticky. - If using optional add-ins, fold in white chocolate chips or chopped nuts just until evenly distributed, taking care not to overwork the dough to preserve tenderness and even bite.
→ Add-ins should be evenly dispersed but not crushed; folding by hand with a spatula keeps texture intact and prevents excessive gluten activation. - Divide the dough in half, shape each portion into a disk, wrap tightly, and refrigerate for at least 1 hour or up to 3 days to firm the dough for clean cutting and to reduce spreading during baking.
→ Chilling solidifies fat, making cookies hold their shape better and preventing excessive spreading when baked, while also intensifying flavors. - Roll the dough between lightly floured sheets of parchment to 1/4-inch (6 mm) thickness and cut into desired shapes, then transfer with a spatula to the prepared baking sheets, spacing 2 inches apart for moderate spreading.
→ Rolling between parchment prevents sticking and gives clean edges; maintaining uniform thickness ensures even bake and consistent cookie size. - Optionally sprinkle colored sugar or sprinkles on tops just before baking to add festive color and a slight crunch; press lightly to help adhere without mushing into the dough.
→ Decorating before baking creates appealing finishes and helps the sugars set as the cookies expand slightly in the oven. - Bake cookies in the preheated oven until the edges are lightly golden and centers are set but soft, about 9–11 minutes; rotate the pans halfway through for even browning.
→ Proper bake time prevents pale, underdone centers or dark, hard edges; rotating ensures uniform heat exposure across the sheet. - Cool cookies on a parchment-lined rack for 5 minutes, then transfer to a wire rack to cool completely; this terrines residual steam and firms the crumb for easy handling and stacking.
→ Cooling allows the cookies to finish setting and prevents breakage from residual heat; a full cool ensures optimal texture and flavor development.
Notes
“These classic sugar cookies are soft, tender, and lightly golden with a buttery vanilla aroma. For best results, ensure all ingredients are at room temperature so the dough comes together smoothly. Cream the butter and sugar until light and fluffy to trap air for a delicate crumb, then beat in eggs one at a time and add vanilla. Sift the flour with baking powder and salt to ensure a uniform, tender texture. If you prefer crisper edges, bake a touch longer; for softer centers, start checking a minute or two earlier. Chill the dough well (at least 1 hour, or overnight) before rolling to prevent spreading. Roll on a lightly floured surface or between parchment sheets to maintain thickness, then cut into shapes and transfer to parchment-lined sheets. Decorate with colored sugar or sprinkles just before baking so they adhere. Bake at 350°F (175°C) until the edges are just barely golden, typically 8–12 minutes depending on thickness. Let cookies cool on the sheet briefly, then transfer to a wire rack. Store in an airtight container for up to a week, or freeze baked cookies for longer storage. For a gluten-free version, substitute with a 1:1 gluten-free flour blend and add a bit more liquid if the dough seems dry. Always use fresh baking powder for reliable leavening and flavor.”
Tips
Tips for Perfect Sugar Cookies
- Temperature matters: Keep ingredients cold enough to maintain a tender crumb, but not so cold that the dough is hard to roll. If your kitchen is warm, chill the dough between steps and refrigerate the dough for at least 1 hour after mixing to prevent excessive spread.
- Sifting and measuring: Sift the flour and measure by scooping and leveling for a softer, more uniform crumb. If you prefer crisper edges, you can scoop and level; for a softer, cake-like texture, spoon and level into the cup.
- Butter handling: Soften the butter to a pliable, cool consistency (not melted). Cream the butter with the sugar until light and fluffy to create air pockets that help the cookies rise slightly and stay tender.
- Leavening note: Baking powder provides a gentle lift and a softer interior. Use fresh powder for reliable rise; older powder can yield flat cookies. If you want flatter, crisper cookies, reduce or omit baking powder.
- Salt balance: If you use salted butter, reduce added salt to 1/4 teaspoon to avoid overpowering saltiness. Salt enhances flavor and helps tighten the dough just enough for structure.
- Eggs and temperature: Use room-temperature eggs for better emulsification with butter and sugar, resulting in a smoother dough. If pressed, place eggs in warm water for a few minutes to temper quickly.
- Vanilla depth: High-quality vanilla adds aroma and depth. Consider vanilla bean paste for a stronger flavor; if using paste, reduce vanilla extract accordingly.
- Moisture control: Only add 1–2 tablespoons of milk or water if the dough feels stiff. Start with 1 tablespoon and add more sparingly to reach a rollable consistency without making the dough sticky.
- Chilling strategy: Chill the dough as a whole before rolling, and chill portions if they become too warm. Cold dough holds shapes better and minimizes spreading during baking.
- Rolling and cutting: Lightly flour the work surface or roll the dough between parchment sheets to prevent sticking. Use even pressure to maintain uniform thickness for consistent baking times.
- Optional add-ins:
– White chocolate chips: Fold in after dough comes together and chill before baking to keep chips from melting into the dough.
– Chopped nuts: Toast lightly for added aroma; cool completely before mixing in to maintain even distribution and prevent soggy cookies.
– Sprinkles/Sugar: Add just before baking to help with adhesion and prevent color bleed into the dough. - Handling add-ins: Do not overwork the dough after adding chips or nuts to avoid tough cookies. Gently fold in ingredients until evenly distributed.
- Baking guidance: Bake cookies until the edges are just set and lightly golden at the rim. For a uniform color, rotate the baking sheet halfway through. If you prefer softer centers, pull a minute or two early; for crisper cookies, bake until lightly browned around the edges.
- Sheet preparation: Use parchment paper or silicone mats to prevent sticking and promote even baking. If your sheets tend to spread, chill the dough on the sheet before baking for better shape retention.
- Storage: Store cooled cookies in an airtight container at room temperature for up to 1 week. For longer storage, freeze baked cookies or baked-and-cooled dough rounds (well wrapped) for up to 2–3 months.
- Texture tips: If you want a softer crumb, slightly reduce the flour or add a touch more butter. If you want a crisper edge, consider a touch more sugar and ensure even thickness on the sheet for uniform edge formation.
FAQ
What are the essential ingredients for classic sugar cookies?
The classic recipe typically includes butter, sugar, eggs, vanilla extract, all-purpose flour, baking powder (or baking soda), and a pinch of salt. Some recipes add a splash of milk or cream for tenderness.
Can I bake sugar cookies without eggs?
Yes. You can substitute 1 tablespoon of ground flaxseed or chia seeds mixed with 3 tablespoons of water per egg, or use commercial egg replacers. Alternatively, you can use 1/4 cup unsweetened applesauce per egg, but this may affect texture slightly.
How do I prevent cookies from spreading too much?
Chill the dough for at least 30–60 minutes before rolling or scooping, use parchment or silicone mats, keep the dough cold while cutting, and avoid overworking the dough. Using a small amount of cornstarch can also help maintain shape.
What texture should I expect from sugar cookies?
Classic sugar cookies are crisp around the edges with a tender, slightly chewy center. Adjusting baking time and thickness will influence texture; thinner cookies will be crisper, thicker ones softer.
How do I roll and cut sugar cookies without sticking?
Lightly flour the surface and rolling pin, or roll between two sheets of parchment paper. Chill the dough between steps, and use a bit of flour or powdered sugar on cutters if sticking remains an issue. Consider using a silicone rolling mat for easier handling.
Can I make sugar cookies gluten-free or vegan?
Yes. For gluten-free, use a 1:1 gluten-free flour blend plus a touch more xanthan gum if needed. For vegan, replace butter with vegan butter or coconut oil and use a plant-based egg substitute. Some glazes or frostings may need adjustments for vegan versions.
What is the best way to frost or decorate sugar cookies?
Cool cookies completely before decorating. Use royal icing, buttercream, or glaze. Royal icing dries hard and is excellent for piping details, while buttercream gives a creamy finish. For a shiny glaze, a simple icing made with powdered sugar and milk works well.
How should I store baked sugar cookies?
Store at room temperature in an airtight container for up to 1 week. Layer cookies with parchment between layers. Freeze baked cookies for longer storage; place in a freezer-safe bag or container for up to 2–3 months, thaw at room temperature before decorating if needed.
How can I prevent cookies from cracking on top?
Cracking usually happens from rapid expansion if the oven is too hot or the dough is too dry. Chill the dough well, ensure even thickness, and bake at a moderate temperature (around 350°F/175°C). If cracks appear, they’re often a charming sign of a homemade batch.
Why are my sugar cookies hard or dry?
Overbaking, too much flour, or too little fat can lead to dryness. Ensure accurate measurements, chill the dough, and bake until just set. Adding a little milk or cream to the dough can increase tenderness in some recipes.