Introduction / Hook
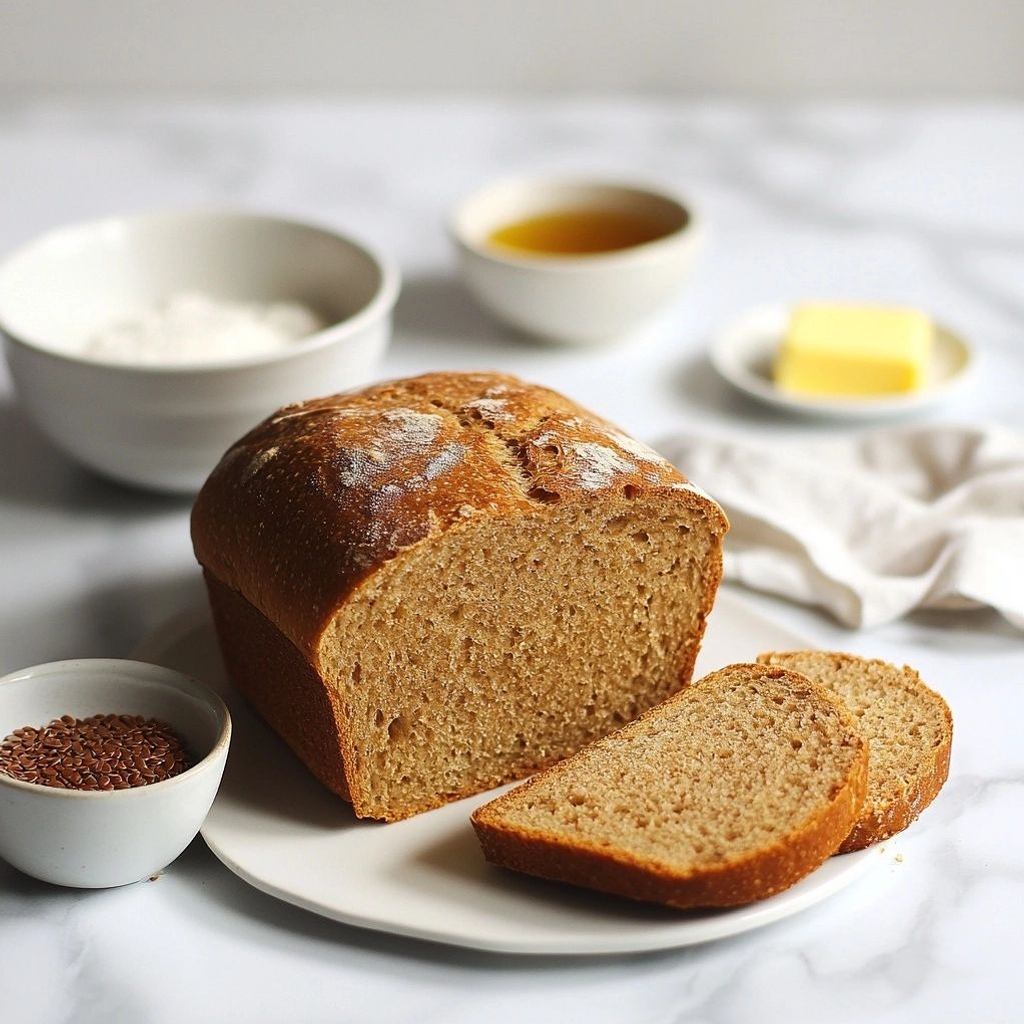
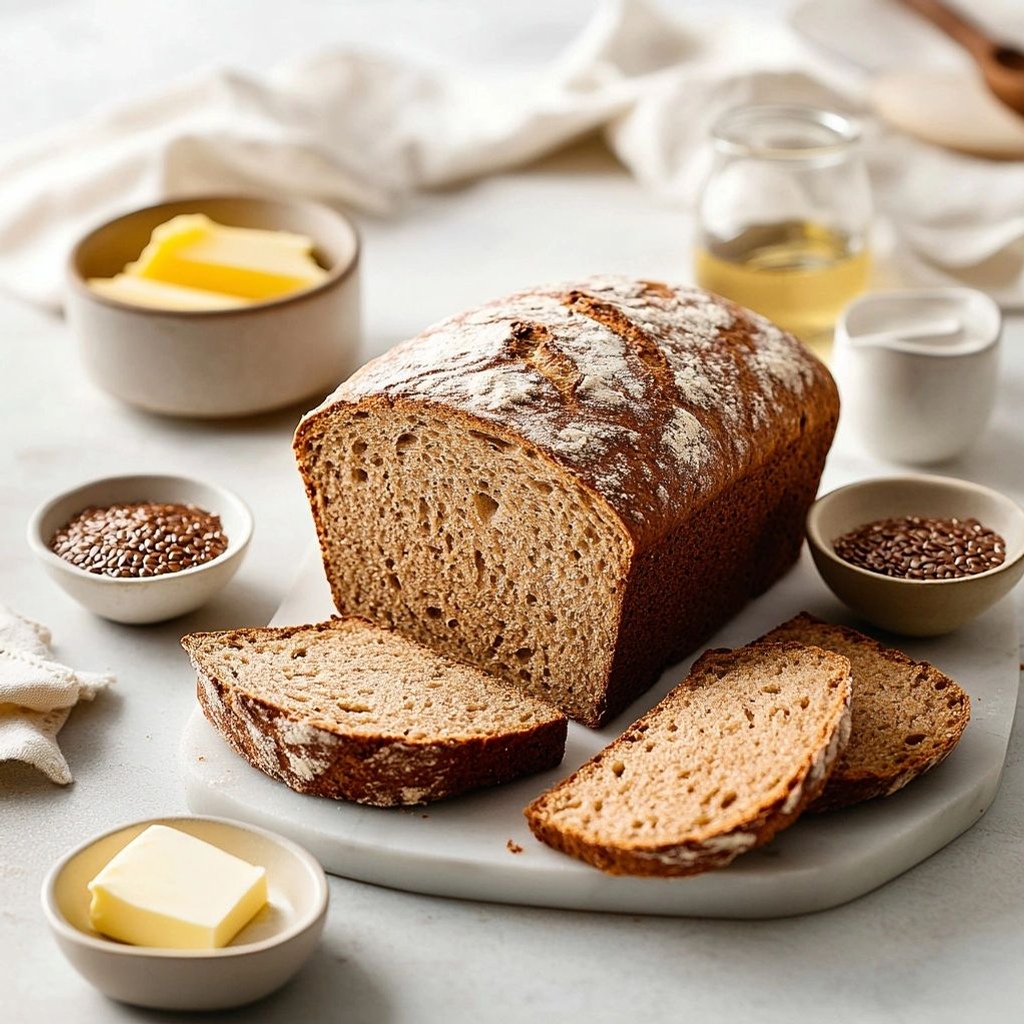
Imagine pulling a loaf from your oven that fills your kitchen with the warm, wheaty scent of Sunday mornings, the kind of aroma that makes your mouth water before you even slice into it. This is not just any bread; it’s 8-Ingredient Whole Wheat Bread, a friendly, approachable recipe that turns humble staples into something wonderfully comforting and crave-worthy. With a short list of ingredients, a forgiving dough, and a simple mixing routine, this bread feels like a small-weeknight miracle and a big-ticket indulgence at the same time. As it bakes, the crust develops a subtle bronze glow while the inside stays soft, moist, and deeply nutty from the whole wheat—an ode to grains that have powered civilizations for centuries. Each bite reveals a gentle sweetness, a whisper of molasses or honey if you add it, and a satisfying chew that makes it perfect for slathering with butter, a drizzle of olive oil, or turning into toast that holds up to jam, avocado, or eggs. Whether you’re baking for a busy family, a weekend brunch, or a cozy loaf to slice for lunches, this 8-ingredient bread is a trustworthy, comforting companion that never fails to deliver warmth and nourishment.
The Story Behind the Dish
Whole wheat bread has deep roots in many cultures, a universal companion to soups, stews, salads, and simple breakfasts. The appeal lies in its balance: the rustic heartiness of whole grains paired with the familiar, comforting texture that signals home. This particular recipe distills that comforting essence into a streamlined process that anyone can master. It’s inspired by the traditional loaves that grandmothers and neighbors handed from their kitchens—no complicated techniques, just good ingredients treated with patience and care. The “8-Ingredient” title is a friendly nod to its simplicity: flour, water, yeast, salt, a touch of fat, a sweetener, and a couple of pantry staples that come together to create a loaf that rises with a gentle, dependable lift. Over the years, home bakers have learned that great bread doesn’t require fancy equipment or long hours; it requires attention, a clean workspace, and a sense of curiosity about how flavor and texture develop as dough transforms from a shaggy mass into a loaf with a glossy crust and a soft interior. This recipe celebrates that ethos—no fuss, just honest bread that nourishes and delights.
Why You’ll Love This Recipe
- Fast to prepare: A straightforward mixing method minimizes hands-on time while maximizing flavor and texture.
- Accessible ingredients: All-purpose flour and whole wheat flour give the right structure and the honest taste of wheat without requiring specialty flours.
- Reliable rise: A gentle fermentation and proper resting steps yield a bread with a light, airy crumb and a pleasing crust.
- Versatile texture: The loaf is sturdy enough for slicing but soft enough for toast, sandwiches, or warm butter with a sprinkle of sea salt.
- Flexible flavor profile: A hint of sweetness from a touch of honey or sugar pairs beautifully with savory toppings and spreads.
- Kid-friendly yet sophisticated: The whole wheat notes are present but mellow, making it a crowd-pleaser for both little tasters and seasoned bread enthusiasts.
- Ideal for meal planning: Bake once and enjoy for several days, or freeze for longer storage without losing the bread’s character.
Flavor Profile & Texture
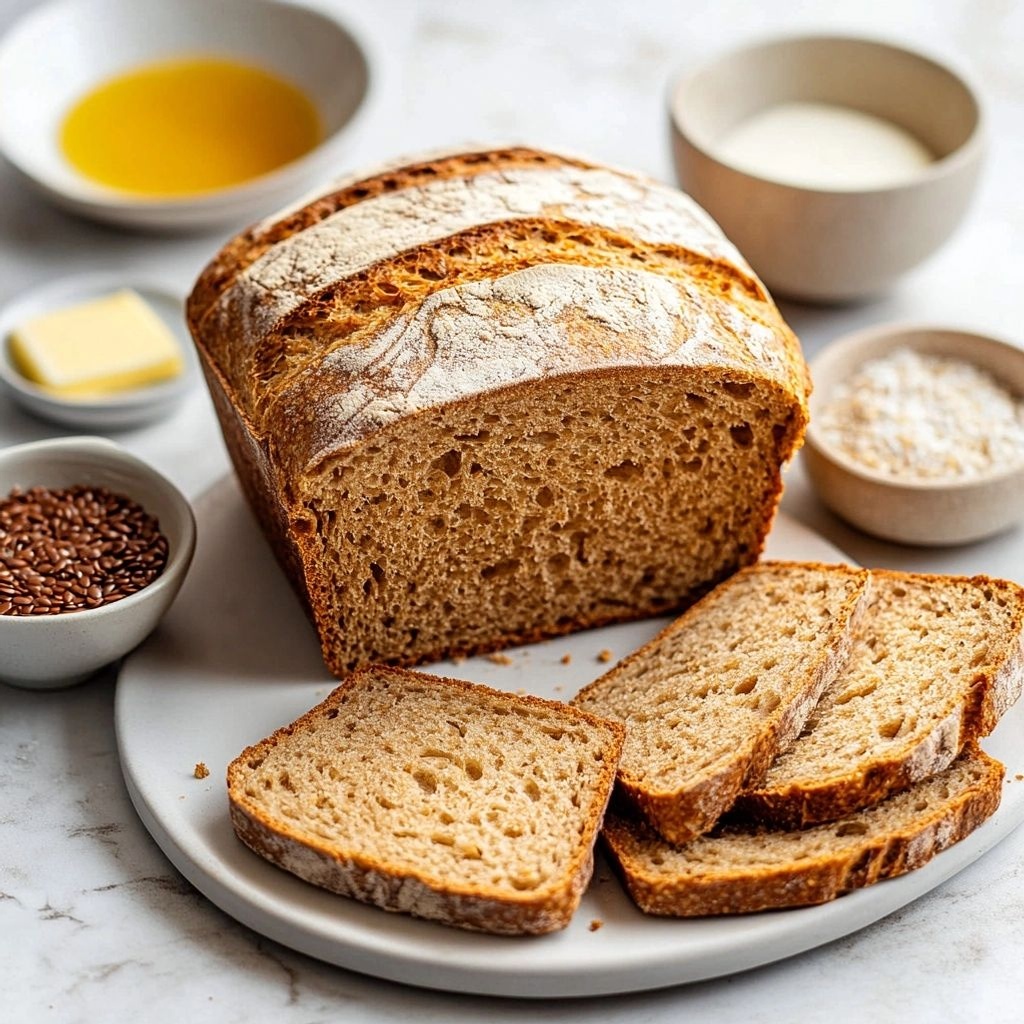
The 8-Ingredient Whole Wheat Bread offers a comforting, well-balanced flavor. The whole wheat flour brings a nutty, slightly earthy depth, with subtle molasses-like sweetness that depends on the specific grain you use. The crumb is tender and moist rather than dry, thanks to careful hydration and a gentle kneading approach. The crust—where the magic begins as the loaf bakes—develops a shallow sheen and a gentle crunch that crackles softly when you slice into it. The aroma is warm and inviting: toasted wheat, a whisper of yeast, and a hint of caramel from the natural sugars in the flour and any added sweetener. When you bite into it, you’ll notice a satisfying chew from the whole grains, followed by a delicate softness in the middle. This is not a light, ultra-fine bread; it’s a sturdy, everyday bread that supports substantial toppings and comforting meals. The texture is forgiving—crusty on the outside, soft within—making it perfect for sandwiches, dipping into soups, or simply enjoying with a bit of butter and sea salt for a quick, satisfying snack. The flavor is clean and wholesome, with enough depth to feel special without being overpowering, allowing you to tailor it to your own preferences with toppings and spreads, rather than competing with them.
Occasions & Pairings
This loaf shines in everyday moments and special occasions alike. Here are some ideas to get the most out of it:
- Weeknight dinners: Serve slices warm with a drizzle of olive oil or a swipe of herbed butter alongside soups, stews, or roasted vegetables.
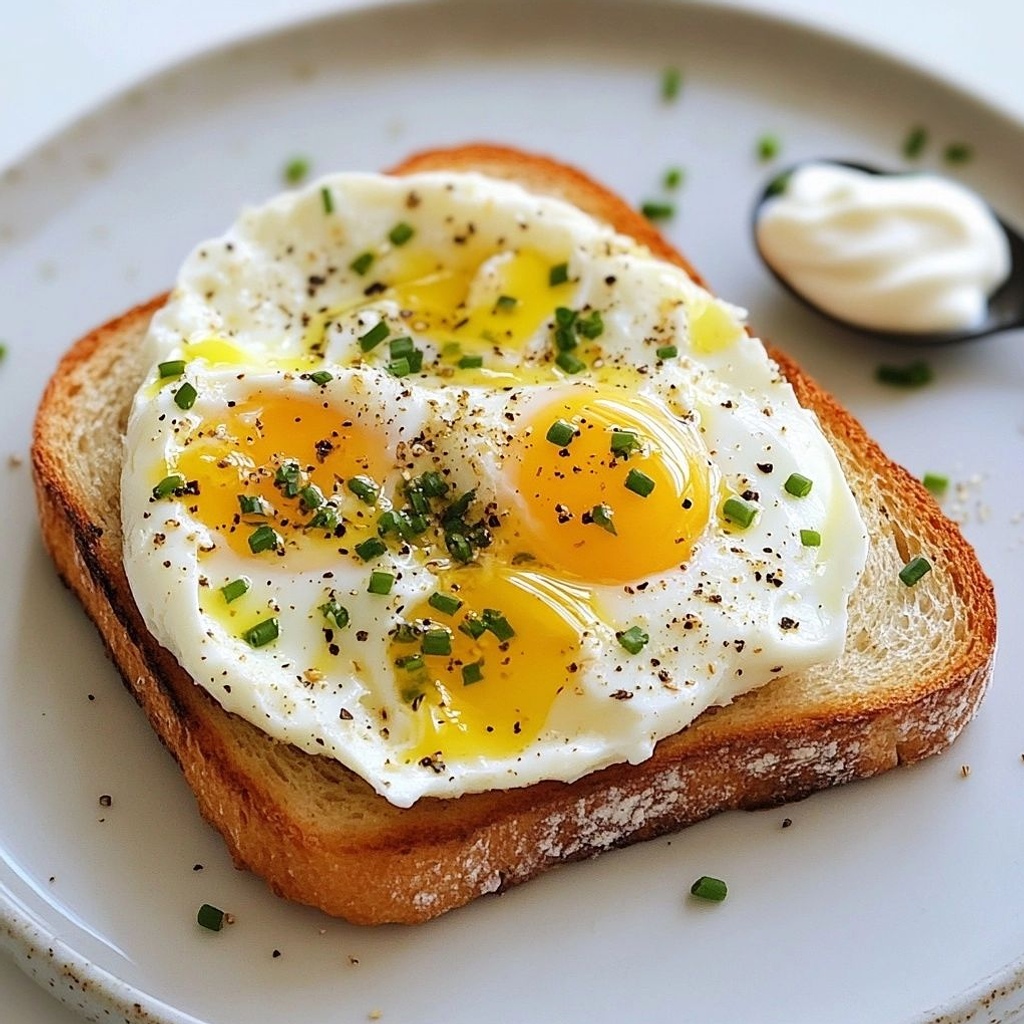
- Brunch or breakfast: Toast thick slices and top with avocado, a fried egg, or a dollop of yogurt and fruit preserves for a bright, satisfying morning.
- Picnic favorites: Slice and pair with cheeses, cured meats, olives, and a crisp green salad for a simple, portable spread.
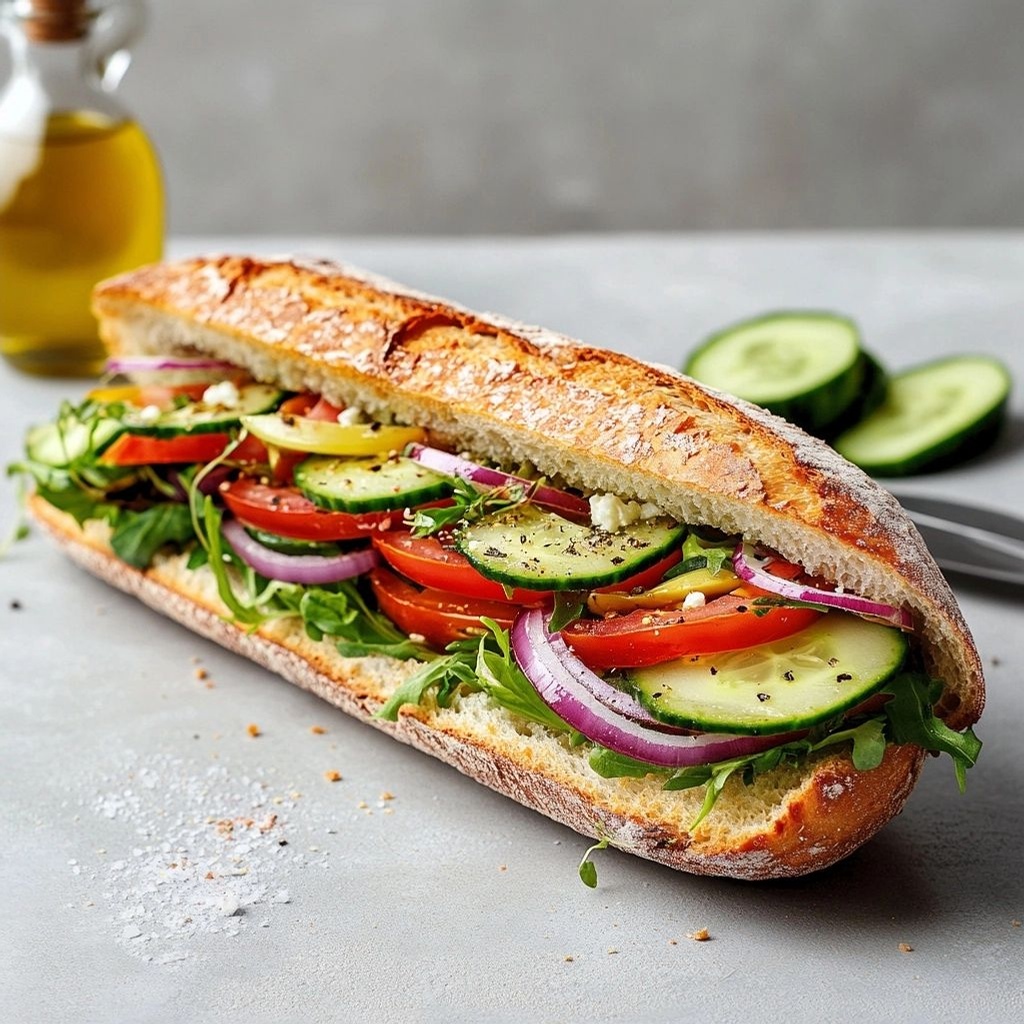
- Sandwich hero: Build classic sandwiches with creamy cheese, roasted vegetables, or a protein like turkey or chickpea salad for a hearty, homemade option.
- Kids-friendly meals: A sprinkle of cinnamon sugar on toast or a smear of peanut butter and banana makes a delightful after-school snack.
Pairings to consider include:
- Soups: Creamy tomato soup, lentil soup, or a chunky vegetable chowder.
- Salads: A bright, crunchy cabbage slaw, arugula with shaved parmesan, or a Waldorf-inspired mix.
- Spreads: Herb butter, sun-dried tomato spread, avocado mayo, or classic hummus for a Mediterranean twist.
- Drinks: A light white wine or sparkling water with a squeeze of lemon pairs well with a simple, wholesome bread like this.
- Desserts: A light honey or jam drizzle as a finishing touch for a deceptively simple, comforting end to a meal.
Tips, Variations & Substitutions
Every baker loves a few go-to tips to ensure success, and this recipe is no exception. Here are practical ideas to tailor the loaf to your needs:
- Hydration adjustments: If your flour is drier or your kitchen is cool, you may need a small amount more water. Add 1 teaspoon at a time until the dough comes together into a soft, tacky ball.
- Sweetener variations: A little honey, maple syrup, or brown sugar can deepen color and flavor. If you prefer a non-sweet bread, simply omit the sugar or honey.
- Fat options: A bit of olive oil or melted butter enriches flavor and tenderness. If you’re dairy-free, use a neutral oil like canola or sunflower.
- Salt levels: If you use a salted butter or prefer a more assertive salt presence, adjust the salt slightly to suit your taste.
- Flavor twists: Fold in seeds (sunflower, flax, sesame) or a handful of rolled oats for added texture and a nutty bite. You can also add dried herbs for a savory note.
- Make it vegan: Use a plant-based milk and a neutral oil in place of animal fats, and ensure your yeast is active and fed with sugar or honey substitute if needed.
- Gluten considerations: This recipe is designed for all-purpose and whole wheat flours. For a gluten-free version, you’d need a different flour blend and binding agents; this version isn’t gluten-free as written.
- Whole wheat balance: If you crave a lighter crumb, substitute up to 50% of the whole wheat flour with bread flour or all-purpose flour, keeping the hydration adjusted to maintain a soft dough.
Storage & Make-Ahead Ideas
Bread has a better life when stored properly. Here’s how to keep this loaf as fresh as possible:
- Room temperature: Store cooled bread in a bread bag or wrapped in a clean towel for up to 3–4 days. Avoid plastic if you want the crust to stay crisp; a breathable environment helps maintain texture.
- Toast-friendly: Slice and freeze individual portions to have ready-to-go toast for busy mornings. Toast from frozen works beautifully; no need to thaw completely.
- Freezing: Wrap the loaf tightly in plastic wrap and then in aluminum foil or place in a freezer bag. It will keep for up to 3 months. To reheat, warm slices in the oven or toaster oven until the crust crisps and the interior softens.
- Make-ahead dough: Prepare the dough, let it rise once, shape the loaf, and refrigerate overnight. In the morning, bring to room temperature, let it proof a final time, and bake for a fresh loaf in minutes.
- Fridge life: If you find your dough has overproofed, you can punch it down, re-shape, and give it a shorter second rise to salvage texture and rise.
Fun Facts & Trivia (Optional)
Bread is more than a staple; it’s a lens into history and culture. Here are a few tidbits to savor while you bake or nibble:
- Whole wheat bread has been a dietary staple for thousands of years across civilizations, often associated with periods of harvest abundance and resilience.
- The golden crust emerges thanks to the Maillard reaction, a chemical process between amino acids and reducing sugars that imparts depth of flavor and an appealing color when heat is applied during baking.
- Many traditional bread doughs rely on the same fundamental ingredients—flour, water, yeast, and salt—yet the texture and taste are endlessly varied depending on grain type, hydration, kneading, and baking method.
- If you listen closely while bread bakes, you might hear the gentle crackle of the crust as it forms and expands, a quiet symphony of science and patience at work in your oven.
- Sharing bread has long been a symbol of hospitality and community, from the “breaking of bread” in ancient rituals to modern family dinners. This loaf invites you to participate in that timeless tradition in your own kitchen.
Ingredients
-
Dough Base
- 3 cups whole wheat flour
→ The primary structure builder for the loaf. Whole wheat flour provides a hearty, dense crumb and a rich, nutty flavor. Measure scooped and leveled to avoid overpacking the flour, which can make the dough stiff. If you want a lighter loaf, substitute up to 1 cup with bread flour, but keep the total flour at 3 cups for best texture. - 1 1/4 cups warm water (about 110°F/43°C)
→ Water activates the yeast and hydrates the flour to form the dough. Warm water (not hot) helps the yeast wake up without killing it. If using a mixer with a dough hook, you can reserve a few tablespoons to adjust hydration if the dough feels dry. - 2 1/4 teaspoons active dry yeast (one 0.25 oz packet)
→ Leavening agent that creates the loaf’s rise and soft crumb. For best results, proof the yeast in a small portion of the warm water with a pinch of sugar for 5–10 minutes until bubbly and foamy. If it doesn’t foam, discard and start again with fresh yeast. - 2 tablespoons honey (or 1 tablespoon sugar, if you prefer)
→ Provides a touch of sweetness and boosts browning and moisture retention. Honey also helps the crust develop a richer color. If avoiding sweeteners, you can use 1–2 teaspoons maple syrup as an alternative. - 1 tablespoon olive oil (or other neutral oil)
→ Adds moisture, tenderness, and a softer crust. Oil coats flour particles, reducing gluten tightening and yielding a more forgiving dough. Use extra-virgin olive oil for a mild, fruity note, or a neutral oil if you prefer a cleaner flavor. - 1 teaspoon salt
→ Essential for flavor enhancement and controlling yeast fermentation. Salt also strengthens gluten structure, giving the loaf better chew and sliceability. Dissolve in the liquid before mixing to ensure even distribution. - 1/2 cup milk (warm)
→ Adds richness, tenderness, and a softer crumb. Using warm milk helps to accelerate yeast activity and improves crumb softness. If dairy-free, substitute with almond, soy, or oat milk in equal measure, ensuring it’s warm (not hot) to avoid harming the yeast. - 1 tablespoon melted butter (for brushing the loaf after bake)
→ Finishes the crust with a glossy, flavorful sheen and extra moisture. Brush the loaf while it’s still warm to seal the crust and keep the crumb tender. If dairy-free, you can brush with a little olive oil instead.
Instructions
- Proof the yeast: In a small bowl, whisk 1/4 cup of the warm water with the yeast and 1 teaspoon honey, then let stand 5–10 minutes until the mixture is foamy and active.
→ Proofing confirms the yeast is alive and ready to leaven; if it doesn’t foam, discard and start with fresh yeast to ensure proper rise. - Combine the dough base: In the bowl of a stand mixer or a large mixing bowl, whisk together 3 cups whole wheat flour and 1 teaspoon salt until evenly distributed to prevent salted pockets later on.
→ Even salt distribution helps control fermentation and strengthens gluten structure for a uniform crumb. - Warm the liquid mixture: In a separate measure, gently warm 1 1/4 cups water to about 110°F (43°C), then stir in 2 tablespoons honey and 1 tablespoon olive oil until dissolved.
→ Warm liquids activate yeast efficiently and the oil improves dough tenderness and extensibility, making kneading easier and the crumb softer. - Mix the dough: Pour the remaining warm water (from the 1 1/4 cups) over the proofed yeast, then add 1/2 cup warm milk and the liquid mixture to the flour with the yeast. Stir with a wooden spoon or mixer on low until a shaggy dough forms.
→ Hydration balance is critical: the liquid helps hydrate the flour to form a cohesive dough without becoming sticky or dry, and starting with a shaggy dough allows gluten to develop gradually. - Knead to develop gluten: If using a mixer, knead on medium-low for 6–8 minutes until the dough is smooth and elastic; if by hand, knead on a lightly floured board for 8–10 minutes, using a folding and pressing motion.
→ Proper kneading builds gluten networks that trap gas for a good rise and a chewy, resilient crumb; stop when the dough passes the windowpane test (stretching without tearing). - First rise: Lightly oil a clean bowl, place the dough inside, cover with plastic wrap or a damp towel, and let rise in a warm, draft-free spot until doubled in size, about 1 to 1 1/2 hours.
→ The first rise develops flavor and structure; a doubled size ensures sufficient air pockets for a light loaf and helps the crumb open during baking. - Punch down and shape: Gently deflate the dough with your fist to release large gas pockets, then shape it into a smooth loaf or place it into a lightly greased 9×5-inch loaf pan, ensuring the dough sits evenly and smooth for uniform baking.
→ Gently shaping preserves the gas inside for an even rise and a uniform crumb; shaping also prevents uneven doming in the oven. - Second rise: Cover the loaf pan loosely with a towel and let the dough rise again in a warm spot until it crests about 1 inch above the rim of the pan, roughly 30–45 minutes.
→ A proper second rise ensures the loaf reaches its full height and produces a soft, open crumb; avoid overproofing which can cause a dense loaf. - Preheat the oven and prepare for baking: While the dough rises, preheat your oven to 375°F (190°C) and place an empty metal sheet on the lower rack to help with heat distribution, then optionally place a small heat-safe dish of water on the lower rack for humidity.
→ A hot oven ensures rapid oven spring for a tall loaf, and adding humidity helps keep the crust from becoming too thick or dry too quickly during the early bake. - Bake the loaf: Bake the bread on the middle rack for 30–35 minutes, until the crust is deep golden brown and the loaf sounds hollow when tapped on the bottom; if the top is browning too quickly, tent with foil.
→ The target internal temperature should reach about 190–200°F (88–93°C); a deep, even crust indicates proper Maillard browning and complete cooking through the crumb. - Cool and brush the crust: Remove the loaf from the pan and place on a wire rack to cool at least 20 minutes; brush the warm crust with 1 tablespoon melted butter to seal the crust and impart a glossy finish.
→ Brushing with melted butter while warm creates a soft, aromatic crust and seals in moisture; cooling before slicing prevents the crumb from collapsing and ensures cleaner slices. - Slice and store: Once completely cooled, slice with a sharp serrated knife and store in an airtight container or bread box for up to 4 days, or freeze slices for longer storage; refresh with a quick light toast to revive crust and aroma.
→ Cooling time sets the crumb structure for clean slicing and helps maintain moisture; proper storage preserves freshness and prevents staling.
Notes
“These hearty 8-ingredient whole wheat bread is built for a sturdy loaf with a tender crumb and a lightly chewy crust. To ensure consistent results, measure the whole wheat flour scooped and leveled, and keep total flour at 3 cups. Use warm water (about 110°F/43°C) to wake the yeast without killing it, and proof the yeast in a small portion of the warm water with a pinch of sugar for 5–10 minutes until bubbly. A little honey (or sugar) helps with browning and moisture retention, while olive oil adds tenderness. For flavor, salt is essential and should be dissolved in the liquid before mixing. Warm milk enriches the crumb; dairy-free milk can be used as a substitute if needed. After shaping the dough, give it a generous rise in a warm spot until doubled for best volume. Brush the baked loaf with melted butter while still warm for a glossy finish and soft crust, or use a light olive oil brush if avoiding dairy. If you want a lighter variation, you can substitute up to 1 cup of the whole wheat flour with bread flour, but keep the total at 3 cups for best texture. Once cooled, store slices in an airtight container or freeze for longer storage. Always ensure your yeast is active and your ingredients are fresh for reliable rise.”
Tips
Tips for Perfect 8-Ingredient Whole Wheat Bread
- Measure flour correctly: Spoon the whole wheat flour into the measuring cup and level off with a knife. Tamping or scooping straight from the bag can compact the flour and result in a dense loaf.
- Hydration adjustments: If the dough feels dry or crumbly in the mixer, add 1 tablespoon of warm water at a time until it comes together. Whole wheat absorbs more moisture than white flour, so you may need a bit more liquid.
- Yeast quality check: If the yeast doesn’t foam during proofing, discard and start with fresh yeast. Fresh yeast ensures reliable rising and a lighter crumb.
- Flavor and color boost: The honey not only sweetens but aids browning. If you’re aiming for a deeper crust, let the dough rise longer at a cooler room temperature—this develops more complex flavors.
- Temperature control: Keep liquids warm (not hot) around 105–115°F (40–46°C). Hot liquid can kill yeast, while too-cool liquid slows fermentation.
- Kneading and gluten development: Because whole wheat flour contains bran, dough can be stiffer. Knead until the dough is smooth and elastic but not overly stiff. A stand mixer with a dough hook can help achieve consistent gluten development.
- First rise guidance: Let the dough rise in a warm, draft-free spot until it doubles in size. If your kitchen is cold, place the bowl in a lightly warmed oven (turned off) or use a proofing setting if available.
- Shaping tips: After the first rise, gently deflate and shape into a loaf. For an even bake, tuck the ends under to form a tight, smooth loaf and place seam-side down in the pan.
- Pan preparation: Lightly butter or oil the loaf pan, or line with parchment for easy release. This helps prevent sticking and aids in clean slicing.
- Crust finish: Brush the top with melted butter right after baking for a soft, flavorful crust. If you prefer a crisper crust, brush with a little water and return to a hot oven for 2–3 minutes to set.
- Storage and freshness: Store the cooled loaf in a cloth bag or wrap tightly in plastic to maintain moisture. For longer storage, freeze slices and toast directly from frozen for best texture.
- Milk substitutes: If avoiding dairy, use warm almond, soy, or oat milk in equal amounts. Ensure the substitute is warm to help yeast activation without overheating.
- Flavor variations: Add mix-ins like toasted seeds (sunflower, flax, sesame) or a teaspoon of flaxseed meal to boost nutrition and texture without overpowering the whole wheat flavor.
FAQ
What is the 8-Ingredient Whole Wheat Bread Easy Recipe?
This is a simple homemade bread recipe made with eight common ingredients, including whole wheat flour. It yields a soft, flavorful loaf with a wholesome texture.
What ingredients are required?
The eight ingredients typically are:
- Whole wheat flour
- All-purpose flour (optional, for lighter texture)
- Warm water
- Active dry yeast
- Granulated sugar (or honey)
- Salt
- Olive oil or melted butter
- Plain yogurt or milk (optional for tenderness)
Can I substitute ingredients?
Yes. You can:
- Replace olive oil with melted butter for a richer flavor.
- Use honey instead of sugar for a touch of sweetness.
- Use milk or yogurt instead of water for softer crumb; dairy-free options include almond or soy milk.
- Mix whole wheat flour with a portion of bread flour for better rise if desired.
What equipment do I need?
Basic equipment:
- Mixing bowl
- Measuring cups and spoons
- Wooden spoon or dough whisk
- Loaf pan (8×4 inch or similar)
- Kitchen towel or plastic wrap for covering
How do I activate the yeast?
In a small bowl, dissolve 1-2 teaspoons of sugar in about 1/2 cup warm water (around 110°F/43°C). Sprinkle 2 1/4 teaspoons (1 packet) of active dry yeast over the surface. Let it sit 5-10 minutes until it’s foamy. If it doesn’t foam, the yeast may be dead—start over with fresh yeast and water at the right temperature.
How long does the dough need to rise?
After mixing, let the dough rise in a warm, draft-free spot until it doubles in size, typically about 60-90 minutes. If your kitchen is cool, it may take longer. You can also do a second rise after shaping for a taller loaf.
What should the dough texture be like?
The dough should be smooth, elastic, and slightly tacky to the touch. It should not be overly sticky. If it sticks to your hands, knead a bit more flour or add a tablespoon of water if too dry.
How do I shape and bake the loaf?
Shape the dough into a loaf and place it seam-side down in a greased 8×4 inch loaf pan. Cover and let rise until the dough crowns about 1 inch above the rim. Bake at 350°F (175°C) for about 30-35 minutes, until the crust is golden and the loaf sounds hollow when tapped. Let cool completely before slicing.
What are common troubleshooting tips?
Common issues and fixes:
- Loaf doesn’t rise: check yeast activity, water temperature, and rising environment.
- Dense crumb: insufficient kneading, too little rising time, or too much flour.
- Crust too hard: bake time too long or oven temperature too high; tent with foil if browning too quickly.
- Crumb too gummy: moisture from dairy or not enough baking time; allow longer cooling.
Can I freeze the bread?
Yes. Once cooled, wrap tightly in plastic wrap and aluminum foil or store in a freezer-safe bag. It keeps for up to 2-3 months. Thaw at room temperature and refresh in a brief 5-10 minute bake if you want a crisper crust.
How should I store leftovers?
Keep at room temperature in a bread box or loosely wrapped in a cloth bag for 2-3 days. For longer storage, slice and freeze as mentioned above. If the bread starts to dry out, you can toast slices to refresh texture.


")