Introduction / Hook
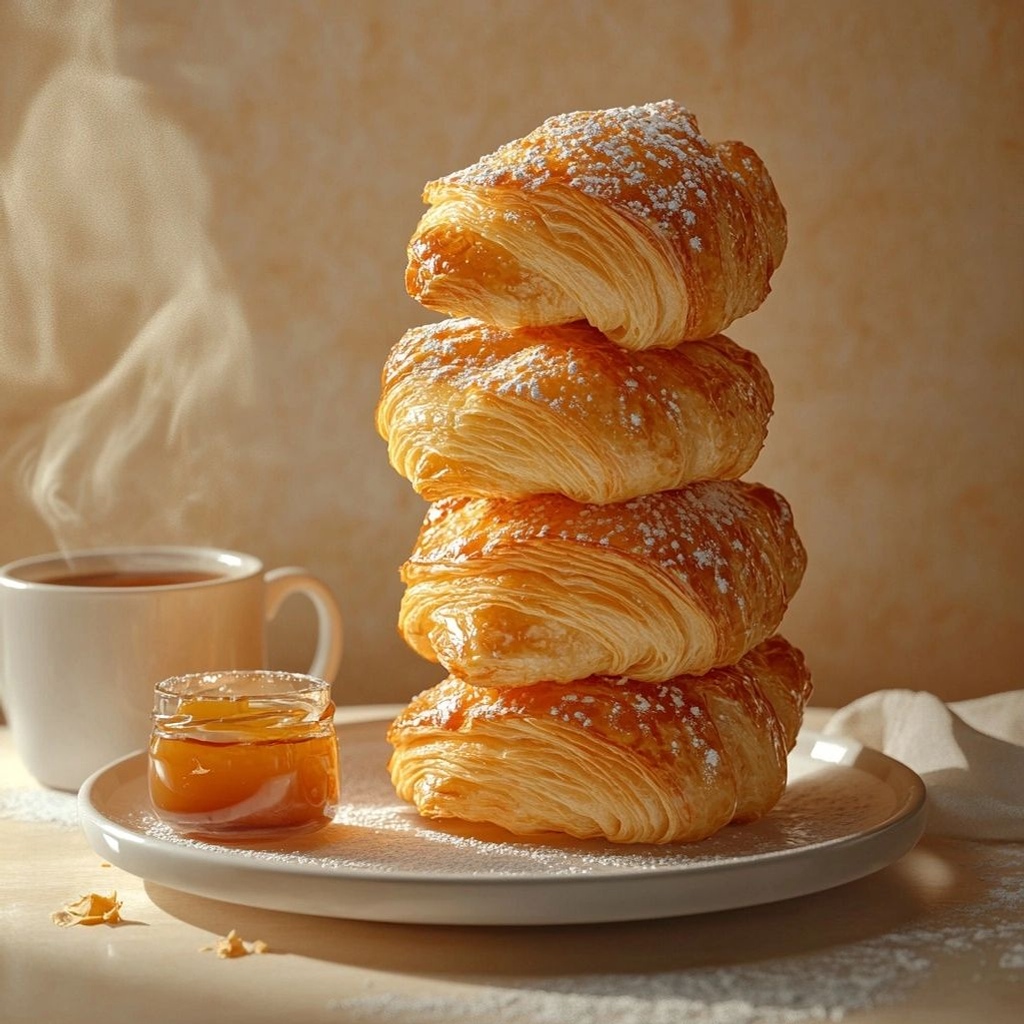
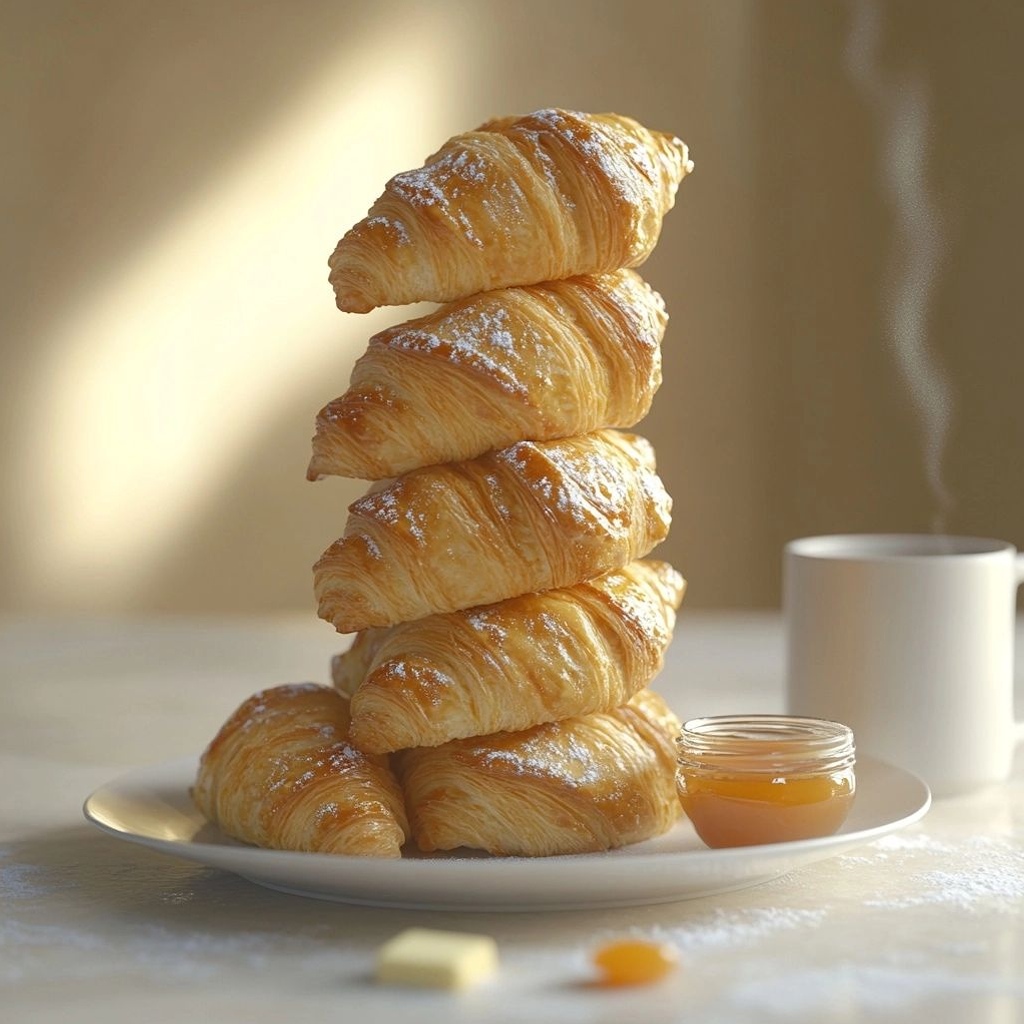
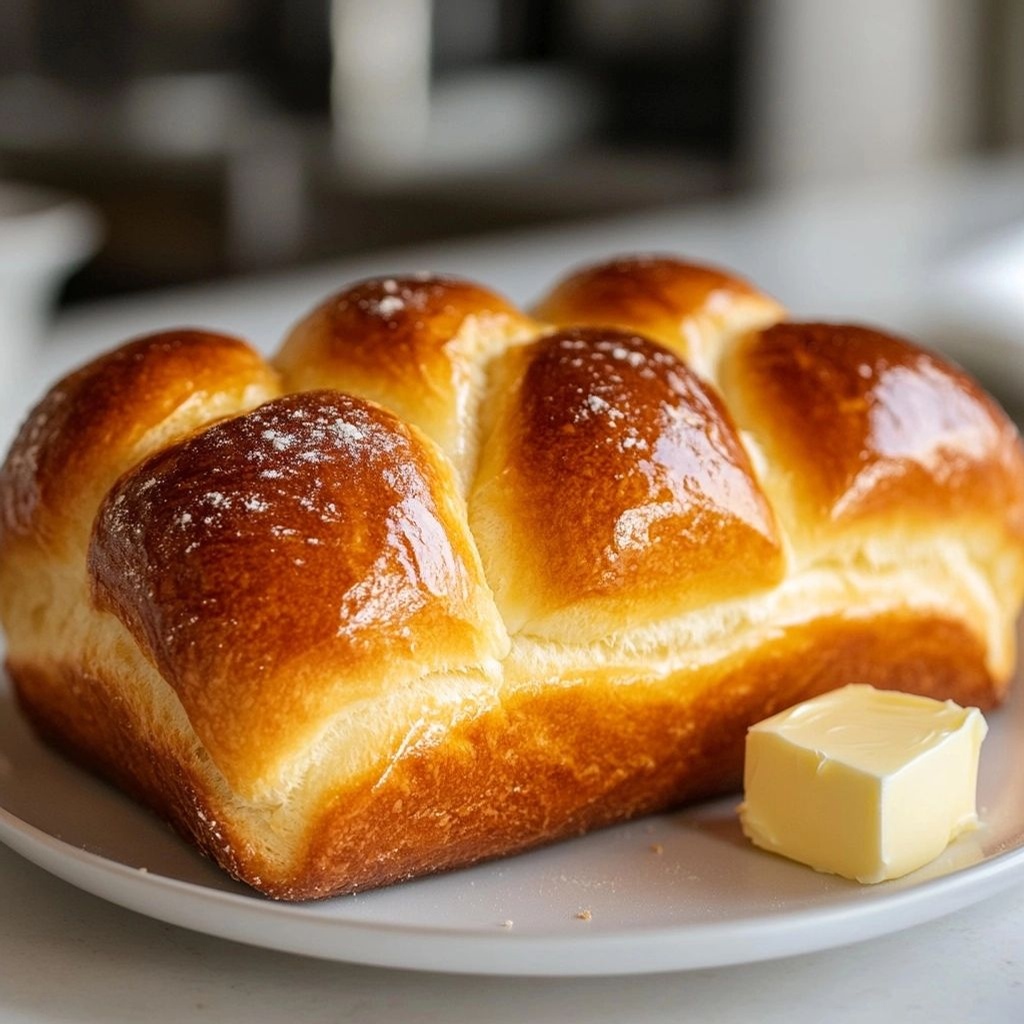
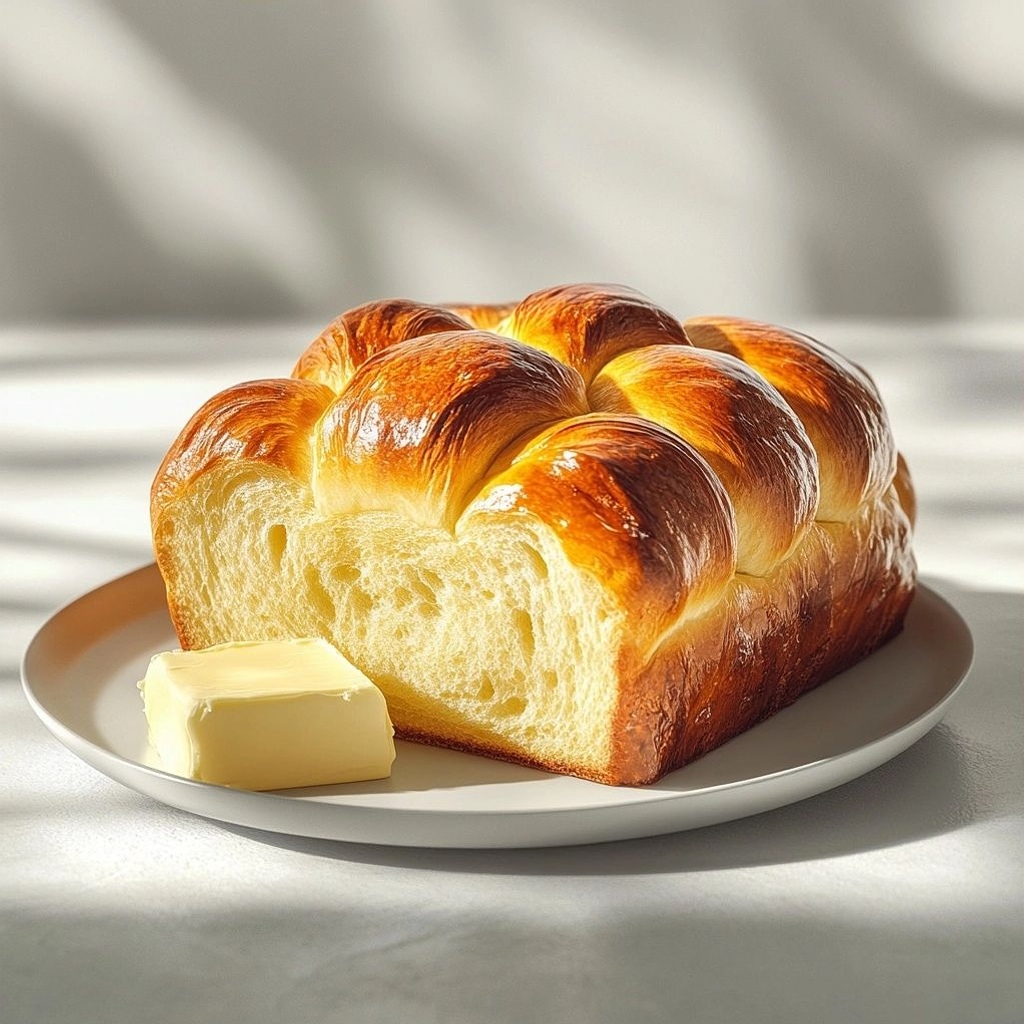
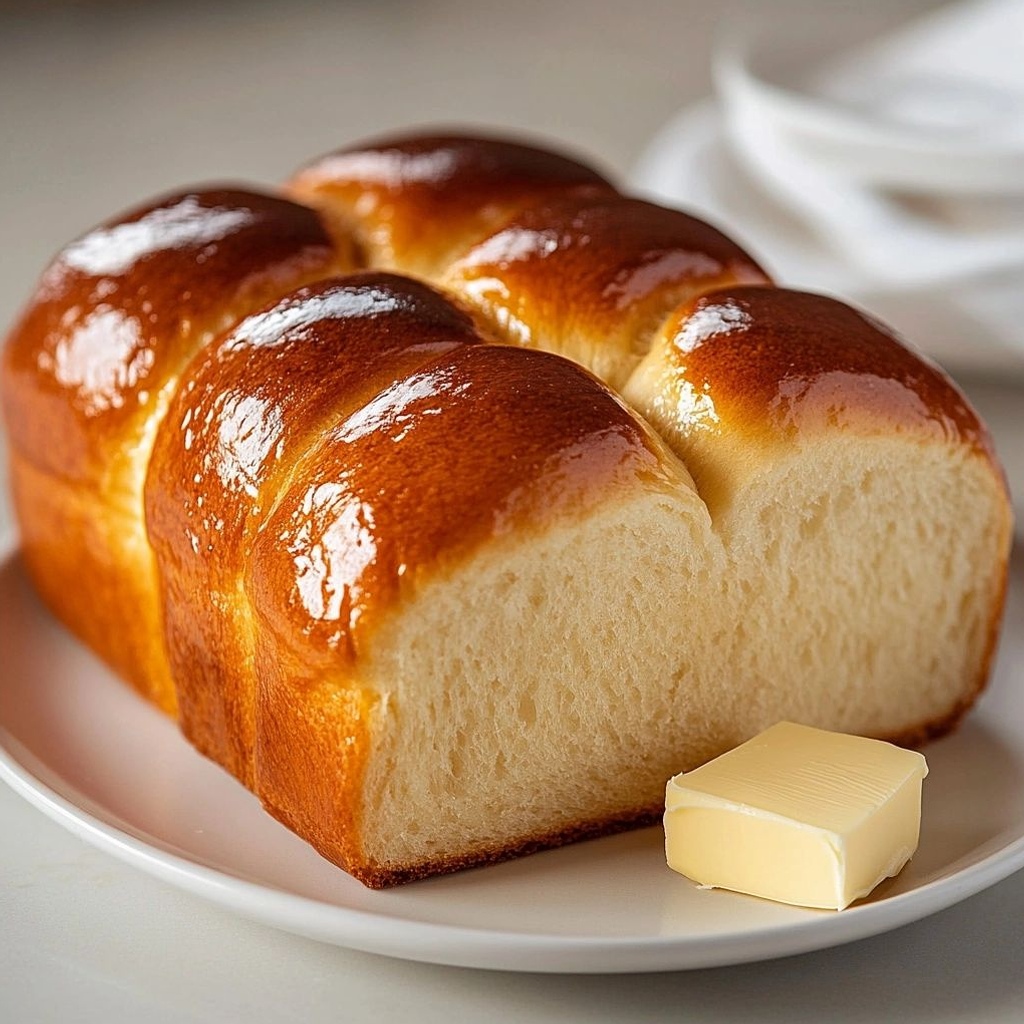
Imagine a loaf that whispers luxury with every slice — a golden, tender interior cloaked in a delicate, satin-crust that holds a soft, almost cloud-like crumb. Brioche is the kind of bread that turns a simple breakfast into a moment of celebration and elevates everyday comfort into a rare, memorable experience. Its aroma is impossibly inviting: butter-silky, eggs-rich, and subtly sweet, it wafts through the kitchen like a savory pastry dream turned homey staple. As you tear off a piece, you’ll notice a gentle kiss of sweetness balanced by a rich depth of flavor that makes this bread feel both indulgent and wonderfully versatile. Brioche is the kind of loaf that begs to be toasted to the edge of caramelization, then slathered with jam, honey, or simply a pat of butter that melts into the warm crumb. It’s a bread that invites sharing, conversation, and slow moments of morning light.
The magic of brioche lies in its lineage and technique as much as its taste. This is not just bread; it’s a treat that bridges the everyday with the celebratory. The luxurious texture comes from a thoughtful blend of dough enriched with butter and eggs, giving it a tenderness that yields with a delicate spring under light pressure. The crust, honeyed by gentle browning, holds a faint sweetness that perfectly complements the soft interior. It is a bread that knows how to shine in the simplest sandwich and yet feel at home as the centerpiece of a brunch table. If you’ve ever wanted a bread that feels like a hug, brioche might be the closest thing in the baking world to that comforting sensation.
The Story Behind the Dish
Brioche traces its roots to the pastry-rich regions of France, where bakers have long perfected the art of enriching dough with fat and eggs to achieve a texture that is almost cake-like while remaining unmistakably bread. The name itself, brioche, evokes a sense of morning decadence and social warmth — a loaf that invites people to gather, to chat over coffee, to share a memory while slicing through its supple crumb. Historical references place brioche at the heart of European breakfast and feast traditions, evolving from humble enriched breads to a signature dish in French patisserie and bakery culture.
Across centuries, bakers cultivated methods to coax base dough toward a more luxurious, tender result. The addition of butter and eggs isn’t merely a flourish; it’s a careful balance of fat, moisture, and structure that yields that unforgettable bite. Regions within France and beyond embraced variations, from lighter, almost cake-like versions to deeper, more intensely enriched loaves. The craft is a dialogue between technique and time: long fermentation can deepen flavor, gentle mixing preserves a delicate crumb, and controlled browning grants that aroma-rich crust. Brioche’s evolution is a story of adaptation, of practical bakers transforming staple ingredients into something that feels special without losing its bread essence.
On the cultural side, brioche has a presence in many celebrations and everyday rituals. In some places, it’s baked into festive shapes for holidays, while in others it becomes a reliable everyday crumb that holds its own alongside butter, jam, or a simple slice of cheese. The bread’s comfort is universal, yet its refinement invites a touch of reverence at the table. This is a loaf that reminds us food can be both luxurious and approachable, a reminder that great flavor can emerge from patient technique and generous ingredients.
Why You’ll Love This Recipe
- Luxurious texture that’s soft, airy, and just a touch springy, with a deeply flavorful, butter-kissed crumb.
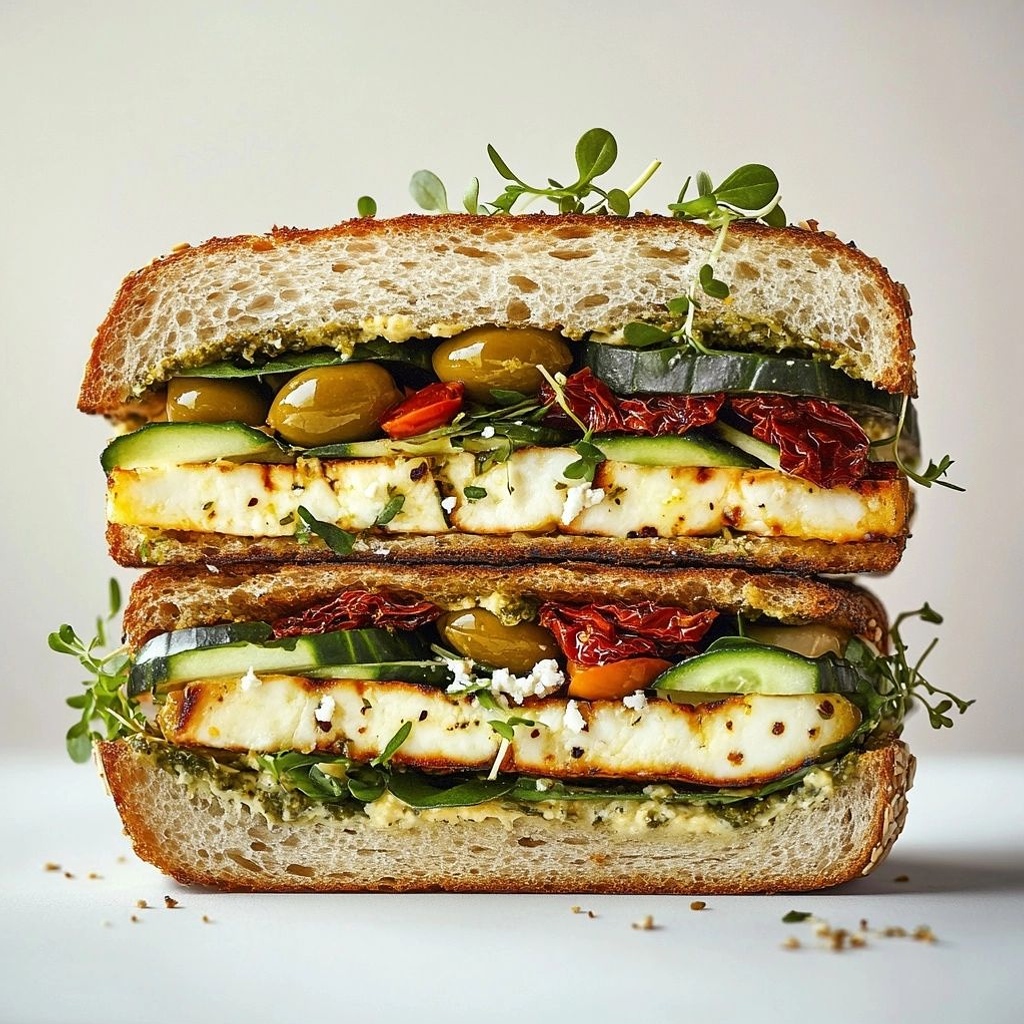
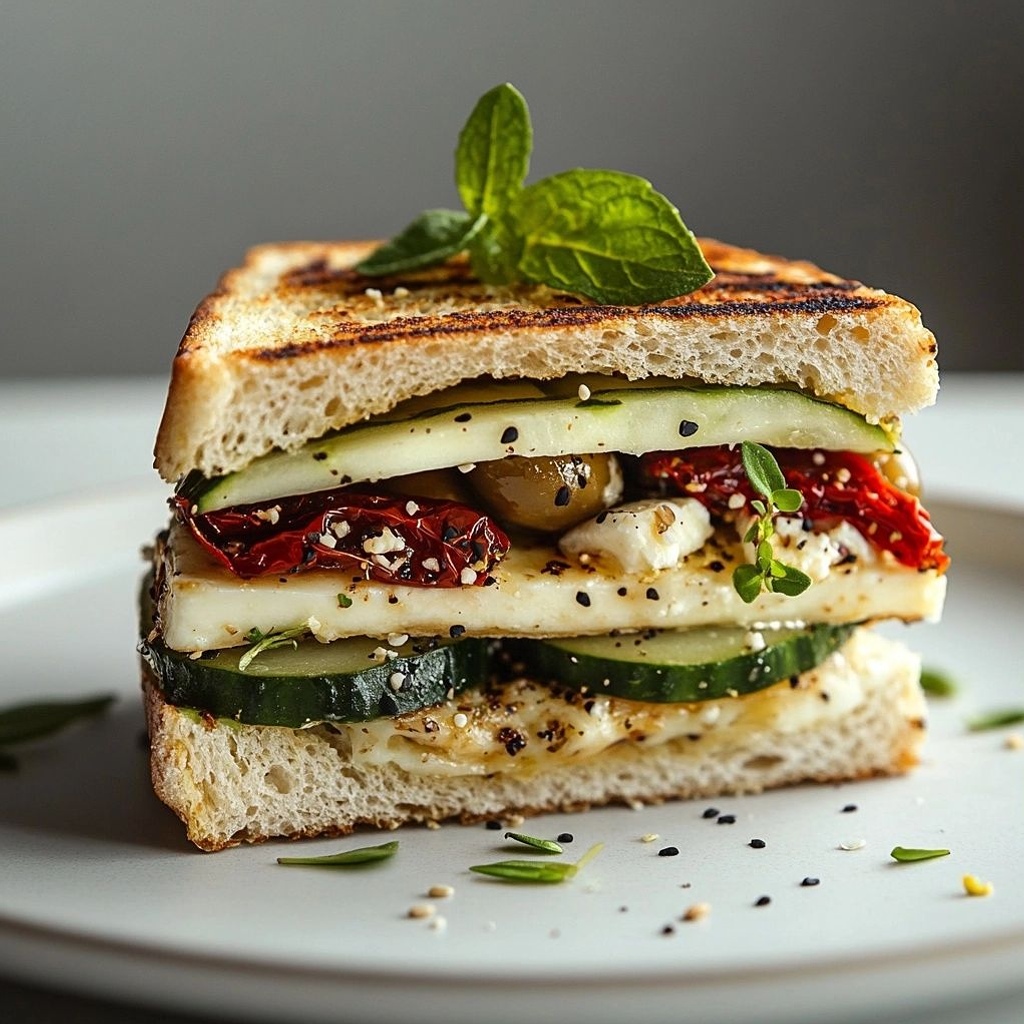
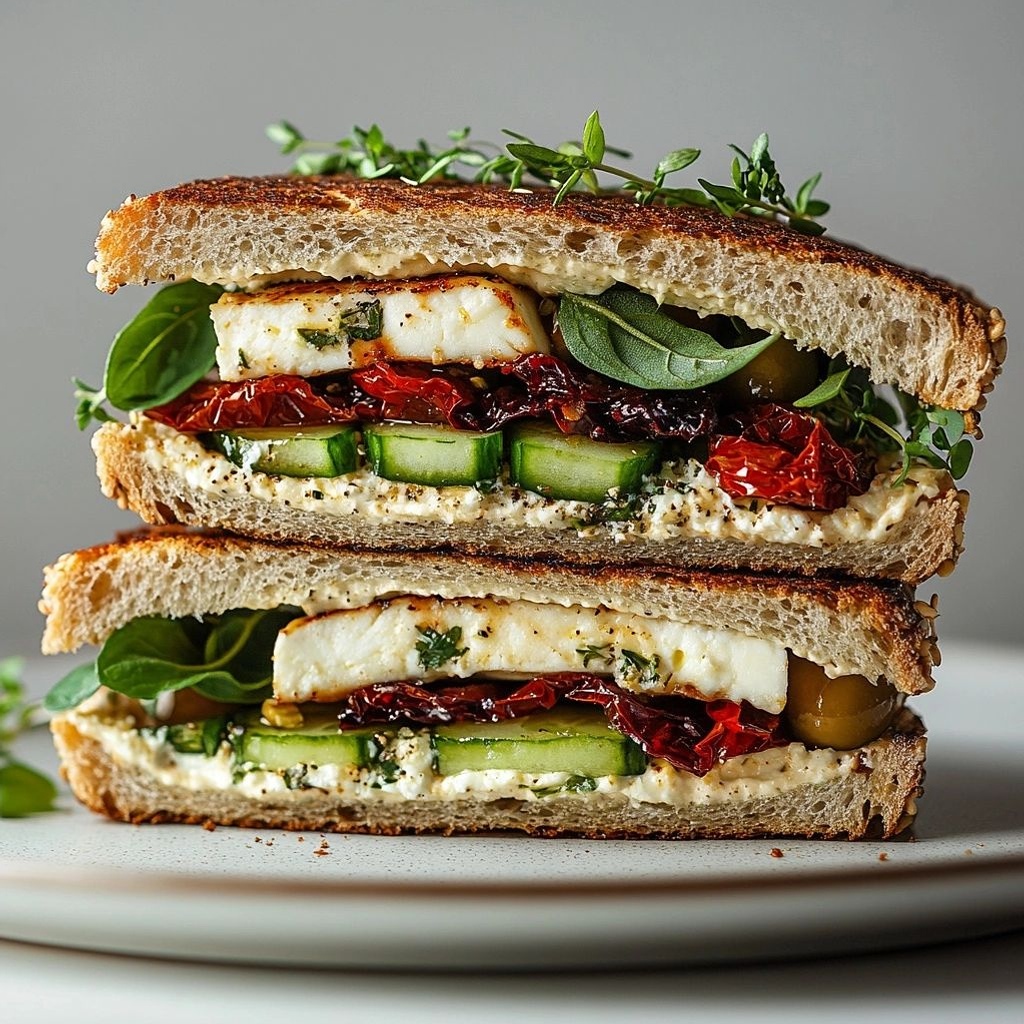
- Versatility that makes it perfect for breakfasts, brunches, afternoon tea, or fancy sandwiches — from ham and cheese to fruit preserves.
- Impressive yet approachable: you can achieve bakery-quality brioche at home with patience and careful handling.
- It pairs beautifully with both sweet and savory toppings, elevating simple toppings into a memorable bite.
- Great for making ahead: the dough stores well and can be shaped into loaves, buns, or braids for various occasions.
- Rich aroma that fills your kitchen with warm, comforting scents — a sensory reminder of home and hospitality.
Flavor Profile & Texture
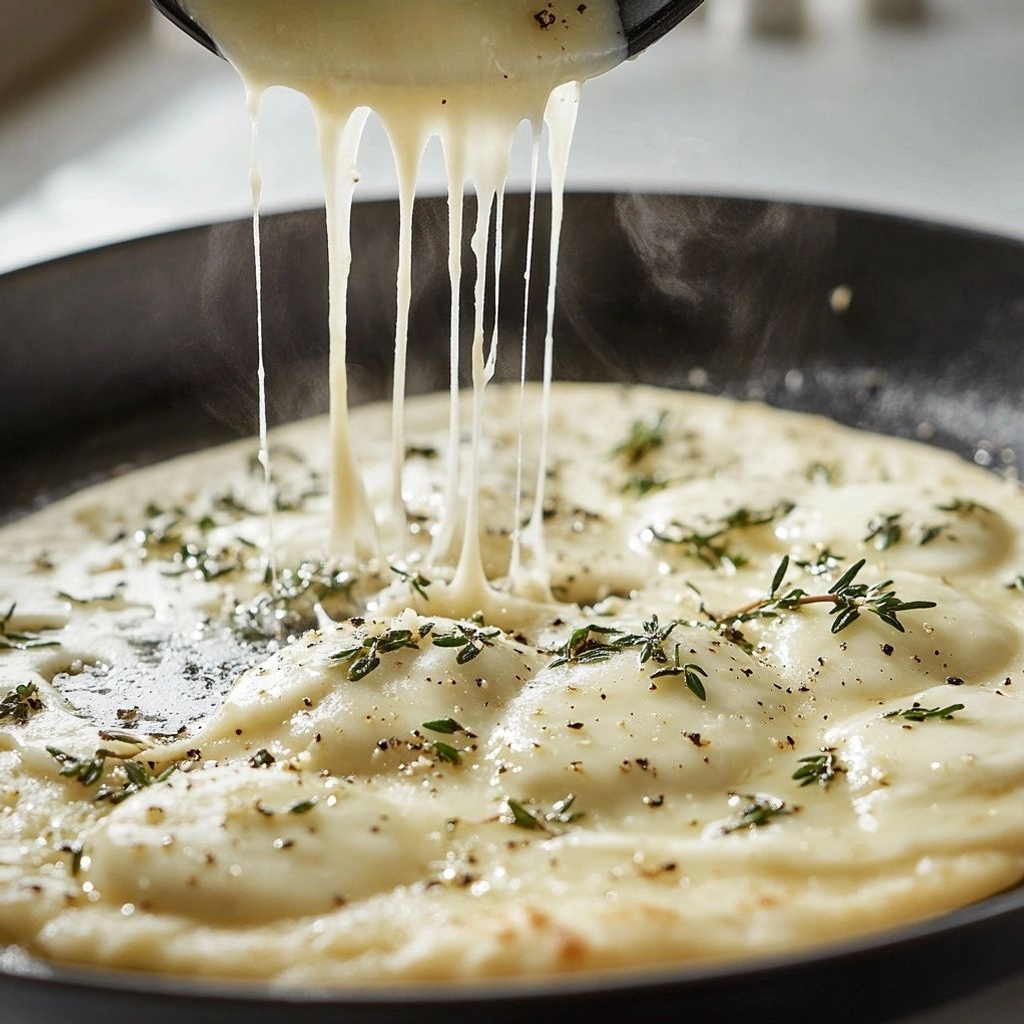
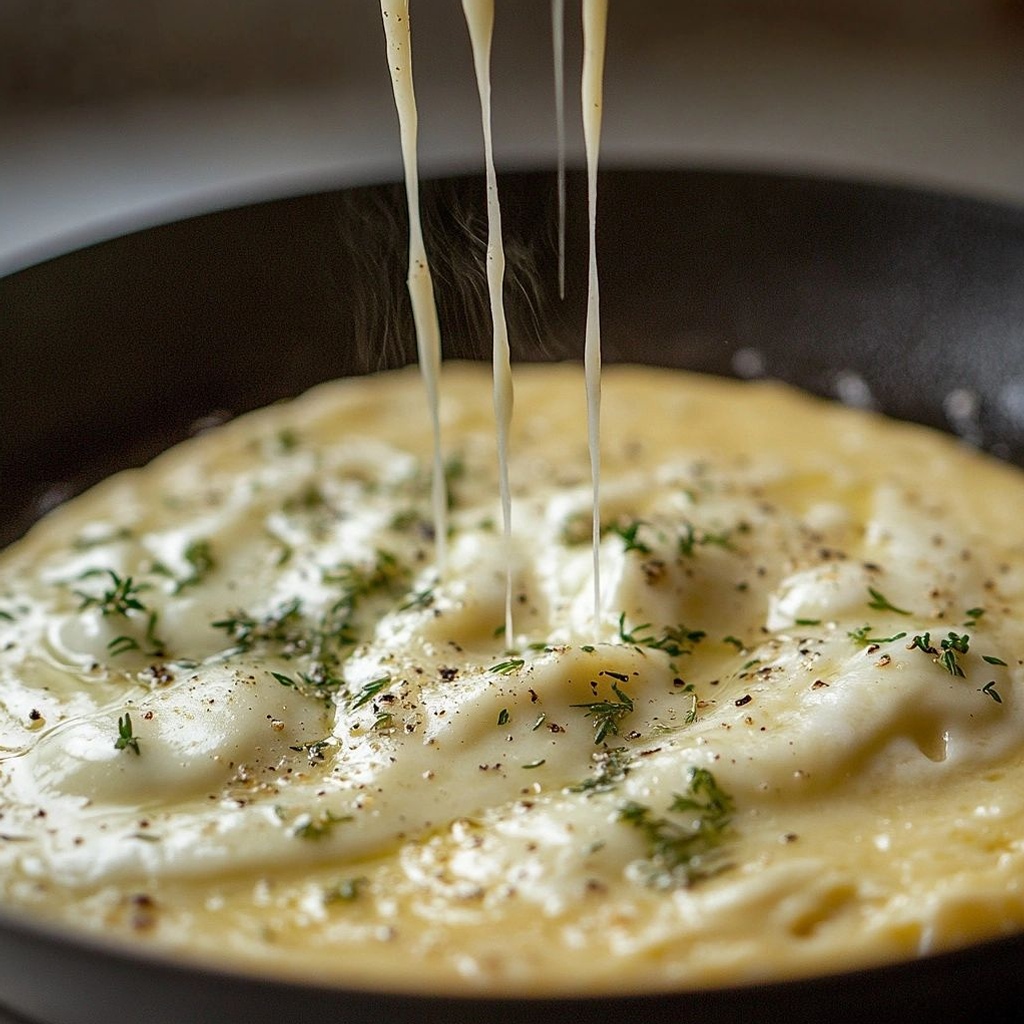
The flavor of brioche is a harmonious balance between rich, buttery complexity and a subtle sweetness that never overwhelms. You’ll often detect a gentle depth that suggests the dough’s long history and careful preparation, with a faint hint of yeast-driven tang that settles into a smooth, comforting finish. The texture is the star: an exquisitely delicate crumb that yields to the touch, with a yolky, almost custard-like richness that glides across the palate. The outer crust, browned to a caramelized gloss, provides a slight crispness that gives way to a melt-in-your-mouth interior.
The added fat from butter and eggs contributes to a velvety mouthfeel and an enduring tenderness that holds together well when sliced or torn. When toasting brioche, the surface becomes crisp and toasty, while the interior remains soft and plush, creating a contrast that is simply irresistible. Depending on how you shape and bake it, you can introduce subtle variations in crust color and crumb density, but the begging flavor remains unmistakably comforting, fragrant, and satisfying.
The aroma is equally inviting: warm butter, faint vanilla or natural sweetness, and the gentle kiss of caramelization from the crust. In the kitchen, it’s the sort of scent that prompts a smile, a lingering pause, and perhaps a moment of anticipation for the first bite. The texture and flavor work together to create a multisensory experience that lingers long after the last crumb is gone.
Occasions & Pairings
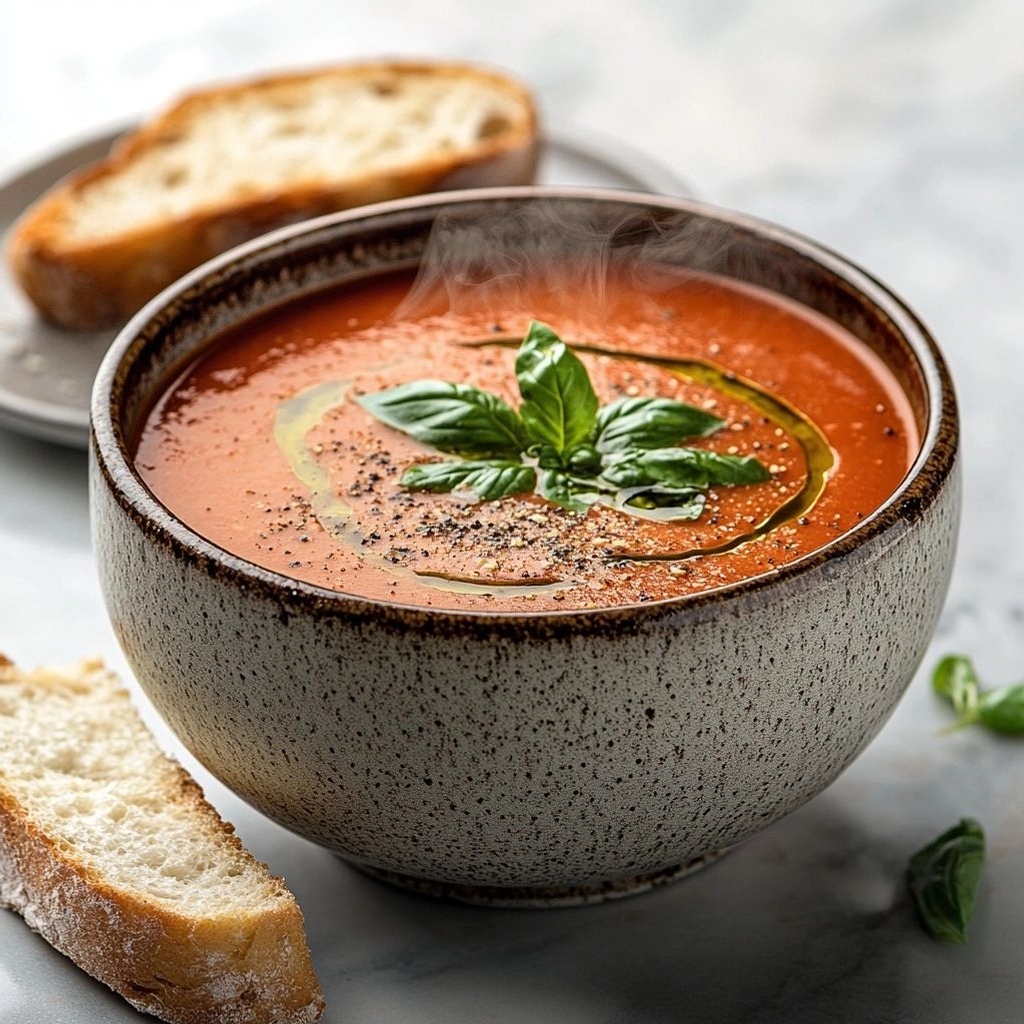
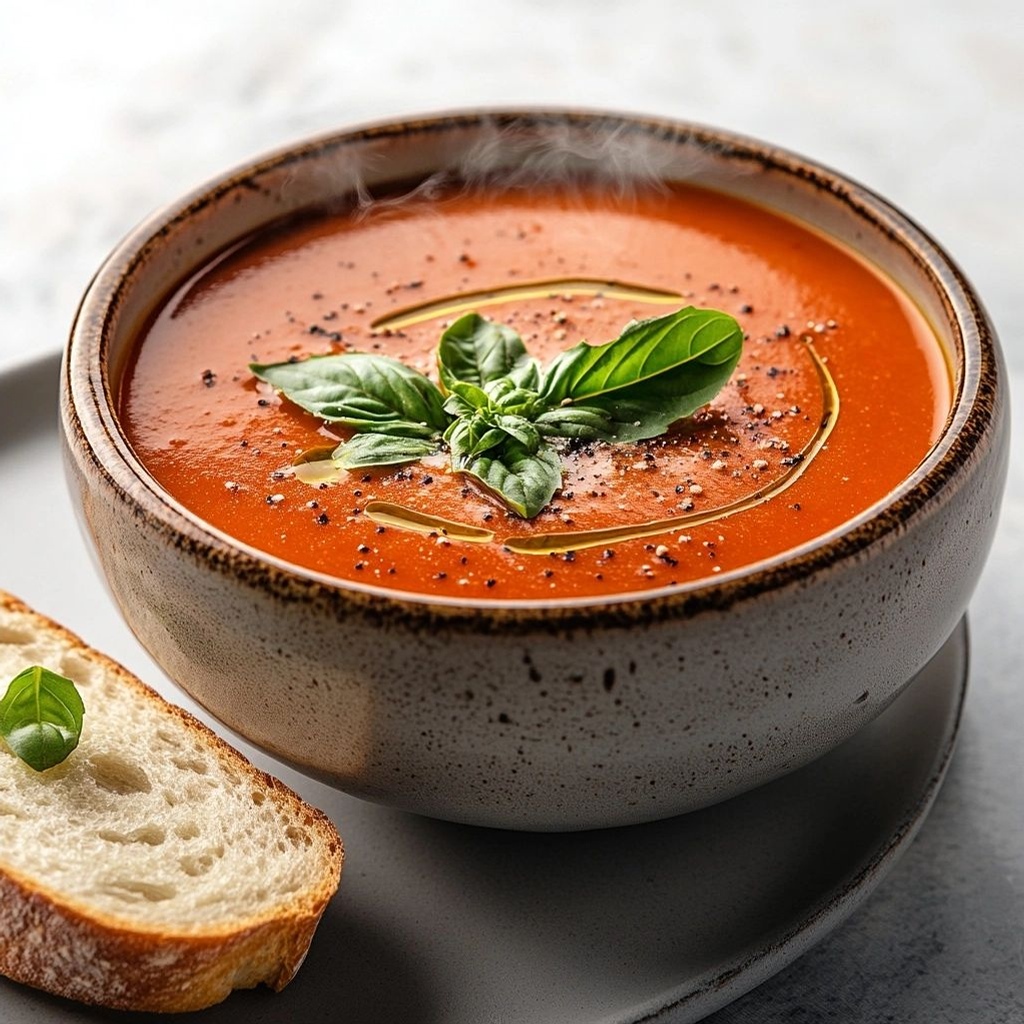
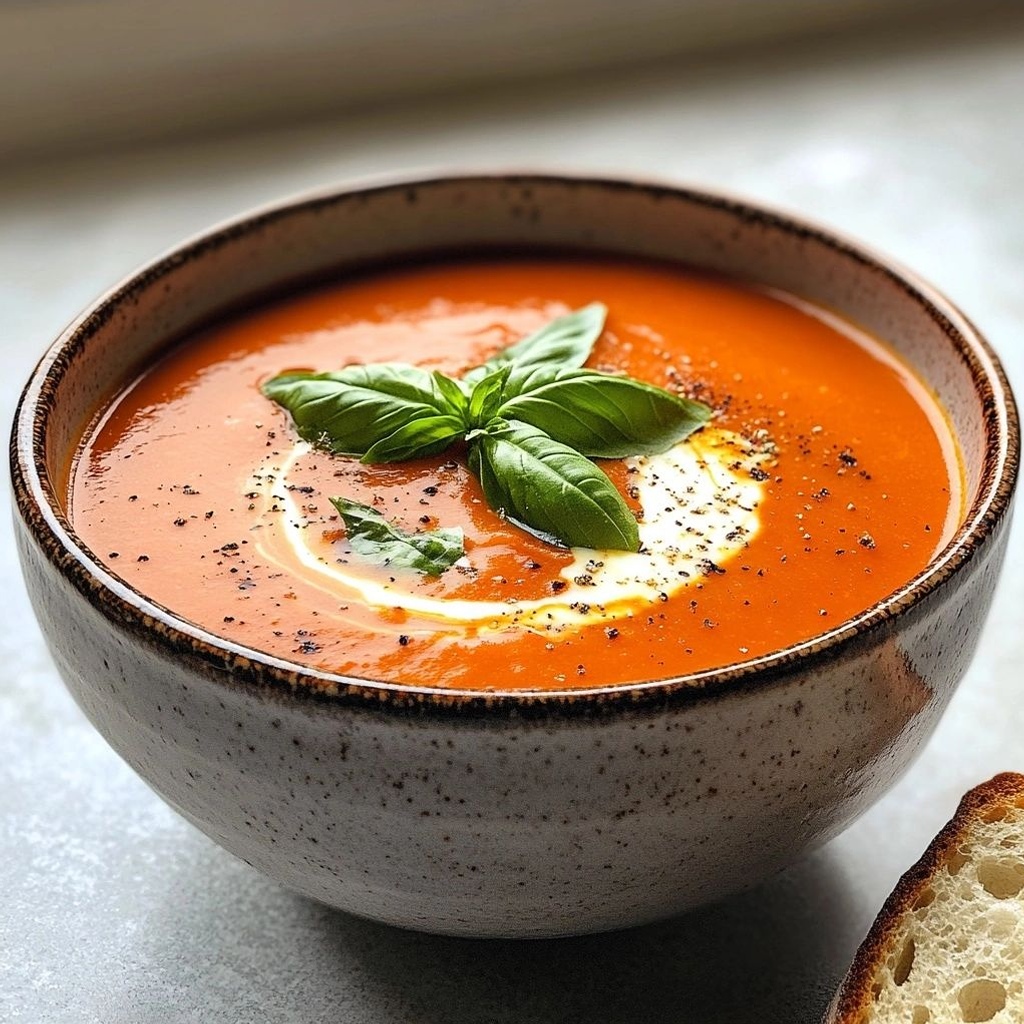
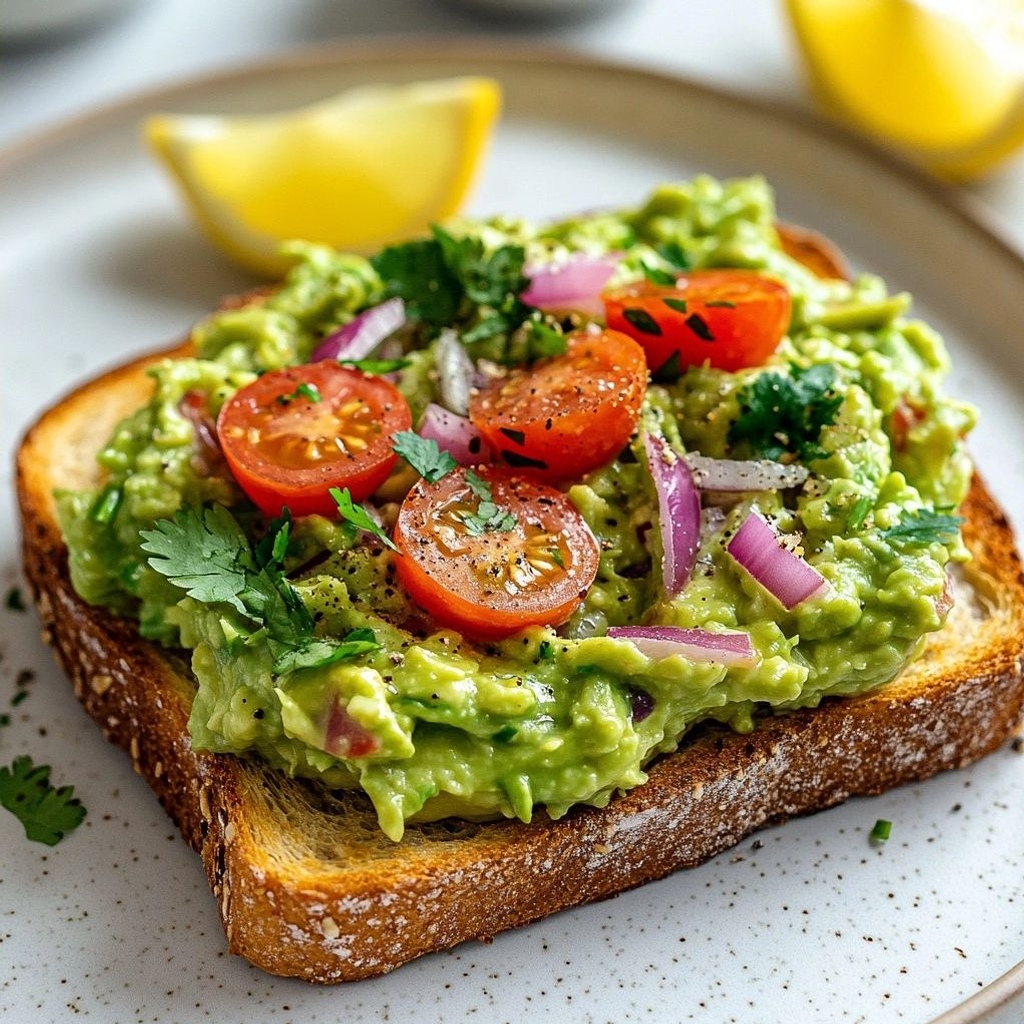
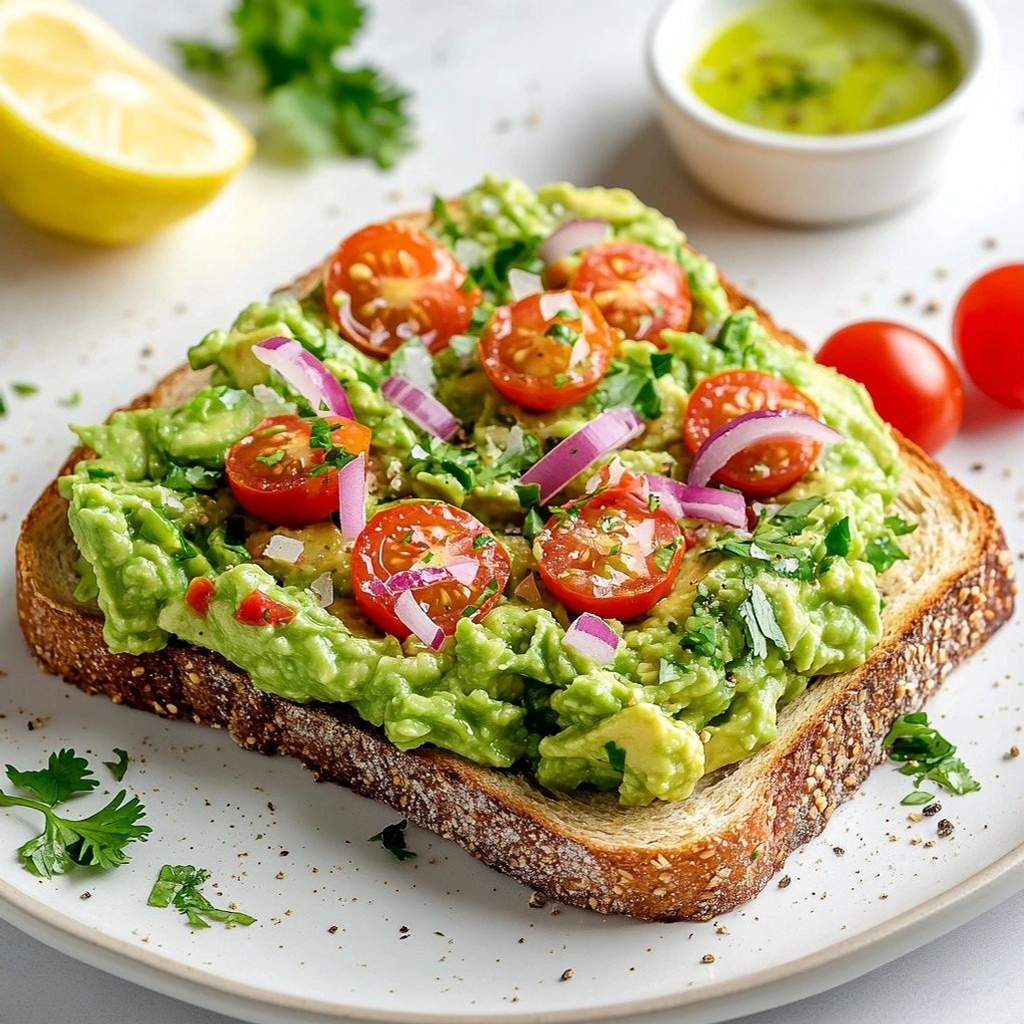
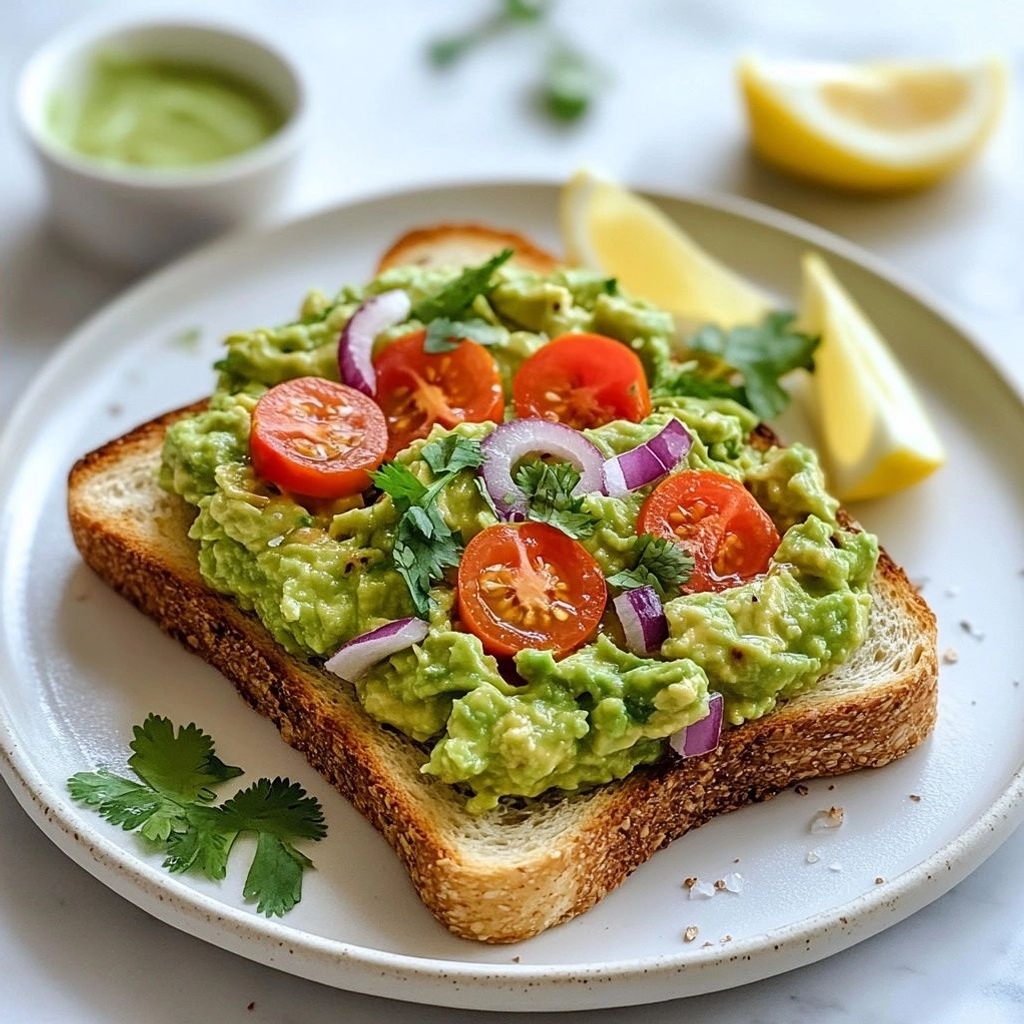
Brioche shines in a wide range of settings, from quiet weekend breakfasts to festive brunch spreads. Its versatility means it can be enjoyed on holidays, served with a lush spread of toppings, or used as the star in a simple sandwich that feels elevated. For a cozy morning, pair brioche with fresh fruit, a dollop of yogurt or whipped cream, and a drizzle of honey or fruit preserves. It also makes for a luxurious afternoon treat when lightly toasted and spread with a savory or sweet topping.
If you’re planning a special brunch, brioche can anchor the menu as the center point around which other items revolve. Think airy quiches, a bright fruit salad, and a selection of cultured dairy or preserves that allow guests to customize their bites. For savory scenarios, brioche becomes a perfect base for a refined grilled cheese or a croque-monsieur, where its richness complements ham, cheese, and béchamel to create a comforting yet sophisticated dish.
In terms of drinks, brioche pairs nicely with coffee, a cappuccino, or a light tea just as well as with a sparkling beverage for a celebratory mood. Its natural sweetness balances the acidity of fruit drinks and can stand up to creamy accompanyments like yogurt, soft cheeses, or custards used in dessert preparations.
Tips, Variations & Substitutions
Brioche is a canvas for flavor, and there are many avenues to personalize it while preserving its signature tenderness.
- Flavors: Add vanilla, citrus zest, or a pinch of almond extract to evoke warm, toasty notes that enhances the bread’s natural sweetness.
- Sweet vs. savory: For a slightly savory profile, you can reduce sweet accents and pair brioche with herbs, soft cheeses, or cured meats for a balanced bite.
- Texture tweaks: For a lighter crumb, allow for gentle handling and avoid overworking the dough. For a richer, denser crumb, slightly increase the fat content or incorporate a longer resting period.
- Gluten-free or alternative flours: Brioche relies on gluten to develop its structure. There are gluten-free enriched bread approaches that aim for a similar tenderness, though results differ in crumb and rise. Experiment with a high-protein gluten-free blend and a measured amount of binder to approximate the texture while noting differences from traditional brioche.
- Vegan adaptation: Replacing eggs and dairy fat with plant-based equivalents can yield a close-enough version for vegan eaters, but the resulting crumb and tenderness will be distinct from classic brioche. Look for vegan butter substitutes and egg replacers that mimic the emulsification and richness of the original ingredients, and consider a longer fermentation to build flavor.
- Shape variations: While loaves are common, brioche shines as rolls, buns, or decorative braids for holidays. A braided loaf offers a dramatic presentation and a slightly different crust-to-crumb balance, while rolls bake quicker and provide individual portions ideal for a brunch table.
- Make-ahead notes: Brioche dough benefits from a slow rise. You can refrigerate a portion after a first rise, then shape and allow a second rise the next day for a more developed flavor. Freezing shaped dough before final rise can also be a time-efficient approach for busy schedules.
For a more intricate flavor, consider brushing the finished bread with a light syrup or glaze to add a gentle sweetness and a sensational sheen on the crust. If you are experimenting with toppings, a light sprinkle of flaked salt or a dusting of powdered sugar at the very end can create a luxe finish that enhances the bread’s natural character without overpowering it.
Storage & Make-Ahead Ideas
Brioche is best enjoyed fresh, but proper storage can extend its life and keep its tenderness intact. If you plan to savor it over a few days, store cooled loaves in a breathable cloth bag or wrapped in a clean kitchen towel to maintain moisture without trapping too much humidity that could soften the crust.
For longer-term storage, brioche freezes well. Slice or portion the loaf and wrap tightly in plastic wrap, then place in a freezer bag. Thaw at room temperature and refresh in a low oven to revive some of the crust’s crispness. Alternatively, toast slices straight from the freezer for quick, comforting breakfasts.
Make-ahead strategies can also apply to shaping. You can prepare the dough and refrigerate it after the initial rise, then shape and complete the final rise on the day you plan to bake. This approach lets you wake up to the scent of brioche ready to bake, turning a routine morning into something delightful and novel.
Fun Facts & Trivia (Optional)
Brioche has earned its reputation as a quintessential enriched bread, but its journey across kitchens has some delightful trivia. In traditional French pastry culture, brioche is often associated with celebrations and imparts a sense of hospitality and warmth to gatherings. The texture, achieved through a high ratio of fat and eggs, is a nod to the bakery artistry that emphasizes tenderness as a hallmark of refined bread making.
The term “brioche” reportedly shares roots with several languages, illustrating how this beloved loaf migrated and evolved. In some regions, the bread’s name and shape reflect local culinary quirks and traditions, resulting in an array of regional variants that still honor the same light, rich, tender characteristics.
Beyond its taste and texture, brioche has inspired pastry traditions around the world. Bakers adapt its enriched dough to create not only traditional loaves but also delightful desserts, buns for sliders and sandwiches, and even festive wreaths or braided loaves for special occasions. Each iteration celebrates the bread’s core identity: a soft, luxurious crumb encased in a caramelized crust, a testament to the beauty of simple ingredients treated with care.
Closing Thoughts
Brioche is a testament to how humble ingredients — flour, eggs, butter, a pinch of sugar, and a touch of yeast — can come together to produce something that feels extraordinary. It’s a bread that invites ritual: the slow, patient knead; the anticipatory rise; the aroma that fills the room as it bakes; and the first bite that reveals a treasure inside. Whether enjoyed on a quiet morning with jam and coffee or as the centerpiece of a festive brunch, brioche invites you to slow down, savor, and share. It’s a loaf that suggests generosity, comfort, and a certain celebration of life’s small, delicious moments.
Ingredients
- Brioche Dough
→ All-purpose flour forms the structure of the dough, providing the chewy yet tender crumb characteristic of brioche. Use unbleached flour for best gluten development. This amount is designed to create a rich, slightly dense loaf that becomes tender and buttery after proofing. If you prefer a lighter crumb, you can substitute part of the flour with bread flour, but keep in mind brioche benefits from a strong, supple gluten network. - Granulated Sugar – 1/3 cup (67 g)
→ Sugar sweetens the dough and helps feed the yeast for a gentle rise. It also aids in browning the crust. Dissolve thoroughly in the warm milk before mixing into the dough to ensure even distribution. For a more pronounced sweetness, you can slightly increase this amount, but avoid overpowering the buttery flavor. - Active Dry Yeast – 2 1/4 teaspoons (7 g)
→ Yeast leavens brioche, creating its light, airy interior while developing depth through fermentation. If using instant yeast, you can reduce the amount to about 2 tsp and mix directly with the dry ingredients. Ensure the milk is warm (about 110°F / 43°C) to activate the yeast without killing it. - Salt – 1 1/2 teaspoons (9 g)
→ Salt enhances flavor, tightens gluten structure, and regulates fermentation. Add with the flour to distribute evenly and prevent direct contact with yeast, which can slow or kill it if the environment becomes too salty or acidic. - Eggs – 4 large eggs, plus 2 large yolks
→ Eggs enrich brioche dough, binding and adding moisture and color. The whole eggs contribute fat and emulsification, while the extra yolks intensify richness and tenderness. Bring eggs to room temperature before use for better incorporation and a smoother dough. - Warm Whole Milk – 1/2 cup (120 ml)
→ Milk hydrates the flour and adds fat and tenderness to the crumb. It should be warmed to about 110°F / 43°C to activate the yeast without killing it. If you prefer, you can substitute part of the milk with water, but milk yields a richer, more velvety crumb. - Unsalted Butter – 1/2 cup (115 g), softened and cut into pieces
→ Butter is the hallmark of brioche, delivering unparalleled richness, tenderness, and flavor. It should be softened but still cool to the touch to incorporate smoothly into the dough (a method called “fraisage” where butter is worked into the flour). Add in small pieces gradually so the dough remains cohesive and elastic. For best results, use high-fat European-style butter (82% butterfat) if possible. - Vanilla Extract – 1 teaspoon (optional)
→ Vanilla enhances the overall aroma and complements the buttery sweetness. If you skip it, the brioche will still be delicious; using a good-quality vanilla extract (or vanilla bean paste) yields a more pronounced, fragrant crumb. Add to the milk before warming. - Orange or Lemon Zest – 1 teaspoon (optional)
→ Citrus zest adds a bright, fragrant note that balances the richness of the dough. Use finely grated zest from a clean, untreated fruit. Avoid using the white pith, which adds bitterness. This is optional but highly recommended for a more complex aroma. - Egg Wash – 1 large egg beaten with 1 tablespoon water
→ The egg wash gives brioche its distinctive glossy, golden crust. Brush lightly over the formed loaf just before baking to ensure even color. For a darker crust, you can add a pinch of sugar to the wash, but avoid applying too thick a layer which can create a sticky surface.
Instructions
- Preheat your oven to 350°F (175°C) and lightly grease or line a 9×5-inch loaf pan with parchment to ensure easy release and even heat distribution.
- Warm the milk to about 110°F (43°C) and whisk in the granulated sugar until completely dissolved to feed the yeast and promote a steady, even rise.
- Bloom the active dry yeast in the warm milk for 5 to 10 minutes until it becomes foamy and fragrant, which confirms the yeast is active and ready to leaven the dough.
- In a large mixing bowl, whisk together the all-purpose flour and salt to distribute the salt evenly and prevent direct contact with yeast, which helps control fermentation and gluten development.
- Beat the 4 whole eggs with the two extra yolks and the vanilla extract, then whisk in the warm milk mixture to form a smooth, cohesive liquid that will emulsify with the flour for a rich brioche crumb.
- Pour the liquid mixture into the flour along with the melted, slightly cooled butter and the optional citrus zest, then stir until a shaggy dough forms and all flour is hydrated to begin gluten development.
- Turn the dough out onto a lightly floured surface and knead methodically for 6 to 8 minutes, using a French-style fold and push technique to develop a soft, pliable gluten network that can hold the butter without tearing.
- With the dough still kneaded, begin incorporating the softened butter pieces one by one, pressing and folding each piece into the dough until fully absorbed before adding the next, ensuring a glossy, supple texture and preventing greasy pockets.
- Continue kneading until the dough is smooth, elastic, and just slightly tacky, then place it in a lightly oiled bowl, cover, and let it ferment at room temperature for about 1 to 1 1/2 hours, or until it nearly doubles in size to build flavor and tenderness.
- Gently deflate the dough by pressing out excess gas, then reshape into a tight cylinder or desired loaf form, and place it into the prepared loaf pan with the seam side down to encourage uniform rise.
- Cover the pan and allow the dough to undergo a second, slower fermentation for 60 to 90 minutes, or until the dough crests about 1 inch over the rim of the pan, which yields a light, airy interior and a thorough proofing of the fatty dough.
- Brush the loaf with the egg wash in a light, even coat to promote a glossy, evenly colored crust; avoid excess that could pool and create shiny, uneven spots.
- Bake the brioche in the preheated oven for 30 to 40 minutes, rotating once if your oven heats unevenly, until the top is deeply golden and an internal thermometer reads 190°F (88°C) for a tender crumb that still holds its shape.
- Remove the loaf from the oven and cool on a rack for at least 20 to 30 minutes before slicing to allow the crumb to set, which prevents gummy centers and ensures clean, even slices.
Notes
Brioche bread is a rich, tender loaf that relies on a long, slow fermentation and a generous amount of butter to achieve its signature gilded crust and pillow-soft crumb. For best results, ensure all ingredients are at room temperature before mixing, and slowly incorporate the softened butter to keep the dough cohesive (a technique often called fraisage). Knead until the dough is smooth and elastic, then give it a first rise until doubled in size; a cooler, rainforest-like environment will yield deeper flavor from extended fermentation. After shaping, a second proof of about 1 to 2 hours will help develop a tall, airy loaf. If you’re short on time, you can use a stand mixer with a paddle or hook to combine before switching to a dough hook for kneading. For a lighter crumb, you can substitute part of the flour with bread flour or increase the hydration slightly, but the classic brioche shines when the gluten network can stretch and the fat is well integrated. Bake at a moderate temperature until the crust is deeply golden and a thermometer reads around 190–200°F (88–93°C) when inserted into the center. To finish, brush with a light glaze or immerse briefly in a syrup for extra sheen if desired. This dough benefits from gentle handling and patience, and it freezes well once baked or unbaked for future indulgence. Always ensure the eggs and milk are fresh for the best flavor and aroma. For variations, you can fold in citrus zest, vanilla, or a touch of almond extract to complement the buttery profile.
Tips
- Temperature control is key: keep all cold ingredients (butter, milk) slightly cooler than room temperature until you’re ready to incorporate, so the butter doesn’t melt into the dough prematurely. Temper eggs to room temperature to ensure smooth mixing and even hydration.
- Butter incorporation technique: add softened butter in small pieces, mixing slowly at first to prevent tearing, then increase speed gradually as the dough becomes cohesive. If the dough looks greasy, chill it for 10–15 minutes and continue kneading—this helps the fat reintegrate without losing structure.
- Kneading approach: brioche dough is rich and sticky. Use the beater or mixer with a paddle first, then switch to a dough hook for a few minutes to develop gluten until the dough is glossy, supple, and passes the windowpane test. If kneading by hand, perform a series of stretch-and-folds every 20 minutes during fermentation to build structure without overworking it.
- Fermentation strategy: long, cool fermentations (overnight in the fridge) can deepen flavor and improve aroma. If you’re short on time, a warm-rise in a 75–78°F (24–26°C) environment for 1–2 hours, with a gentle fold halfway through, works well. Do not let the dough overproof; it should feel lightly springy and hold its shape.
- Sugar and browning: sugar aids browning, but too much can inhibit yeast activity. If your oven tends to brown quickly, cover the loaf loosely with foil for the last 15–20 minutes of baking to prevent over-darkening while the interior finishes cooking.
- Pan prep and shaping: for a classic loaf, shape the dough into a tight log and place seam-side down in a well-greased loaf pan. If you’re making individual brioches, portion and roll into small balls; a light dusting of flour helps prevent sticking. For a tall, bakery-style crown, do a second proof in the pan until the dough just crowns the rim.
- Proofing during the final rise: the dough should roughly double in size and feel airy yet structured. A gentle poke should leave a slight indentation that slowly springs back. If it overproofs, the loaf will collapse and be dense; underproofed dough won’t rise fully in the oven.
- Egg wash and crust: brush the loaf with the egg wash just before baking for a glossy, golden crust. For a deeper color, you can brush again halfway through baking, but avoid overpainting the surface which can lead to a sticky crust.
- Flavor variations: vanilla and citrus zest lighten the richness of brioche. For a subtle almond note, replace part of the sugar with finely ground almonds or add a teaspoon of almond extract. If you want a richer crumb, increase the butter by a tablespoon and adjust the flour slightly to maintain hydration.
- Storage and freshness: brioche tastes best the day it’s baked but freezes well. Wrap cooled loaf tightly in plastic wrap and then in foil. Thaw at room temperature, then gently rewarm in a low oven (300°F/150°C) for a few minutes to revive the aroma and tenderness.
FAQ
What is brioche bread?
Brioche is a rich, tender bread enriched with a generous amount of butter, eggs, and a little sugar, resulting in a light, slightly sweet loaf with a soft crumb and a glossy crust.
What ingredients are essential for classic brioche?
Flour (all-purpose or bread flour), sugar, salt, active dry yeast, eggs, and a large amount of unsalted butter. Some recipes also include milk for softness.
Can I use instant yeast instead of active dry yeast?
Yes. If using instant yeast, you can mix it directly with the flour. Use about 25–30% less than the active dry yeast amount and the dough will rise faster.
How much butter goes into brioche?
High-quality brioche typically uses 1 to 1.5 sticks (115–170 g) of butter per recipe, around 20–30% of the flour weight. This creates the characteristic rich, tender crumb.
Do I need to knead brioche by hand or is a mixer necessary?
A stand mixer with a paddle or dough hook makes a smoother dough, but brioche can be kneaded by hand. The dough is soft and buttery, so knead until it becomes smooth and elastic, about 10–15 minutes by hand.
Why is my brioche dough so soft and sticky?
Brioche dough is inherently sticky due to butter and eggs. Lightly flour your work surface, use a scraper, and refrigerate the dough if it becomes too warm. Resting the dough in the fridge helps it firm up for shaping.
How should brioche dough be proofed?
Let it rise until doubled in size in a warm, draft-free place (about 1–2 hours for the first rise). Then refrigerate for at least 1 hour or overnight to chill and relax the dough, making shaping easier.
Can brioche be shaped in different forms?
Yes. Classic brioche can be baked as a loaf, as individual rolls, or braided. For pan loaves, use a greased loaf pan; for rolls, portion and place on a baking sheet or in a muffin tin; for braids, roll into strands and weave before the final proof.
What is the best way to bake brioche for a shiny crust?
Brush with an egg wash (beat 1 egg with a tablespoon of cream or water) before baking. For a deeper, glossy crust, you can brush again halfway through baking. Bake at around 350°F (175°C) until golden and an inserted skewer comes out clean.
How should I store brioche after baking?
Store at room temperature in a sealed bag or airtight container for 1–2 days. For longer storage, wrap tightly and freeze up to 1 month. Reheat gently or toast to refresh the crumb.