Introduction / Hook
Imagine a bookshelf of comforting, crave-worthy handheld masterpieces—each bite unfolding like a tiny, portable feast. Welcome to the Best Sandwich Recipes You’ll Crave Compilation, a celebration of how simple ingredients can merge into flavors that feel both familiar and adventure-ready. This isn’t just a list of sandwich ideas; it’s a guided tour through creative warmth, pantry-smart improvisation, and the small, satisfying rituals that make lunch, dinner, or a crowd-pleasing party snack feel like a celebration. From melty, oozy centers to bright, zippy layers that wake up the senses, these recipes are designed to travel with you: into the kitchen, onto the picnic blanket, and back to the table with friends and family gathered around. The aroma of toasted bread, the sizzle of cheese joining a glossy glaze, the surprise of a tangy pickle punctuating a creamy spread—these moments are what make a sandwich more than a meal and more than a memory. It’s an invitation to explore textures, temperatures, and tastes that dance between comforting familiarity and delicious novelty.
The Story Behind the Dish
Sandwiches have a remarkable heritage—born from necessity, elevated by ingenuity, and celebrated across continents in endless variations. The term “sandwich” itself evokes a quick solution that became a cultural canvas. In many kitchens, a sandwich is the ultimate canvas for leftovers, a chance to repurpose yesterday’s roast into something that feels new and exciting today. Across different cuisines, the idea of layering nourishment between bread has produced an astonishing array of regional classics: the smoky, peppery notes of a Cuban pressed with ham and pickles; the bright, herbaceous lift of a Vietnamese banh mi riding on crisp baguette and pickled vegetables; the comforting, melty embrace of a classic club that whispers of family gatherings and late-night kitchen experiments. The compilation you’re holding is a curated passport—drawing from coastal fish sandwiches that glow with citrus and dill, down-home pork-and-sauce stacks that feel like a hug, and vibrant plant-based builds that prove a sandwich can be both indulgent and mindful. Every creator’s note tucked into these pages is a reminder that a sandwich is: a flexible, forgiving, endlessly adaptable form that invites you to taste, test, and tell your own stories.
Why You’ll Love This Compilation
- Versatility that fits every occasion: quick weekday lunches, weekend gatherings, and celebratory brunch boards.
- Flavor-forward profiles: from smoky and savory to bright and tangy, with dietary-friendly options.
- Textural delight: a satisfying mix of crusty/crisp exteriors, creamy interiors, and juicy fillings.
- Make-ahead and meal-prep potential: many builds you can assemble in advance for effortless serving.
- Accessible ingredients: core pantry staples turn into unforgettable meals without chasing exotic or hard-to-find items.
- Playful experimentation: swap proteins, breads, sauces, and toppings to tailor every bite to your mood.
The appeal of a great sandwich lies in its portability and its ability to tell a story in a single, satisfying unit. This compilation honors that spirit by pairing practical techniques with bold flavor conceptions. You’ll notice common threads—crisp textures, a balance of acidity and richness, and a finish that lingers just long enough to want another bite. There’s something deeply comforting about a sandwich that looks unassuming yet delivers a chorus of well-balanced notes with every chew. It’s a reminder that in cooking, as in life, the best things often arrive in humble wrappers.
Flavor Profile & Texture
What makes the best sandwich sing is how its elements harmonize in multiple sensory layers. Think crusty bread that yields with a gratifying crackle, a warm filling that oozes or flakes in satisfying ways, and a glaze, spread, or sauce that pulls the whole bite together with brightness, heat, or earthy depth. This compilation leans into contrasts: toasty warmth versus cool, creamy against crisp, salty umami against a bright acidity. A well-assembled sandwich creates a moment of texture diplomacy—each bite introduces a new dimension without shouting over the others.
Across the selections, you’ll encounter layers that bring:
- Umami-rich proteins, whether slow-roasted, seared, grilled, or smoked, offering savory depth that lingers.
- Melty cheeses that stretch or gently fuse into the surrounding ingredients, adding luxurious mouthfeel.
- Acidic brightness from pickles, pickled vegetables, or citrus zest that cuts through richness and refreshes the palate.
- Herbs and aromatics that lift the sandwich with garden-fresh notes and peppery or floral hints.
- Crunchy and soft textural contrasts—crisp lettuce or slaw against tender meat, or a crusty exterior with a tender interior.
- Balanced sauces and spreads that unify ingredients without overpowering them.
Imagine biting into a sandwich where the exterior crackles just enough to release a warm, perfume-like aroma of toasted bread and caramelized onions, while the interior yields a tender, juicy bite of seasoned meat or plant-based protein, complimented by a luxurious, subtly tangy cheese. The experience is multi-layered and satisfying in a way that invites lingering at the table, conversation, and perhaps a second sandwich—because a compilation that celebrates crave-worthy builds should feel indulgent yet approachable, and always leave you eager to recreate and remix.
Occasions & Pairings
This collection shines across a spectrum of occasions, each with thoughtful pairing suggestions to elevate the experience:
- Weeknight comforts: quick-to-assemble builds that come together in under 20 minutes, paired with a simple side salad or crispy veggies and a glass of sparkling water, lemonade, or light beer.
- Family lunch or school-night treats: sandwiches that travel well and store well, making midweek meals feel special without extra work.
- Picnics and outdoor gatherings: sturdy breads, robust fillings, and sauces that stay lively without leaking—paired with fruit, crisped potatoes, or a refreshing iced tea.
- Brunch-inspired stacks: morning-friendly components like eggs, avocado, smoked salmon, or ham combined with herbs, greens, and a tangy yogurt spread.
- Casual party bites: bite-sized slider versions or open-faced rounds with colorful toppings—great with jazzed-up dips or a citrusy punch.
Suggested pairings to consider alongside these sandwiches include:
- Salads: a bright arugula salad with lemon vinaigrette, a crunchy slaw with apple cider dressing, or a cucumber-tjord salad for a cooling contrast.
- Side dishes: roasted potatoes with herbs, marinated vegetables, pickles, coleslaw, or yielding macaroni and cheese bites depending on the mood.
- Drinks: sparkling beverages, light white wines, pilsners, or citrus-forward cocktails that don’t overpower the sandwich flavors.
- Desserts: something light and citrusy or a simple, creamy parfait that cleanses the palate after a bold bite.
The charm of these pairings is that they’re not rigid rules, but flexible guidelines designed to enhance the moment. A sandwich is inherently social: it invites conversation about preferred textures, the level of heat in a sauce, or the best balance of crunchy greens to creamy spreads. When you plan your spread around this compilation, you’re curating an experience that sparks curiosity and fosters conversation, whether you’re feeding a busy family after practice or hosting a friends-and-family supper where everyone contributes a favorite build.
Tips, Variations & Substitutions
Here are practical strategies to customize and broaden the reach of the sandwiches in this compilation, so you can tailor them to your pantry, dietary needs, or seasonal ingredients:
- Bread choices: Swap in baguettes, focaccia, ciabatta, rye, or grainy sourdough to alter texture and flavor. For gluten-free options, opt for sturdy gluten-free loaves or lettuce wrap alternatives that hold up well.
- Protein adaptations: Use turkey, chicken, pork, beef, salmon, tuna, mackerel, tempeh, or chickpea-based patties. For vegetarians, plant-based proteins can be seasoned to mimic traditional deli flavors or lean into bold herbs and spices.
- Cheese dynamics: Combine sharper aged cheeses with milder melts to balance bite and creaminess. For vegan builds, select high-quality dairy-free cheeses or cashew-based spreads that melt and stretch when warmed.
- Spreads and sauces: Quick mayo-based sauces, yogurt-tzatziki blends, pesto, aioli, spicy honey, or tangy vinaigrettes can be layered to unify the sandwich. Taste as you build to achieve the right acidity and creaminess balance.
- Acidic brightness: Add pickles, quick-pickled onions, cornichons, or citrus zest to cut through richness and brighten the overall profile.
- Texture boosters: Include crunchy elements like slaw, toasted nuts, seeds, or crisp lettuce for contrast against soft fillings.
- Heat and depth: Introduce peppery arugula, roasted chilies, hot sauce, or smoked paprika to elevate depth without overwhelming the other flavors.
- Regional twists: Give classic builds a regional twist—think Mediterranean vibes with olives and feta, or a Southeast Asian homage with lime, cilantro, and a touch of fish sauce in the sauce.
When adapting recipes, start with the core flavor profile you love, then experiment with one or two substitutions at a time. This way you can maintain balance while discovering your own favorite iterations. The beauty of the compilation is its flexibility: you’re encouraged to play, to tailor, and to discover new combinations that become your personal signatures.
Storage & Make-Ahead Ideas
Leftovers happen, and the right approach can make them more delicious rather than merely convenient. Here are guidelines to preserve quality and flavor for future enjoyment:
- Assemble vs. pre-assemble: Some sandwiches taste best when fully assembled just before serving, especially those with delicate greens or sauces that can sog. Others benefit from assembling the components in advance and finishing with a quick reheat or a fresh layer of greens just before serving.
- Storage: For shorter storage (up to 24 hours), wrap the sandwich or store components separately in airtight containers in the refrigerator. Keep sauces in small jars to prevent soggy bread. For longer storage, freeze fillings that are suitable (e.g., roasted vegetables, cooked meats), but omit sauces or watery toppings until reheating.
- Reheating tips: If the sandwich involves breads that can become dry, toast the bread lightly or rewarm the filling separately and assemble fresh. For melted cheese, a quick re-broil or broil-to-melt technique helps restore that luscious texture without making the bread soggy.
- Make-ahead strategies: Create a “build-your-own sandwich bar” for gatherings. Pre-prep fillings, sauces, and condiments; set out a variety of breads; provide pickles and greens. This turns serving into a fun, interactive experience and reduces the pressure of timing during guest arrivals.
Fun Facts & Trivia (Optional)
Delightful tidbits can deepen your connection to these crowd-pleasing creations. Here are a few to consider integrating into your cooking conversations or even into a quick kitchen storytelling moment while you prep:
- The concept of the sandwich is often attributed to a 18th-century figure who reportedly asked for meat between two pieces of bread to avoid using cutlery in a gambling hall—thus enabling a quick, portable meal.
- Different cultures have iconic sandwich expressions that reflect local ingredients. For example, Vietnam’s banh mi famously merges French baguette with Vietnamese fillings, resulting in a bright, crunchy, and aromatic experience.
- Some of the most comforting sandwiches rely on the transformative power of toasting or grilling—not only to melt cheese but to create a caramelized crust that adds aroma and texture.
- Condiments often carry the flavor signature of a sandwich. A properly emulsified mayo or a well-balanced vinaigrette can elevate a simple filling into something elegantly cohesive.
These little insights can inspire you to approach each build with a sense of curiosity. The best sandwiches often come from combining a familiar base with an unexpected twist, a combination that invites stories from your kitchen and whispers of distant flavors you’d like to revisit or explore anew.
Closing Thoughts
The Best Sandwich Recipes You’ll Crave Compilation is more than a catalog of ideas—it’s an invitation to play, taste, and share. Each recipe concept is crafted to spark joy, to honor comforting tradition, and to encourage fearless experimentation. Whether you’re feeding a busy household, fueling a weekend adventure, or constructing a seasoned spread for friends, these sandwiches offer reliable performance with a touch of culinary charm. Allow yourself to improvise: a pinch of a favorite herb, a splash of an unexpected sauce, a different bread that makes the texture sing. In the end, the best sandwich is the one that feels both like a familiar hug and a bold, delicious new memory. Happy building, tasting, and sharing—the table awaits with warm aromas, inviting you to savor every bite and to keep the cravings alive with every delightful combination you create.
Ingredients
- Base Bread
4 slices whole-grain sandwich bread (or your preferred artisan bread, such as sourdough or multigrain)
→ The bread acts as the foundation of the sandwich, providing structure, texture, and a carrier for fillings. Choose bread with a sturdy crumb to hold fillings without sogging; lightly toasting helps improve bite and flavor while reducing moisture transfer. - Protein (Meat or Plant-Based Alternative)
6 ounces sliced turkey breast (or your choice of deli meat, such as ham or roast beef)
→ Provides the primary savory protein and bulk for the sandwich. If using deli slices, fold or layer to prevent tearing and ensure even distribution. For a lighter option, substitute grilled chicken or a plant-based protein like mashed chickpeas or tempeh slices. - Cheese
2 slices cheddar cheese (or your preferred melty cheese such as Swiss, provolone, or Monterey Jack)
→ Adds creaminess, saltiness, and helps bind flavors together when melted. For best melt, let cheese come to room temperature before assembling and place on top of warm fillings just before closing the sandwich. - Fresh Produce
1 ripe tomato, sliced
→ Tomato provides juicy, bright acidity that cuts richness and adds moisture. Let seeds and excess moisture drain briefly to prevent soggy bread; season lightly with a pinch of salt if desired to enhance sweetness. - Leafy Greens
2-3 large lettuce leaves (romaine or butter lettuce)
→ Adds crisp texture and a fresh, cool contrast to richer fillings. Dry the leaves thoroughly to avoid soggy bread; tear or roughly chop for even coverage without overpowering the sandwich. - Avocado (optional)
1/2 ripe avocado, sliced or mashed
→ Provides creamy richness and healthy fats. If sliced, toss with a tiny amount of lemon juice to prevent browning; if mashed as a spread, mash until slightly chunky for texture and spreadability. - Condiments and Spreads
2 tablespoons mayonnaise (or mayo alternative)
→ Adds moisture, richness, and helps to bind ingredients. For lighter flavor, mix with 1 teaspoon lemon juice or a dash of dijon for brightness. - Mustard or Dijon
1 teaspoon Dijon mustard (adjust to taste)
→ Introduces a tangy kick that complements meats and cheese. Spread thinly to avoid overwhelming other fillings; adjust quantity to balance with mayo and tomato. - Pickles or Pickled Relish (optional)
4 thin pickle slices or 1 tablespoon relish
→ Provides sharp, acidic contrast that brightens the sandwich. For crisper texture, add pickles just before serving; if using relish, spoon lightly to avoid soggy portions. - Seasonings
Pinch kosher salt and freshly ground black pepper (to taste)
→ Enhances flavors and ties elements together. Salt should be used sparingly to avoid oversalting; pepper adds mild heat and aroma. - Finishing Option
1 small handful fresh herbs (optional, such as arugula or basil)
→ Herbs add a fresh, aromatic note that can elevate a simple sandwich. Add just before serving to keep leaves crisp and vibrant. - Oil or Butter (for grilling, optional)
1 teaspoon olive oil or 1 teaspoon butter (if you plan to grill the sandwich)
→ A light coating helps achieve a golden crust and prevents sticking when pan-toasting. Butter yields a richer flavor; olive oil provides a cleaner, crisper finish. If grilling, heat your pan to medium heat to avoid burning the bread before the filling heats through. - Storage and Handling
–
→ If preparing ahead, store components separately (bread, proteins, spreads, and produce) in airtight containers in the refrigerator; assemble just before eating to maintain texture and avoid sogginess. Bring ingredients closer to room temperature before assembling for easier spreading and better flavor release.
Instructions
- Preheat a nonstick skillet or griddle over medium heat (about 350°F/175°C) and lightly brush or wipe with oil to ensure an even, golden crust; this heat level allows the bread to toast without burning the fillings and promotes melt from the cheese.
- Toast the four slices of whole-grain bread until lightly golden and the edges are crisp, flipping once for even color; toasting adds structure, reduces moisture transfer, and enhances flavor through Maillard browning.
- Spread 1 tablespoon of mayonnaise on two of the bread slices and fold or spread it to the edges so every bite has moisture and richness; the mayo also acts as a barrier to keep the bread from sogging and helps the cheese melt evenly.
- Spread 1 teaspoon Dijon mustard on the remaining two slices, thinning the spread with a light touch at the center to prevent overpowering the fillings; this provides a bright tang that complements the meat and cheese without dominating the sandwich.
- Layer 3 ounces of sliced turkey breast on one mayo-spread slice and evenly distribute for balanced bites; folding or stacking thin slices ensures uniform filling and prevents tearing during assembly.
- Place 1 slice of cheddar cheese over the turkey layer, letting the edge extend toward the center so it melts smoothly into the filling; cheddar melts reliably and adds a creamy, salty note when warmed.
- Arrange 1 thin, even slice tomato over the cheese and lightly season with a pinch of kosher salt to elevate sweetness and reduce moisture that could sog the bread; let slices rest for a moment to draw moisture away into the surface where it won’t soak the bread.
- Top the tomato with 2 large lettuce leaves, tearing them to fit the bread if needed, and gently press to remove excess moisture; the greens provide crisp contrast and help shield the bread from moisture without losing crunch.
- If using avocado, add 1/2 ripe avocado either as slices or a light mash over the lettuce; drizzle with a tiny amount of lemon juice to prevent browning and to contribute creamy richness without heaviness; evenly distribute across the sandwich to texture-match each bite.
- Spread the remaining mayo or spread over the second mayo-slice, then add optional pickles or relish (4 thin pickle slices or 1 tablespoon relish) for a bright, tangy crunch; place this layer on top of the greens to create a barrier before the final bread slice.
- Season with a light pinch of kosher salt and freshly ground black pepper over the assembled stack to refine the flavor balance and unify the ingredients; careful seasoning prevents one component from overpowering the others.
- Close the sandwich with the remaining Dijon-spread slice, pressing gently to compact the layers for even heat transfer and easier slicing; the slight pressure helps the cheese melt into the fillings when grilled and keeps fillings from sliding out.
- Lightly brush or spray the outer bread surfaces with 1 teaspoon olive oil or 1 teaspoon softened butter to promote a golden crust and prevent sticking when pressed or flipped; butter yields richer flavor, oil provides crisper edges while keeping the interior moist.
- Grill the assembled sandwich for 2–4 minutes per side, turning halfway, until the bread is deeply golden and the cheese shows a starting melt; flipping ensures even browning and heat distribution, while watching closely prevents burning, especially with buttered surfaces.
- Remove from heat, let rest for 1–2 minutes to allow the cheese to finish melting inside and the flavors to meld; rest time also makes the sandwich easier to cut cleanly and prevents the fillings from sliding out.
- Slice the sandwich diagonally or into halves with a sharp serrated knife and serve immediately with any optional condiments on the side; slicing at a slight angle increases surface area for each bite and showcases the cross-section of fillings.
Notes
These best-ever sandwich recipes are all about balance: sturdy bread, savory protein, melty cheese, and bright, fresh produce. Toasting or lightly grilling helps the bread hold up to fillings and adds a delicious crust and aroma.
Bread choice matters. Use a bread with a sturdy crumb—whole-grain, sourdough, or multigrain—so the sandwich won’t become soggy from juicy tomatoes or condiments. If you’re short on time, lightly toast slices to set a firm base for fillings and to boost flavor from the start.
Protein options offer versatility. Deli meats like turkey, ham, or roast beef are classic, but grilled chicken, mashed chickpeas, or tempeh slices make for lighter or plant-based versions. Layer the protein evenly to ensure every bite has balance and moisture distribution.
Cheese is the glue that binds flavors and adds melt. Choose a melty slice such as cheddar, Swiss, provolone, or Monterey Jack. Let cheese come to room temperature before assembling, and place it on or atop warm fillings so it melts beautifully as the sandwich comes together.
Fresh produce brings brightness and texture. Slice tomatoes and pat them dry briefly to prevent soggy crusts. Leafy greens like romaine or butter lettuce add crunch and cool contrast. If using avocado, slice or mash it with a touch of lemon juice to prevent browning and add creamy richness.
Condiments and spreads are the flavor backbone. Mayonnaise adds moisture and cohesion; for a lighter option, mix mayo with lemon juice or a touch of Dijon for brightness. A thin layer of mustard or Dijon provides a tangy kick that complements meats and cheeses without overpowering them.
Pickles or relish introduce a sharp, acidic note that brightens the sandwich. Add pickles just before serving for crisp texture, or spoon relish lightly to avoid soggy bites.
Seasoning is all about balance. A pinch of kosher salt and freshly ground black pepper enhances the overall flavor. Be mindful with salt since bread and deli meats can already carry substantial saltiness.
Herbs and finishing touches elevate a simple sandwich. A small handful of fresh herbs like arugula or basil added right before serving keeps greens crisp and adds aromatic brightness. Light herbs are especially nice when the filling is rich or creamy.
Oil or butter for grilling creates a golden crust and helps prevent sticking. A little olive oil yields a crisper finish, while butter provides richer flavor. If pan-toasting, heat the pan to medium and monitor closely to avoid burning the bread before the filling is heated through.
Storage and handling are key for peak flavor. If making ahead, store bread, proteins, spreads, and produce separately in airtight containers; assemble just before eating to maintain texture. Bring ingredients closer to room temperature before assembling to ensure easy spreading and better flavor release.
Tips
- Toast the base bread lightly before assembling to create a sturdy barrier against moisture from tomatoes and condiments. If you prefer extra crust, toast both sides until golden-brown.
- Layer the fillings in a practical order to prevent sogginess: spread condiments on both slices, add cheese on top of proteins, then place tomatoes with a light sprinkle of salt to draw out excess moisture, followed by greens and avocado if using.
- Let cheese come to room temperature before assembling so it melts evenly when the sandwich is heated or pressed. If not toasting, place cheese directly on warm fillings to encourage better binding.
- Pat tomatoes and greens dry with a paper towel to minimize moisture transfer that can make bread soggy. Slice tomatoes just before assembly for maximum freshness.
- For a crisper bite, pat down leafy greens with a clean towel after washing to remove excess water. Tear leaves to ensure even coverage without overcrowding.
- When using avocado, grab a lemon or lime to squeeze a touch of juice over the cut surfaces to slow browning and add a bright note to the sandwich.
- To control moisture, consider grilling the assembled sandwich briefly in a hot pan with a light coating of oil or butter. This creates a golden crust and helps seal in fillings.
- For a lighter version, substitute turkey with grilled chicken or a plant-based protein, and upgrade flavor with a squeeze of fresh lemon juice mixed into the mayo or a spoonful of pesto.
- Adjust condiments to taste: a thin layer of Dijon on both slices balances richness, while a splash of pickle juice or relish can brighten the overall profile without adding too much moisture.
- If preparing ahead, keep components separate and assemble just before serving to maintain texture. Bring refrigerated ingredients to room temperature for easier spreading and better flavor release.
- For even slicing of meats and cheese, chill them slightly before cutting; this helps maintain clean, uniform portions and prevents the fillings from sliding out during assembly or eating.
- Experiment with finishing herbs: arugula adds peppery bite, basil offers freshness, and other herbs can tailor the sandwich to different cuisines. Add at the end to preserve aroma and texture.
FAQ
What makes a great sandwich base?
A great sandwich starts with fresh bread, balanced spread, protein or vegetarian filling, and a splash of acidity or crunch to tie flavors together. Pay attention to texture and temperature for a satisfying bite.
What’s the best way to toast bread for sandwiches?
Toast or grill bread until lightly golden to enhance flavor and add structure. Butter the outside for a crisp crust, or brush with olive oil for a lighter finish. If using a pan, press gently to prevent squashing the filling.
Which fillings pair well with cheddar cheese?
Cheddar pairs beautifully with roast beef, turkey, red onion, tomato, pickles, apple slices, and a dab of Dijon mustard. For a vegetarian option, try cheddar with caramelized onions, mushrooms, and spinach.
How can I make a panini-like sandwich at home?
Assemble the sandwich and press it with a heavy skillet or panini press. Cook on medium-low heat until the bread is crispy and the filling is heated through, rotating once for even browning.
What are some quick, tasty vegetarian sandwich ideas?
Try hummus with roasted peppers and feta, grilled veggie and mozzarella, avocado-tomato-basil with a touch of balsamic, or a caprese-style sandwich with fresh mozzarella and pesto.
How can I add protein to a sandwich without making it soggy?
Cook proteins in advance and let them cool slightly. Layer protein between dry or crisp elements (e.g., lettuce, pickles) and apply sauces sparingly to prevent sogginess. Use firm proteins like grilled chicken, turkey, or falafel.
What spreads work best for flavor without overpowering the filling?
Aioli, light mayo with herbs, Dijon mustard, hummus, pesto, and olive tapenade all add flavor without overwhelming the filling. Use thinner spreads to avoid soggy bread near the edges.
How do I keep a pressed sandwich from leaking or spilling?
Seal the edges with a thin layer of cheese or a light spread. Use sturdy bread (ciabatta, sourdough) and avoid overfilling. Pre-assemble, then press and grill just before serving.
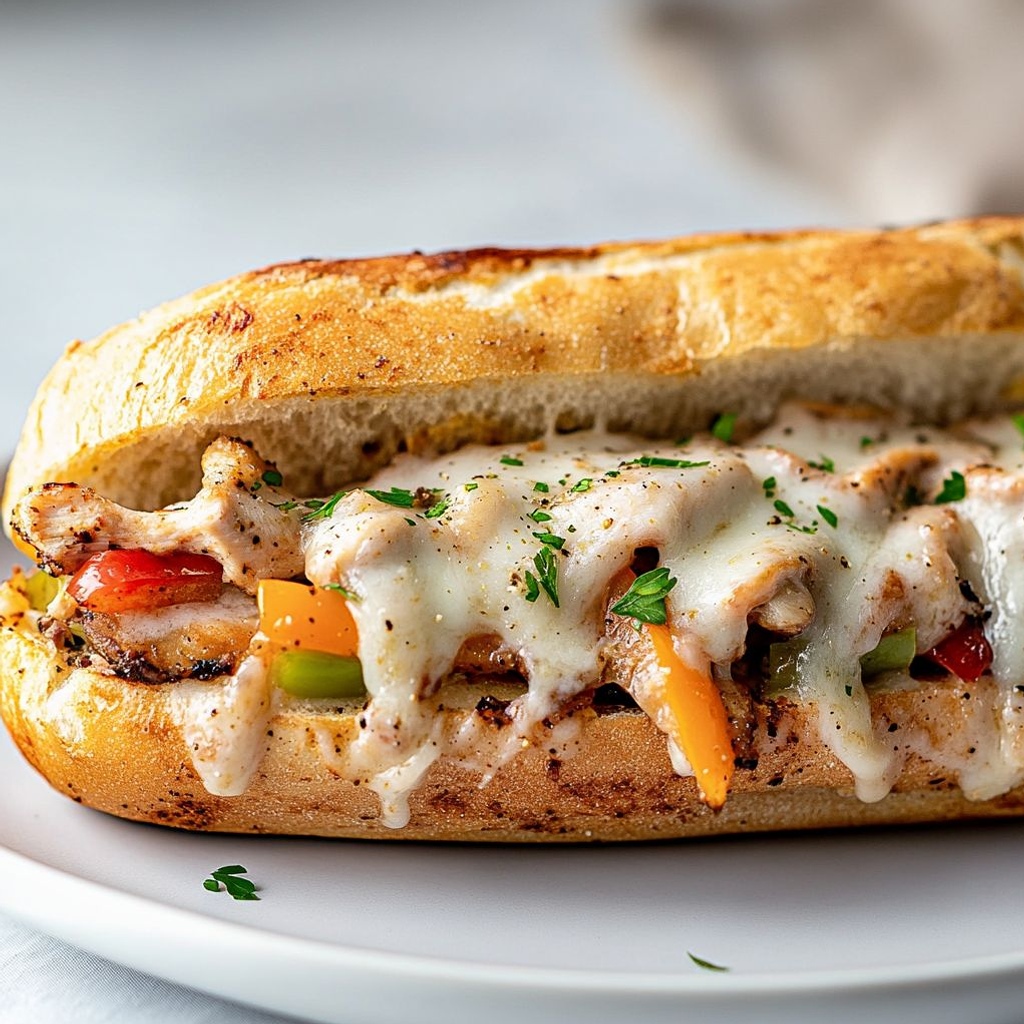
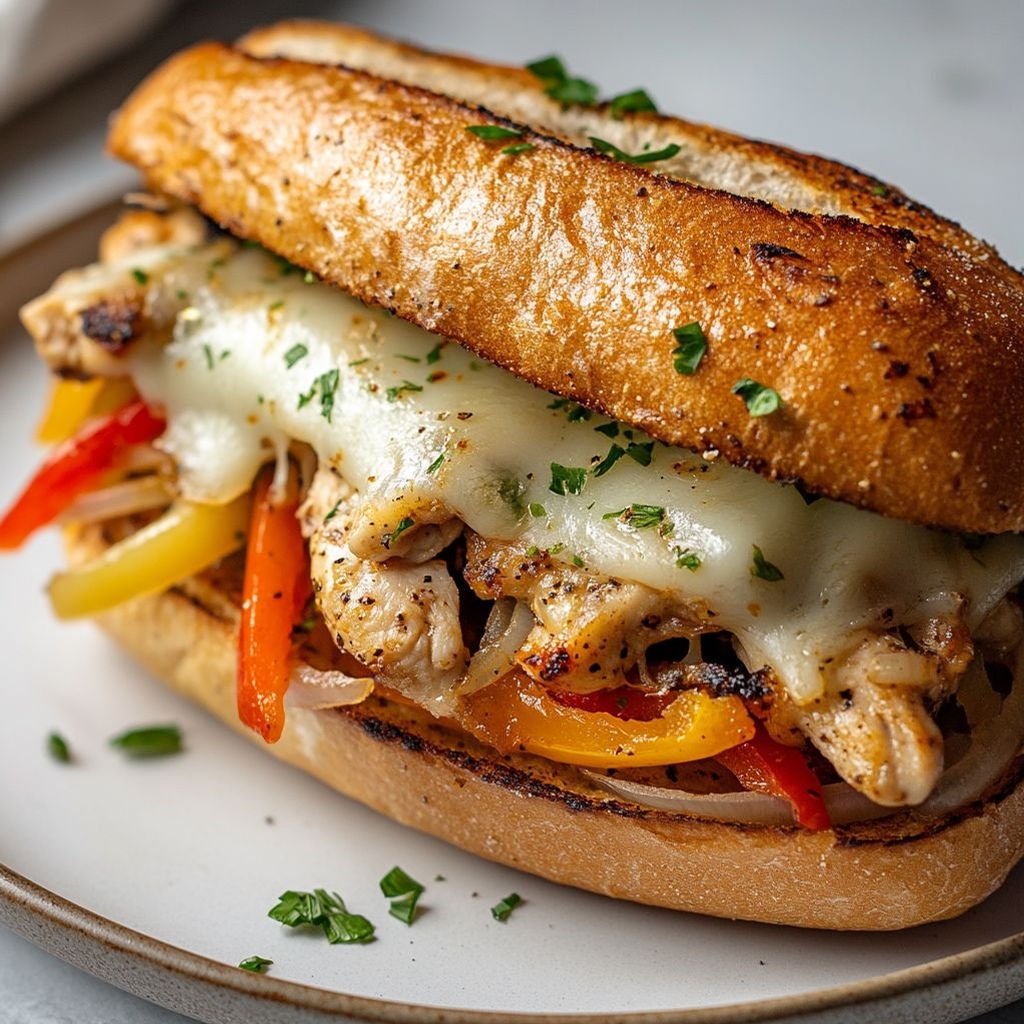
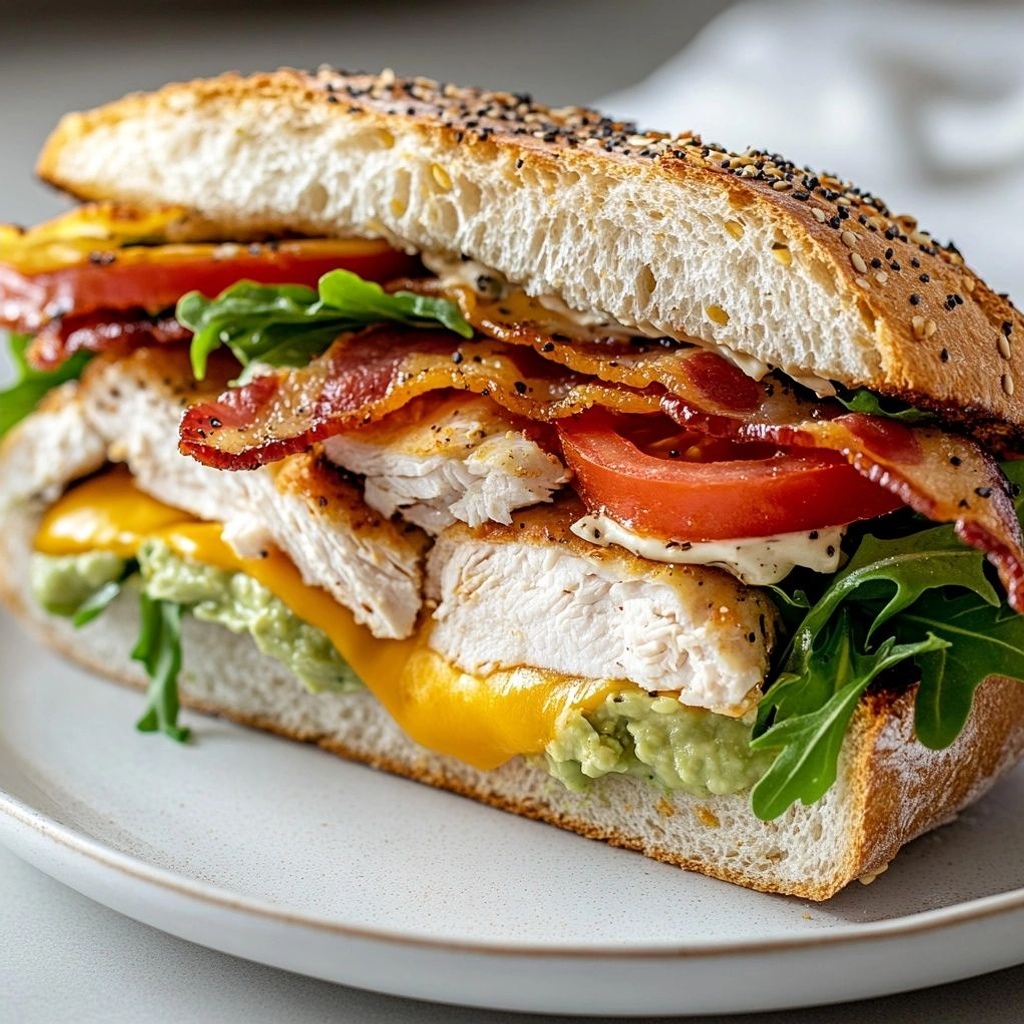
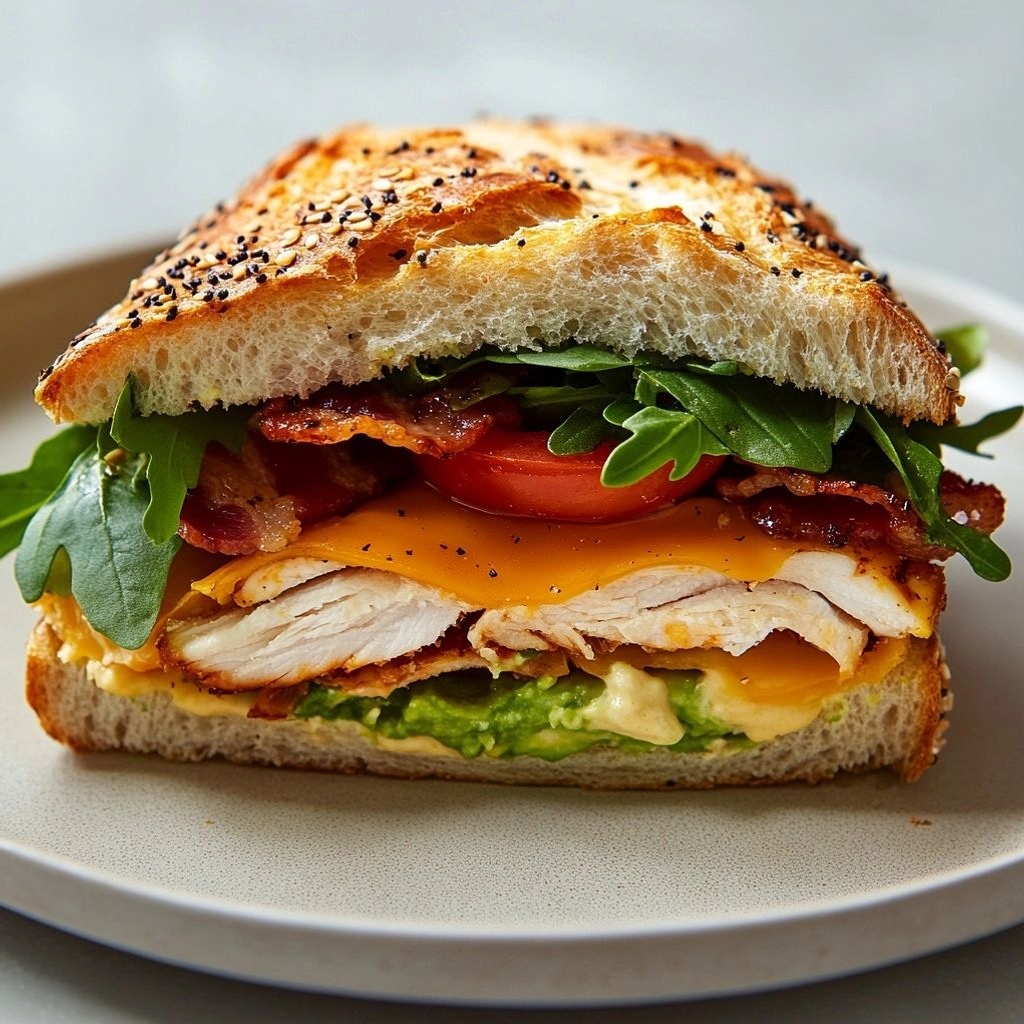
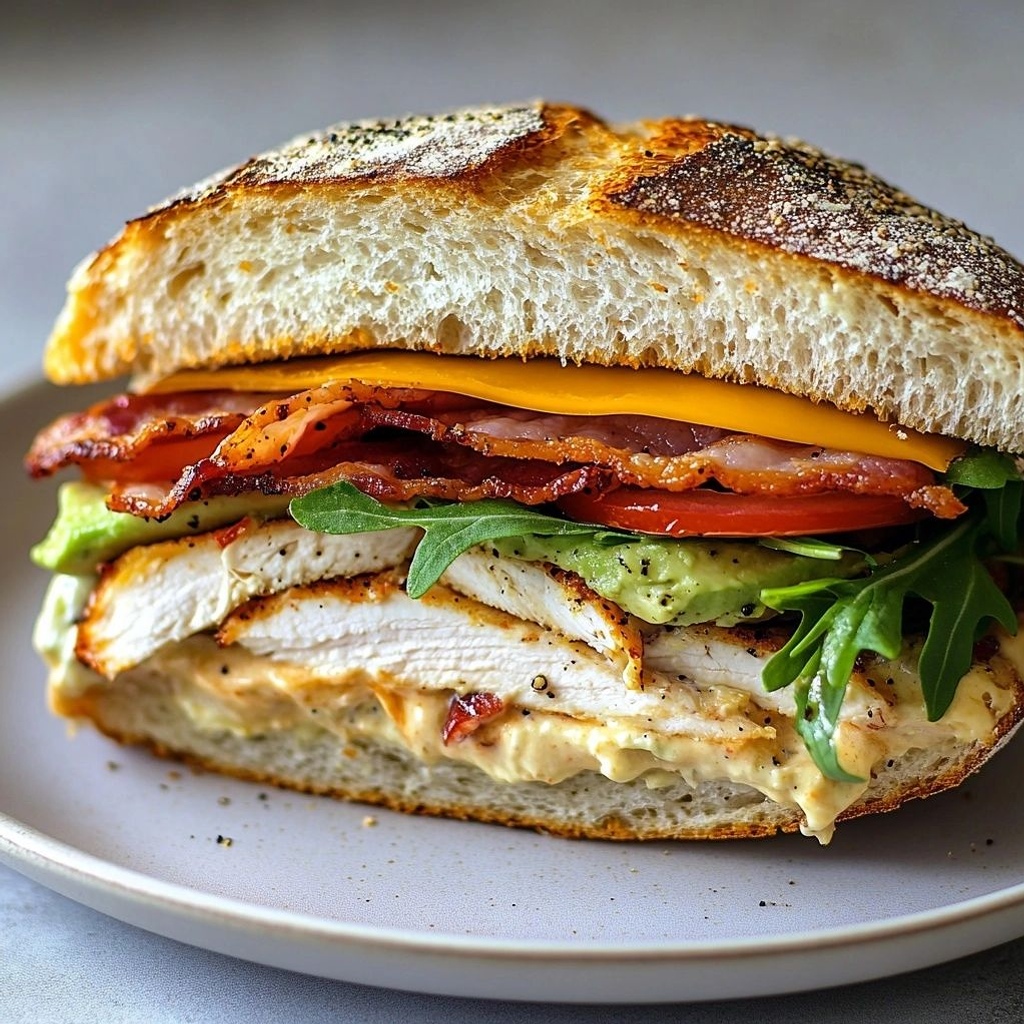
What are some signature “best” sandwich recipes to try from this compilation?
Try a classic Philly-inspired steak sandwich with caramelized onions, a turkey club with crispy bacon and avocado, a sharp cheddar roast beef melt, and a veggie-packed grilled cheese with provolone and sun-dried tomato.