Introduction / Hook
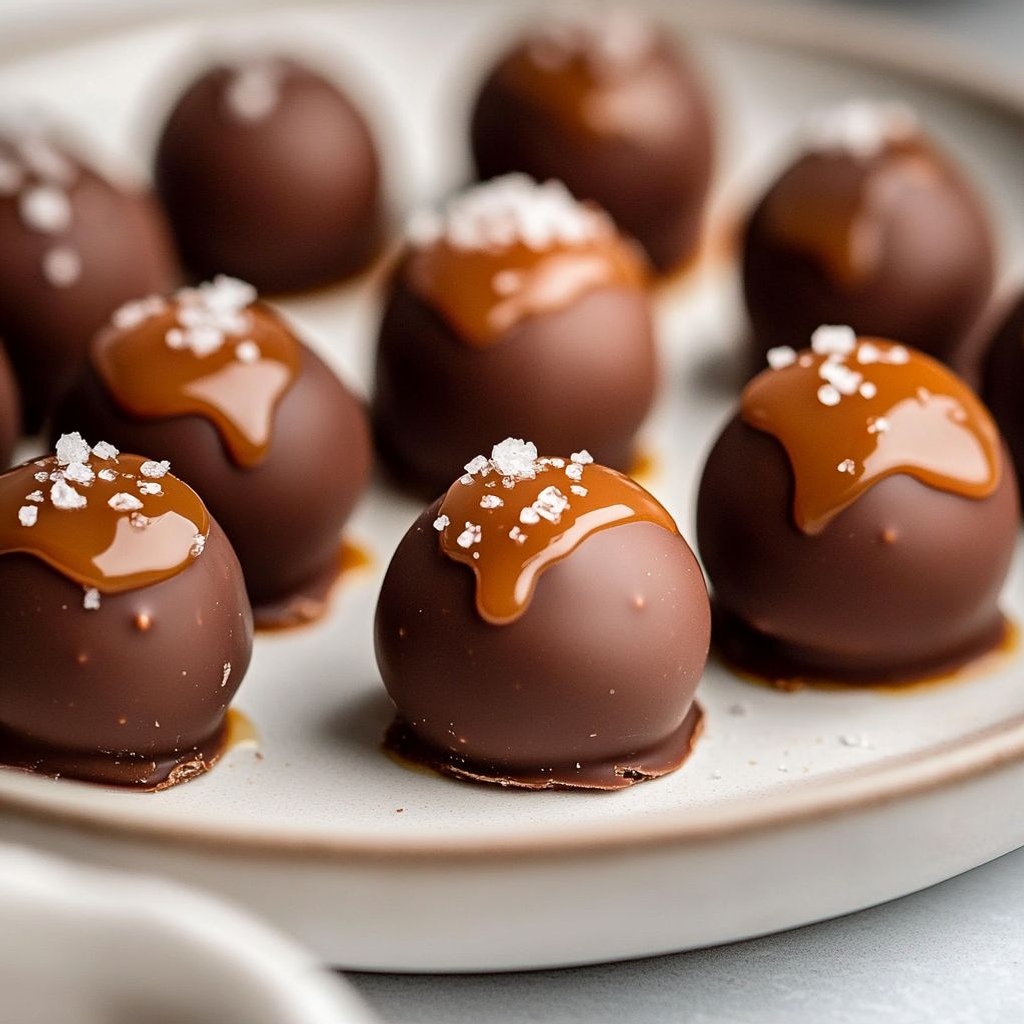
Imagine bite-sized spheres of velvet-smooth chocolate that crackle with a kiss of caramel, then melt into a luscious, glossy center on your tongue. Caramel Fudge Truffles are the kind of treasure you reach for when you want a moment of quiet luxury in a bustling day. They carry the comforting nostalgia of childhood treats while feeling like a sophisticated, grown-up indulgence that you can share with friends, family, or anyone who deserves a little celebration. The aroma alone—rich cocoa, toasted notes, and a hint of vanilla—invites everyone into a world where sweetness is deliberate, not overwhelming, and texture plays as big a role as flavor. These truffles balance the deepest, darkest chocolate against the soft, gooey heart of caramel fudge, delivering a contrast that makes each bite feel like a tiny, celebratory event. They look elegant on a dessert platter, yet feel approachable enough to make at a cozy weeknight gathering. In short, they’re the secret weapon for turning any moment into a memory you’ll revisit with a smile.
The Story Behind the Dish
Truffles have traveled far from their imagined origins in a kitchen mishap to become a universal symbol of edible craftsmanship. The idea of shaping chocolate into bite-sized spheres grew out of a desire to transform simple ingredients into something that felt special, personal, and a little bit decadent. Caramel, with its buttery sweetness and sun-kissed glow of amber color, has long held court beside chocolate as a perfect partner in crime—each bite offering a whisper of warmth that lingers long after the sweetness fades. The pairing of caramel and fudge into truffle form feels almost inevitable in retrospect: a union of dairy-rich richness, a glossy shell, and a center that stays tender rather than crumbly.
Culturally, caramelized confections have appeared in many traditions—from festive boxes to quiet kitchen rituals—where the act of producing something small and delicious becomes a way to show care. The fudge lineage adds another layer: fudge often evokes cozy conversations, holiday gatherings, and the simple joy of sharing something handmade. Put together, Caramel Fudge Truffles embody a sense of hospitality, a nod to culinary memory, and the delight of a dessert that tastes like a hug you can give in a single bite. While modern kitchens add their own twists—glossy chocolate coatings, ribbons of caramel, ambient lighting for presentation—the heart remains the same: a simple idea executed with patience and a touch of artistry that invites lingering, conversation, and the quiet joy of dessert found at the end of a long day.
Why You’ll Love This Recipe
- Quick to assemble in a few thoughtful steps, making it perfect for both impromptu gatherings and planned celebrations.
- Rich, multi-layered flavor: a deep chocolate shell encasing a creamy, caramel-kissed fudge center that stays tender with every bite.
- Elegant presentation that feels restaurant-worthy but is completely approachable for home bakers and cooks of all levels.
- Versatile and forgiving—easy to adapt with flavor twists, coatings, and textures to suit your mood or dietary needs.
- Make-ahead friendly: you can prep in advance and finish with a quick coating or dusting just before serving.
- Small, indulgent portions help manage portion control while delivering maximum satisfaction per bite.
Flavor Profile & Texture
The flavor journey of a Caramel Fudge Truffle begins with a lush, cocoa-forward shell that carries a faint whisper of vanilla and a subtle bitterness that prevents sweetness from overpowering. When you bite through, a soft, fudgy core yields to a warm, caramelized sweetness that feels almost caramelly, with a buttery, creamy mouthfeel that glides across the palate. The contrast between the firm, glossy exterior and the melt-in-your-mouth center is a signature of truffles at their best, and it’s precisely what makes these treats so addictive. The caramel note should be caramel-savory rather than cloying—think the gentle toffee aroma that fills the air as the truffle arrives at room temperature after a short chill. In the same bite, you’ll experience a chorus of textures: a delicate snap from the chocolate shell, a creamy interior, and a whisper of salt or sea-salt nuance that heightens the sweetness and balances the finish.
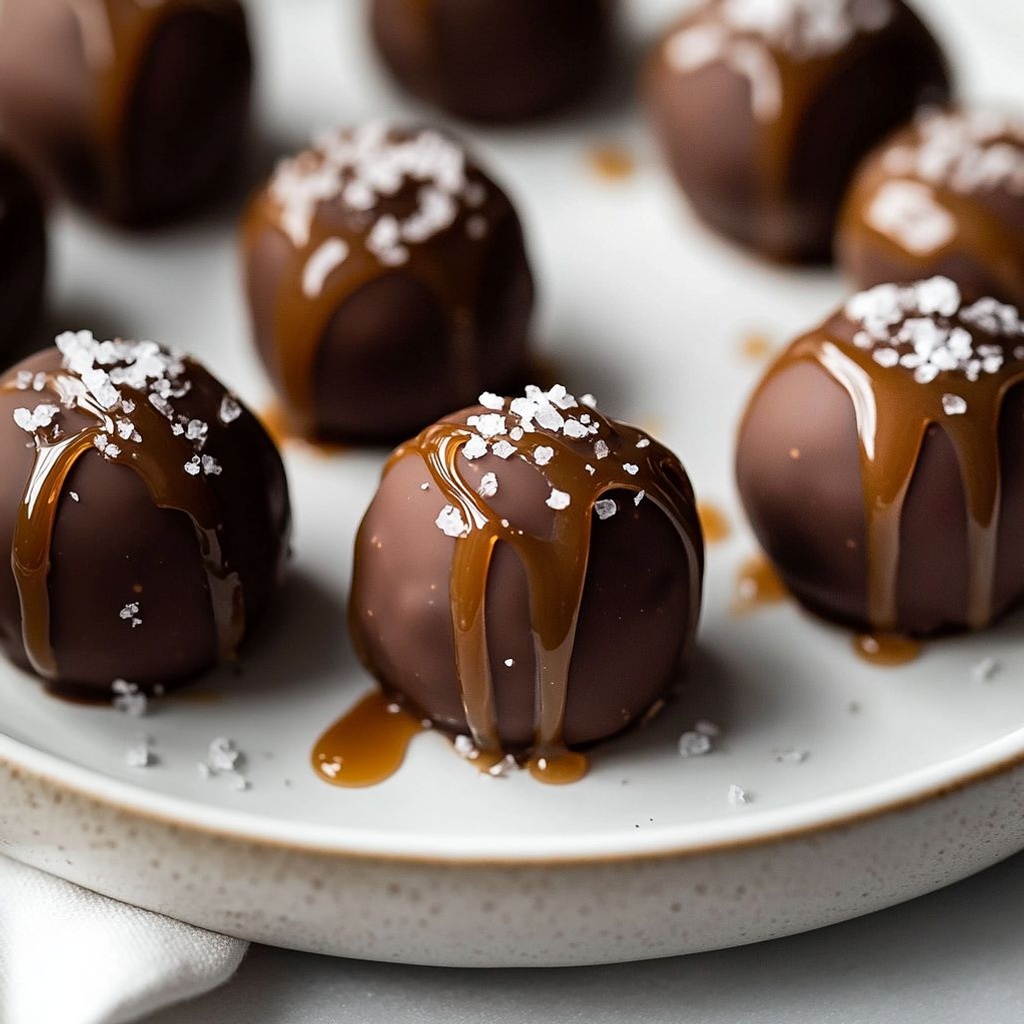
Textures do not simply exist; they tell a story. The outer coating offers a glossy sheen and a light crack when bitten, hinting at the richness inside. The center remains luxe and pliant, holding its shape without becoming dense or crumbly. The interplay of textures creates a refined but comforting sensory moment—the moment when the chocolate shell parts to reveal the glossy fudge inside, and the lingering finish leaves a gentle, creamy aftertaste that lingers on the lips and in the memory. Aromas play a supporting role as well: a fragrant whisper of cocoa, a hint of vanilla, and a subtle caramel kiss that teases the senses before the first bite. Served on a platter, these truffles present a tactile invitation—round, smooth, and almost too pretty to bite—yet irresistible enough to disappear quickly once the first guest takes a bite.
Occasions & Pairings
Caramel Fudge Truffles are surprisingly versatile. They shine in moments of celebration, but they are equally at home on a subdued weeknight dessert spread. Here are some ideas for occasions and pairing suggestions to make the most of these little luxuries:
- Holiday gatherings and special dinners: place them on a dessert tray with a few other bite-sized sweets to create a curated assortment.
- Giftable treats: pack in elegant boxes with a handwritten note for birthdays, anniversaries, or thank-you gestures.
- Afternoon tea or coffee moments: these truffles pair beautifully with a robust coffee, a silky latte, or a fragrant pot of tea.
- Celebratory toasts: a glass of chilled dessert wine, a sparkling rosé, or a light, creamy liqueur complements the caramel and chocolate without overpowering it.
- Special occasions and milestones: a dessert platter that blends texture and flavor variety—glossy chocolate, delicate nuts, and a few fruity accents—creates a memorable finish.
Pairing ideas to consider (without wild flavor overkill): a small plate of dried fruits for a brightness contrast, a sprinkle of flaky sea salt for that essential accent, or a few edible gold dust flecks for a festive shimmer. If you want to keep things classic, a simple cup of espresso or a robust dark roast coffee provides a bold counterpoint that enhances the depth of chocolate and the warmth of caramel. For those who prefer non-dairy options, a smooth almond or oat milk beverage with vanilla can echo the vanilla notes in the truffles while maintaining a light, dairy-free finish.
Tips, Variations & Substitutions
Vegan / Dairy-Free Adaptations
To keep the essence of these truffles while accommodating dairy-free diets, you can explore using plant-based milk and a vegan chocolate shell. Look for high-quality dark chocolate that clearly states dairy-free, and pair it with a creamy, dairy-free fudge center made from coconut cream, cashew cream, or a rich cashew-based fudge filling. The key is to maintain that glossy shell and a center that feels indulgent and smooth without relying on dairy fats alone.
Gluten-Free Considerations
These truffles are naturally gluten-free as long as you choose coatings and flavorings that do not contain gluten. If you’re making coatings or dustings that might include crunch components, opt for gluten-free options and read labels carefully to avoid hidden sources of gluten. The core concept—chocolate, caramel fudge—remains inherently safe for gluten-free diets when guided by mindful ingredient choices.
Nut-Free Variations
For nut-free enjoyment, simply ensure any additives, coatings, or garnishes are produced in a nut-free facility and do not contain tree nuts or peanuts. The truffle itself can be crafted with a silky caramel fudge center and a pure chocolate shell that avoids any nut-based inclusions. If you crave texture, consider cinnamon-dusted sugar or cacao nibs as a light, nut-free accent rather than using chopped nuts.
Regional Twists & Flavor Variations
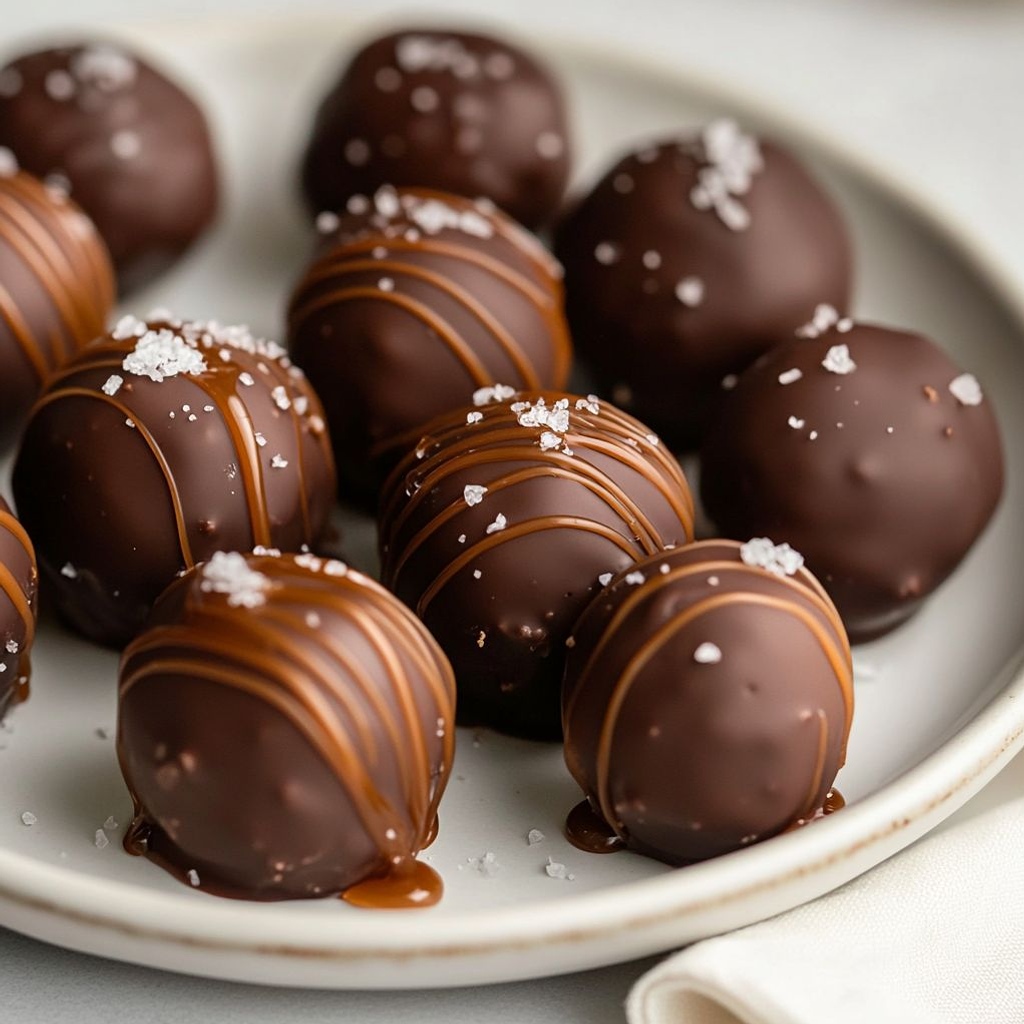
To give these truffles a regional or personal twist, you can experiment with different flavor accents in the center or shell. A pinch of flaky salt elevates caramel’s sweetness and brings a playful contrast. A touch of espresso or coffee extract can deepen the chocolate’s cocoa profile. A hint of vanilla bean or Madagascar vanilla can amplify aroma and round out sweetness. For a festive variation, you could finish the surface with a delicate drizzle of white chocolate, or dust with cocoa powder and a subtle glow of edible shimmer for a party-ready finish. If you enjoy fruit-forward notes, a tiny shimmer of orange zest or a hint of raspberry essence added to the fudge center can open up a bright, modern twist while preserving the classic charm.
Texture & Coating Options
Coatings matter as much as the center. If you want a smoother, mirror-like finish, choose a tempering process that yields a glossy shell. For a rustic feel, a dusting of fine cocoa powder or powdered sugar can create a matte, vintage appearance. Crunchy contrasts can come from a thin sprinkle of crushed toffee, a delicate crunch of brittle shards, or a light scatter of almond slivers—provided they suit your dietary needs. The choice of coating shapes the final experience, so pick something that enhances the moment you bite into the truffle rather than obscuring the core flavors.
Storage & Make-Ahead Ideas
The beauty of Caramel Fudge Truffles lies in their make-ahead potential. You can assemble the finished exterior and then refrigerate or freeze them to firm up before the final touch of coating or presentation. For best texture and flavor maintenance, follow these general guidelines:
- Chill Time: After the truffles are formed, allow them to set in a cool environment so the coating achieves a clean, glossy finish.
- Short-Term Storage: Refrigerate in an airtight container for up to a week. To maintain the shells’ gloss, keep them away from strong-smelling foods that could impart odors.
- Make-Ahead: You can prepare the centers and hold them, then finish with coating or dusting up to several days later. This can help you stage a dessert service or bulk preps for a party.
- Freezing: For longer storage, freeze truffles in a single layer on a tray, then transfer to a sealed container or bag. Thaw at room temperature or in the refrigerator before coating or serving. Freezing can help preserve the texture and keep the chocolate coating looking pristine upon thawing.
Tips for best results: keep temperatures moderate to prevent blooming of fat or sugar separation, handle gently when shaping to maintain a smooth interior, and avoid overworking the center, which can lead to a tense texture. If you notice the center becoming too firm after chilling, a brief warm-up in the hands or a gentle room-temperature rest can help restore that luxuriously soft melt-in-the-mouth character.
Fun Facts & Trivia (Optional)
Did you know that the indulgence of bite-sized confections like these has long been tied to hospitality and gift-giving across many cultures? In some traditions, offering small sweets after a meal is a symbol of warmth and generosity, a way to say that a moment of kindness is shared and savored. The gloss on a chocolate truffle is not merely decorative—it’s a sign of careful tempering and a nod to the artistry of chocolate making. The caramel center, with its amber glow, is a reminder of the kitchen’s alchemy—the transformation of simple ingredients into something that tastes like a memory in the making. Some pastry and confection traditions even celebrate the crackle of a pristine shell as a sonic cue to the treat’s craftsmanship. And of course, the act of sharing such treats becomes its own ritual: a way to slow down, to connect, and to celebrate sweetness in the company of others.
In the modern culinary landscape, Caramel Fudge Truffles stand as a bridge between the comfort of fudgy nostalgia and the elegance of contemporary dessert plating. They capture a moment where simplicity meets sophistication, where a few well-chosen flavors are allowed to shine, and where the bite-sized nature of the treat makes indulgence feel personal and doable. The story behind these little gems is as rich as the recipe itself—a reminder that great desserts often begin with a simple idea, a patient approach, and a willingness to let flavor and texture do the talking.
Ingredients
-
– Center
– Sweetened condensed milk (14 oz can)
→ This forms the creamy fudge base, providing sweetness and a thick, luscious body that binds the center together as it chills. Heat gently with butter and chocolate until smooth and glossy; avoid boiling to prevent scorching and separation.
– Unsalted butter (1/2 cup / 113 g), cut into pieces
→ Adds richness, improves texture, and helps the fudge set with a silky mouthfeel. Add to the warm condensed milk and melted chocolate so it fully melts and emulsifies into a smooth ganache-like center.
– Dark chocolate, finely chopped (8 oz / 225 g, 60–70% cacao)
→ Provides the fudgy, deep chocolate flavor and the majority of the center’s structure. Melt with the condensed milk and butter until completely smooth; chop finely to ensure rapid, even melting. Use a gentle double boiler or short bursts in the microwave, stirring between intervals.
– Vanilla extract (1 tsp)
→ Brightens and rounds the chocolate notes; can be omitted for a purer chocolate profile, but it adds a subtle depth that complements caramel.
– Fine sea salt (1/4 tsp)
→ Balances sweetness and deepens chocolate flavor; adjust to taste after mixing the centers. A pinch more can enhance caramel notes particularly well.
– Caramel sauce or dulce de leche (1/3 cup)
→ Creates ribbons of caramel within the fudge, yielding the classic caramel fudge flavor. Warm slightly if thick so it swirls easily without sinking to the bottom; swirl into the warm fudge off heat using a skewer or knife for a marbled effect.
– Parchment paper (for lining tray, 1 sheet)
→ Keeps the set centers from sticking and makes rolling and trimming easier. Line a shallow pan or tray before pouring the fudge; once cooled, you can cut into squares or scoop into balls.
– Coating
– Semi-sweet or dark chocolate for coating (8 oz / 225 g)
→ Forms the glossy, crisp shell around the centers. Melt gently until smooth and glossy; dip chilled centers for an even coat. For a professional snap, tempering is ideal; otherwise, a smooth shell that sets at room temperature still tastes great.
– Neutral oil (1 tsp)
→ A tiny amount helps thin the coating for a smoother, more even dip and a shiny finish. Add gradually if the chocolate seems too thick; do not over-warm, or the coating may seize.
– Optional dusting or finish
– Cocoa powder for dusting (2 tbsp)
→ Lightly coats the finished truffles for a cocoa-forward finish and a rustic look. Sift evenly after coating and before any additional toppings to avoid clumping.
– Optional toppings
– Toasted chopped nuts (1/2 cup, optional)
→ Adds crunch and a toasty, nutty contrast to the creamy center. Toast nuts lightly in a dry skillet or oven to heighten aroma, then chop to small pieces and press onto the surface while the coating is still tacky or roll the truffles in the nuts for even coverage.
– Sea salt flakes (1/4 tsp, optional)
→ A final salt kiss enhances caramel and chocolate flavors. Sprinkle a tiny pinch on each truffle just after dipping while the coating is still setable for best adhesion and flavor balance.
Instructions
- Line a shallow pan or tray with parchment paper, leaving enough overhang to lift the centers out once firm.
→ This creates a smooth surface for setting the fudge and makes removing the centers for dipping clean and snag-free. - Chop the dark chocolate into small, even pieces and measure out the remaining ingredients before you start.
→ Finely chopped chocolate melts quickly and evenly, reducing the risk of streaks or scorching; measured ingredients ensure consistent texture and flavor. - Set up a gentle double boiler by bringing a small pot of water to a bare simmer and placing a heatproof bowl on top without the bottom touching the water.
→ A stable, indirect heat source prevents scorching and allows you to melt the chocolate and condensed milk smoothly for a glossy fudge center. - Add the sweetened condensed milk, half cup of unsalted butter cut into pieces, and the finely chopped dark chocolate into the bowl, then heat while stirring constantly until the mixture is completely smooth and glossy.
→ Gentle, steady stirring ensures emulsification and prevents separation; keep heat low to avoid scorching the chocolate and dairy. - Remove the bowl from the heat and stir in vanilla extract and fine sea salt until evenly incorporated.
→ Vanilla brightens the chocolate notes and salt tightens the sweetness, enhancing overall depth; timing helps the flavors settle into the ganache-like center. - Warm the caramel sauce or dulce de leche just enough to loosen it, then drizzle or swirl it into the warm fudge off heat using a skewer or knife to create a marbled effect.
→ Applying caramel off heat prevents sinking or sinking into a dense center and yields the classic ribboned caramel fudge appearance and flavor. - Pour the fudge mixture into the prepared parchment-lined pan and use an offset spatula to spread it in an even, level layer about 1/2 to 3/4 inch thick.
→ A uniform thickness ensures consistent rolling sizes later and helps the centers firm evenly during chilling. - Let the fudge cool at room temperature for 15 minutes, then transfer the pan to the refrigerator and chill until the center is firm and set, about 2 hours or longer.
→ Cooling gradually prevents cracking and gives you solid centers that hold their shape for dipping. - With a spoon or small scoop, portion the set fudge into equal pieces and roll each piece between your palms to form smooth balls; place the balls on the parchment-lined tray and chill for 15–20 minutes to firm further.
→ Firm centers are easier to dip cleanly and yield a glossy, professional shell without melting on contact with warm chocolate. - Meanwhile, set up a separate bowl to melt the coating chocolate for dipping, using a gentle heat method (double boiler or 30-second bursts in the microwave, stirring between intervals) and whisk in the neutral oil until the coating is smooth and flowy.
→ A touch of oil thin the coating for a thinner, even shell and a brighter shine; over-warming can cause streaks or bloom, so melt slowly and stir well. - Dip each cold center into the melted coating, using a dipping fork or tines to lift and swirl to coat completely, then transfer the coated truffle to the parchment and let the shell set.
→ A generous, even coat gives a clean snap and a satisfying contrast to the creamy center; shake off excess coating to prevent pooling. - Optionally dust the freshly coated truffles lightly with cocoa powder by sifting over them once the shell is still tacky, or wait until the shell has fully set for a cleaner dusting.
→ Cocoa powder adds a rustic finish and a gentle chocolate aroma; dusting too early can cause clumping or uneven coverage. - If using toasted nuts, toast them lightly in a dry skillet or in a 350°F (175°C) oven until fragrant, cool, and chop finely; press the nuts onto the surface of the dipped truffles while the coating is still just set or roll the truffles in the nuts for even coverage.
→ Toasting heightens nut flavor and aroma; pressing onto the shell provides a contrasting texture and visual appeal. - Sprinkle a tiny pinch of sea salt flakes on a few truffles immediately after dipping if desired, then let all truffles finish setting at room temperature or in the fridge until the coating is fully firm.
→ A light salt finish intensifies caramel and chocolate flavors and creates a professional, balanced finish. - Store the finished Caramel Fudge Truffles in an airtight container, layering with parchment between rows, and refrigerate for best snap; allow them to temper at room temperature for about 15 minutes before serving.
→ Proper storage preserves the glossy shell and creamy center; tempering briefly at room temperature ensures the texture is optimal when eaten.
Notes
These Caramel Fudge Truffles are rich and velvety, with a creamy center built from sweetened condensed milk, butter, and dark chocolate, swirled with caramel for ribbons of gooey sweetness inside a glossy shell. You can customize them by adding toasted chopped nuts, a pinch of flaky sea salt, or an extra swirl of caramel within the centers. They freeze well and make a great make-ahead treat for gifts or party platters. To create the centers, heat the condensed milk with butter and finely chopped dark chocolate over very gentle heat until smooth; avoid boiling to prevent scorching and separation. Off the heat, whisk in vanilla and salt, then swirl in warm caramel if desired. Line a parchment-lined tray and let the ganache cool slightly before shaping.
- Center preparation: Keep the mixture warm enough to melt smoothly, then stir until completely combined and glossy. Remove from heat and let cool just until it thickens enough to scoop.
- Chilling and shaping: Chill the ganache until firm, then scoop and roll into balls using a small spoon or a gentle palm roll. Place the formed centers back on parchment and freeze 20–30 minutes to firm up for dipping.
- Coating: Melt the coating chocolate with a teaspoon of neutral oil until smooth. Dip the frozen centers, turning to coat evenly, and place back on parchment to set. For a professional finish, you can briefly temper the chocolate or use short, controlled melts in the microwave, stirring between intervals.
- Finish and garnish: Lightly dust with cocoa powder, press toasted nuts onto the surface while the coating is still tacky, or sprinkle sea salt flakes for a flavor contrast. If you prefer a cleaner look, skip the toppings or apply them after the shell has set.
- Storage and tips: Store in an airtight container in the refrigerator for up to 1 week or freeze for longer storage. Bring to room temperature before serving for the smoothest bite. Tips: avoid moisture and water contact with the chocolate coating to prevent seizing; use a clean, dry dipping tool and work quickly when coating.
Tips
Tips for Perfect Caramel Fudge Truffles
- Use the best quality dark chocolate (60–70% cacao) and finely chop it so it melts evenly. Gentle heat in a double boiler or short microwave bursts keeps the chocolate glossy and prevents separation.
- Heat the condensed milk and butter with the chocolate just until smooth, then remove from heat to avoid scorching. If the mixture looks grainy, stir vigorously until it emulsifies into a silky ganache-like center.
- Warm the caramel sauce just enough to loosen it. Too thick and it will sink; too thin and it will pool. A swirled marbling effect comes from gently swirling through the warm fudge with a skewer or knife off the heat.
- Chill the centers until firm before rolling. Line a tray with parchment and use a small scoop or your hands to form smooth balls. If the Centers crack, chill slightly longer and gently reshape.
- To roll evenly, keep your hands cool or wear disposable gloves. Roll into tight spheres and place back on the tray to set before dipping.
- Coat the centers with tempered chocolate for a professional snap, shine, and durability. If you’re not tempering, keep your coating warm and glossy by adding a few drops of neutral oil and stirring until smooth.
- A tiny amount of neutral oil helps the coating flow smoothly. Add gradually; too much will cause a greasy finish, especially in warm environments.
- Dip centers using a fork or dipping tool to let excess chocolate drip away. Tap gently to remove extra coating, then place on parchment and chill until set.
- For a cleaner finish, wipe the sides of the center with a finger or spatula before dipping to remove any caramel that could bleed into the chocolate shell.
- Dust with cocoa powder after coating for a rustic look, or skip dusting if you prefer a clean, glossy shell. If using cocoa, sift evenly to avoid clumps.
- Optional toppings add texture and contrast. Lightly toasted chopped nuts provide crunch; sprinkle sea salt flakes on just-set shells for a balanced sweet-salty bite.
- Salt balance tip: start with a tiny pinch on a sample truffle and adjust to taste. A little salt goes a long way with caramel and chocolate.
- Storage: Keep truffles refrigerated in an airtight container. Bring to room temperature about 15 minutes before serving for best aroma and mouthfeel; they also freeze well if wrapped securely.
- Make ahead: The fudge centers can be prepared a day in advance. Coating and finishing can be done when you’re ready to serve to maintain the freshest snap.
- Variations: Try adding a whisper of espresso powder to the center for a mocha note, or swirl white chocolate into the center for a lighter contrast.
FAQ
What are Caramel Fudge Truffles?
Caramel Fudge Truffles are bite-sized confections with a creamy caramel fudge center coated in chocolate. They’re rich, silky, and perfect for gifting or special occasions.
What ingredients do I need to make Caramel Fudge Truffles?
For the fudge center:
- 1 cup sweetened condensed milk
- 2 cups chopped semi-sweet or dark chocolate
- 2 tablespoons unsalted butter
- 1 teaspoon vanilla extract
- Pinch of salt
For coating:
- Additional chocolate for coating (chips or chopped)
- Optional toppings: cocoa powder, finely chopped nuts, sea salt
- Optional: a swirl of caramel sauce for the center
Do I need a candy thermometer?
No strict thermometer is required. A thermometer helps, but you can also judge by texture: the fudge should thicken as it cooks, and a cool-drop test into cold water can help you gauge setting (soft-ball stage is around 235–240°F / 113–116°C).
How do I make the fudge center?
1) In a saucepan over medium heat, combine condensed milk, chocolate, butter, and salt. 2) Stir constantly until the chocolate is melted and the mixture is smooth. 3) Remove from heat and stir in vanilla. 4) If using caramel, swirl a bit through and let the mixture thicken a moment. 5) Transfer to a dish, cover, and chill until firm enough to scoop (about 2–3 hours or overnight).
How do I shape and coat the truffles?
1) Once the fudge is firm, scoop small portions and roll into balls with lightly buttered hands. 2) Melt additional chocolate while you roll. 3) Dip the balls in the melted chocolate or roll in cocoa powder, then place on a parchment-lined sheet. 4) Chill until the coating is set. Optional: drizzle with extra caramel and sprinkle sea salt.
How long does it take until the truffles are ready to eat?
After coating, refrigerate for at least 1–2 hours to ensure the centers and shells are firm. For best texture, keep them chilled until serving.
Can I make Caramel Fudge Truffles ahead of time?
Yes. They can be kept in the refrigerator for up to 1 week or frozen for up to 3 months. Thaw in the fridge before serving.
What variations can I try?
Try these flavor twists:
- Espresso or coffee essence
- Sea salt or fleur de sel on top
- Peanut butter or almond butter center
- coconut or chopped nuts rolled on the outside
- Orange or peppermint zest in the fudge
For a dairy-free option, use dairy-free chocolate and a dairy-free condensed milk substitute.
What equipment do I need?
Essential: sauce pan, heatproof bowl, spatula, parchment paper, baking sheet, and a fridge or freezer. Optional: candy thermometer, microwave-safe bowl for melting chocolate, and an ice bath tray to help cool the fudge quickly.
How should I store and transport Caramel Fudge Truffles?
Store in an airtight container in the refrigerator for up to 1 week. For longer storage, freeze in a single layer on a sheet, then transfer to a freezer bag or container (up to 3 months). Bring to room temperature for 10–15 minutes before serving if desired.