Introduction / Hook
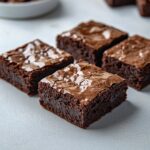
Imagine a pan of brownies so deeply chocolatey that the surface gleams with a crackly, glossy shell, while the interior remains impossibly fudgy and seductively rich. Rich Decadent Homemade Brownies aren’t just a dessert; they’re a sensory invitation to slow down, savor, and let the day slip away in a square or two. The moment you lift the first wedge, you’re greeted by a hell of aroma—cocoa dust swirling with vanilla, a whisper of coffee that deepens the chocolate, and a warm, butter-kissed glow that promises comfort. Each bite is a balance of crisp top and velvet center, with edges that cradle a magma-like core that melts on your tongue. These brownies don’t pretend to be light or airy; they embrace density, intensity, and a luxurious texture that turns a simple treat into an indulgent ritual.
What makes these brownies “rich” is not just the amount of chocolate, but the science of fat, sugar, and chocolate harmony. A touch of espresso powder amplifies the cocoa, while a splash of melted butter and oil keeps them incredibly moist and fudgy, so they stay luscious even after cooling. The result is a timeless classic with a modern, homey feel—perfect for celebrations, weeknight wind-downs, or Sunday movie marathons. Whether you’re baking for a crowd or craving something to nibble with a glass of milk, this chocolatey masterpiece delivers warmth, nostalgia, and a little bit of magic in every bite.
The Story Behind the Dish
Brownies have a storied place in dessert history, with origins that blend humble pantry ingredients and the joy of improvisation. The earliest brownie recipes trace back to the 19th century, when American home cooks began refining the idea of a chocolate bar cut into squares, a practical solution for sharing and storing a dense, portable treat. Over the decades, brownies evolved from simple, fudgy squares to the serenely rich, multi-textured creations we adore today. This particular version leans into the classic idea—fudgy, deeply chocolatey, and just a touch celebratory—while inviting modern tweaks that elevate texture and depth.
The origins of brownies are not just culinary; they echo a culture of hospitality and the art of making something comforting from pantry staples. In many households, brownies are the go-to bake for birthdays, school bake sales, after-school treats, and quiet evenings when someone just needs a little sweetness. The “rich” iteration honors that tradition while recognizing the contemporary palate: cocoa that sings, butter that glows, and a whisper of espresso that grounds the sweetness without overpowering it. It’s a nod to the past, a celebration of present flavors, and a bridge between generations of bakers who learned that a simple tray of brownies can become a shared memory.
Why You’ll Love This Recipe
- Intense chocolate flavor without being cloying—perfect for chocolate lovers who crave depth over sweetness alone.
- Luxuriously fudgy interior with a delicate crackly top that sets up a sensory contrast in every bite.
- Richness achieved with a balanced ratio of butter, oil, and cocoa, ensuring moisture stays intact even after cooling.
- Versatile base that welcomes add-ins (nuts, chocolate chunks, swirls of caramel or peanut butter) or keeps it pure for purists.
- Simple pantry ingredients that come together quickly, making this a reliable go-to for last-minute dessert or a planned bake.
- Ideal for sharing—cuts neatly, travels well, and pleases a crowd of varied tastes.
Beyond the delight of cutting into a glossy surface, these brownies reward you with a texture that’s both indulgent and comforting. They’re the kind of treat that makes a kitchen smell like a cozy bakery, turning ordinary days into little celebrations. If you’ve ever wondered how to coax maximum flavor from a few simple ingredients, this recipe delivers with clear steps and a payoff that feels luxurious enough for special occasions but easy enough to make on a weeknight.
Flavor Profile & Texture
The flavor starts with a pronounced chocolate intensity—think deep, bittersweet cocoa balanced by a hint of sweetness and a whisper of vanilla. The espresso or coffee notes subtly anchor the chocolate, creating a more rounded, grown-up chocolate experience without tasting “coffee.” A buttery richness provides a velvety mouthfeel, while a touch of oil (instead of relying solely on butter) helps maintain that fudgy interior even when the brownies are cooled and a bit stiffer.
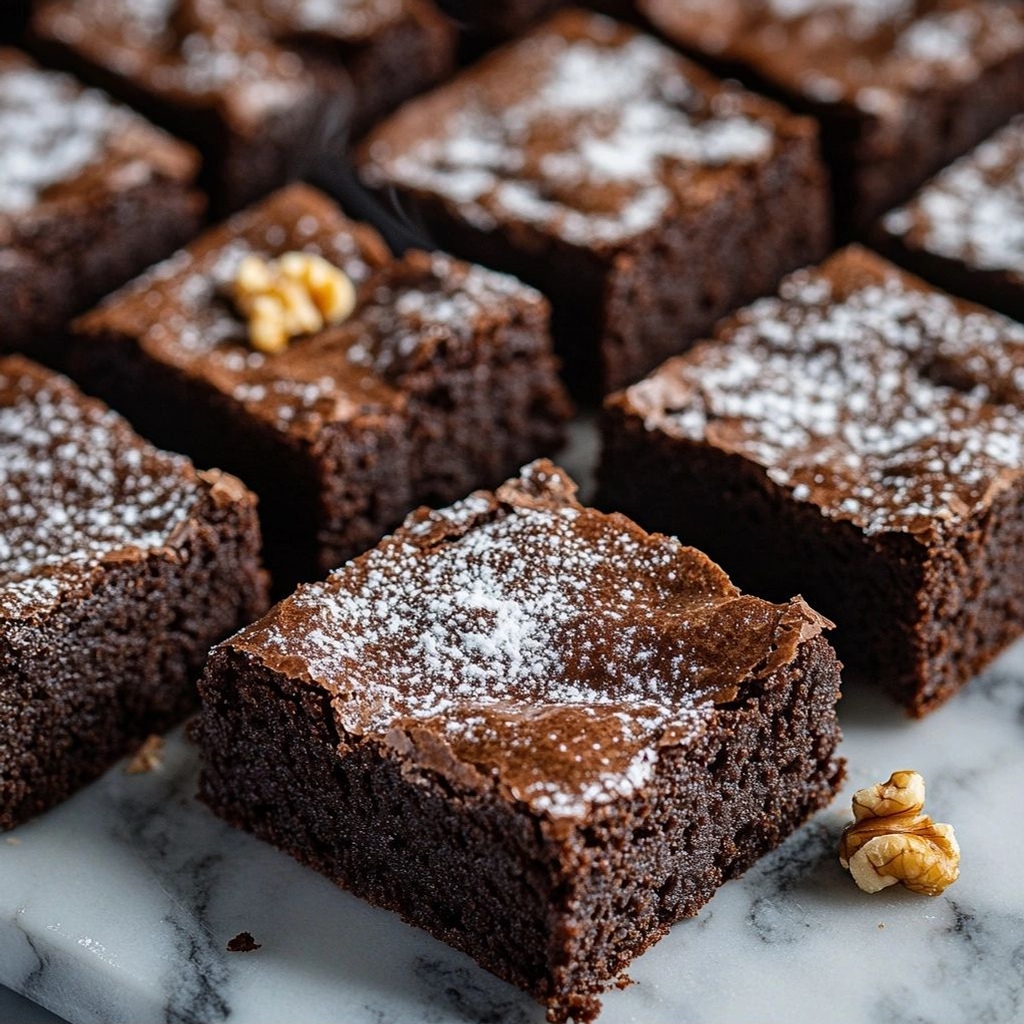
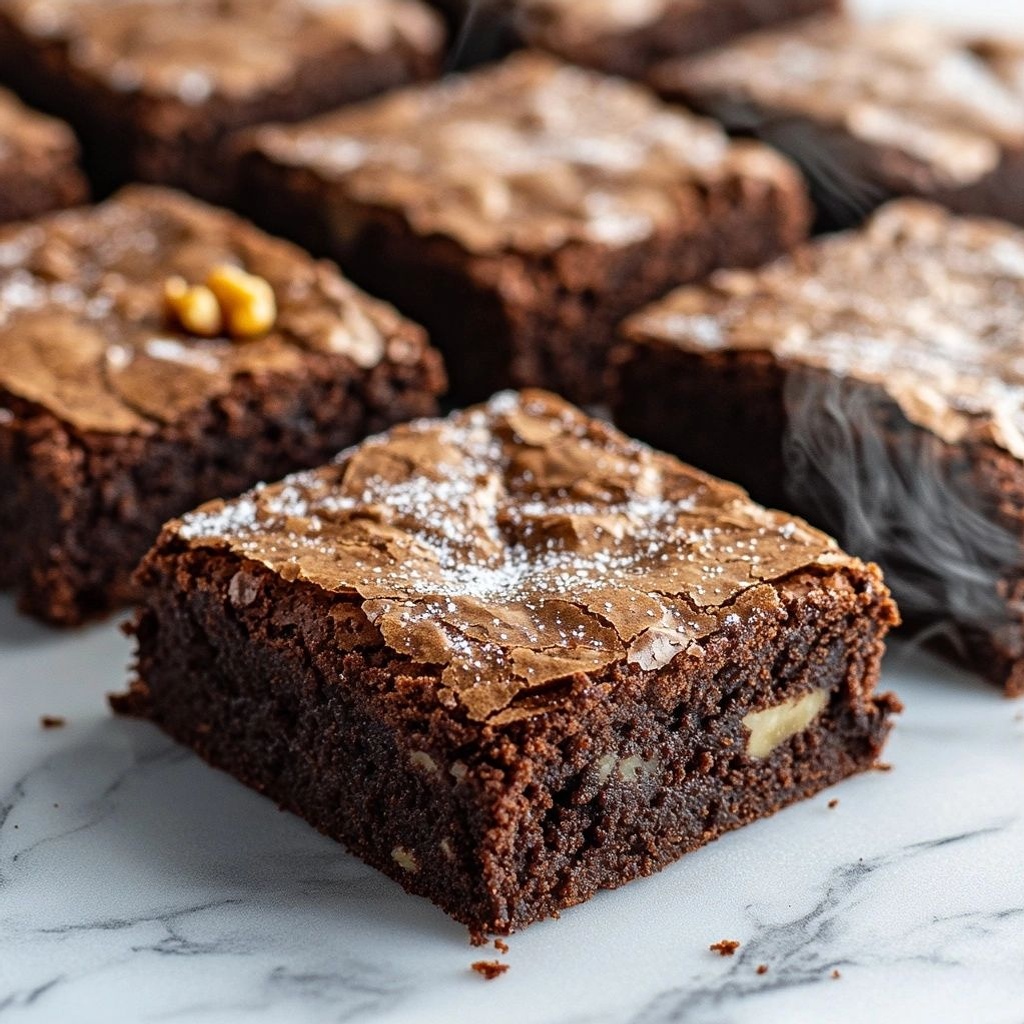
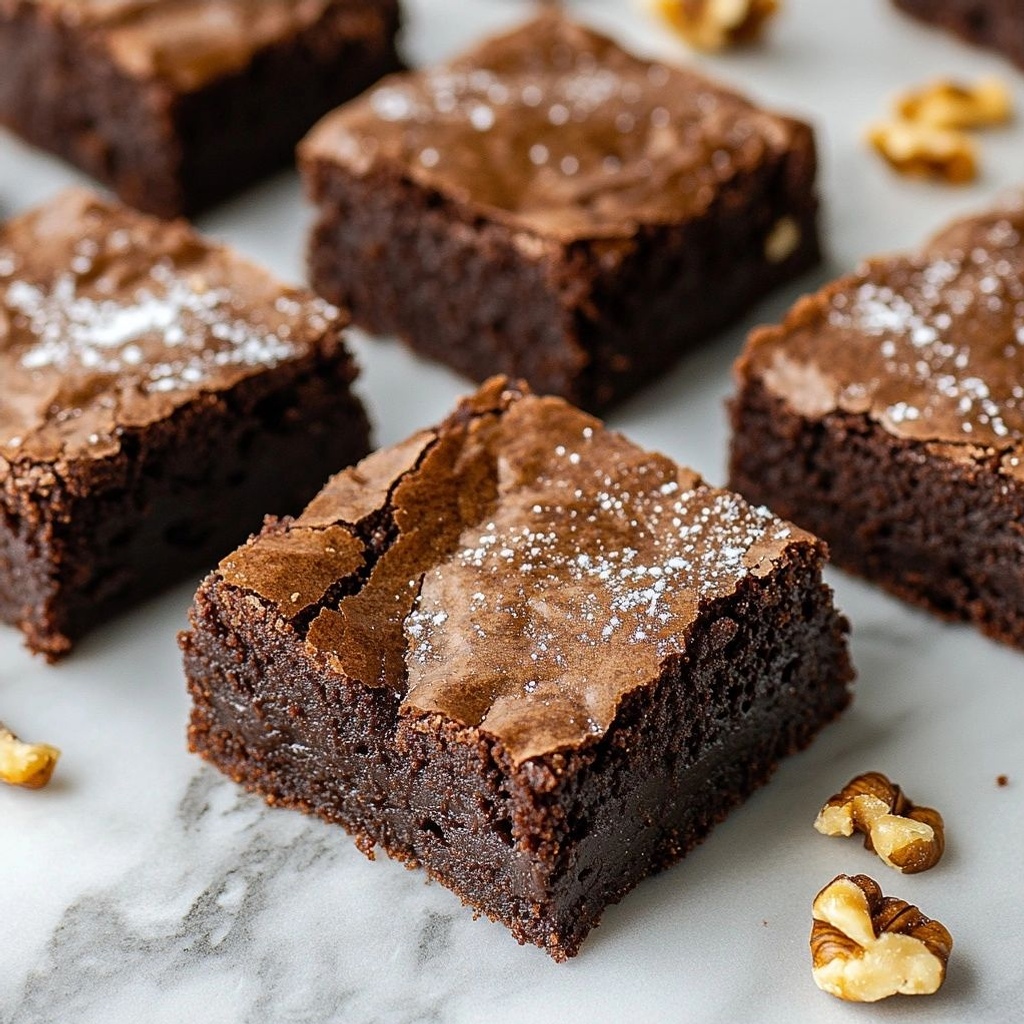
Texture-wise, these brownies offer a quintessential contrast: a lightly crisp, glossy crust on the surface that gives way to an incredibly moist, almost molten center. The edges are tender and chewy, offering a satisfying bite that dissolves into the center’s gooey heart. The crumb is fine and dense, not crumbly, which makes them ideal for getting a clean cut and savoring the inner texture without interruptions. If you’re lucky, the crust will glisten with a thin sheen that shines when the light hits it—proof of the high-heat bake that seals in moisture and builds that signature crackly top.
Optional mix-ins can shift the flavor profile from pure chocolate to something with a toasty, nutty, or caramelized edge. Chopped nuts add crunch and warmth; chocolate chunks can introduce pockets of molten richness; a swirl of peanut butter or caramel creates ribbons of salt-sweet contrast. The beauty of this base recipe is its balance: it remains indulgently chocolate-forward while offering a canvas for your favorite flavor accents.
Occasions & Pairings
Rich Decadent Homemade Brownies are at home in a wide range of moments. For weeknights, they offer a comforting end to dinner or a pairing for a glass of cold milk. On weekends or holidays, they become a centerpiece for dessert tables, giftable tins, or contributions to potluck feasts. They also scale nicely—from a small pan for a cozy date night to a larger tray for gatherings.
Pairings to consider:
- Cold milk, a bold cup of coffee, or a tasting flight of dessert wines for adults.
- Hints of sea salt sprinkled on top just before baking enhance the sweetness and add a sophisticated contrast.
- Fresh berries or a light mascarpone or vanilla cream to cut through the richness on the plate.
- Whipped cream, a dollop of vanilla yogurt, or a scoop of salty caramel ice cream for a maximum dessert experience.
For festive occasions, consider presenting brownies in a layered dessert platter with assorted toppings and a drizzle of chocolate ganache. They pair beautifully with roasted coffee flavors, dark chocolate liquors, or a tart berry compote that brightens the palate between bites of dense, luscious chocolate.
Tips, Variations & Substitutions
Personalize this recipe to fit dietary needs or flavor preferences without sacrificing the decadent vibe.
- Vegan option: Replace butter with a neutral-tavored plant-based butter and use a flax egg or two just for binding. Use dairy-free chocolate chips or a high-quality dairy-free dark chocolate bar chopped into chunks. Ensure your chosen cocoa is unsweetened for the bold chocolate flavor.
- Gluten-free approach: Use a gluten-free all-purpose flour blend with a touch more cocoa or a small amount of almond flour to add moisture. Check that the chips and any add-ins are certified gluten-free.
- Low-sugar or reduced-sugar version: Increase the cocoa proportion slightly and use a sugar substitute suitable for baking. Keep a close eye on bake time to prevent drying. Consider adding a tablespoon of unsweetened applesauce for moisture.
- Texture tweaks: For an even fudgier center, slightly reduce the bake time and pull the pan when a toothpick shows a few moist crumbs. For a more cake-like brownie, increase bake time and a touch of baking powder.
- Flavor twists: Add 1-2 tablespoons of finely ground espresso powder to deepen the chocolate notes, or fold in 1/4 cup of finely chopped nuts for contrast. A swirl of peanut butter or caramel in the batter creates beautiful ribbons of flavor.
- Regional twists: Swap a portion of the butter for browned butter for nutty, caramelized notes. Incorporate a pinch of smoked salt for a daring contrast in a dark chocolate profile.
Practical substitutions to maintain decadence:
- Butter alternatives: Use a portion of neutral oil blended with butter to preserve moisture while enhancing fudginess.
- Milk or dairy-free milk: A splash can help with batter consistency if it feels too thick before baking.
Storage & Make-Ahead Ideas
These brownies store beautifully, which makes them ideal for preparing ahead and freezing for future cravings. Proper storage helps maintain their fudgy texture and glossy top.
- Room temperature: Store baked brownies in an airtight container at room temperature for up to 4 days. For best texture, keep them covered to preserve moisture and prevent them from drying out.
- Refrigeration: If you need them to last longer, refrigerate for up to 1 week. They’ll firm up a bit but can still be sliced cleanly; bring them to room temperature for the best bite before serving.
- Freezing: Wrap individual pieces or the whole square tightly in plastic wrap and place in an airtight container or freezer bag. Freeze for up to 3 months. Thaw at room temperature or warm gently in a low oven to restore softness.
- Make-ahead tips: Bake the brownies a day in advance to allow flavors to meld. If planning a larger event, bake, cool completely, wrap tightly, and refrigerate overnight before slicing and serving—this often yields cleaner cuts and a richer flavor.
Reheating tips: If you prefer a freshly warm texture, reheat individual portions in the microwave for 10-15 seconds or in a low oven until the center is pleasantly soft. A quick reheat helps revive the glossy surface and fudgy interior.
Fun Facts & Trivia (Optional)
– The classic brownie is a symbol of American home baking and has inspired countless variations around the world, each with its own regional twist and secret ingredient. While the core is simple—chocolate, sugar, fat, and flour—the possibilities feel almost endless.
– The “crackly top” often associated with a superior brownie is the result of a thin crust forming as the batter hits high heat and the sugars caramelize just enough to form that delicate, shiny surface.
– Espresso or coffee is a common secret in many fudgy brownie recipes. A small amount enhances the cocoa’s bitterness, which makes the overall chocolate flavor feel deeper and more luxurious without tasting like coffee.
– Brownies can be a canvas for cultural flavors. Some regions pair them with cinnamon and chili for a Mexican-inspired kick, while others fold in coconut, nuts, or dried fruit for a Mediterranean or tropical twist.
Ingredients
-
Rich Brownie Batter
- 1 cup (226 g) unsalted butter, melted and cooled to just warm
→ Using melted butter creates a fudgy, dense texture characteristic of rich brownies. Let it cool slightly so it doesn’t seize the eggs when added. For deeper chocolate flavor, use a high-fat butter; do not overheat to prevent scorching. - 2 cups granulated sugar
→ Sugar provides sweetness and helps create a chewy crust as the batter bakes. If you prefer a slightly less sweet result, you can reduce by up to 1/4 cup, but maintain the balance with the chocolate. - 1/2 cup packed light brown sugar
→ Brown sugar adds moisture and a hint of molasses-like caramel flavor that enriches the fudgy crumb. Use light brown sugar for a cleaner flavor, or dark brown for deeper caramel notes. - 4 large eggs, at room temperature
→ Eggs provide structure and moisture; room temperature eggs mix more evenly with the fat and sugar, yielding a smoother batter and a finer crumb. If cold, temper briefly by letting them sit at room temperature for about 30 minutes. - 2 teaspoons pure vanilla extract
→ Vanilla enhances the chocolate depth and rounds the sweetness. Use real vanilla extract (preferably alcohol-based) for a well-rounded aroma; avoid vanilla flavorings with artificial aftertaste. - 8 ounces (226 g) bittersweet chocolate, finely chopped or 1 3/4 cups bittersweet chocolate chips
→ Melted chocolate blends into the butter for a dense, glossy batter and rich flavor. If using chips, ensure they are high-quality and fold into the batter after slightly cooled to avoid seizing. For the best fudgy texture, use chocolate with 60–70% cacao. - 1 1/2 cups all-purpose flour
→ Flour provides structure to the brownies. Do not overmix once the dry and wet ingredients are combined to keep the batter tender. For a more cake-like brownie, increase flour by 2–3 tablespoons. - 3/4 cup unsweetened cocoa powder (preferably Dutch-processed)
→ Cocoa intensifies chocolate flavor and color. Dutch-processed cocoa yields a deeper, more uniform color and a smoother taste; if using natural cocoa, the batter may be a touch more acidic and require slight adjustments to sugar. - 1/2 teaspoon fine sea salt
→ Salt heightens chocolate flavor and balances sweetness. If using salted butter, reduce additional salt to 1/4 teaspoon to avoid over-salting. Dissolve the salt by whisking into the cocoa or flour before combining with wet ingredients. - 1/4 teaspoon baking powder (optional)
→ A touch of baking powder can elevate the brownies slightly for a lighter, more open crumb. For a classic ultra-fudgy result, omit entirely; for a more cakey texture, include this small amount. - 1 cup semisweet chocolate chips or chunks
→ Extra chocolate pieces provide pockets of gooey chocolate. Fold in after the batter is smooth but still warm to help chips soften without fully melting into the batter. If you prefer a uniform texture, use smaller chips and mix in gently. - 1 cup chopped walnuts or pecans
→ Nuts add crunch and contrast to the dense brownie. Toast nuts lightly in a dry pan or oven at 350°F (175°C) for 5–8 minutes before chopping to maximize aroma and flavor. If avoiding nuts, omit entirely or substitute with roasted hazelnuts. - 1 teaspoon espresso powder (optional)
→ A small amount of espresso powder intensifies chocolate without imparting coffee flavor. Dissolve the powder in the vanilla or a few teaspoons of hot water before adding to the batter to ensure even distribution. - Flaky sea salt, for sprinkling (optional)
→ A light sprinkle of flaky salt on top after baking accents the chocolate and creates a pleasant contrast with the fudgy center. Use a gentle hand; too much salt can overwhelm the brownie’s sweetness.
Dry Ingredients
Optional Add-ins
Toppings and Finishes
Instructions
- Preheat your oven to 350°F (175°C) and line a 9×13-inch (23×33 cm) baking pan with parchment paper or grease it well to ensure the brownies release cleanly after baking.
→ A consistent oven temperature ensures even baking and a glossy, crackly top; parchment prevents sticking and makes removal effortless. - Melt the unsalted butter until just melted and smooth, then cool it to just warm before proceeding to prevent eggs from seizing when added.
→ Warm butter yields a fudgy crumb without cooking the eggs; overheating can create scrambled texture. - Whisk in the granulated sugar and light brown sugar into the cooled melted butter until the mixture is uniform and glossy, showing the sugars have dissolved enough to evenly hydrate the batter.
→ Thoroughly mixing sugars with fat helps develop a dense, fudgy crust and prevents gritty pockets in the crumb. - Stir in the 4 large eggs one at a time, whisking vigorously after each addition to encourage emulsification and a smooth batter with a fine crumb.
→ Room-temperature eggs blend more evenly with fat and sugar, creating a more cohesive structure; vigorous whisking aerates slightly for a tender finish. - Beat in the 2 teaspoons of pure vanilla extract until fully incorporated and aromatic, aiding the chocolate to bloom and balancing sweetness.
→ Vanilla enhances depth of flavor and rounds sweetness; evenly distribute by whisking for about 20–30 seconds after adding. - Add the finely chopped bittersweet chocolate or melted chocolate chips to the wet mixture and fold in until glossy and uniform, ensuring no visible streaks of chocolate.
→ Melted chocolate creates a dense, chocolate-forward batter; if using chips, fold after slightly cooling to prevent seizing and to maintain a velvety texture. - In a separate bowl, whisk together the all-purpose flour, Dutch-processed cocoa powder, fine sea salt, and baking powder (if using) until evenly combined and free of lumps.
→ Sifting or whisking powder ingredients removes clumps and distributes leavening evenly, which affects rise and crumb. - Pour the wet mixture into the dry ingredients and fold gently with a silicone spatula until just combined and no dry streaks remain, stopping as soon as the batter comes together to avoid overmixing.
→ Overmixing develops gluten, leading to a tougher, cake-like texture; stop as soon as the flour is incorporated for a fudgy brownie. - If using optional add-ins, fold in 1 cup semisweet chocolate chips or chunks and 1 cup chopped walnuts or pecans now, distributing evenly without overworking the batter.
→ Extra chocolate and nuts create pockets of gooeyness and crunch; folding gently prevents breaking the batter’s sheen and keeps a moist crumb. - Spread the batter evenly in the prepared pan using a spatula, smoothing the top in a single motion to promote uniform thickness and bake time.
→ An even surface ensures consistent heat distribution, preventing undercooked centers and overcooked edges. - Bake in the preheated oven for 25–30 minutes, checking for a few moist crumbs attached to a tester; the center should be moist but not wet and the edges should pull away slightly from the pan.
→ The exact time depends on pan size and oven; tester with a few moist crumbs indicates fudgy doneness without a dry center. - Remove the pan from the oven and let the brownies cool completely in the pan on a rack before cutting; this allows the structure to set and prevents crumbling.
→ Cooling is essential for clean slicing and a fudgy, cohesive crumb; cutting too early yields messy, gummy pieces. - Once cool, lift the brownies from the pan using the parchment overhang and cut into uniform squares or rectangles, wiping the knife between cuts for clean edges.
→ A sharp, cooled knife with a quick wipe yields precise, neat portions and prevents dragging through the fudgy surface. - Optionally sprinkle flaky sea salt over the cut brownies just before serving to enhance the chocolate’s depth and provide a contrasting savory note.
→ A light salt finish elevates chocolate flavor, balancing sweetness and adding a professional, restaurant-style finish.
Notes
These rich decadent brownies are famously fudgy and dense, built with melted butter and a generous amount of bittersweet chocolate for a deeply chocolatey bite. You can customize them by folding in optional add-ins like semisweet chips, chopped walnuts or pecans, and a hint of espresso powder for added depth. Let the batter rest briefly before baking to encourage a glossy crust and a moist crumb. They slice best after cooling completely, and they freeze well for easy make-ahead treats. For a polished finish, sprinkle flaky sea salt on top just before baking or after slicing, and consider serving with a dollop of whipped cream or a drizzle of ganache for extra indulgence. Always use high-quality chocolate and fresh eggs at room temperature for the most even texture.
Tips
Tips for Rich Decadent Brownies
- Butter handling: Melt the butter gently and let it cool to just warm before mixing with sugar. Hot butter can seize the eggs and make the batter greasy; cooled butter helps create a glossy, fudgy texture.
- Egg temperature: Use room-temperature eggs for smoother incorporation and a finer crumb. If your eggs are cold, warm them in a bowl of warm water for a few minutes or leave them at room temperature for 30 minutes.
- Chocolate quality: Finely chop high-quality bittersweet chocolate or use good chips. Melt with the butter and fold in once slightly cooled to avoid seizing. For ultra-rich flavor, reserve a few chips to fold in after mixing for ribbons of melty pockets.
- Dry-to-wet balance: Don’t overmix once dry ingredients meet wet. Mix just until combined to keep brownies tender and fudgy. A few streaks of flour are better than overworked batter.
- Flavor boosters: If using espresso powder, dissolve it in a tablespoon of hot water or in the vanilla to distribute evenly. Vanilla quality matters—pure vanilla extract yields a more rounded aroma than artificial flavorings.
- Add-ins strategy: Fold in extra chocolate chips and nuts after the batter is smooth but still warm for gooey pockets and to avoid over-melting the chips. Toast nuts beforehand to maximize aroma and crunch.
- Salt balance: Sea salt enhances chocolate flavor. If using salted butter, reduce added salt to 1/4 teaspoon. Sprinkle a light pinch of flaky salt on top after baking for a professional finish.
- Pan prep: Line the pan with parchment or foil for easy removal. Leave a small overhang to lift the brownies out intact, then trim once cooled for clean edges.
- Baking check: Start checking for doneness at the lower end of the time range. A few moist crumbs on a toothpick indicate fudgy centers; too dry means overbaking. Ovens vary, so rely on texture, not only the clock.
- Storage: Once cooled, wrap tightly and store at room temperature for 2–3 days or freeze for up to 3 months. For best fudginess, wrap individually and thaw at room temperature before serving.
- Serving ideas: Dust with a light sprinkling of cocoa powder or powdered sugar, or serve with a scoop of vanilla ice cream and a drizzle of chocolate sauce for a decadent treat.
FAQ
What makes these Rich Decadent Homemade Brownies so special?
They use high-quality dark chocolate, a generous amount of butter, and a minimal flour base to create a fudgy, dense texture with a shiny crackly top. A pinch of salt and vanilla enhance sweetness and depth.
What ingredients do I need to make them?
Common ingredients: dark chocolate (70% cocoa), unsalted butter, granulated sugar, brown sugar (optional for chewier texture), eggs, vanilla extract, all-purpose flour, cocoa powder, salt. Optional: espresso powder for depth, chopped nuts or chocolate chips.
How long do they take to bake and how do I know they are done?
Bake at 350°F (175°C) for about 22–28 minutes. They should look slightly underbaked in the center but set around the edges. A toothpick inserted near the center should come out with a few moist crumbs, not wet batter. Let cool completely before cutting for clean slices.
How do I make them fudgy instead of cakey?
Use melted butter, more fat relative to flour, and avoid overbaking. Use a mix of dark chocolate and cocoa powder, reduce flour, and consider using brown sugar for moisture. Do not whisk in too vigorously; fold until just combined.
Can I customize the mix-ins?
Yes. Add chopped walnuts, pecans, roasted almonds, or chocolate chips. For a marbled effect, swirl in a spoonful of peanut butter, caramel, or cream cheese before baking.
Are these brownies gluten-free or vegan?
Traditional recipe uses all-purpose flour and eggs. To make gluten-free, substitute with almond flour or a gluten-free flour blend and add an extra tablespoon of cocoa for moisture. For vegan, use flaxseed or chia egg (1 tablespoon ground flaxseed + 3 tablespoons water per egg), dairy-free butter substitute, and ensure chocolate is vegan. Note that texture may vary slightly.
How should I store and reheat leftovers?
Store in an airtight container at room temperature for up to 3 days, or refrigerate for up to 1 week. For longer storage, wrap tightly and freeze for up to 3 months. Reheat in the microwave in 15–20 second intervals or warm briefly in a 300°F (150°C) oven to restore fudginess.
What equipment helps achieve the best results?
A heatproof bowl for melting, a sturdy spoon or spatula for folding, a parchment-lined square pan for easy removal, and an accurate oven thermometer to ensure consistent baking. A quick dusting of powdered sugar on top adds a decorative finish.
Can I make a smaller batch?
Yes. Scale ingredients proportionally to a 8×8 inch pan or a similar size. Alternatively, use a mini brownie pan or line a small baking dish and adjust bake time to prevent overbaking.