Introduction / Hook
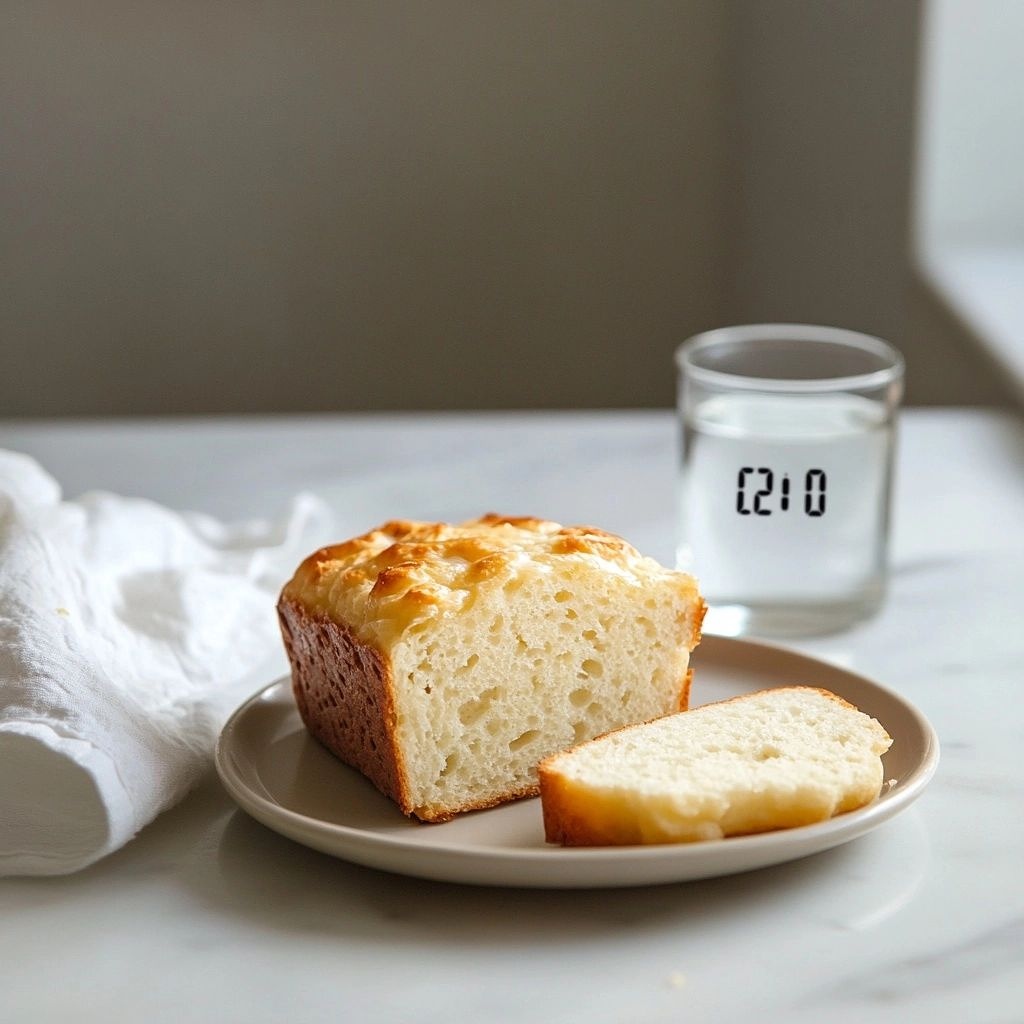
Imagine a warm, pillowy loaf emerging from your microwave in the blink of an eye—a comforting scent filling your kitchen, inviting you to slice into a soft crumb with a tender, slightly sweet crust. This is not a dream of culinary speed; it’s the modern, microwaved marvel that turns a busy moment into a small, cozy ritual. In just a couple of minutes, you can enjoy fresh bread that tastes homemade, with a texture that satisfies the craving for something cozy and wholesome without the long wait. The Quick 2-Minute Microwave Bread is the kind of recipe you pull out when you’ve got a craving that can’t wait, a busy morning, or a late-night snack that deserves a touch of homey indulgence. It’s the kind of kitchen hack that makes you feel like a magician—simple ingredients, clever technique, and results that bring a smile to anyone who tastes it.
What makes this bread so captivating isn’t just the speed. It’s the way the microwave, often perceived as a gadget for reheating leftover scraps, becomes a vehicle for immediate comfort. The aroma wraps around you as the dough steams and transforms, a reminder that good bread doesn’t always require a long proving time or a wood-fired oven. In the space of a couple of minutes, you can have a warm, bready piece that pairs beautifully with butter, jam, cheese, or savory toppings. It’s a small proxy for bakery freshness, a homely treat that fits into a hectic schedule without sacrificing the joy of bread’s soft, inclusive nature.
As you read on, you’ll discover not just how to achieve this speedy loaf, but why it works so well, and how you can tailor it to your tastes and dietary needs. You’ll feel guided by practical tips, a dash of playfulness, and an appreciation for the comforting ritual of bread-making—even when time is tight and the kitchen is craving a quick win. Whether you’re a novice baker experimenting with microwave workarounds or a seasoned home cook seeking a time-saving staple, this description will walk you through the ins and outs of a bread concept that proves fast is not synonymous with compromise.
The Story Behind the Dish
Bread has always held a special place in human culture: a universal symbol of sustenance, sharing, and daily ritual. But the idea of making bread in a microwave, rather than the traditional oven, is a relatively modern twist born from the demands of fast-paced life and the ingenuity of home cooks looking to adapt. The Quick 2-Minute Microwave Bread sits at the intersection of comfort, convenience, and experimentation. It’s a nod to the everyday person—college students, working parents, late-night snackers—who still yearn for that classic bread experience without the commitment of a long bake. It’s a culinary quickie that reveals how, with a few simple ingredients and an understanding of heat and moisture, you can coax tenderness, chew, and a warm, toasty exterior in a fraction of the time.
The concept has roots in kitchens across the world where people improvise with what they have on hand. It echoes the broader trend of microwavable mug cookies, quick breads, and cloud-like cakes that gained popularity as a practical solution to busy lives. The bread in this story is not about reinventing the wheel but about reimagining the wheel for moments when speed is essential. It’s about capturing the sensory joy of fresh bread—the crack of the crust, the steam that escapes with a sigh, the buttery softness within—and delivering it in an accelerated format that still respects the craft of breadmaking. In many homes, this little loaf becomes a bridge between a desire for a handmade touch and the realities of a packed schedule.
Beyond speed, the dish tells a story of accessibility. You don’t need a fancy mixer, a sourdough starter, or hours of proofing to enjoy bread that feels personal and comforting. It’s about demystifying bread and reminding us that practical technique—measuring, mixing, and timing—can produce something delicious with minimal equipment. The microwave, often celebrated for convenience in the modern kitchen, becomes a stage where a humble combination of flour, liquid, leavening, and a whisper of salt can rise into something that tastes intentionally crafted. The narrative of this dish is a celebration of resourcefulness, a small tribute to those moments when you crave warmth and you want it now.
Why You’ll Love This Recipe
- Speed without sacrifice: You get warm, soft bread in a couple of minutes, perfect for impromptu breakfasts, late-night cravings, or a quick side for soup and salads.
- Minimal equipment: No kneading by hand for ages, no stand mixer, and no waiting for dough to rise. A microwave and a mug or small bowl are often all you need.
- Versatile base: The recipe serves as a blank canvas—you can add herbs, cheese, garlic, or a touch of honey for sweetness to tailor it to your mood or meal.
- Budget-friendly: Uses pantry staples—flour, milk or water, a little oil or butter, leavening—making it accessible and economical.
- Kid-friendly: Gentle flavors and a soft crumb make it appealing to younger eaters, with easy adjustments to reduce salt or dairy if needed.
- Comforting aroma: Even when made quickly, the scent of warm bread wafts through the room, elevating a simple moment into a homey experience.
- Portion control: Small, fast loaves or rounds are perfect for portioning, reducing waste, and testing flavor variations without committing to a full loaf.
Flavor Profile & Texture
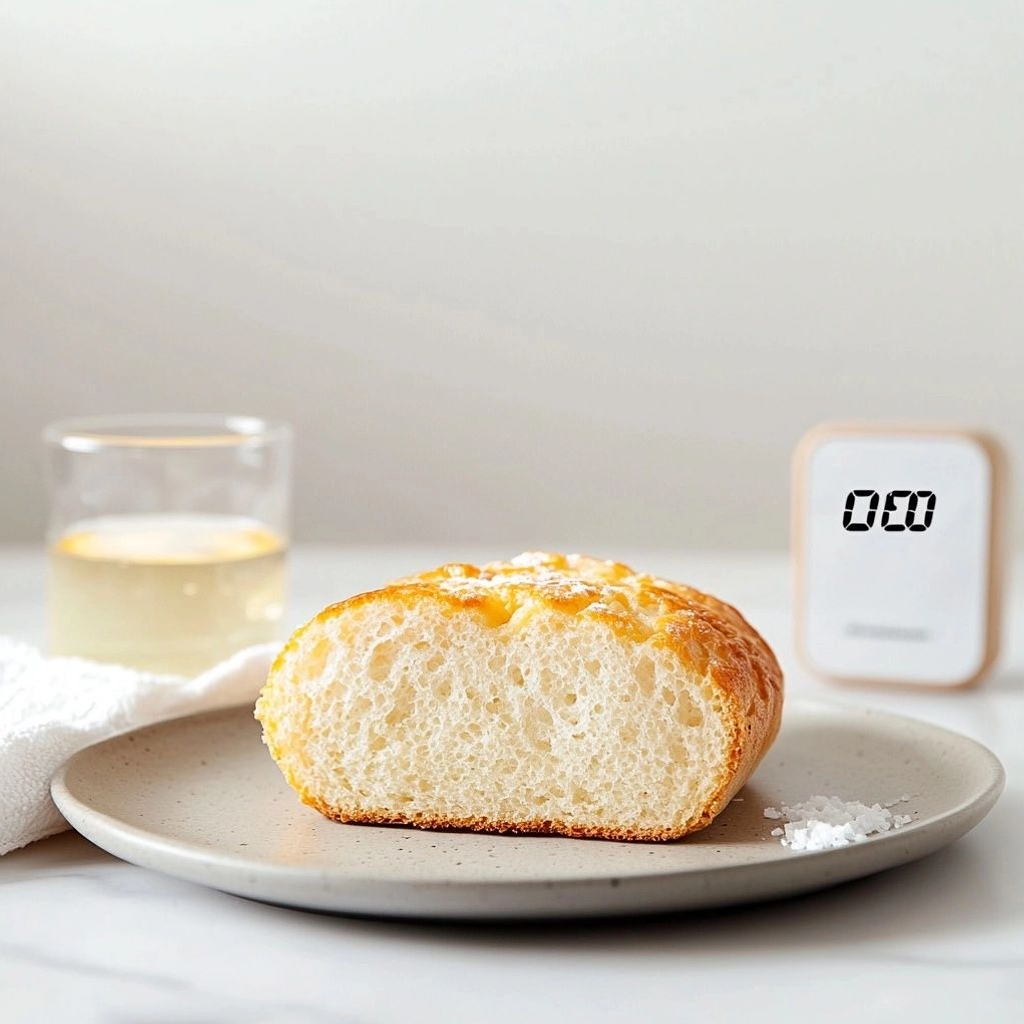
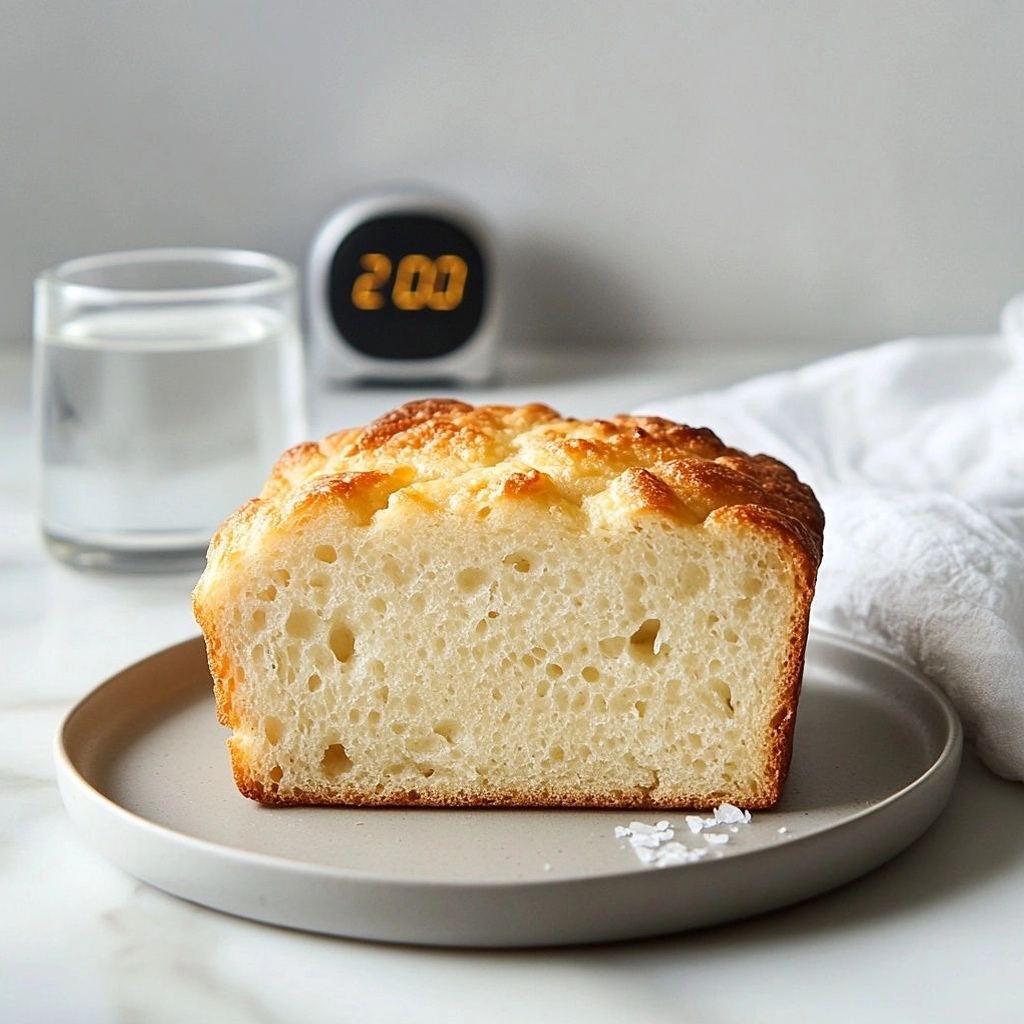
The Quick 2-Minute Microwave Bread delivers a comforting, gentle aroma with notes of toasty warmth and a hint of sweetness from the flour. Depending on your choice of milk or water and any optional sweeteners or fats, the flavor can swing from clean and neutral to subtly enriched with dairy, butter, or olive oil. The texture is the star here: a perfectly tender interior with a light, almost pillowy crumb, and a crust that forms from the heat of the microwave into a delicate, chewy edge rather than a crisp, oven-baked crust. It’s not a chewy baguette or a robust sourdough; it’s a soft, everyday bread that tastes like a hug in a mug-shaped form, ideal for dunking and spreading.
Key flavor touchpoints to consider:
- Salt brings the bread into balance, enhancing the crumb’s tenderness and the subtle sweetness of the flour.
- Fat (butter, oil, or milk) adds richness and a silky mouthfeel, helping the crumb stay moist and forgiving.
- Liquid choice affects texture and flavor: dairy milk yields a richer crumb, while water with a splash of oil keeps it lighter.
- Optional add-ins—garlic powder, dried herbs, grated cheese—introduce savory depth; honey or sugar can coax a gentle sweetness for toast or dessert-style bites.
Texture-wise, expect a contrast that’s pleasing: a thin, delicate crust that gives way to an airy, soft center. The microwave’s steam creates moisture that keeps the interior tender, while a quick, subtle exterior browning or set gives the bread its familiar shape and bite. It’s the kind of texture you want when you’re dipping into olive oil, mopping up a sauce, or simply spreading a pat of butter that melts into every pore of the crumb.
Occasions & Pairings
This speedy bread is surprisingly versatile in terms of when to serve it and what to pair it with:
- Weeknight dinners: A warm slice alongside soups, stews, or salads for a comforting, speedy meal.
- Breakfast or brunch: Slather with jam, honey, peanut butter, or cream cheese for a quick, satisfying start to the day.
- Snackable moments: Enjoy with a slice of cheese or a drizzle of olive oil and balsamic for a simple, elegant bite.
- Tea-time companion: A light, early evening bread to dip into tea or a warm cocoa.
- Holiday sides: Twist traditional sides by offering a small plate of herb-infused or garlic butter bread alongside savory dishes.
Pairings to consider:
- Savory: Garlic butter, herbed cream cheese, a wedge of soft cheese, or a thin layer of smoked salmon and dill.
- Sweet: Butter and jam, honey, cinnamon sugar, or a light dusting of powdered sugar with a lemon glaze.
- Drinks: A cup of tea, coffee, or a glass of milk; for a celebratory twist, a sparkling beverage can elevate the moment.
In many homes, this bread becomes a reliable standby for quick meals and spontaneous gatherings. Its simplicity invites conversation and experimentation, making it a welcome guest at weeknight dinners and a flexible option for weekend brunches alike.
Tips, Variations & Substitutions
Here are practical ideas to tailor the Quick 2-Minute Microwave Bread to your preferences, dietary needs, and available ingredients:
- Flour variations: All-purpose flour is the most forgiving, but you can experiment with whole wheat for a heartier crumb or a mix of white and rye for a touch of nuttiness.
- Liquid options: Dairy milk yields a richer crumb, while plant-based milks (almond, soy, oat) keep it dairy-free. Water with a splash of oil is a lighter option that still yields a soft interior.
- Fat alternatives: Butter lends a classic, rich flavor; olive oil adds a fruity richness; a neutral oil keeps the flavor clean.
- Sweet vs. savory: Add a teaspoon of sugar or honey for a slight sweetness, or a pinch of salt to sharpen flavor. For savory, mix in grated cheese, minced garlic, and dried herbs.
- Herb infusions: Finely chopped rosemary, thyme, or chives offer fragrant, savory notes that pair beautifully with soups and salads.
- Cheesy uplift: A tablespoon of grated cheese folded into the batter creates a cheese-strewn crumb reminiscent of quick microwave breads found in bakery windows.
- Allergen-friendly options: Use gluten-free flour blends appropriate for quick breads, though texture may vary; ensure leavening is compatible with gluten-free formulas.
- Sweet add-ins: A touch of cinnamon, vanilla, or lemon zest can transform the bread into a gentle dessert-style bite perfect for a sweet tea time.
- Texture tweaks: If you want a slightly firmer crust, briefly press the batter to a smooth surface before microwaving; to keep the crumb ultra tender, avoid over-mixing.
Dietary adaptations can be embraced without sacrificing the essence of the bread. For a vegan version, use plant-based milk and a neutral oil, and ensure your leavening agents are vegan-friendly. For gluten-free kitchens, select a protein-rich gluten-free flour blend and adjust liquid levels by a few tablespoons as needed. If you’re watching sodium, reduce or omit added salt and choose a low-sodium butter substitute.
Storage & Make-Ahead Ideas
While the bread is best enjoyed fresh, you can store and repurpose leftovers in clever ways to extend its life and usefulness throughout the week:
- Short-term storage: Wrap cooled bread tightly in plastic wrap or place in an airtight container. It will stay soft for a day or two at room temperature.
- Reheating: Slice and reheat briefly in the microwave to soften the crumb; a quick toast later will bring back some of the rustic crust and aroma.
- Make-ahead tip: Prepare a larger batch of batter and refrigerate in a covered container for up to 24 hours; portion out into microwave-safe vessels when ready to bake. Note that the texture may shift slightly with longer resting times.
- Freezing: Freeze individual slices or small rounds in an airtight bag. Reheat from frozen in a microwave at 50% power, checking in short intervals to avoid overcooking.
- Storage for toppings: If you plan to top the bread with butter, herbs, or cheese, store these components separately and assemble fresh to preserve texture and flavor.
When making ahead, consider the intended use. If you’re planning to pair it with a hearty soup, you may want to finish the bread with a quick butter brush and a light sprinkle of sea salt upon reheating to refresh the aroma and taste.
Fun Facts & Trivia (Optional)
Here are a few bite-sized tidbits that celebrate bread and the quick-bread phenomenon in modern cooking:
- Microwave bread isn’t a modern-only invention; early home kitchens in the 20th century experimented with microwave-safe batters and batter-based foods as electrical appliances became common.
- The concept of “quick breads” spans cultures—from American muffins and banana breads to European brioche-like quick breads—where leavening agents create a fluffy crumb without the need for time-consuming fermentation.
- Texture and moisture management are the true secrets in microwave bread. The balance of fat, liquid, and gentle heat creates a crumb that’s surprisingly close to what you’d expect from traditional ovens.
- Snowballing interest in kitchen hacks and 10-minute meals popularized the idea of ultra-fast bread, leading to a wave of adaptable, recipe-ready techniques for busy cooks.
Care & Craft: The Mindful Approach
Even with its speed, the bread invites a mindful approach. The process encourages you to observe how moisture, heat, and rest interact. Though the method is quick, you can still practice kitchen mindfulness: measuring ingredients with care, mixing with gentle, patient motions, and appreciating the simple transformation from batter to bread. This attention to detail, even in a fast recipe, makes the final result more satisfying and elevates the everyday act of making bread into a small ritual.
Troubleshooting & Common Questions
To help you troubleshoot and optimize your experience, here are quick answers to common questions that arise with microwave bread:
- Why is my bread dense? If the batter is overmixed or the proportion of liquid to flour is off, the crumb can become dense. Try a touch less liquid or a shorter mixing time and ensure the batter is just combined until no dry patches remain.
- Why is there a soggy crust? The microwave creates steam; if the surface isn’t adequately exposed to a brief dry finish, the crust can stay soft. A quick 10–15 second air-dry or a quick finish in a toaster can help crisp the exterior.
- Can I make it dairy-free? Yes. Use plant-based milk and a neutral oil or dairy-free butter substitute to maintain tenderness and flavor.
- Can I add eggs? Some variations include a small egg for structure and richness. If you experiment with eggs, adjust the liquid slightly to maintain batter consistency.
Conclusion: Embrace Quick Comfort
In the world of fast-paced kitchens, the Quick 2-Minute Microwave Bread stands as a delightful reminder that you don’t always need hours to craft something warm and satisfying. It’s a practical, versatile, and comforting option that respects your time while delivering the essence of home-baked goodness. Whether you’re chasing a moment of serenity in a busy day, seeking a small but meaningful culinary win, or simply craving that familiar bread aroma that signals “home,” this speedy loaf offers a versatile canvas for creativity. As you experiment with flavors, textures, and pairings, you’ll discover that quick doesn’t have to mean simple or unsubstantial. It can be an invitation to savor the small rituals that make meals feel special, even when time is tight. So, whenever the clock is ticking and your heart yearns for the kindness of fresh bread, remember that a warm slice, a smear of butter, and a moment of quiet delight are well within reach—thanks to a clever, cozy trick that brings bakery comfort to your microwave in moments.
Ingredients
Bread Base
– 4 tablespoons all-purpose flour (or 4 tablespoons gluten-free all-purpose flour)
→ The flour provides the structure and bulk of the microwave bread. Using a standard all-purpose flour yields a tender crumb, while gluten-free blends give a similar texture without gluten. Sift lightly to remove clumps and ensure an even batter consistency for quick cooking.
– 1/8 teaspoon baking powder
→ Baking powder is the leavening agent that creates lift and a light texture in the microwave environment where steam is limited. Be careful not to over-measure; too much can give a metallic or soapy taste, and too little may yield a dense result.
– Pinch of salt
→ Salt enhances flavor and tightens the crumb by balancing sweetness and bringing out the flour’s savoriness. Use a fine pinch so it dissolves quickly in the batter.
– 3 tablespoons milk (or dairy-free milk such as almond, soy, or oat)
→ Liquid activates the dry ingredients and moisture the batter for a tender, cohesive loaf. Dairy-free milks are fine; choose unsweetened varieties to control sweetness and avoid altering bake time.
– 1 teaspoon neutral oil (e.g., light olive oil, vegetable oil, or melted butter)
→ Fat hydrates the flour and adds tenderness, helping the crumb stay moist after microwaving. If using butter, melt it first to incorporate smoothly into the batter.
Optional Add-ins
– 1 teaspoon granulated sugar (optional)
→ A touch of sugar enhances browning and sweetness to suit a bread-like mug loaf. Adjust to taste, especially if using sweet mix-ins or toppings later. Dissolve well in the batter to avoid granules.
– 2 tablespoons shredded cheese (optional)
→ Cheese adds savory depth and a melty, gooey texture inside the microwave bread. Grate or finely shred to ensure even distribution and quick melting. Let the mug rest briefly after microwaving to set before slicing.
– 1 tablespoon chopped fresh herbs (optional, e.g., chives, parsley)
→ Fresh herbs provide aromatic brightness and a savory aroma. Chop finely so they distribute evenly and don’t clump, which helps the bread bake evenly in the brief microwave time.
– Pinch of garlic powder or onion powder (optional)
→ For extra flavor, a small pinch of either powder adds depth without introducing moisture. Use sparingly to avoid overpowering the base of the bread.
– Optional mix-ins: 1 tablespoon finely chopped cooked bacon, olives, or sun-dried tomatoes (optional)
→ Regional or savory mix-ins transform the mug bread into a more substantial snack. Ensure ingredients are drained well and chopped small for even heating and to prevent sogginess.
Instructions
- Whisk the dry base together in a small bowl: 4 tablespoons all-purpose flour (or gluten-free), 1/8 teaspoon baking powder, and a pinch of salt until evenly combined.
→ This creates a uniform dry foundation so the leavening distributes evenly when the batter is formed, which helps the loaf rise and prevents clumps of baking powder from tasting gritty. - Measure and warm the milk to about body temperature (gentle warmth, not hot) and whisk in 1 teaspoon neutral oil until fully emulsified.
→ Warming the milk improves its ability to hydrate the flour quickly in the microwave, while the oil tenderizes the crumb by coating flour particles to limit gluten development and keep the bread moist. - Pour the warm milk and oil mixture into the dry ingredients and stir with a fork or small whisk until a smooth, cohesive batter forms with no dry pockets.
→ Proper wet-to-dry hydration ensures a uniform batter; over-mixing can toughen the crumb, while under-mixing can leave flour specks that hinder even cooking in the microwave. - If using optional granulated sugar, add it now and whisk briefly to dissolve; this supports browning and a subtle sweetness without crystallization.
→ Dissolving sugar prevents gritty grains in the finished loaf and encourages a more even crust color in the brief microwaving period. - If using optional mix-ins (cheese, herbs, garlic powder, or other add-ins), fold them in gently just until distributed to avoid staining and to prevent heavy pockets that won’t heat evenly.
→ Even distribution prevents spots that undercook or overcook and ensures a cohesive flavor in every bite. - Lightly grease a microwave-safe mug or small ramekin and dust with a tiny amount of flour or line with a paper liner if desired to aid release.
→ Proper preparation ensures easy removal after microwaving and prevents sticking, which can tear the loaf and ruin presentation. - Scrape the batter into the prepared mug, smoothing the top with the back of a spoon to create a level surface for even cooking.
→ A level surface ensures uniform heat exposure; an uneven top can cause uneven rising and a dense center. - Microwave on high power for 1 minute, then check for firmness by gently pressing the center with a clean finger or a toothpick; if the center jiggles or wiggles, continue in 10- to 15-second increments until set.
→ Microwave heating is intense and concentrated; short intervals prevent overcooking or drying out the crust while ensuring the interior cooks through. - Let the loaf rest in the mug for 60 seconds to allow residual heat to continue cooking the interior and set the crumb before slicing.
→ Resting lets steam redistribute, firms the crumb, and prevents a gummy center from being too hot to handle or cutting unevenly. - Loosen the edges with a small knife, carefully invert the mug onto a plate, and slice once slightly cooled to the touch for clean cuts and to showcase a tender, open crumb.
→ Releasing the loaf while it’s warm but not blazing hot avoids crumbling; a brief rest improves sliceability and texture. - Serve warm as is or with a light spread of butter, olive oil, or a savory topping; discard any leftover basic batter promptly as it is optimized for one serving.
→ Warm, lightly finished bread highlights the delicate crumb and moisture created by the oil and milk, while the single serving keeps this recipe convenient and fresh-tasted.
Notes
These quick 2-minute microwave breads are a fast, comforting option when you need a warm slice in a hurry. The base uses just a few simple ingredients and comes together in moments, with flexibility to use regular all-purpose flour or gluten-free blends. The batter should come together smoothly but not be overly wet; if you’re using gluten-free flour, you may need a splash more milk to reach a cohesive, spoonable batter. You can customize with add-ins like cheese, herbs, or savory mix-ins to switch from a simple slice to a toastable mug loaf. Let the microwave do the heavy lifting and allow the loaf to rest briefly after cooking to finish setting and keep the crumb tender. If you have dietary needs, ensure your flour and baking powder are gluten-free and free of any allergens you avoid.
Notes and tips for best results: sifting the flour helps create a lighter crumb and prevents clumps; measure baking powder accurately to avoid metallic or soapy flavors in the quick bake. Use a neutral oil to keep the crumb moist and crumbly-free; melted butter adds richness but can slightly alter texture, so whisk well. For dairy-free diets, choose unsweetened almond, soy, or oat milk. If you like a touch of sweetness or browning, add the optional sugar; dissolve it fully to prevent graininess. For a savory loaf, mix in shredded cheese, herbs, or a pinch of garlic/onion powder, then rest the mug loaf briefly after microwaving to set before slicing. The loaf can be stored in the fridge for 2–3 days or frozen for longer; reheat gently in the microwave in short intervals to avoid a dry crumb. Always use fresh ingredients and adjust the liquid slightly if your milk varies in fat content or if your flour brand behaves differently.
Tips
- Prep and batter consistency: Sift the flour lightly to remove lumps and ensure even mixing with the dry ingredients. A smooth, lump-free batter will rise more uniformly in the microwave.
- Leavening tip: Use the 1/8 teaspoon baking powder exactly. Too much can create a metallic or soapy taste in the quick microwave environment, while too little can leave the loaf dense. If you’re using a very dense flour blend, a tiny pinch more baking powder can help, but test carefully.
- Salt usage: A fine pinch of salt helps improve flavor and crumb structure. If you’re using salted butter as your fat, you can reduce the added salt by about half a pinch.
- Milk choices and temperature: Use unsweetened dairy or plant-based milk at room temperature for best results. Cold milk can slow hydration slightly and affect rise; warm milk is acceptable but avoid overheating the batter.
- Fat incorporation: Stir in the neutral oil or melted butter until fully integrated to keep the crumb tender. If using melted butter, pour in slowly while whisking to prevent separation.
- Batter hydration: The batter should be thick but spoonable, not stiff. If it looks too dry, add a tiny extra teaspoon of milk, a drop at a time, until it just comes together.
- Optional add-ins—sugar: Adding 1 teaspoon sugar can promote browning and a slightly sweeter crumb. If you plan savory additions, you may omit the sugar to avoid altering flavor balance.
- Optional add-ins—cheese: If using shredded cheese, fold halfway through mixing so it distributes evenly. Grate cheese finely for quick melt and even pockets of melted cheese inside the loaf. Let the mug rest for 20–30 seconds after microwaving to set before slicing.
- Herbs and aromatics: Fresh herbs should be finely chopped to distribute evenly and prevent clumps. If you’re adding garlic or onion powder, keep it to a light touch so it doesn’t overwhelm the bread’s mild base flavor.
- Savory mix-ins: For ingredients like cooked bacon, olives, or sun-dried tomatoes, drain well and chop finely to avoid soggy pockets. Pat dry with a paper towel if they’re particularly moist.
- Microwave technique: Use a microwave-safe mug or small baking dish. Greasing the mug lightly with oil prevents sticking and helps with even release. Microwave on medium-high power in 30–45 second bursts, checking texture after each interval to avoid overcooking.
- Cooking time guidance: In a typical 700–1000W microwave, the base batter often finishes around 1 minute to 1 minute 30 seconds. If using higher power, start with 1 minute and inspect; for lower power, you may need up to 2 minutes. The loaf is done when a toothpick inserted in the center comes out clean or with a few crumbs.
- Resting after microwave: Allow the bread to rest for 1–2 minutes before slicing. This allows residual heat to finish setting the crumb and helps avoid a gummy center.
- Storage and freshness: Microwave bread is best eaten fresh. If you have leftovers, store in an airtight container for up to 1 day at room temperature or reheat briefly in the microwave in 5–10 second intervals to regain softness. Avoid over-reheating as it can dry out the crumb.
- Texture adjustments: For a lighter crumb, consider reducing flour by 1–2 tablespoons and increasing milk by a tablespoon. For a denser, bread-like crumb, slightly increase flour and reduce liquid by a small amount. Small percentage changes can significantly affect the result in this quick bake.
- Gluten-free tips: If using gluten-free all-purpose flour, ensure your blend includes xanthan or guar gum; otherwise, add 1/8 teaspoon of xanthan gum per cup of flour to help with structure and elasticity in the quick bake.
FAQ
What is the “Quick 2-Minute Microwave Bread” and how does it work?
This is a fast, single-serving bread made in the microwave using a simple batter or dough that rises with steam and a little leavening. It’s designed to be ready in about 2 minutes total, perfect for a quick sandwich or toast.
What ingredients do I need for this recipe?
Common base ingredients include all-purpose flour (or gluten-free blend), baking powder, a pinch of salt, sugar or honey, milk (or dairy-free milk), and a small amount of oil or melted butter. Some versions add yogurt or vinegar for tenderness and a brief rise. Optional add-ins: grated cheese, herbs, or garlic powder.
Can I use whole wheat flour or other flours?
Yes, you can substitute whole wheat or a 1:1 gluten-free flour blend, but the texture will change. Whole wheat tends to be denser; you might add a bit more liquid and a pinch more leavening. For gluten-free, use a blend designed for baking and follow package guidelines for liquid adjustments.
Why is microwave bread often denser than oven bread?
What power level and time should I use for my microwave?
Start with 70–80% power for 1 minute, then check. If it’s not done, continue in 10–15 second bursts. Microwave wattages vary widely, so you may need 1–3 minutes total. The top should be set and a toothpick should come out clean or with a few crumbs.
How do I know when the bread is done?
The crumb should be set and no wet batter should remain. The top will look dry and slightly pulls away from the sides. A toothpick inserted into the center should come out clean or with a few dry crumbs. If it’s gummy, microwave a bit longer in short intervals.
What can I add to customize the flavor?
Try shredded cheese and a pinch of garlic powder for a cheesy bread, minced herbs with a little olive oil for a loaf-like flavor, or a dash of cinnamon and sugar for a quick sweet version. You can also add chopped olives, sun-dried tomatoes, or cooked bacon bits for variety.
Is microwave bread suitable for sandwiches?
Yes, but it’s usually softer and crumbly compared to oven-baked bread. It’s great for quick toasts and panini-style halves. If you want a sturdier slice, cool completely, then toast lightly before using in a sandwich.
How should I store leftovers?
Store in an airtight container at room temperature for 1–2 days, or freeze slices for longer storage. If freezing, wrap individual slices and reheat briefly in the microwave or toast directly from frozen.
What are common troubleshooting tips?
If your bread is dense: add a touch more baking powder or a bit of yogurt/milk to loosen the batter, and ensure you don’t overmix. If it’s dry: reduce flour by a tablespoon or add extra milk or yogurt. If it’s gummy: avoid overcooking—microwave in shorter bursts and let it rest for 10–20 seconds before checking again.