Introduction / Hook
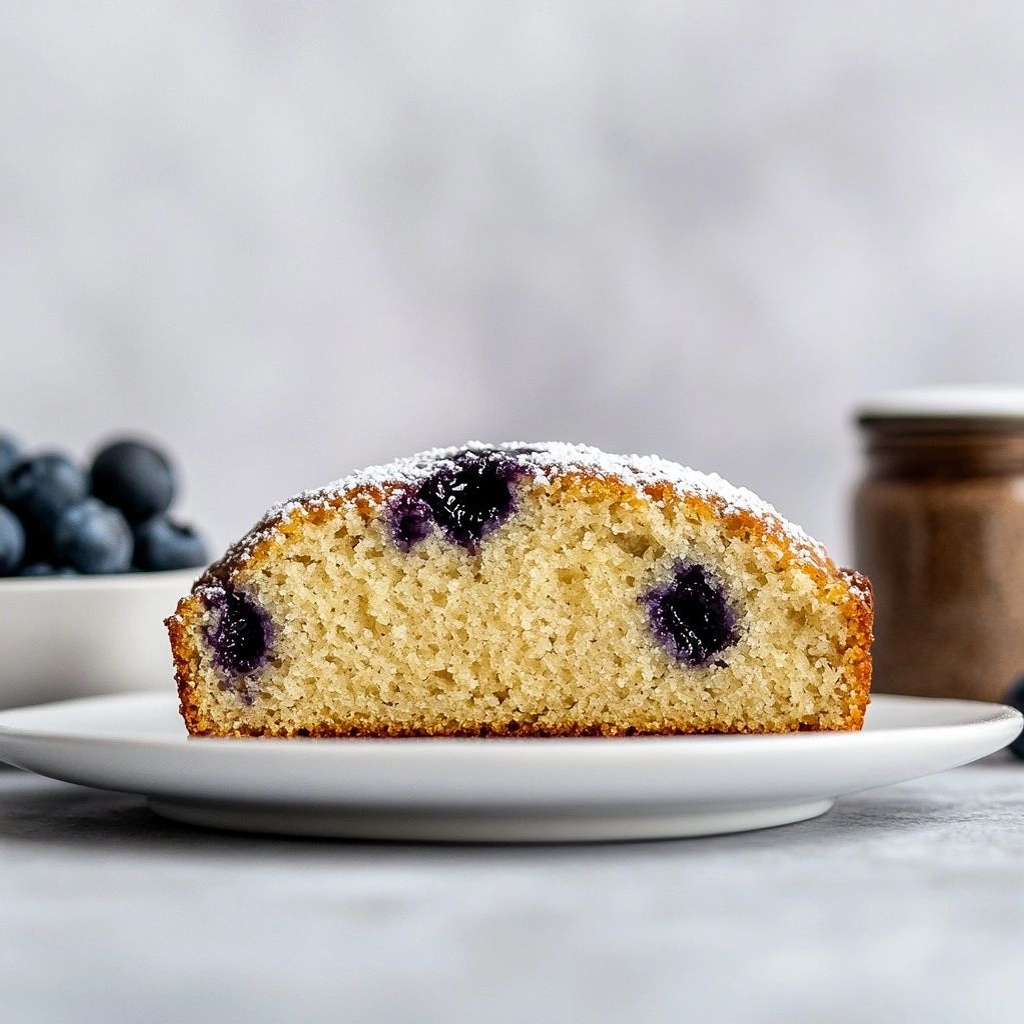
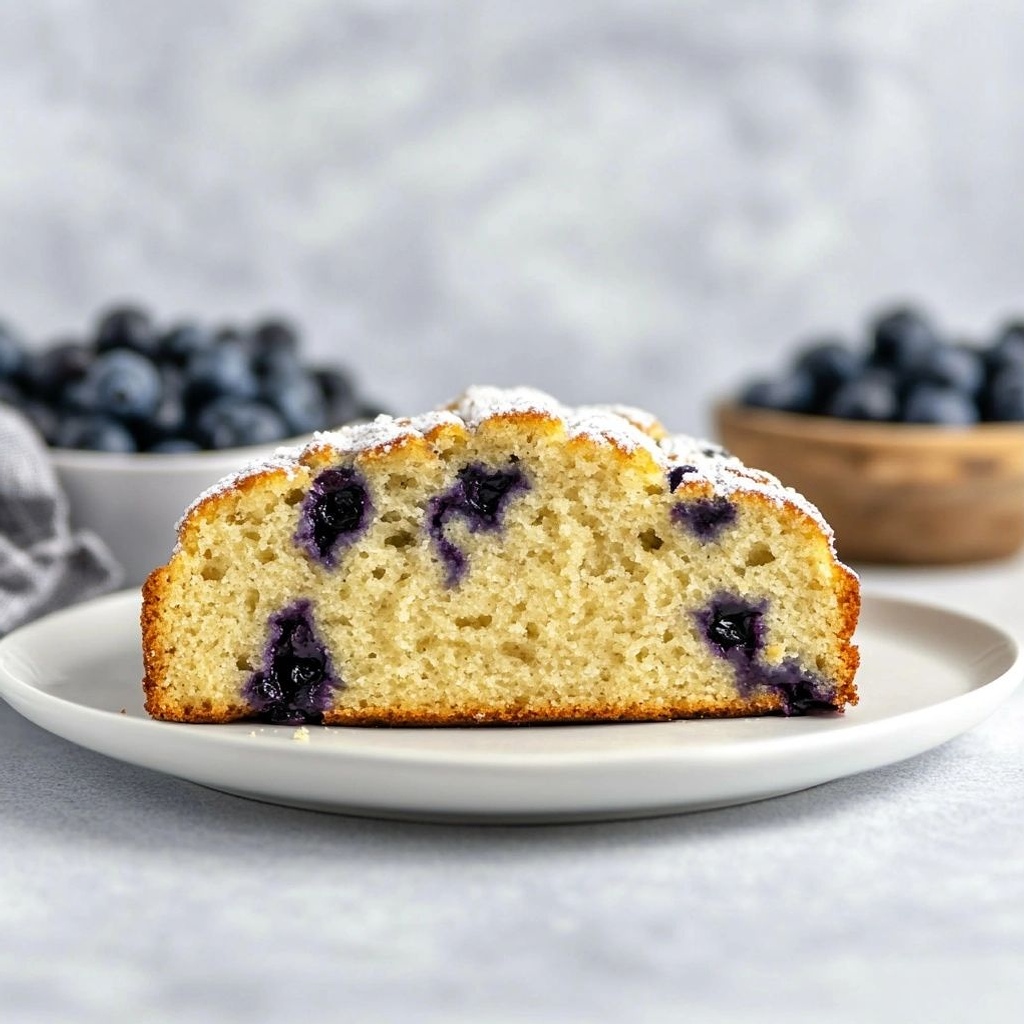
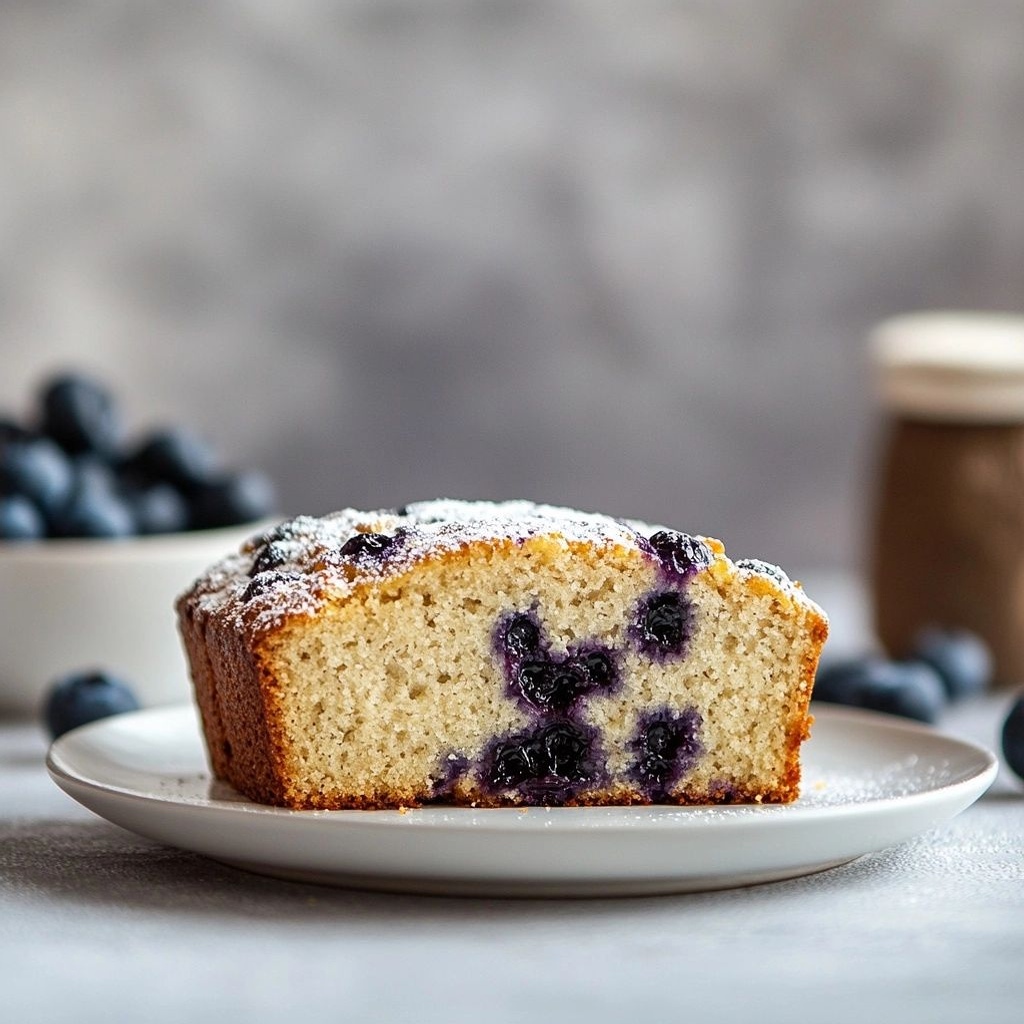
Imagine a stack of pancakes that feels both indulgent and surprisingly wholesome, with a tender crumb that melts in your mouth and a subtle tang from cottage cheese that lingers like a secret. These Oatmeal Cottage Cheese Pancakes are not your ordinary morning fare; they’re a sunny, comforting ritual you can look forward to, any day of the week. The first bite delivers a gentle sweetness balanced by a savory whisper, as if your favorite breakfast and your favorite brunch snack decided to team up for a perfect compromise. The aroma of toasting oats, warm vanilla, and a hint of maple or honey drifting through the kitchen is enough to transport you to a cozy-front-porch morning, even when the weather outside is anything but. These pancakes are the kind of dish that invites you to slow down, take a breath, and savor the moment—whether you’re fueling a busy weekday or treating guests to a laid-back weekend feast.
The Story Behind the Dish
The marriage of oats and cottage cheese on a pancake griddle is a thoughtful nod to both comfort and nutrition. Oats have long stood as the unsung heroes of hearty breakfasts, prized for their hearty chew, slow-release energy, and comforting nuttiness. Cottage cheese, with its delicate curds and high protein punch, brings creaminess and a touch of tang that brightens the batter without needing heavy dairy or eggs for emulsification. The idea of combining these two humble ingredients into a pancake might seem modern, but the spirit of such a recipe harks back to kitchens where breakfast was not just a quick fix but a small ceremony—flour-dusted mornings, a drizzle of maple, and the quiet joy of feeding family. In some places, cooks used to balance oats with dairy to stretch meals and reduce waste, turning simple pantry staples into weekend-worthy treats. Today, this dish carries that legacy forward: quick, satisfying, and adaptable to many dietary needs, while reminding us that something nourishing can also be downright delicious and fun to make.
Why You’ll Love This Recipe
- High protein, satisfying start: Cottage cheese adds protein and a creamy texture that keeps you full longer than traditional pancakes.
- Chewy, oat-forward bite: The oats provide a pleasant chew and toasty flavor that pairs beautifully with fruit, nuts, or yogurt.
- Versatile and forgiving: Easy to customize with spices, fruits, or add-ins; you can make them as light or as indulgent as you like.
- All-day appeal: They’re perfect for breakfast, a hearty brunch, or even a quick, comforting dinner when paired with a savory topping.
- Balanced sweetness: A natural sweetness from ripe fruits or a drizzle of maple keeps the dish approachable for kids and adults alike.
Flavor Profile & Texture
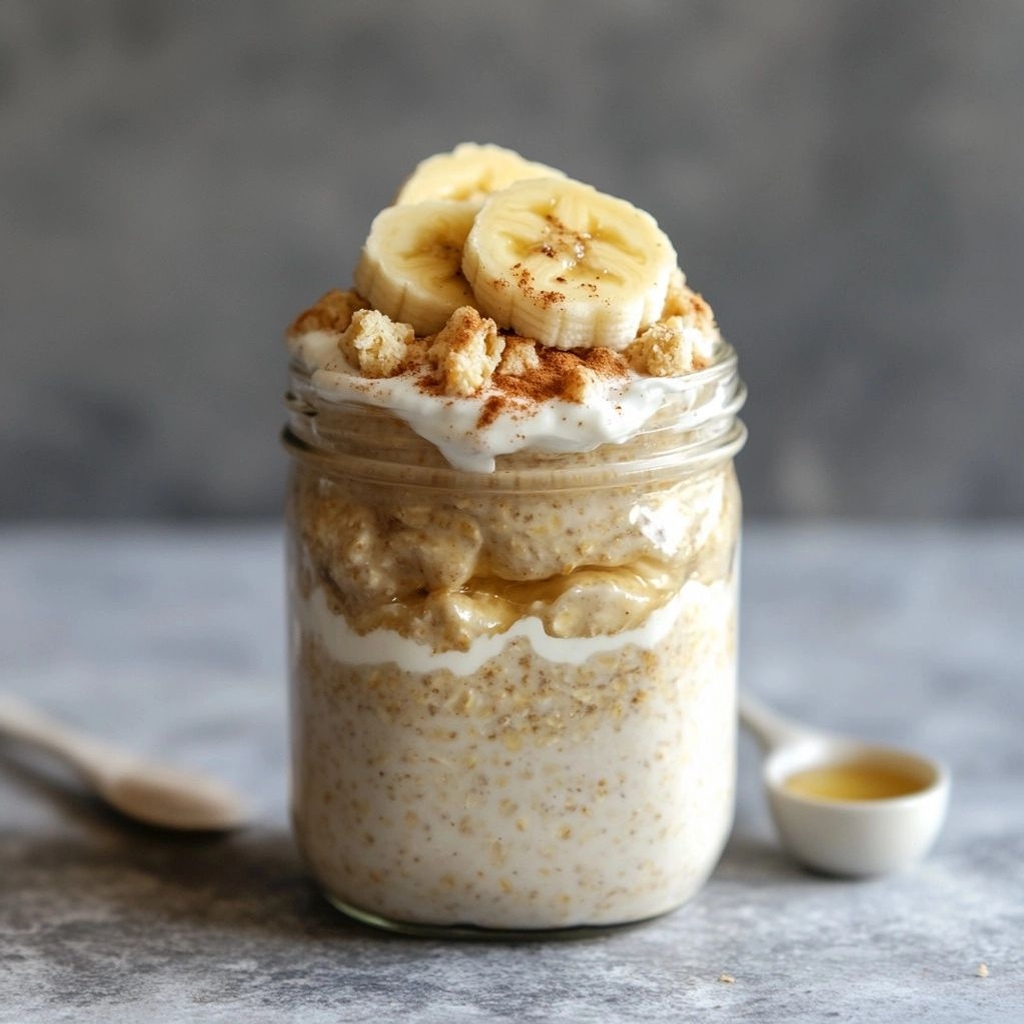
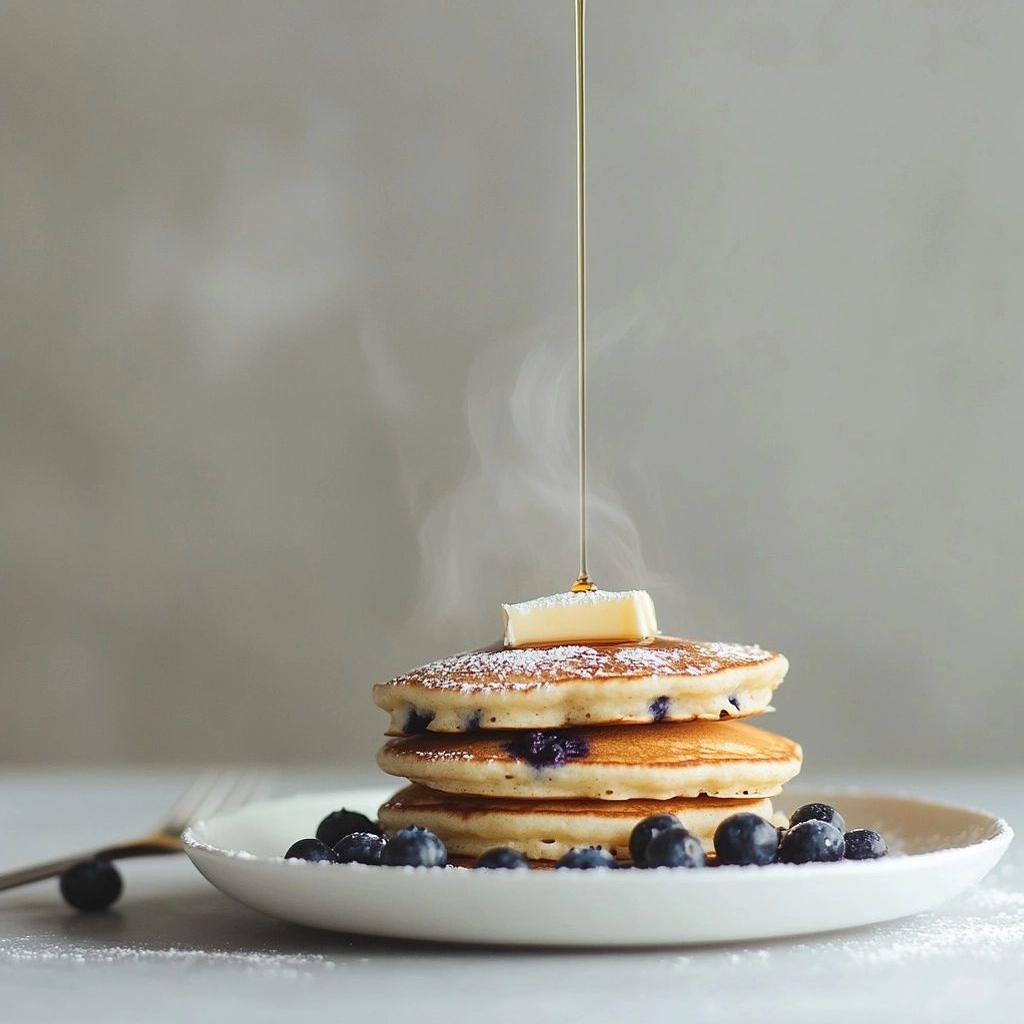
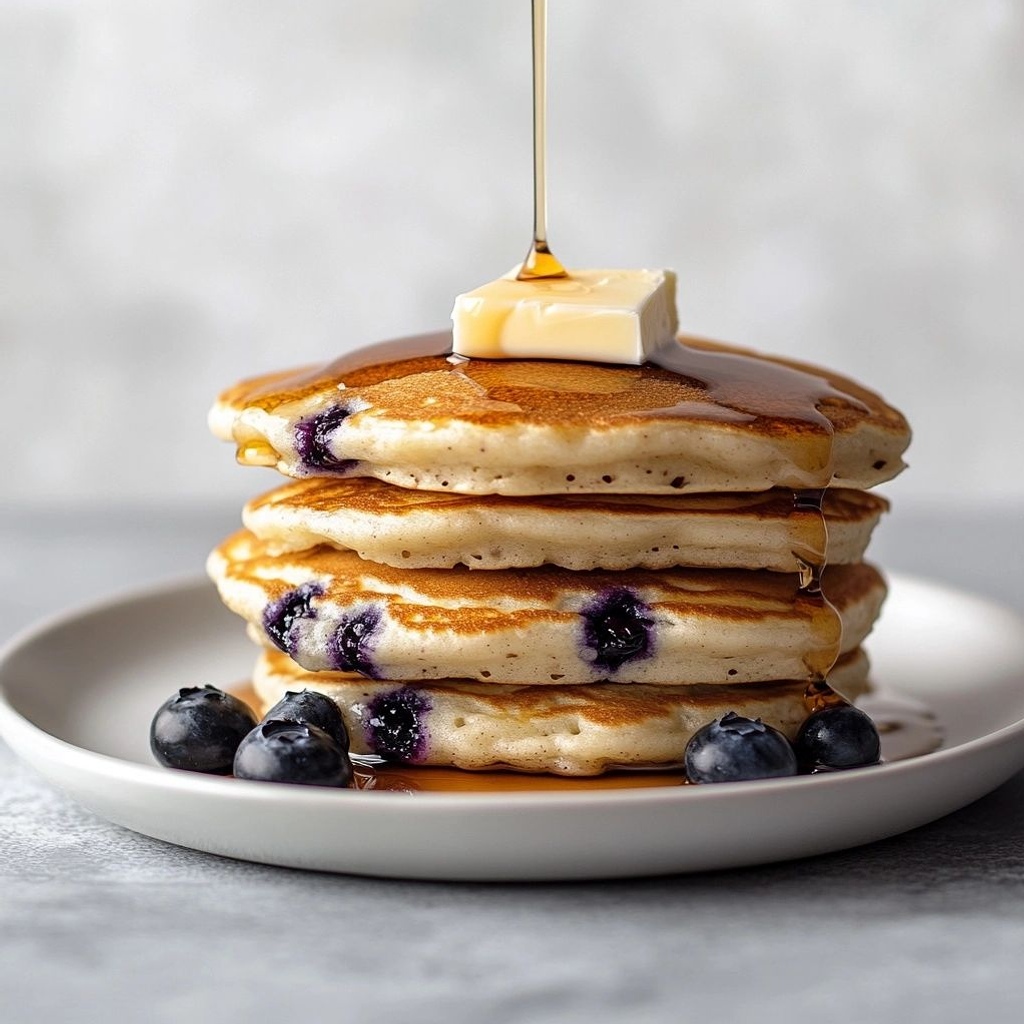
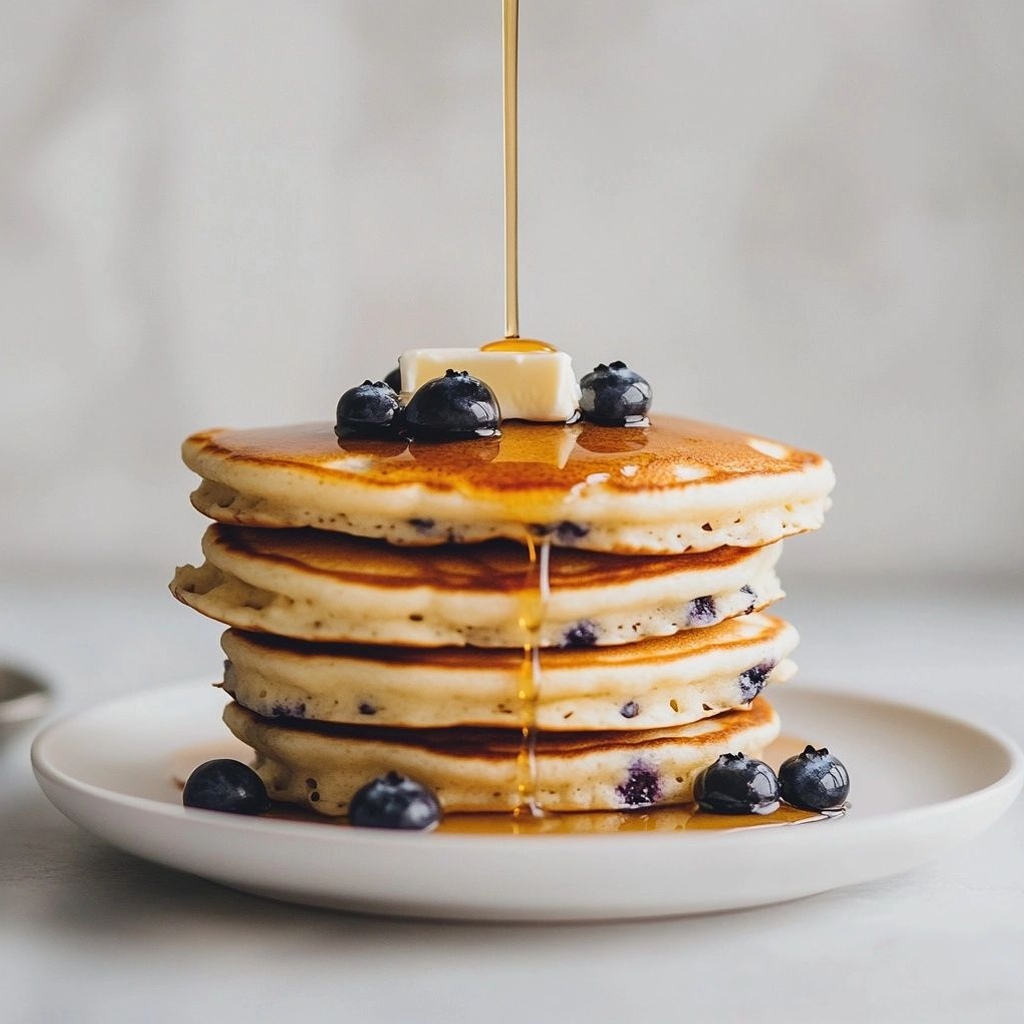
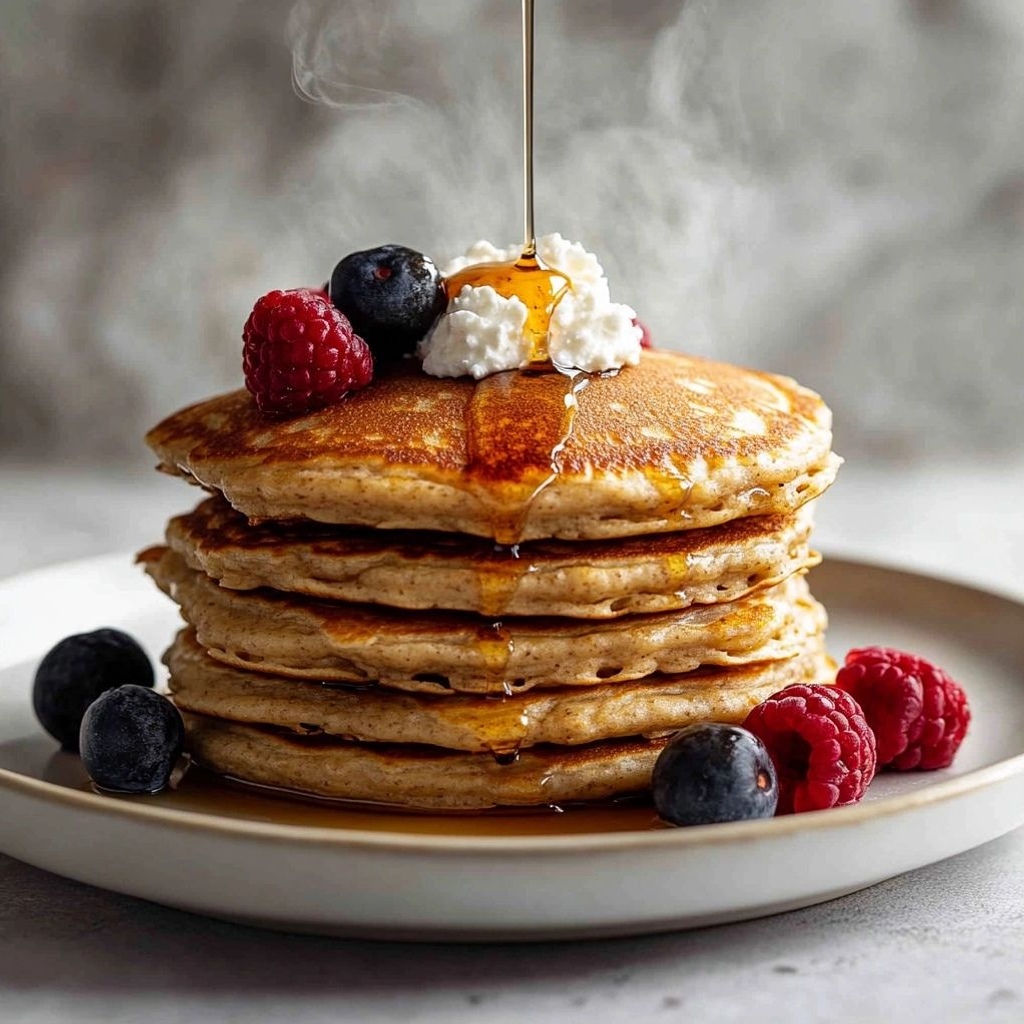
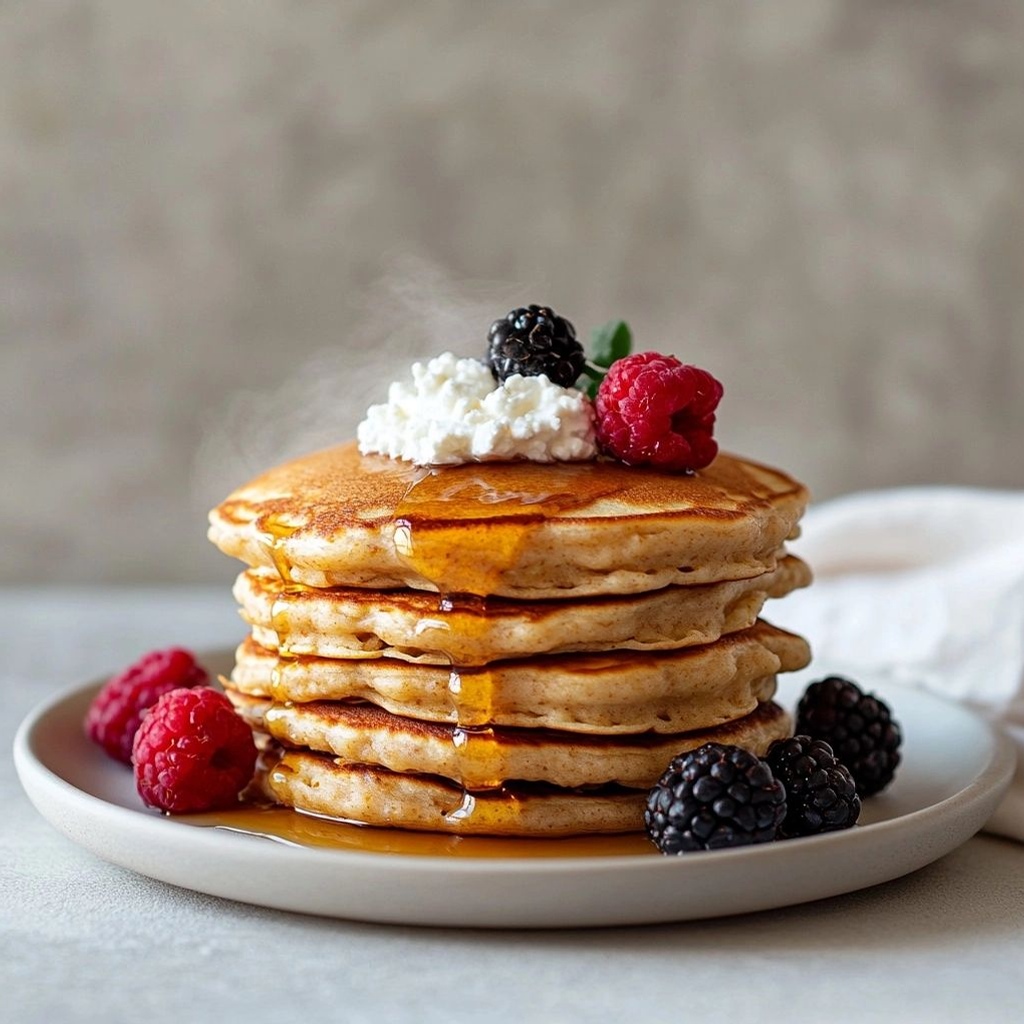
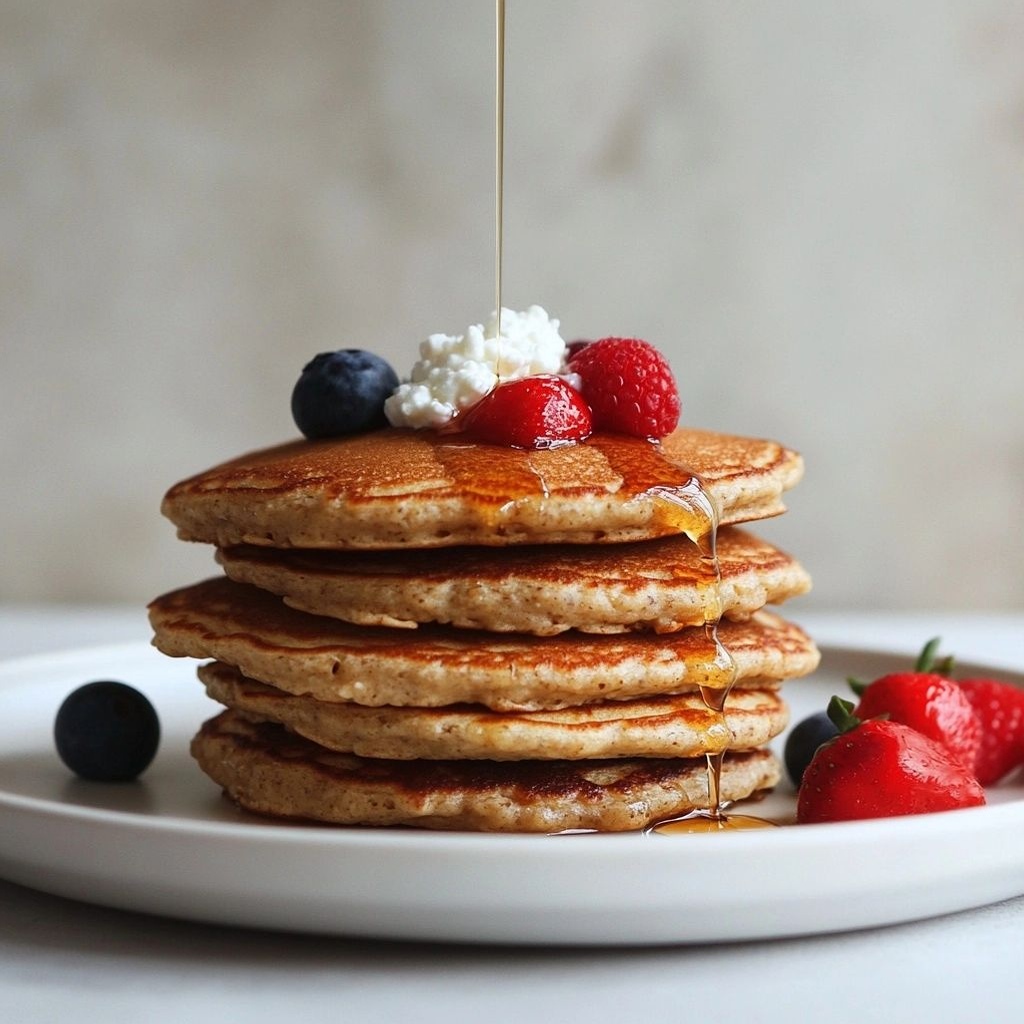
Expect a delicate balance between the mild tang of cottage cheese and the nutty depth of oats. The batter carries a gentle sweetness with hints of vanilla and a kiss of salt that amplifies natural flavors. The texture is the star: pancakes that are slightly sturdy enough to stack, yet tender enough to fold with a fork. The oats give a subtle chewy bite, while the cottage cheese dissolves into soft curds, creating a creamy, almost souffle-like interior in every bite. When cooked properly, the exterior gains a light golden crust that adds a pleasant contrast to the pillowy center. If you top them with fresh berries, a dollop of yogurt, or a scattering of toasted nuts, you introduce additional layers of texture—crisp, juicy, creamy, and satisfyingly complex all at once. The aroma is inviting: toasty oats, warm vanilla, and caramelized edges wafting through the kitchen, inviting you to linger at the stovetop a moment longer before diving in.
Occasions & Pairings
These pancakes are remarkably versatile. They shine on weekend breakfasts when you want something comforting yet lightweight, or as a nourishing weekday option that still feels special. They also work beautifully as a brunch centerpiece when you’re entertaining a small crowd and want something that’s easy to scale up without sacrificing texture. For special occasions, pair them with a spread of toppings to let guests customize their plates—stuffed berries, Greek yogurt, lemon zest, drizzle of honey, or a dusting of cinnamon. For beverages, a lightly brewed coffee, a glass of cold-pressed juice, or a cappuccino complements the warmth of the pancakes without overpowering their delicate flavor. In terms of sides, consider a fresh fruit compote, a tangy yogurt dip, or a handful of toasted nuts and seeds to introduce crunch. When you’re aiming for a heartier meal, these pancakes pair well with a savory side like sautéed mushrooms, a soft scramble, or a gentle herb omelette. They also fit well into dietary-forward menus: gluten-free oats or oat flour can be used; dairy-free adaptations can lean on plant-based cottage cheese alternatives or silken tofu for the creaminess you crave.
Seasonal and Holiday Vibes
In autumn, you can fold in a pinch of cinnamon and nutmeg, then top with sautéed apples or pears for a comforting pancakes-and-pie crossover experience. In summer, a lemon zest and blueberry combination brings brightness that pairs with a dollop of lemon yogurt. In winter, a warm spice profile and a maple-bourbon drizzle can feel like a hug in a skillet. The dish’s flexibility makes it a great candidate for holiday mornings when you want something that feels festive but not time-prohibitive to prepare. It’s also a wonderful weekend project with kids, offering opportunities to talk about texture, nutrition, and the science of batter as you measure, whisk, and flip together.
Tips, Variations & Substitutions
Here are multiple avenues to tailor this recipe to your kitchen, dietary needs, or mood:
- Gluten-free option: Use certified gluten-free rolled oats or blend oats into a coarse flour to achieve a pancake with the same hearty texture.
- Dairy-free option: Replace cottage cheese with a dairy-free cottage cheese alternative or silken tofu blended until smooth; a touch of dairy-free yogurt can mimic creaminess.
- Vegan approach: Use plant-based milk and a flaxseed or chia egg to replace any eggs, if the base relies on eggs beyond cottage cheese. Some readers enjoy keeping the cottage cheese for protein and substituting a plant-based creamer for richness.
- Flavor boosters: Add vanilla extract, a pinch of cinnamon or nutmeg, lemon zest, or almond extract to deepen the aroma. A splash of vanilla or maple essence can elevate sweetness without added sugar.
- Fruit-forward: Fold in mashed ripe banana, grated apple, or blueberries into the batter for pockets of sweetness and moisture without overpowering the cottage cheese tang.
- Texture tweaks: If you crave more lift, incorporate a little baking powder; if you prefer a denser pancake, reduce it or omit entirely.
- Savory twist: Swap a portion of the sweet toppings for sautéed mushrooms, herbs, and a light sprinkle of cheese for a breakfast-for-dusion style savory pancake.
Storage & Make-Ahead Ideas
To maintain texture and flavor, consider these practical approaches:
- Make-ahead batter: Prepare the batter the night before and refrigerate. Give it a quick whisk before cooking to rehydrate any settled oats and to emulsify the mixture for even cooking.
- Storage: Cooked pancakes can be stored in an airtight container in the refrigerator for up to 3 days. Reheat gently in a skillet with a little butter or oil to restore a crisp edge and soft interior.
- Freezing: Freeze individual pancakes between sheets of parchment in a freezer-safe bag. Reheat directly from the freezer in a toaster or skillet until warm and lightly crisped on the outside.
- Make-ahead toppings: Prepare a small fruit compote or yogurt topping ahead of time; refrigerate for 2–3 days and reheat slightly before serving to keep textures vibrant.
Flavor Pairings & Serving Ideas
To create a cohesive plate, consider pairing the pancakes with complementary textures and flavors. A light, bright fruit compote made from raspberries or peaches offers tang and juiciness that cuts through the richness of the cottage cheese. A dollop of thick Greek yogurt adds a tangy counterpoint and extra protein, turning a simple stack into a balanced breakfast. Nuts—like toasted almonds, pecans, or walnuts—deliver crunch and a hint of earthiness that pairs well with the oatiness of the base. For sweet-on-sweet lovers, a drizzle of real maple syrup or honey brings warmth and depth. If you prefer a zesty lift, a little lemon or orange zest in the topping can brighten the dish without compromising its creamy center. For beverages, a latte with a touch of vanilla or a cold-pressed orange juice can elevate the overall experience, turning a routine morning into a small celebration of flavors.
Historical Tidbits & Fun Facts (Optional)
Oats have long been celebrated as a staple grain across many cultures, valued for their resilience and nutritional density. In some traditional breakfast cultures, oats were ground into a coarse meal and cooked slowly with milk or water to create porridge, then folded with cheese or dairy for extra richness. Cottage cheese itself is one of those pantry staples that often travels between breakfast tables and savory dish celebrations, prized for its mild taste and versatility. The combination of oats and cottage cheese highlights a practical philosophy: use what you have in a way that satisfies both hunger and palate. It’s a nod to comforting kitchen science—how two modest ingredients can become something greater when prepared with care and a sense of play. If you’ve ever experimented with breakfast rituals that feel both nostalgic and modern, this dish embodies that spirit: a bridge between the rustic charm of oats and the creamy indulgence of cottage cheese, united in a pancake that’s as friendly to nutrition goals as it is to your taste buds.
Nutritional Spotlight
While the exact numbers depend on the toppings and portions you choose, these pancakes naturally lean into a balanced profile. Oats deliver fiber, steady energy, and a gentle heartiness. Cottage cheese brings high-quality protein and calcium, contributing to satiety and muscle maintenance. When you pair these pancakes with fresh fruit, yogurt, and a small amount of healthy fats (like a drizzle of nut butter or a few toasted nuts), you create a well-rounded plate that supports morning activity, concentration, and mood. This is not a heavy, sugar-laden pancake experience; it’s a thoughtfully crafted breakfast that respects both flavor and nourishment, making it a reliable option for families, athletes, students, and anyone who wants to start the day on a steady, satisfying note.
Conclusion: A Breakfast That Feels Like Home
Oatmeal Cottage Cheese Pancakes are more than a recipe; they’re an invitation to slow down, savor, and enjoy a small ritual that sets a positive tone for the day. They honor the pantry’s generosity while offering room for creativity, whether you’re cooking for one or feeding a crowded table. The harmony of oats and cottage cheese creates a canvas that you can paint with seasonality, personal preferences, and dietary needs. Each flip of the pancake pan is a reminder that wholesome ingredients, treated with a touch of care and a splash of imagination, can yield something comforting, nourishing, and irresistibly delicious. So set your griddle to a gentle heat, measure out your ingredients with a smile, and watch as the kitchen fills with the warm fragrance of toasty oats, vanilla, and the soft, inviting scent of pancakes ready to be shared. Your morning, and your appetite, will thank you.
Ingredients
-
1 cup rolled oats (certified gluten-free if needed)
→ The oats provide the hearty, chewy pancake body. For a smoother texture, blend the oats in a blender or food processor until they resemble a coarse flour. If you prefer more texture, pulse briefly to keep some oats intact. Using certified gluten-free oats keeps the recipe safe for gluten-sensitive eaters. -
1 cup cottage cheese (full-fat or reduced-fat)
→ Cottage cheese supplies protein and moisture, helping the pancakes stay tender and fluffy. For best results, use well-drained cottage cheese and blend it with the oats until smooth, or mash it thoroughly if you prefer small curds. If your cottage cheese is very loose, gently drain excess whey to avoid a runny batter. -
2 large eggs
→ Eggs act as a binder and leavening component, helping the pancakes hold together and rise softly. Use room-temperature eggs to ensure a smooth, even batter that blends well with the cottage cheese. If you’re avoiding yolks, you can use only whites, but whole eggs give richer flavor and structure. -
1/2 cup milk (dairy or non-dairy)
→ Milk adds moisture and helps thin the batter to a pourable consistency suitable for pan-frying. Use fresh milk at a comfortable temperature (slightly warm is fine) and adjust as needed for thickness. If using a very thick cottage cheese, a bit more milk may be required. -
1/2 teaspoon baking powder
→ Baking powder provides gentle leavening to lift the pancakes and create a light, airy texture. If your baking powder is old, test with a quick fizz in hot water and replace if needed. Do not exceed this amount to avoid an overly airy or metallic taste. -
1/4 teaspoon salt
→ Salt enhances flavor and balances sweetness, helping the other ingredients come forward. It also tightens the batter slightly for better structure. If you’re using salted butter for cooking, you can reduce the added salt by about half. -
1/2 teaspoon ground cinnamon (optional)
→ Cinnamon adds warm depth and pairs well with maple or honey toppings. You can omit if you prefer a plain flavor, or substitute with 1/4 teaspoon nutmeg or pumpkin spice for a different profile. Freshly ground cinnamon will deliver the most aroma. -
1 teaspoon vanilla extract (pure)
→ Vanilla enhances sweetness perception and rounds the richness from cottage cheese. Use pure vanilla for the best aromatic notes; imitation vanilla can alter flavor. If you don’t have vanilla, a pinch of almond extract can add an interesting twist, but use sparingly. -
1 tablespoon honey or maple syrup (optional, for added sweetness)
→ Adds a touch of natural sweetness and helps balance the tang of cottage cheese. If you prefer a sugar-free option, you can omit, or reduce and rely on ripe fruit toppings. Add according to your sweetness preference, and adjust batter thickness as needed. -
Cooking fat for the pan (butter, ghee, or neutral oil)
→ A small amount (about 1 teaspoon per pancake) helps prevent sticking and develops a light, golden crust. Use a nonstick skillet or well-seasoned pan. If using butter, add it before each batch to prevent burning—you want the fat hot but not smoking. -
Optional Add-ins: fresh berries, sliced banana, or chocolate chips (to taste)
→ Add-ins can personalize the pancakes with bursts of sweetness or texture. Fold gently into the batter after blending to avoid overworking. For fruit, keep pieces moderate in size so the batter remains cohesive; chocolate chips should be distributed evenly to prevent sinking. -
Topping ideas (to serve): maple syrup, extra cottage cheese, yogurt, fresh fruit, or a drizzle of honey
→ Toppings finish the dish and can add moisture and contrast in texture. Choose toppings that complement the flavor profile and provide a balance of sweet and tangy notes. For a lighter option, use a dollop of Greek yogurt instead of pure syrup.
Instructions
- Preheat your oven to 200°F (93°C) if you plan to keep pancakes warm between batches, and set a rack inside for even heat distribution.
→ Keeping a low heat in the oven ensures pancakes stay warm without continuing to cook or drying out, allowing you to serve a stacked, cohesive plate. - Grind the rolled oats in a blender or food processor until they resemble a coarse flour, then measure 1 cup of oat flour and transfer to a mixing bowl.
→ Pulsing the oats creates a uniform base that helps the batter emulsify with cottage cheese for a smoother, cohesive pancake texture; avoid over-processing if you want some oat texture. - Drain the cottage cheese well if it seems wet, then blend the cottage cheese with the oats until very smooth or mash until mostly uniform with small curds, and measure 1 cup.
→ Proper drainage prevents a runny batter, while blending or mashing integrates moisture and protein for a tender, airy pancake structure. - Whisk the eggs in a separate bowl until pale and slightly thick, then whisk in the milk, vanilla extract, and optional honey or maple syrup, ensuring a smooth, homogeneous mixture.
→ Beating the eggs first helps incorporate air and create gentle lift; the combined wet mixture should be warm to room temperature for even emulsification with the cottage cheese. - Stir the wet ingredients into the oat-cottage cheese base just until fully combined, then fold in the baking powder, salt, and optional cinnamon, avoiding overmixing to keep pancakes tender.
→ Gentle mixing activates the leavening and distributes spices without developing too much gluten or toughness; a few small lumps are acceptable and will hydrate during resting. - If the batter seems too thick, whisk in a tablespoon at a time of milk until the batter pours slowly off a spoon with a thick ribbon, then let the batter rest for 5 to 10 minutes.
→ Resting hydrates the oats and cottage cheese, improving texture and flavor while allowing the baking powder to begin leavening for lighter pancakes. - Preheat a nonstick skillet or griddle over medium heat and add about 1 teaspoon of cooking fat per pancake, swirling to coat evenly and prevent sticking, then maintain a steady temperature that sizzles slightly when a drop of batter lands.
→ A properly heated surface creates a golden crust and ensures pancakes cook through without tearing; too hot and the outside burns before the inside sets. - Scoop about ¼ cup of batter for each pancake onto the hot pan, spreading lightly with the back of the measuring cup to a uniform circle while leaving space between pancakes, and press a few seconds to help batter set.
→ Uniform sizing ensures even cooking and flipping; spreading helps the pancake cook evenly and achieve a consistent thickness. - Cook until the edges appear set and small bubbles form on the surface, then flip gently with a thin spatula and cook on the second side until golden brown and just firm to the touch, about 1 to 2 minutes per side.
→ Properly timing the flip prevents a gummy center and ensures the pancakes develop a crisp, caramelized crust without drying out; adjust time for thicker or thinner cakes. - If desired, place finished pancakes in the warm oven to keep warm while you cook the remaining batter, layering them with parchment or a clean towel to prevent sticking, then serve hot.
→ Keeping pancakes warm without stacking directly preserves moisture and prevents soggy layers, ensuring a clean plate when served. - Optionally fold in add-ins like fresh berries, sliced banana, or chocolate chips after blending, distributing evenly with a few gentle folds to avoid overworking and to prevent sinking, then proceed to cook as directed.
→ Add-ins provide flavor and texture; folding gently maintains batter airiness and prevents large pieces from causing uneven cooking. - Serve the pancakes with toppings such as maple syrup, extra cottage cheese, yogurt, fresh fruit, or a light drizzle of honey, choosing combinations that balance tangy and sweet flavors and provide a pleasing contrast in texture.
→ Toppings finish the dish and contribute moisture; pairing with tangy cottage cheese and a sweet syrup creates a harmonious profile while offering a visually appealing plate.
Notes
To ensure light, fluffy pancakes, avoid overmixing once the wet and dry ingredients come together; mix just until combined and let the batter rest for 5–10 minutes to hydrate the oats. If your batter seems too thick, add a splash more milk; if too thin, add a tablespoon more oats.
Flavor boosters like vanilla, cinnamon, and a touch of honey or maple syrup help balance the tang of the cottage cheese. You can customize with add-ins such as fresh berries, sliced banana, or a few chocolate chips folded in at the end. If you’re dairy-free, swap cottage cheese for a lactose-free yogurt or silken tofu blended creamy, but note texture will vary.
Cooking the pancakes: use a lightly greased nonstick skillet over medium heat. Cook until bubbles form on the surface and the edges look set, then flip and cook until golden on the other side. For extra browning, finish with a quick 30-second sear on each side. Keep cooked pancakes warm in a low oven (about 200°F/93°C) while you finish the rest of the batch.
Storage tips: these pancakes refrigerate well for up to 3 days and freeze beautifully for longer storage. Reheat in a skillet with a tiny bit of butter or in a warm toaster oven to regain their crisp edges. Toppings like yogurt, extra cottage cheese, fresh fruit, or a drizzle of maple syrup pair nicely and enhance moisture without overpowering the delicate flavor.
Tips
- Tip: If you prefer a smoother pancake, blend the oats into a coarse flour before mixing with the cottage cheese. For a chunkier texture, pulse briefly to keep some oats intact.
- Tip: Drain excess whey from cottage cheese well. Too much liquid will make the batter runny and harder to cook evenly.
- Tip: Let the eggs and milk come to room temperature before mixing. This helps the batter come together smoothly and prevents clumps.
- Tip: Add the baking powder to the dry ingredients and whisk well to ensure even lift in every pancake.
- Tip: For a heartier flavor, melt a small amount of butter in the pan and let it coat the surface before the first batch; reapply between batches as needed.
- Tip: Use a nonstick skillet or well-seasoned pan for easy release. A light touch with oil or butter prevents sticking without greasing the pan too heavily.
- Tip: If the batter seems too thick, add a splash more milk a teaspoon at a time until you reach a pourable consistency. If too thin, add a little more oats or cottage cheese.
- Tip: When adding mix-ins, fold them in gently after blending to avoid breaking the batter or causing uneven cooking.
- Tip: For a sweeter option, drizzle with maple syrup or honey and add a dollop of yogurt or extra cottage cheese on top for creaminess.
- Tip: To keep pancakes warm while cooking a full batch, place finished pancakes on a baking sheet in a 200°F (93°C) oven until ready to serve.
- Tip: If you’re gluten-free, verify that your oats are certified GF and avoid cross-contamination in processing or storage.
- Tip: For dairy-free variations, substitute the cottage cheese with silken tofu blended until smooth and increase the milk slightly to reach the desired batter consistency.
FAQ
What are Oatmeal Cottage Cheese Pancakes?
Soft, protein-packed pancakes made with rolled oats or oat flour and cottage cheese, blended into a batter for a fluffy, creamy texture.
What ingredients do I need?
Common ingredients: rolled oats (or oat flour), cottage cheese, eggs, a splash of milk (dairy or non-dairy), a pinch of salt, baking powder, vanilla extract, and a sweetener if desired (sugar, honey, or maple syrup).
Can I make this recipe dairy-free?
Yes. Use dairy-free cottage cheese (or a dairy-free ricotta alternative), and replace milk with a plant-based option like almond, soy, or oat milk. You may also use an egg substitute if needed.
How do I make the batter?
Blend or whisk ingredients until smooth. If using whole oats, you can blend them first to create a finer oat flour for a smoother batter. Let the batter rest a few minutes to thicken.
What cooking equipment do I need?
A non-stick skillet or griddle, a spatula, and measuring cups/spoons. A blender helps if you want a smoother batter.
How long do they take to cook?
Cook on medium heat about 2–3 minutes per side, or until bubbles form on top and edges look set. Adjust time for thicker pancakes or hotter stoves.
How many pancakes does this yield?
Typically 6–8 small to medium pancakes, depending on the size of your batter portions.
What are good topping ideas?
Fresh fruit, Greek yogurt, a drizzle of maple syrup or honey, nut butter, cinnamon, or a dollop of additional cottage cheese for extra protein.
Can I freeze these pancakes?
Yes. Layer cooled pancakes with parchment paper in a freezer-safe container. Reheat in a toaster, microwave, or skillet. They store well for up to 1–2 months.
How can I customize the flavor?
Try adding cinnamon, nutmeg, lemon zest, blueberries, or chopped nuts. You can also swap half the oats for almond flour for a lighter texture.