Introduction / Hook
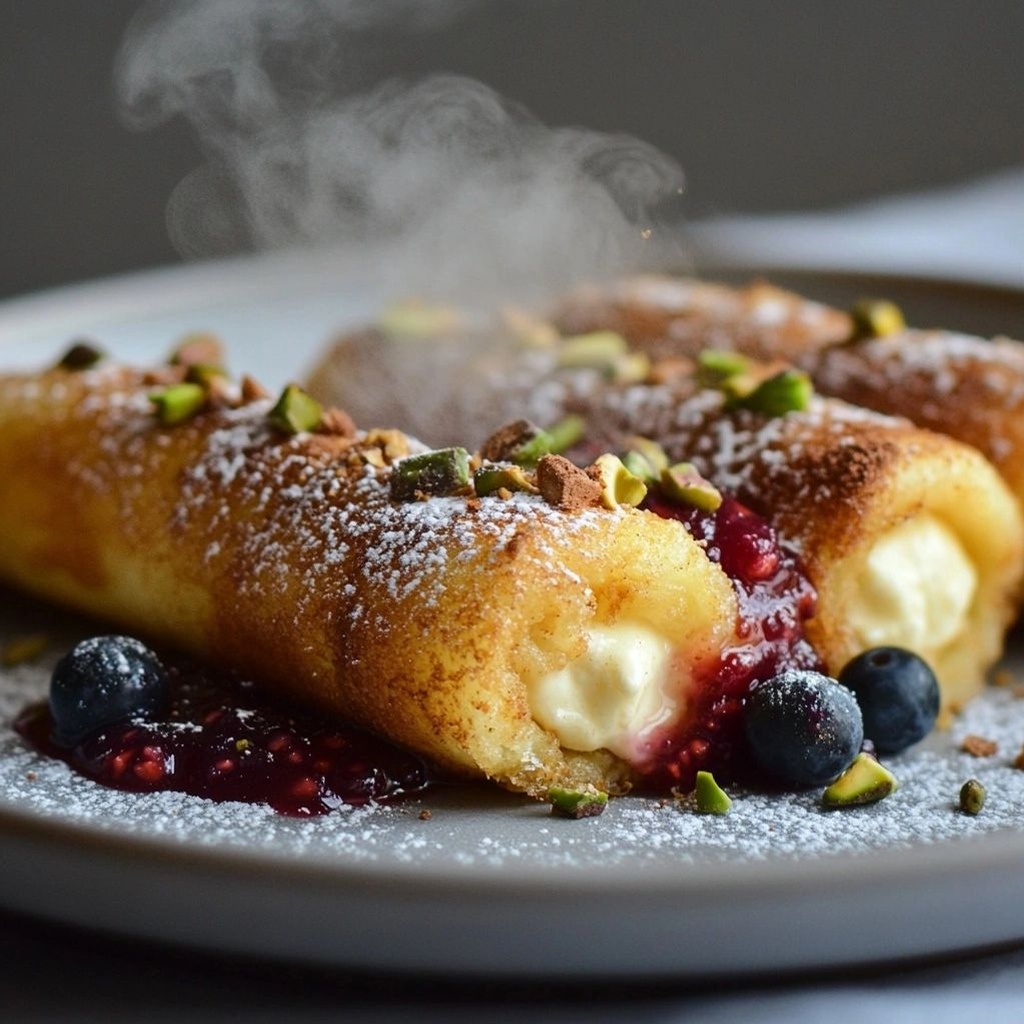
Imagine a bite-sized dessert that crackles as it meets the air, a golden shell giving way to a creamy, luscious center. Fried cheesecake rolls are the kind of indulgence that feels both comforting and exciting—crisp on the outside, velvety smooth on the inside, with a hint of citrus tang or a kiss of vanilla that lingers long after the last bite. The magic happens when a simple cheesecake gets wrapped in a soft dough, kissed by hot oil, and finished with a sugar dusting or a drizzle of chocolate. It’s the kind of treat that turns ordinary moments into celebrations, whether you’re hosting friends, treating the family after a long week, or just rewarding yourself for surviving a Tuesday. The sizzling sound as they fry, the aromatic scent of toasted breadcrumbs or a hint of cinnamon wafting through the kitchen, and the sight of that perfectly browned exterior—all of it combines to create an experience that feels festive, cozy, and irresistible all at once.
The Story Behind the Dish
Cheesecake itself has a storied history, with roots tracing back to ancient Europe before migrating across the Atlantic to become a beloved staple in bakeries and home kitchens. The concept of turning soft, creamy cheesecake into a portable, fry-friendly form is a modern culinary twist that plays off two timeless indulgences: the creamy luxury of cheesecake and the satisfying crunch of fried pastry. Fried cheesecake rolls can be seen as a bridge between classic dessert and street-food creativity—a playful reimagining that honors tradition while inviting a sense of whimsy. In many regions, people love to transform familiar flavors into fun, shareable treats, and these rolls are the perfect example. They invite improvisation—different fillings, different coatings, and different finishing touches—so you can tailor them to your mood, season, or occasion. The origin story here is less about a single place and more about a culinary mindset: take something beloved, wrap it in a delicate shell, and give it a quick, hot kiss of oil to unlock surprising textures and a heady aroma that makes any gathering feel special.
Why You’ll Love This Recipe
- Quick to assemble and surprisingly forgiving, making it great for both weeknights and weekend entertaining.
- Contrasting textures—crisp exterior with a smooth, luxurious center—creates a satisfying bite every time.
- Versatility in fillings and coatings means you can tailor to dietary needs or flavor preferences.
- Adjustable sweetness, allowing you to balance richness with brightness from zest or fruit sauces.
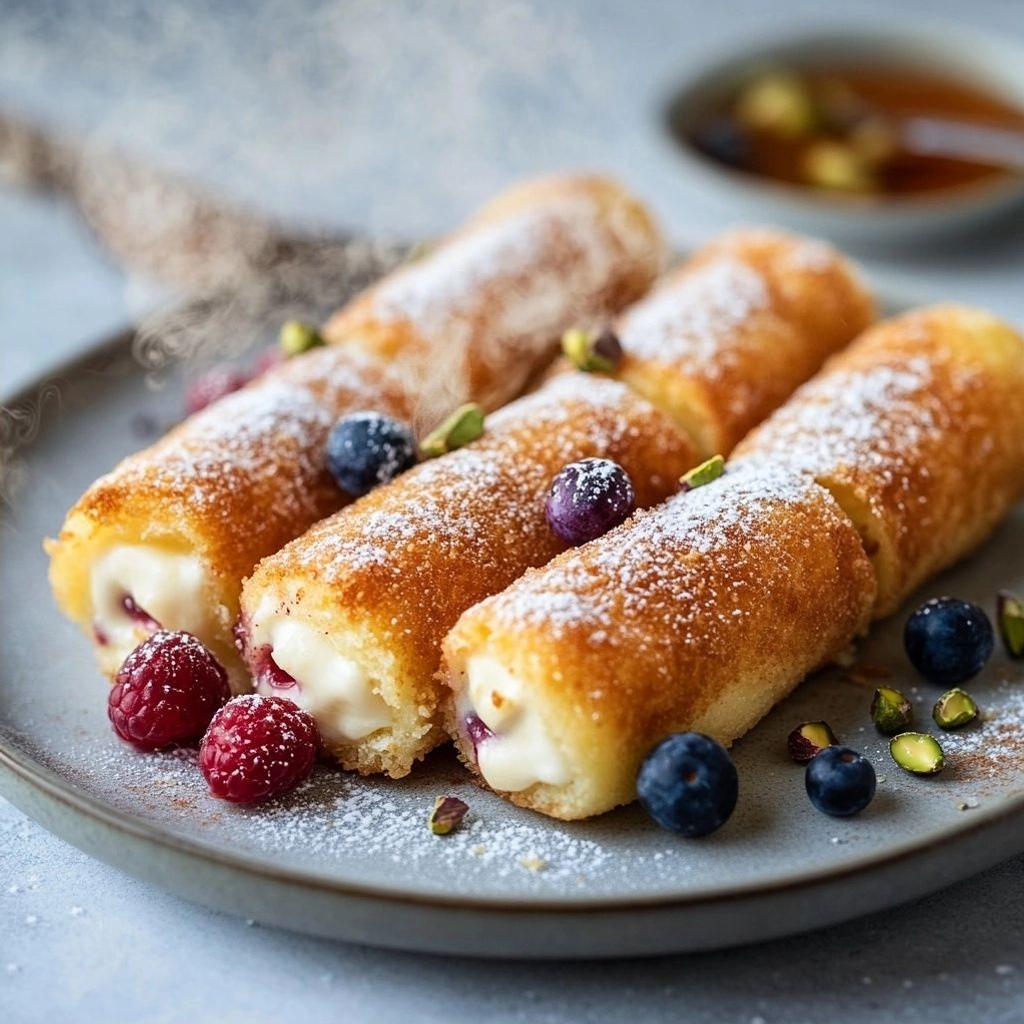
- Impressive presentation: elegantly rolled pieces arranged on a platter look festive and inviting.
- Great as a party dessert or a comforting end to a family meal—easy to portion and share.
Flavor ideas to spark your imagination
A classic base offers a familiar, comforting profile, but you can elevate it with bright citrus zest, a splash of liqueur in the filling, or a cinnamon-sugar finish. Consider pairing options like a tangy berry coulis, a drizzle of dark chocolate, or a light dusting of powdered sugar with a pinch of espresso for depth. If you want a more refined note, a touch of vanilla bean or lemon zest in the filling can brighten the richness. For a fun twist, try pairing the rolls with a fruit salsa—the tartness of berries or citrus can cut through the richness and add a lively counterpoint.
Flavor Profile & Texture
The flavor journey starts with a softly sweet, creamy filling that melts into your mouth. The exterior is a delicate, shattering crust that yields to the velvety interior as you bite through. Depending on your coating, you may experience a toasty nuttiness from breadcrumbs or a slightly crisp sugar crust that crackles at the first touch. The balance of sweetness is key: not cloying, but with a comforting glow that makes you reach for another piece. If you include citrus zest, you’ll notice a bright, aromatic lift that elevates the cheesecake’s richness without overpowering it. A touch of vanilla adds warmth and a hint of perfume, while spices such as cinnamon or nutmeg can introduce autumnal depth. When paired with a tart fruit sauce or a bittersweet chocolate drizzle, the rolls transform into a well-rounded dessert that resonates across palates—from the dairy-loving purist to the adventurous suitor seeking a novel twist.
Occasions & Pairings
These fried cheesecake rolls shine in a variety of settings. They’re perfect for casual weeknight dessert cravings, celebratory gatherings, potlucks, or a dessert course at a dinner party. Their shareable nature makes them an ideal choice for crowds, where guests can nibble and mingle without needing a formal seating plan. For holiday menus, they add a festive note, especially when served with a seasonal sauce or dusting that echoes the occasion (cinnamon-sugar for winter holidays, lemon glaze for spring, or a berry compote for summer gatherings).
Pairings to consider
- Sauces: raspberry coulis, strawberry reduction, chocolate ganache, caramel drizzle, or a quick lemon glaze.
- Spices and toppings: cinnamon sugar, toasted almond or hazelnut crumble, finely grated zest, or a pinch of flaky salt to enhance sweetness.
- Accompaniments: fresh fruit slices, a dollop of whipped cream, or a scoop of vanilla bean ice cream for a plated dessert.
- Drinks: a sparkling wine, a lightly sweet dessert wine, or a robust coffee to balance richness.
Tips, Variations & Substitutions
One of the beauties of fried cheesecake rolls is how forgiving they can be. Here are ideas to tailor the recipe to your pantry, preferences, and dietary needs.
Tips for perfect results
- Chill the filling: A cold filling will help the rolls hold their shape during frying and create a clean, even roll.
- Seal edges well: Ensure that the filling is completely enclosed and the seam is sealed to prevent leakage during frying.
- Oil temperature matters: Maintain a steady medium-high heat to achieve a crisp exterior without absorbing excess oil.
- Pat dry before frying: If the rolls look wet on the surface, pat them lightly to avoid splattering and uneven browning.
- Drain thoroughly: Let finished rolls rest on a rack or paper towels to remove excess oil and keep the crust crisp.
Variations
- Fruit-filled: Add a spoonful of fruit preserves or diced fruit into the center for a burst of fruity sweetness.
- Chocolate-filled: Fold in a few chocolate chips or a thin ribbon of chocolate within the filling for a decadent twist.
- Nut-crusted: Roll the finished rolls in finely chopped nuts or crushed cookies for extra texture and flavor.
- Gluten-free option: Use gluten-free cookies or a gluten-free pastry coating to keep the crust delicate and crisp.
- Dairy-free option: Use a dairy-free cream cheese substitute and ensure the crust is dairy-free; check that any coatings or toppings are also dairy-free.
Substitutions
- Cheesecake base: If you don’t want to make a full cheesecake, you can use a high-quality store-bought cheesecake or a no-bake cheesecake filling to speed up preparation.
- Coating: Panko breadcrumbs yield a extra-crunchy exterior; or substitute crushed cookies for a sweeter crust.
- Sweetener: Adjust sugar to taste, and consider a touch of maple syrup or honey in the filling for nuanced sweetness.
Storage & Make-Ahead Ideas
Like many fried treats, these rolls are best enjoyed fresh, but with proper handling, you can plan ahead for quick, impressive desserts.
Make-ahead strategies
- Prepare the filling and roll the cheesecake portions ahead, then refrigerate for up to 24 hours before frying.
- Assemble the rolls and freeze on a parchment-lined tray. Once frozen solid, transfer to a freezer-safe bag. Fry from frozen, adding a few extra minutes of cooking time until evenly golden.
- Make-ahead sauces: Prepare any sauces or coulis in advance and refrigerate; reheat gently before serving to preserve texture and flavor.
Storage tips
- Freshly fried rolls: Best consumed the day they are fried for optimal crispness.
- Refrigeration: If you must store, place cooled rolls in an airtight container and refrigerate for up to 2 days; re-crisp briefly in a warm oven before serving.
- Freezing: Freeze assembled, uncooked rolls for long-term storage; fry from frozen, adjusting time as needed.
Fun Facts & Trivia (Optional)
– The idea of frying delicate desserts spans many cultures, from churros to fried ice cream; fried cheesecake rolls fit securely into this playful tradition of transforming rich dairy into a dynamic, shareable treat.
– The contrast between a soft, creamy center and a crisp exterior is a classic texture pairing that appears across cuisines—from pastry shells to tempura-coated fillings. Chefs often harness this contrast to create a memorable dessert experience that lingers on the palate.
– If you’re hosting a tasting party, you can set up a “dough and fillings” station: guests choose their fillings, roll them, and dip them in a lineup of sauces and toppings for a personalized dessert flight.
Conclusion: The Perfect Dessert to Share
Fried cheesecake rolls embody a joyous blend of indulgence and approachability. They are equally at home on a family table after Sunday dinner and at a lively party where everyone is eager to try something crispy and creamy at once. With a few thoughtful tweaks—whether you go classic, bright with citrus, or luxe with chocolate—these rolls become a canvas for creativity and warmth. They invite conversation, laughter, and, above all, a shared moment of sweet satisfaction. So roll them, fry them, and serve them with pride, because this is a dessert meant to be enjoyed communally—the kind of treat that turns a simple evening into a memorable occasion.
Ingredients
- 2 cans refrigerated crescent roll dough (8-count)
→ The outer wrapper that encases the cream cheese filling. Keep the dough cold and handle gently to maintain distinct layers; separate along the perforations and lay flat to form the rolls without tearing. If your brand’s dough is very thin, refrigerate briefly before filling to prevent bursting during frying. - 8 oz cream cheese, softened to room temperature
→ Provides the creamy, tangy center of the rolls. Soften at room temperature for easy mixing and a smoother filling that traps air when rolled. If using block cream cheese, beat until completely smooth to avoid lumps; this ensures uniform texture inside every roll. - 1/4 cup granulated sugar
→ Adds gentle sweetness to the cream cheese filling and helps balance the tang of the cheese. Incorporate into the filling with the vanilla until fully combined for a uniform sweetness level; adjust to taste if you prefer a less sweet filling for a sharper cheese flavor. - 1 tsp vanilla extract
→ Enhances the flavor of the cream cheese filling, giving depth and aroma. Use pure vanilla extract rather than imitation for a richer, more aromatic profile. If you want a slightly dessert-like note, you can pair with a pinch of almond extract (optional) but keep it minimal to avoid overpowering the cheese. - 1/2 cup powdered sugar (for filling)
→ Optional addition to the filling to create a silkier texture and increased internal sweetness. Sift to remove lumps, then fold gently into the cream cheese mixture so it dissolves evenly. Skipping this will yield a less sweet, more cheese-forward center. - 1-2 tablespoons heavy cream or milk (to loosen filling)
→ Helps achieve a spreadable, pipeable filling that won’t be too thick inside the wrapped dough. Add gradually, mixing until the filling holds its shape but is easy to spread. Use cream for a richer filling; milk for a lighter texture. - Vegetable oil for frying (enough to deepen halfway up the rolls)
→ Provides the hot, even frying needed to crisp the crescent wrapper and seal the edges of the rolls. Use a neutral oil with a high smoke point (such as canola or peanut oil). Heat to 360-375°F (182-190°C) before frying; maintain temperature to prevent soggy or greasy results. Do not overfill the oil; work in batches for safety and even cooking. - 1/2 cup granulated sugar mixed with 1 teaspoon ground cinnamon (for coating)
→ Creates a sweet, aromatic crust once the rolls are fried. Combine thoroughly and dust each roll immediately after frying while still hot so the coating adheres. If you skip this coating, the rolls will have a milder flavor and crisper exterior will be less pronounced. - Powdered sugar (for dusting, optional)
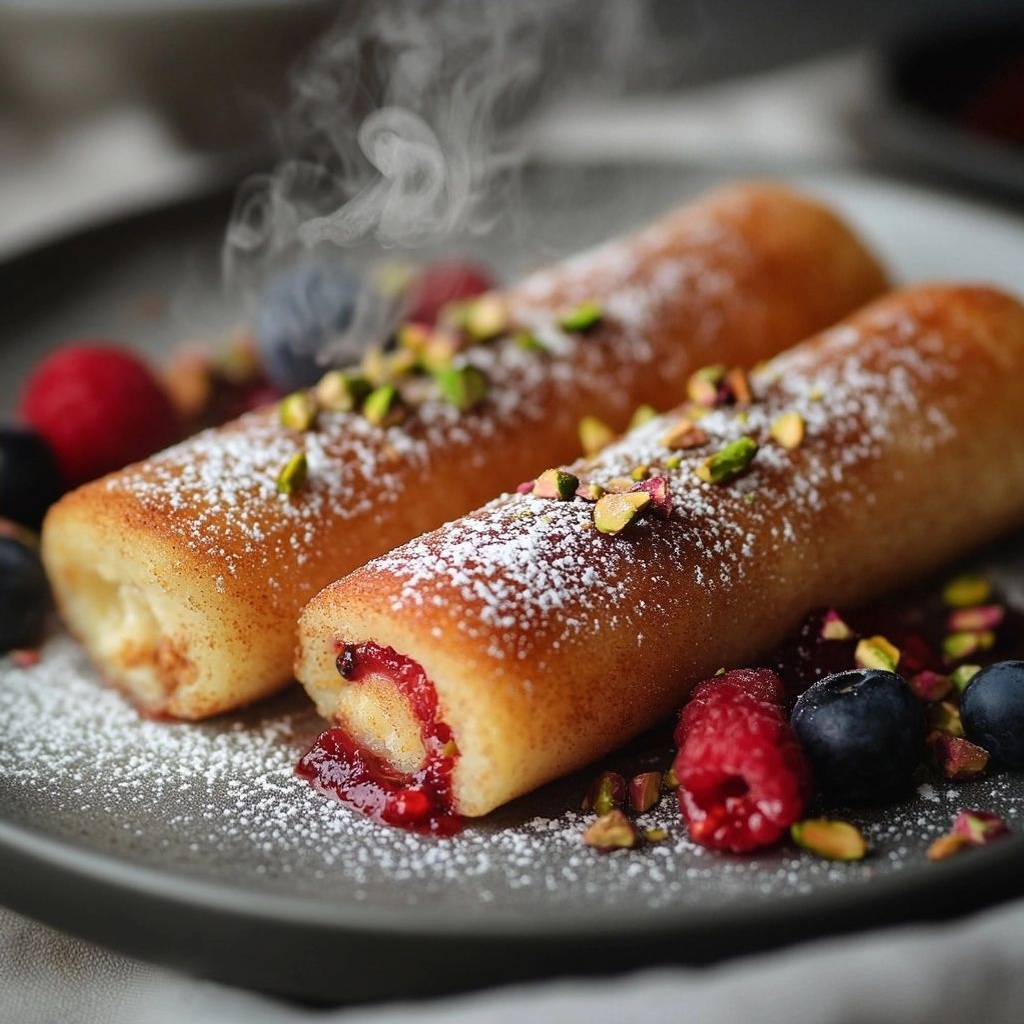
→ Finishing touch to add a delicate snowfall of sweetness and a pretty presentation. Sift lightly over the warm rolls just before serving to avoid clumping. If you prefer a glossier appearance, roll the hot rolls in the cinnamon-sugar coating first, then dust with powdered sugar.
Instructions
- Chill the crescent roll dough in the refrigerator for 15 minutes to keep the individual sheets firm and easy to wrap without tearing, which helps maintain distinct layers and prevents bursting during frying.
- Beat the softened cream cheese, granulated sugar, vanilla extract, and powdered sugar (if using) together in a medium bowl until the mixture is smooth and fully integrated, which creates a cohesive filling with no lumps and uniform sweetness distribution.
- Add 1-2 tablespoons of heavy cream or milk to the filling in small increments, folding after each addition until the filling is spreadable but still firm enough to hold its shape when rolled, which prevents it from oozing out during frying.
- Scoop a heaping teaspoon of filling onto the wide end of each crescent dough triangle, keeping the filling roughly in a line so you can roll without squeezing excess filling into the seam, which reduces leakage and ensures even distribution.
- Roll each triangle tightly from the wide end toward the opposite tip, pinching the edges as you go to seal completely and prevent the filling from escaping during frying, which helps maintain a clean exterior and uniform shape.
- Place each rolled cheesecake so its seam is on the bottom on a parchment-lined tray, then refrigerate the formed rolls for 20 minutes to help set the filling and seal the edges, which makes the rolls easier to handle and fry evenly.
- Fill a heavy, deep skillet or Dutch oven with vegetable oil to a depth of about halfway up the rolls and attach a candy or deep-fry thermometer, then heat to 360-375°F (182-190°C) and monitor the temperature, which ensures a crisp outer wrapper without soggy centers or greasy residue.
- Prepare the cinnamon-sugar coating by whisking together 1/2 cup granulated sugar with 1 teaspoon ground cinnamon in a shallow dish, which creates a fragrant, crisp crust that adheres to the hot rolls for added sweetness and texture.
- Line a second shallow tray with paper towels to drain the fried rolls, which helps remove excess oil quickly and prevents sogginess on the crust as soon as they come out of the oil.
- Fry the rolls in small batches, maintaining the oil temperature and turning occasionally with slotted tongs until they are golden brown on all sides, which typically takes 2-3 minutes per batch and ensures even browning without burning the delicate wrapper.
- Use the tongs to transfer the fried rolls to the cinnamon-sugar coating while they are still hot and pliable, then roll or press gently to coat the exterior evenly and adhere the crust without tearing the dough, which enhances flavor and texture.
- Dust the coated rolls with a light sprinkling of powdered sugar just before serving for a delicate finish, which adds a snowy contrast and a touch of sweetness without overpowering the filling.
- Serve the fried cheesecake rolls warm with fresh fruit, chocolate sauce, or a light drizzle of caramel, which complements the creamy centers and crispy shells while the contrast in temperatures enhances the overall eating experience.
Notes
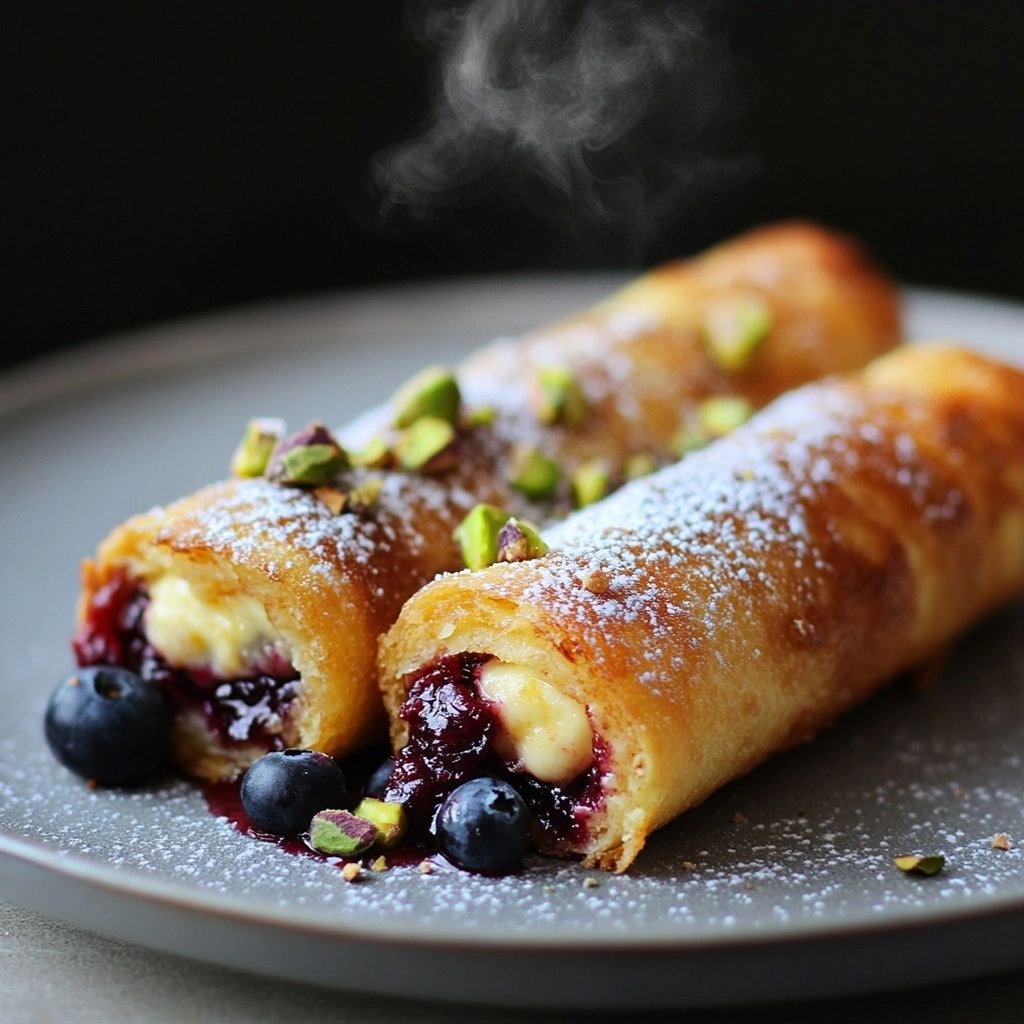
These fried cheesecake rolls are indulgent and crowd-pleasing, featuring a creamy vanilla cheesecake filling encased in crisp, cinnamon-sugar-coated crescent dough. You can customize them by adding a splash of lemon zest to the filling or mixing in mini chocolate chips for contrast. They reheat well in a 350°F oven for a few minutes and make a fantastic dessert or special treat. For a lighter version, bake them instead of frying on a greased sheet until golden. Always keep the dough cold and handle gently to maintain distinct layers; monitor the oil temperature at 360-375°F to ensure a crisp exterior without greasy centers and avoid overfilling to prevent bursting during frying.
Tips
FAQ
What are Fried Cheesecake Rolls?
Cheesecake rolls are bite-sized cheesecake filling wrapped in a pastry or dough, rolled into cigar shapes, and fried until golden and crisp. They’re typically dusted with powdered sugar and served with a fruit sauce or chocolate.
What ingredients do I need?
For the filling: cream cheese, sugar, vanilla extract, and optional lemon zest. For the rolls: a pre-made pie crust or puff pastry (rolled thin), or homemade dough. For frying: neutral oil (like vegetable or canola). Optional: egg wash, cinnamon sugar, powdered sugar for dusting, and dipping sauces like strawberry or chocolate.
How do I prepare the cheesecake filling?
Beat softened cream cheese with sugar until smooth, then blend in vanilla (and lemon zest if using). Chill the filling briefly so it’s easier to pipe or spoon onto the dough.
How should I shape and fill the rolls?
Roll out dough into a thin rectangle. Cut into long strips. Place a small line of filling along one edge, roll up tightly to form a log, seal edges with a little water or egg wash. Alternatively, cut into bite-sized pieces for mini rolls.
What is the best oil temperature for frying?
Heat oil to 350°F (175°C). Use a kitchen thermometer to monitor. If it’s too hot, the outside will burn before the filling heats; too cool and the rolls will be greasy.
How long do they take to fry?
Fry 2–3 minutes per side, or until golden brown. Turn once to ensure even color. Remove with a slotted spoon and drain on paper towels.
Can I bake them instead of frying?
Yes, you can bake them for a lighter version. Place on a greased baking sheet, brush with a bit of oil or melted butter, and bake at 375°F (190°C) for about 15–20 minutes, turning halfway, until golden.
How can I customize flavors or fillings?
Try adding lemon or orange zest to the filling, chocolate chips, or a swirl of fruit jam. Use cinnamon sugar on the outside after frying for extra flavor, or serve with a fruit sauce or caramel.
How should I serve and store leftovers?
Serve warm with dipping sauces or a dusting of powdered sugar. Leftovers can be stored in the fridge for 2–3 days; reheat in a toaster oven or air fryer to regain crispiness. Freeze assembled rolls before frying for longer storage; fry from frozen, adding a minute or two to cook time.