Introduction / Hook
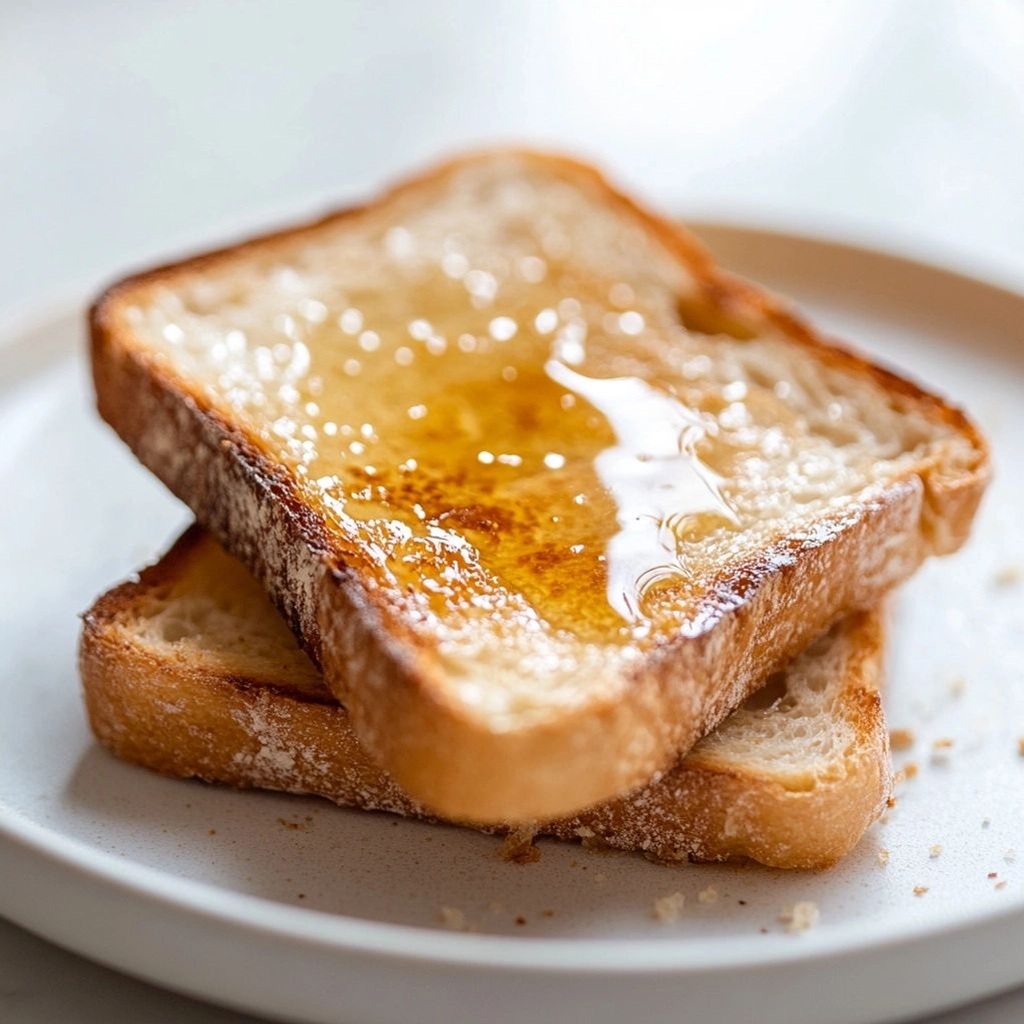
There’s something almost magical about the moment a slice of bread transforms from soft to crackling gold, the butter sighing into the warm surface as it melts, and the aroma wafting through the kitchen like a morning invitation you can’t resist. Toast Mastery: Perfectly Toasted Bread Morning is not just a technique; it’s a ritual, a tiny daily celebration that sets the tone for the day ahead. Imagine the sound of a crisp crack as you lift a perfectly toasted edge, the delicate ting of the toaster’s metal, and the instant, comforting sigh of steam escaping as you apply a generous spread of butter and jam or a savory riff of toppings. This description is your gateway to a kitchen moment where simplicity becomes sublime, where the humble slice of bread is elevated into a canvas for texture, aroma, and flavor.
In this guide, you’ll discover how to coax the best possible toast from almost any bread—from the crustiest rustic loaf to the softest sandwich white—by understanding heat, timing, and the little cues your bread gives you. You’ll learn to read the bread’s color and texture, the signals that tell you it’s almost there, and how small adjustments can make a world of difference. Whether you’re preparing a quick weekday breakfast, a leisurely weekend brunch, or a cozy late-night snack, the techniques here empower you to achieve consistently excellent results with confidence and joy.
But toast isn’t merely about technique; it’s about memory, comfort, and personalization. The most memorable mornings often begin with the simplest meals. A slice of toast can be a blank page on which you write a seasonal ode with avocado and chili, a glossy smear of marmalade that glistens like morning sun, or a simple spread of cultured butter that sings with salt and cream. This guide invites you to approach toast as an extra-large wink at your future self: the version of you who will look back and smile at the cozy, well-balanced, perfectly toasted moment that started the day.
The Story Behind the Dish
Toasted bread is one of humanity’s oldest, most comforting preparations. From the earliest fires where communities gathered around a smoky hearth, bread would be kept warm to extend its life and improve its flavor. Toast, in its most elemental form, is the alchemy of dry heat transforming starches into crisp edges and honeyed centers. Across cultures, toast has taken countless identities—French tartines with rustic charm, British breakfast toast with butter and tea, Japanese shokupan with delicate, airy crusts, and Middle Eastern manakish where bread meets sesame, olive oil, and herbs. The essence remains the same: heat, time, and the love of a good crust.
Toast Mastery: Perfectly Toasted Bread Morning draws on a long lineage of toasting wisdom while embracing modern preferences. It’s about finding the balance between textures—crisp, chewy, and tender—and cultivating an intimacy with your ingredients. The toast you make today can carry the memories of yesterday’s breakfast and the possibilities of tomorrow’s lunch. It’s a ritual that invites you to slow down, breathe in the aroma, and savor a few minutes dedicated entirely to nourishing yourself. In many households, the simple act of toasting bread is a signal that the day is starting, a small ceremony that signals attention, care, and intention.
Why You’ll Love This Recipe
- Consistency with any bread: Whether you have a dense sourdough, a soft sandwich loaf, or a crusty baguette, you’ll learn how to coax the best crust and interior using adaptable heat levels and timing cues.
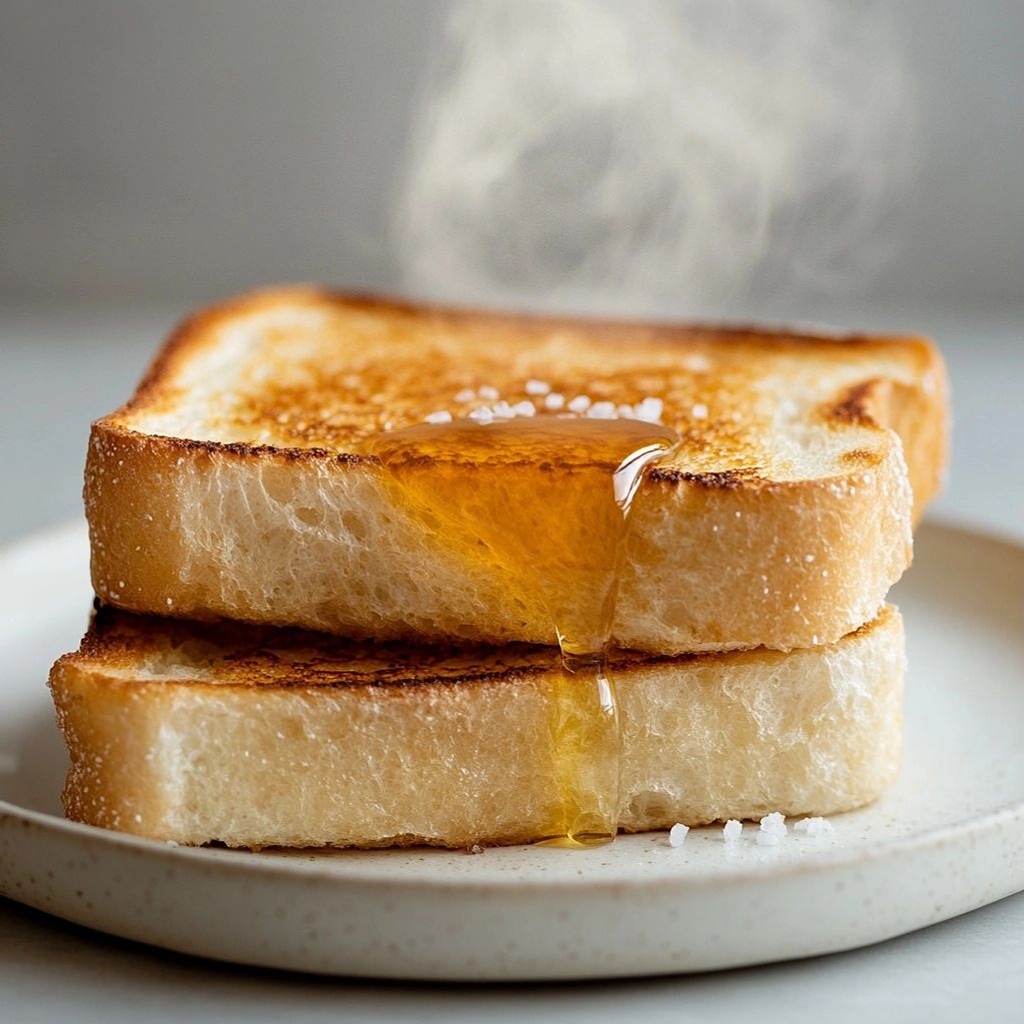
- Versatile flavor foundations: The method supports a wide range of toppings—from classic butter and jam to garlicky olive oil with herbs, or even a delicate drizzle of honey and sea salt—allowing you to tailor breakfast to mood and season.
- Speed without compromise: Perfect toast is quick, but it’s also precise. This approach reduces guesswork and ensures you’re not burning or under-toasting, saving you minutes and frustration.
- Accessible for all cooks: No fancy equipment required; a standard toaster or a skillet can deliver spectacular results once you understand the right cues.
- Mood-lifting ritual: The scent of toasting bread is one of life’s simple pleasures. This guide teaches you how to cultivate that sensory joy every morning, turning breakfast into a moment of calm and anticipation.
- Healthy customization options: You’ll discover ways to add nutritious toppings, balance fats and carbs, and create satisfying, balanced breakfasts that keep you full longer.
Flavor Profile & Texture
Toast, at its best, offers a dynamic interplay of textures: the outside edge yields a delicate crack when pierced, the middle remains soft or has a gentle chew, and a thin kiss of butter or oil creates a glossy sheen that invites you to take your first bite. The aroma is a warm blend of Maillard sweetness, toasty nuttiness, and a hint of caramelized bread sweetness that emerges as crust forms. If you’re starting with a rustic loaf, you’ll find a pronounced, almost toasty-seed fragrance—nutty, with a touch of rye-like earthiness. A light white loaf delivers a clean, gentle sweetness, a softer crust, and a more immediate butter-scented finish. The texture you aim for depends on your preference: a robust crunch for a statement slice or a tender, even toast for delicate toppings.
Flavor comes through in two acts: the crust and the crumb. The crust offers a satisfying snap and a toasty warmth, while the crumb—inside flesh of the bread—should be moist enough to absorb toppings yet firm enough to hold its shape. When you pair the toast with toppings, you create flavor ladders: the butter’s richness, the jam’s bright tartness, the olive oil’s peppery fruitiness, or a savory spread’s umami depth. The sweet-salty harmony often emerges as a favorite, with butter cascading into a fruity jam or a spread of honey pairing with toasted pumpkin seeds for a crunchy, shimmering bite. Texture-wise, you’ll learn to target a crust that’s evenly browned, a crumb that shows even color, and a surface that’s lightly tacky when touched with a light butter layer—proof of a perfect melt and glide.
Occasions & Pairings
Toast is a universal companion for a host of occasions. On busy weekday mornings, it can be a comforting anchor that keeps you grounded as you rush toward the day’s tasks. For weekend brunch, it acts as a versatile platform for creative toppings—avocado smash with chili flakes, whipped ricotta with honey and pistachios, or an herb-laced oil with a poached egg perched on top. For children and adults alike, a well-toasted slice with a sprinkle of cinnamon sugar or a smear of peanut butter can become a beloved daily ritual. The beauty of toast lies in its adaptability to seasons and cravings, turning a few slices into a full, satisfying meal.
Pairings to consider:
- Savory pairings: garlic butter and grated parmesan, avocado lime mash, smoked salmon with crème fraîche and chives, tomato-basil bruschetta-inspired topping.
- Sweet pairings: cultured butter with sea salt, jam or marmalade with a touch of lemon zest, ricotta with honey and crushed pistachios, nut butters with sliced bananas and a dusting of cinnamon.
- Drinks to accompany: a robust coffee or a creamy latte, a glass of fresh-squeezed juice, or a light tea that complements the toast’s richness.
Tips, Variations & Substitutions
Would you like to switch up the experience for dietary needs or flavor preferences? Here are practical possibilities to customize this morning ritual without losing its essence.
Use a bread substitute such as cloud bread or almond flour bread. Toast until the edges crisp up and finish with a high-fat topping that complements the texture. Let the crust breathe a bit more by using a longer toasting time; you’ll notice a deeper caramelization and a more pronounced tang on the crust’s edge. Add spice blends from your region—sage and garlic for a Tuscan twist, miso butter for an umami-rich Japanese influence, or paprika and chili for a smoky, Hispanic-inspired bite.
Make-Ahead Ideas
If you’re planning ahead, you can pre-slice bread and keep it in the freezer. When you’re ready, pop slices directly into a toaster for a quick, dependable texture. For future mornings, consider pre-mashing an avocado mix, preparing a yogurt-based topping, or portioning butter for an effortless evening-to-morning transition. The goal is to have ready-to-go components that preserve flavor and texture, so the toast remains crisp and inviting from the moment it leaves warmth to the moment your toppings meet its surface.
Storage & Make-Ahead Ideas
Freshly toasted bread doesn’t keep as long as untoasted bread, but you can preserve your results by storing components intelligently. Here are practical tips:
- Toasted slices: Toasted bread should ideally be enjoyed same-day for maximum texture. If you must store, keep in an airtight container for up to 24 hours and re-crisp briefly in a toaster or oven before serving.
- Leftover toppings: Store spreads separately in sealed containers. Freshness matters for fruit preserves, whipped toppings, and dairy-based spreads, so keep them refrigerated and away from heat.
- Make-ahead breakfast kits: Prepare small jars of combinations (e.g., tomato confit with herbs, whipped ricotta with citrus zest, or olive oil with sea salt and black pepper). Pair them with a ready-to-toast bread to assemble in minutes.
Fun Facts & Trivia (Optional)
– The Maillard reaction, the browning process behind the toast’s crust, was named after French chemist Louis-Camille Maillard who described it in 1912. This reaction is a complex interaction between amino acids and sugars that creates that irresistible toasty aroma.
– In some cultures, toasted bread is used as a service item for certain soups or stews, where a crisp bread surface adds crunch and contrast to a soft, comforting bowl.
– The word “toast” itself comes from the practice of “toasting” wine at gatherings, with bread taking on the ceremonial role of supporting the drink and adding texture to the ritual.
Closing Thoughts
Toast Mastery: Perfectly Toasted Bread Morning is more than a technique; it’s a daily invitation to slow down, notice the small details, and pamper yourself with a moment of comfort. The joy of toast is that it’s accessible, forgiving, and endlessly adaptable. It’s the kind of craft that rewards patience and curiosity: you’ll notice little differences in bread type, thickness, toaster performance, and topping choices, all of which together create a personal toast profile unique to your kitchen and your morning mood.
As you begin your day with a well-toasted slice, you’re not just feeding your body—you’re feeding your routine, your mood, and your sense of place in the world. The crack of the crust, the sheen of butter, and the warmth that blooms on your tongue are tiny acts of self-care that compound into a more mindful day. Whether you’re making a speedy breakfast for a busy workday, a cozy brunch for friends and family, or a quiet moment on a weekend morning, this guide empowers you to achieve that perfect toast consistently—every time.
Ingredients
- Toast Base
– 4 slices sturdy bread (sourdough or whole grain)
→ The foundation of the toast; choose slices about 1 to 1.5 cm thick to allow even browning without burning. Toasting times may vary with bread type, so adjust accordingly. - Toast Base
– 2 tablespoons unsalted butter, softened
→ Provides moisture, richness, and a uniform browning during toasting. Softened butter spreads easily for an even coat; if dairy-free, substitute with olive oil or a dairy-free butter substitute. - Toast Base
– 1/4 teaspoon fine sea salt
→ Enhances bread flavor and helps balance the richness of butter; adjust to taste and consider using salted bread as a guide to avoid oversalting. - Toasting Essentials
– 1 tablespoon olive oil (optional)
→ Adds extra crispness and a slightly fruity note; brush lightly on bread or mix with butter for a subtle, golden crust. Use sparingly to prevent sogginess. - Toasting Essentials
– 1/2 teaspoon garlic powder (optional)
→ For savory toast without fresh garlic; provides aroma and depth. Works well with butter and herbs; use sparingly to avoid overpowering sweetness of bread. - Toppings
– 1 ripe avocado, mashed (optional)
→ Creates a creamy base and healthy fats; mash with a fork to your desired texture (smooth or chunky) and season lightly with salt and pepper for extra flavor. - Toppings
– 1 egg, cooked to your liking (optional)
→ Classic protein addition; poached, fried, or scrambled. Add with a pinch of salt and pepper for a balanced breakfast experience. Ensure egg is fully cooked to your preference for safety and texture. - Toppings
– 2 tablespoons jam or preserves (optional)
→ Adds fruity sweetness and shine; choose a flavor that pairs with your bread (strawberry, apricot, or berry works well). Spread after butter for best adhesion. - Toppings
– 1 teaspoon honey or maple syrup (optional)
→ A touch of natural sweetness; drizzle sparingly to complement savory elements without making the toast too sweet. - Toppings
– Pinch of crushed red pepper flakes (optional)
→ Introduces a gentle heat and bright contrast, especially on buttered toast with avocado or egg. Start with a pinch and adjust to taste. - Toppings
– Fresh herbs (e.g., chives or parsley) (optional)
→ Finishing freshness; finely chop and sprinkle on top after toasting to brighten flavors and add color.
Instructions
- Preheat a heavy skillet or griddle over medium heat (about 300–325°F / 150–165°C) and lightly brush or wipe with a thin film of olive oil to prevent sticking; this ensures an even, crisp crust without burning and helps the butter distribute heat more uniformly.
→ A evenly heated surface prevents hot spots that would burn the bread while leaving the center underdone. - Beat or whisk the softened unsalted butter with the fine sea salt until the mixture is smooth and evenly seasoned, then set aside so it spreads smoothly on the bread without tearing the crumb; this creates a uniform, golden surface during toasting.
→ Salt enhances the bread’s flavor and balances richness; evenly mixed butter prevents streaks of saltiness. - Spread a thin, even layer of the salted butter onto one side of each bread slice, using a gentle, sweeping motion to cover the entire surface without pooling; this promotes uniform browning and a crisp edge as the butter sizzles on the hot pan.
→ A thin coat avoids sogginess and ensures a consistent texture across all slices. - If using garlic powder, lightly dust the buttered side with 1/2 teaspoon across all slices to impart aromatic depth without overpowering the bread; distribute evenly by tapping the shaker or whisking the powder into the butter first for consistency.
→ Even distribution prevents concentrated pockets of garlic flavor that can overwhelm the toast. - Place the buttered side of each slice down onto the hot skillet, applying even pressure for 5–10 seconds to establish contact and prevent buckling, then reduce the heat to medium-low to maintain steady browning without scorching.
→ Proper contact ensures a uniform crust and prevents the slice from lifting or curling during toasting. - Toast for 2–4 minutes per side, watching closely for a golden-brown color and a crisp edge; adjust timing based on bread type (sourdough vs. whole grain) and slice thickness to avoid burning while achieving even toasting.
→ Bread types brown differently; thinner slices toast faster, thicker slices require more time for a thorough crust. - Flip the slices gently with tongs once the first side is deeply caramelized and liftable; continue to toast the second side until it mirrors the first, ensuring a balanced texture and flavor.
→ Gentle flipping reduces tearing and maintains an intact, uniform surface for toppings. - While toasting, if desired, drizzle 1 teaspoon of olive oil on the opposite side of the second surface or brush lightly for an extra crisp finish and a fruity note; apply sparingly to prevent sogginess and excessive greasiness.
→ Light oiling enhances crustiness and flavor without overwhelming the bread’s inherent texture. - If topping with mashed avocado, scoop and mash the ripe avocado with a pinch of salt and pepper, then taste and adjust seasoning; this creates a creamy, bright base that contrasts with the toasted bread.
→ A seasoned, smooth or chunky mash adheres better to the toast and adds richness to the bite. - Cook the egg to your liking in a small nonstick skillet (poached, fried over easy, or scrambled) and season lightly with salt and pepper; ensure the yolk is set or to your preference for safety and texture.
→ A properly cooked egg adds protein and a luxurious contrast to the crisp toast; keep edges neat for clean plating. - Spread 2 tablespoons of jam or preserves on the buttered surface once the toast is off the heat or immediately after the first toast; the warmth helps the jam melt slightly and adhere, creating a glossy, fruit-forward finish.
→ The jam provides sweetness and acidity that balance the savory elements and toast’s richness. - Drizzle a small amount of honey or maple syrup (about 1 teaspoon total) over the toast if desired, letting it mingle with the jam or avocado to add a touch of natural sweetness; drizzle sparingly to avoid overpowering savory components.
→ The subtle sweetness brightens flavors and adds moisture to the surface for a luxurious finish. - Finish with a pinch of crushed red pepper flakes and a scatter of finely chopped fresh herbs (chives or parsley) for color, brightness, and a gentle kick; this elevates the toast with a modern, savory perfume.
→ Heat and herbs contrast with the butter and bread, enhancing aroma and perception of freshness. - Arrange the finished slices on a warm plate, top with the prepared avocado and egg if using, and serve immediately while the crust is crisp and the toppings are vibrant; serving promptly preserves texture and flavor.
→ Toast loses its crunch quickly as it cools, so timing is essential for optimal contrast between crust and toppings.
Notes
These perfectly toasted bread mornings celebrate simple, high-flavor fundamentals: sturdy bread, a generous but balanced butter layer, and optional embellishments that elevate texture and aroma. The key lies in choosing slices about 1 to 1.5 cm thick to achieve even browning without burning, and in applying a light but thorough coat of butter so every bite feels moist and rich rather than dry.
Customization is where this dish shines. You can go savory with a thin spread of mashed avocado, a cooked egg for extra protein, and a dusting of garlic powder or crushed red pepper flakes for a gentle kick. For a touch of sweetness, add jam or a drizzle of honey or maple syrup, and finish with fresh herbs for brightness. If you love a crisp crust, a light brush of olive oil before toasting enhances both texture and aroma.
Toasting methods vary by equipment and bread type. A standard toaster works well for even browning, while a skillet or grill pan can deliver extra texture—but keep a close eye to prevent scorching. For extra crispness, toast the bread one side at a time after applying butter; if you prefer a uniform golden crust, toast both sides after a light oil or butter spread.
Flavor balance is important: the salt in the bread or added sea salt should guide how much butter you use. Start with a small amount of salt if your bread is salted, and adjust to taste. When pairing toppings, consider how flavors interact—creamy avocado with peppery eggs, or sweet jam with sharp cheese or herbs for contrast.
For make-ahead moments, prep the toppings separately: mash avocado and season, cook eggs in advance if desired, and keep jam, honey, and herbs ready to assemble. Toasts are best enjoyed fresh, but you can keep pre-sliced bread stored in a cool, dry place or freeze slices for longer storage; toast directly from frozen, adding a few extra seconds if needed. Always ensure eggs are cooked to your preferred doneness for safety and texture.
Notes on substitutions and dietary preferences: if you’re dairy-free, swap butter for olive oil or a dairy-free butter substitute. When using gluten-free bread, double-check that the bread is certified gluten-free to avoid cross-contamination and to maintain the intended texture and browning.

Tips
Tips for Perfect Morning Toast
- Choose bread with a sturdy crumb (sourdough or whole grain) to hold toppings without becoming soggy. If your slices are very fresh, lightly toast one side before adding spreads to help them grip smoothly.
- Let butter soften to room temperature before spreading. A thin, even coat prevents uneven browning and reduces the chance of clumps that burn in the pan or toaster.
- Season the butter or toast lightly with a pinch of salt to enhance flavor. If using salted bread, adjust the additional salt to avoid oversalting.
- For extra crispness, brush a light layer of olive oil over the bread or mix a touch of oil into the softened butter. This helps achieve a golden, crackly crust without drying the bread.
- Garlic powder adds aroma without the moisture of fresh garlic. Sprinkle evenly to avoid a concentrated garlicky bite in one spot.
- To prevent soggy toast when adding avocado, mash it just before serving and add a small hit of salt and pepper. A squeeze of lemon can also brighten flavors and keep the mash from browning too quickly.
- If topping with eggs, cook them to your preferred doneness in advance. A well-seasoned salt-and-pepper finish on the egg enhances the overall balance of rich butter and bread.
- When using jam or preserves, apply a thin layer on top of the butter so it adheres better and doesn’t run off the edges as the toast cools.
- A drizzle of honey or maple syrup pairs beautifully with both savory and fruity toppings—use sparingly to avoid overpowering the toast. A small dab near the center works well.
- Crushed red pepper flakes add a lively contrast. Start with a pinch, then taste and adjust. They pair wonderfully with avocado, eggs, and buttered toast.
- Finely chopped fresh herbs provide a bright, aromatic finish. Sprinkle right after toasting to preserve their color and volatile oils.
- If your toaster varies in browning, use the toast’s visual cues: aim for an even light-to-medium brown with a slight crisp around the edges, then adjust time for next slices.
- To keep the toast from steaming under toppings, place the finished toast on a rack for a minute to release steam before topping.
- For a dairy-free version, substitute butter with olive oil or a dairy-free spread. The olive oil will yield a crisper crust and a different flavor profile—adjust toppings accordingly.
FAQ
What makes toast perfectly toasted?
Perfect toast has a light, crisp exterior with a warm, tender crumb inside. It should be evenly browned without burnt edges, and the flavor should be toasty with a hint of caramelization.
What bread types work best for this guide?
Classic sandwich loaves, sourdough, whole wheat, or grain breads all work well. For a lighter texture, use white or country-style bread. For a richer crust, try brioche or pain de mie.
How long should I toast different bread slices?
Thin-sliced bread typically toasts in 1–2 minutes on medium, while thicker slices or denser breads (baguette, brioche) may take 2–4 minutes. Start with 2 minutes and adjust to your preferred doneness.
What equipment can I use besides a toaster?
A skillet or grill pan on the stove, a toaster oven, or a broiler in the oven can all produce great toast. Brush lightly with butter or oil for extra flavor if using a pan.
Should I butter or oil the bread before toasting?
Butter or oil adds flavor and helps achieve a richer, crisper crust. Butter before toasting for a classic flavor, or oil for a lighter, evenly crisp result. If using a toaster, apply after toasting to avoid smoking.
How can I prevent soggy toast?
Use slices that are dry and not overly thick. Toast at a moderate setting to avoid steaming. Let the toast rest for a minute after toasting to let steam escape, especially if toppings are added.
What toppings pair well with toast mastery?
Popular options include butter, jam or marmalade, avocado with salt and chili flakes, peanut or almond butter, cream cheese with smoked salmon, and poached eggs for a quick breakfast yolk-rich toast.
How do I make perfectly browned edges without burning?
Choose a medium heat level, even slicing of bread, and monitor closely. Flip toppings if using a skillet, and remove slices as soon as they reach the desired color. If using a toaster, stay near the reset to catch early signs of browning.
How can I toast gluten-free or alternative-flour bread?
Gluten-free breads can burn faster due to different textures. Toast on a lower setting, monitor closely, and consider lighter toasting—2 to 3 minutes on medium heat. Some gluten-free loaves benefit from a brief pre-toast to dry out excess moisture.
What are some quick hacks for extra-crispy toast?
1) Toast one side first, then flip and toast briefly the other side. 2) Lightly brush with a small amount of oil or butter before toasting. 3) Finish under a hot broiler for 30 seconds to 1 minute, watching closely. 4) Use a skillet with a touch of butter for a golden crust.