Introduction / Hook
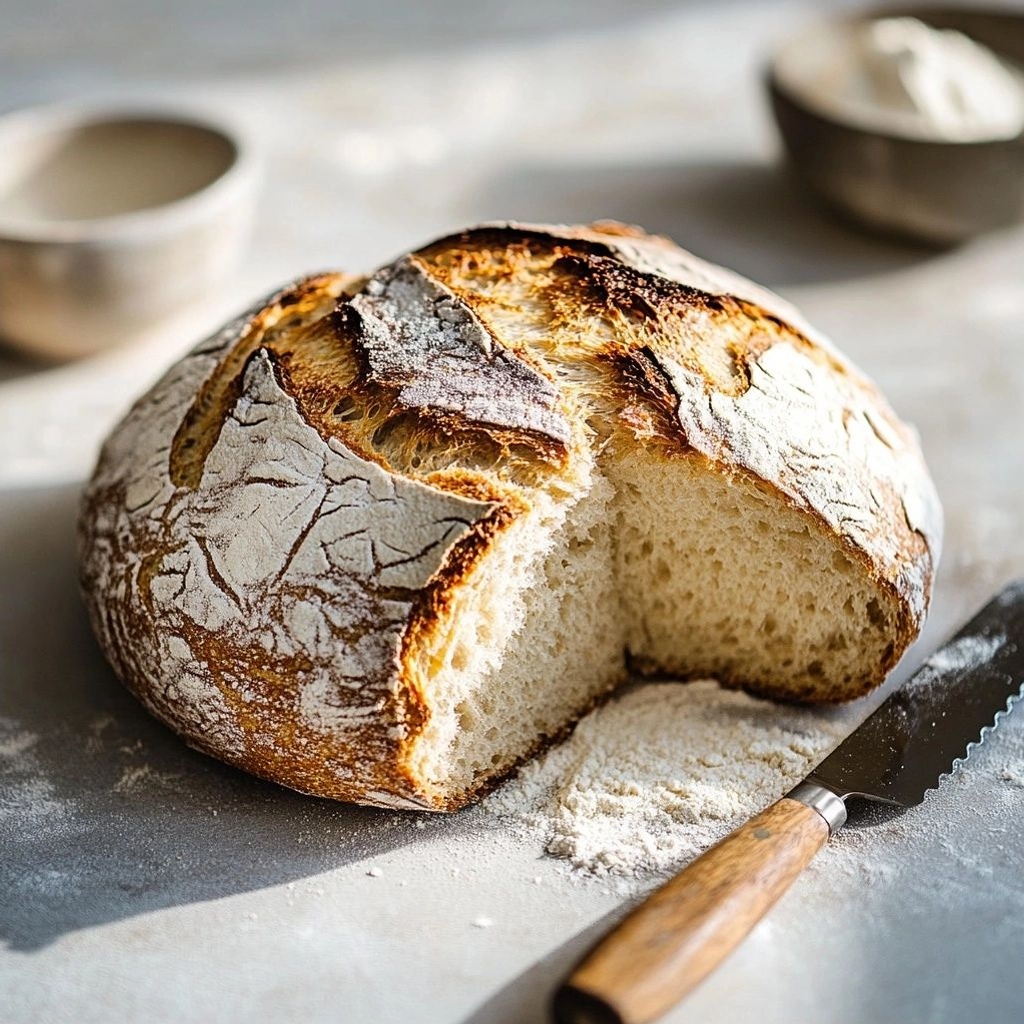
There’s something timeless and comforting about bread that comes together with a few pantry staples and a whisper of patience. Easy Homemade Rustic No Yeast Bread is the kind of loaf that invites you to slow down, roll up your sleeves, and watch simple ingredients transform into something warm, fragrant, and soul-satisfying. Picture a crust with a gentle crackle that gives way to a tender, slightly chewy crumb, the aroma carrying hints of caramelized wheat and toasted grains as it bakes. It’s the kind of bread you can throw together on a busy weekday and still feel as if you’ve delivered a small moment of bakery-worthy joy to your kitchen. No yeast, no fuss, just pure, rustic comfort in every slice.
The Story Behind the Dish
Rustic, no-yeast breads have been a staple in kitchens around the world for centuries. Before the invention and proliferation of leavened loaves, people relied on simple leavening techniques, long fermentations, and the magic that happens when flour, water, salt, and heat meet. The concept of a bread that rises without commercial yeast taps into traditions of sourdough—where wild yeast and bacteria in the dough do the heavy lifting—but it also embraces the practicality of quick breads and flatbreads that have fed families through harvests, winters, and bustling harvest seasons. This particular no-yeast approach embraces the essence of rustic baking: a loaf with a homey, cottage-core vibe, perfect for slathering with butter, honey, or a savory herb oil. Think of it as a bread that feels like it came straight from a village bakery that has stood for generations, where the oven is a warm center of the home and the first scent you wake up to is the promise of comfort waiting in the kitchen.
In many cultures, bread is inseparable from daily life—the bread that accompanies morning coffee, the crusty cut that accompanies a bowl of soup, or the soft slice that soaks up a rich sauce. This no-yeast rustic loaf honors that tradition while offering a quick, reliable method for busy cooks who still want that artisan quality in their daily bread. It’s the kind of recipe that invites stories: the memory of a grandmother’s stove, the scent of a village bakery on a Sunday afternoon, or the satisfaction of a loaf that rises to the occasion on a simple mixing bowl and a hot oven. By embracing a straightforward technique and pantry-friendly ingredients, this bread becomes a canvas for your own taste memories and culinary creativity.
Why You’ll Love This Recipe
- Quick to prepare: The no-yeast method eliminates the waiting game, so you can have a warm loaf on the table in a fraction of the time compared to traditional yeasted bread.
- Accessible ingredients: You likely have flour, baking powder or baking soda, salt, and water in your kitchen, making this loaf a reliable “everyday” option.
- Versatile texture: A sturdy crust with a soft, cloud-like interior that pairs beautifully with butter, olive oil, or savory toppings.
- Perfect for weeknights and weekends alike: It’s forgiving, forgiving, and forgiving—ideal for last-minute dinners or a weekend baking project.
- Customizable flavor: The dough is a blank canvas. Add herbs, grated cheese, roasted garlic, olives, seeds, or garlic-infused olive oil for a personalized loaf.
- Kid-friendly and crowd-pleasing: The familiar bread aroma plus a gentle crumb makes it a hit with both youngsters and adults.
- Great for pairing: It shines with soups, stews, salads, bruschetta toppings, or a simple platter of cheeses and charcuterie.
Flavor Profile & Texture
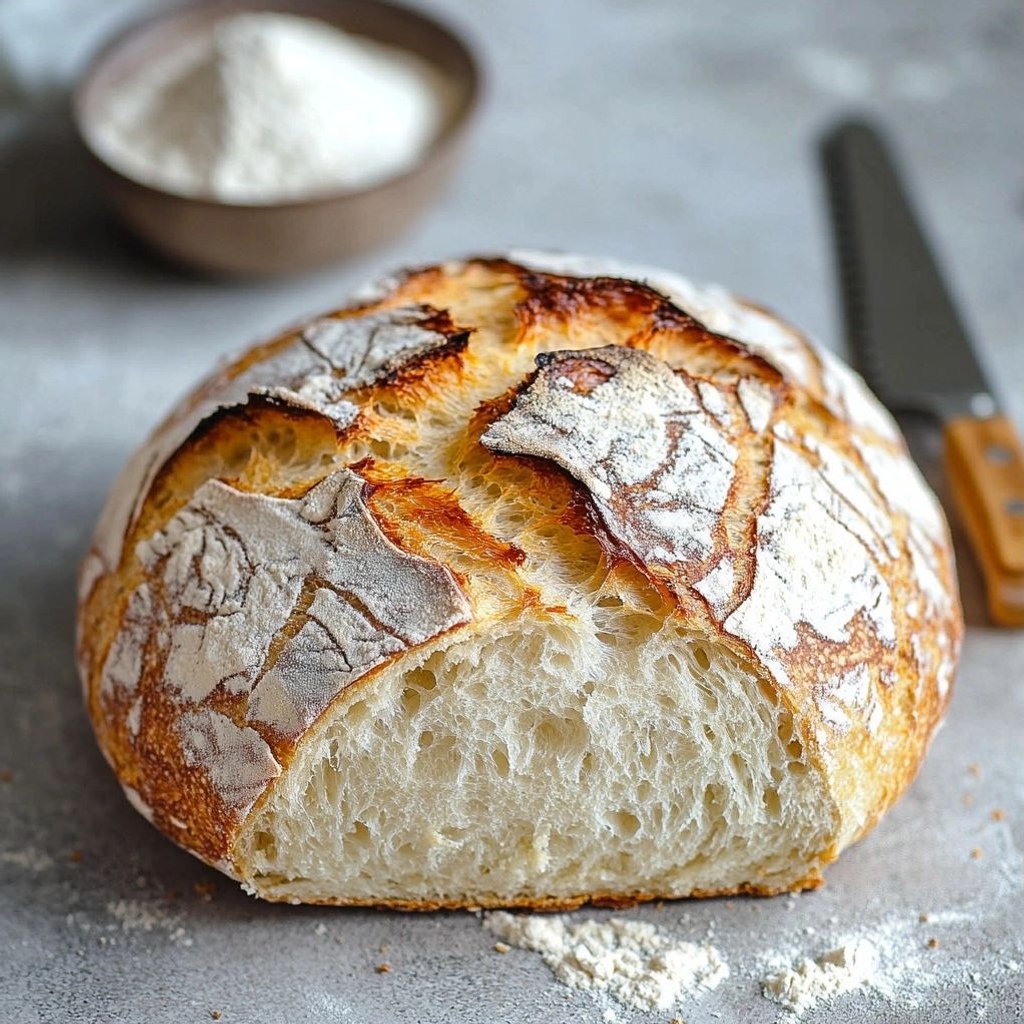
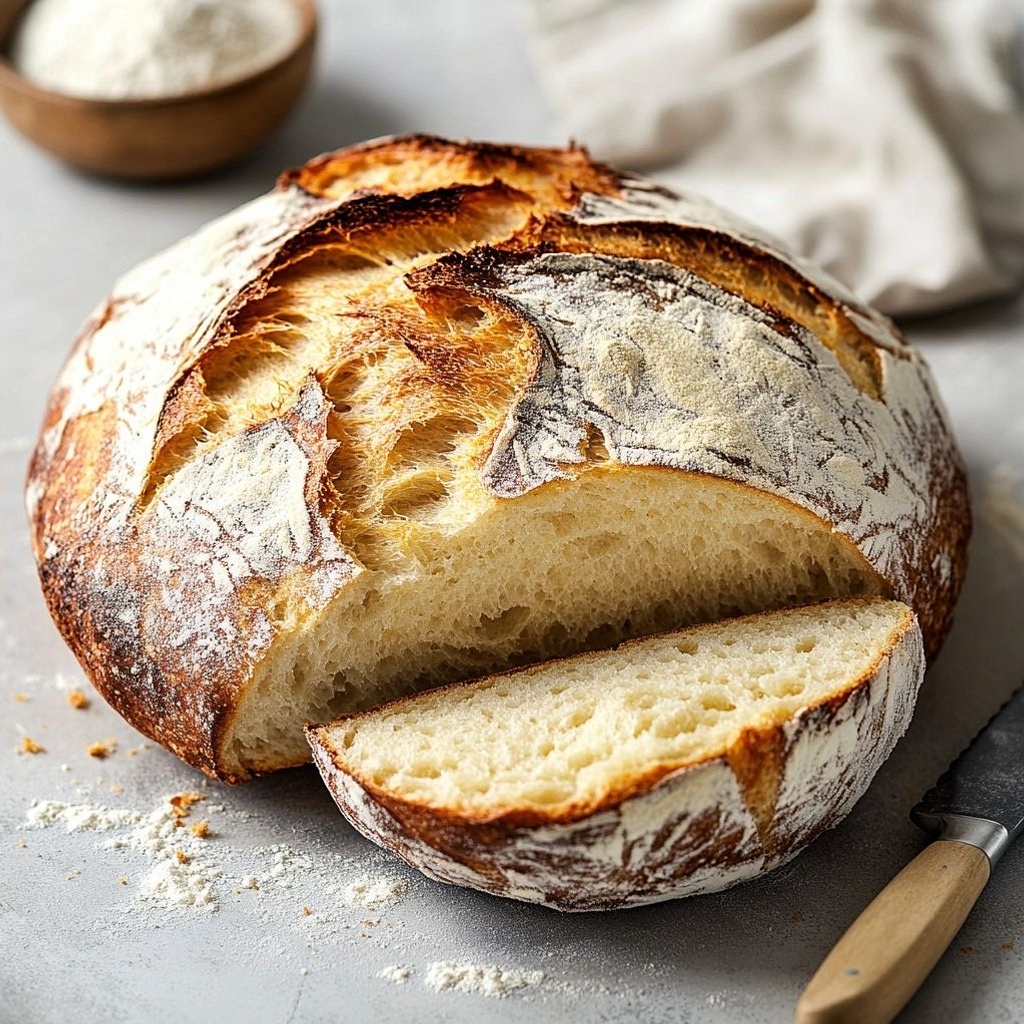
This bread delivers a classic rustic character with a versatile flavor profile. The crust develops a deep, caramel-toned crust that crackles softly when you break into it, releasing a toasty aroma that mingles with hints of malt and grain. Inside, the crumb is tender and accommodating, with a subtle chew that provides satisfying structure without being heavy. Depending on your additions, you can experience a gentle savory note from herbs, a toasty nuttiness from the flour, or a bright brightness from citrus zest or fresh garlic. The grain is the star—the flour’s natural toasty sweetness shines through, while salt enhances every nuance. If you choose add-ins like roasted garlic, sun-dried tomatoes, or cheese, you’ll notice a creamy, melty richness that complements the bread’s natural rustic bite. The aroma alone is enough to evoke a sense of home: warm, comforting, and deeply satisfying after a long day or a leisurely weekend morning.
Texture-wise, think of a crust that offers gentle resistance with a satisfying crackle when you first bite into it, followed by a soft, open-crumb interior that’s not too airy. It’s not a sandwich bread with ultra-light holes; rather, it’s a hearty loaf that holds together beautifully when sliced thick for toast or used as a sturdy base for toppings. The no-yeast approach often yields a slightly denser crumb, which some people prefer for making hearty grilled cheese or dunking into a soup. The balance between crust and crumb makes it incredibly versatile—crispy on the outside, tender on the inside, and with a flavor that invites butter, olive oil, or a drizzle of olive-tomato salsa as a finishing touch.
Occasions & Pairings
This rustic loaf is at home in a wide range of settings. It’s equally comfortable for busy weeknights when you want something fresh to accompany a comforting bowl of soup, and for leisurely weekend meals when you’re entertaining friends and family. Here are some ideal occasions and pairing ideas:
- Weeknight dinners: Serve slices warm from the oven alongside a comforting pot of soup or a hearty stew.
- Brunch gatherings: Toast slices and top with avocado, smoked salmon, or a creamy scrambled egg topping for a satisfying brunch option.
- Casual entertaining: Create a rustic cheese and charcuterie board with pâté, spreads, and seasonal fruit; let guests tear off warm pieces of bread to scoop or spread.
- Family meals: Use as a vehicle for dipping sauces, olive oil with balsamic, or herb-butter slivers that melt into the crumb.
- Holiday tables: The loaf’s rustic charm pairs beautifully with roasted meats, creamy potatoes, and seasonal vegetables.
Flavor partners to consider include:
- Savory toppings: Garlic herb butter, olive oil with sea salt, or brushed-on melted cheese for a quick “grilled cheese” finish.
- Herbs and aromatics: Rosemary, thyme, chives, or sage for a fragrant, herb-forward loaf.
- Cheeses: A crumble of feta, grated parmesan, or shredded cheddar can transform the loaf into a savory centerpiece.
- Accompaniments: Roasted garlic, a bright marinara sauce, olive tapenade, or sun-dried tomato pesto.
- Beverages: A light white wine such as Sauvignon Blanc or a red like Pinot Noir that doesn’t overwhelm the bread’s delicate crumb; simple, unsweetened tea also pairs beautifully.
Tips, Variations & Substitutions
One of the joys of a rustic no-yeast bread is its flexibility. Here are tips to customize, ensure success, and accommodate dietary needs:
- Hydration and consistency: The dough for a no-yeast rustic loaf is typically thicker than a traditional bread dough but should come together into a soft, cohesive mass. If your dough feels too dry, add a tablespoon of water at a time until it just comes together. If it’s too wet, sprinkle in a little more flour, a tablespoon at a time.
- Flavor boosters: Add minced garlic, finely chopped onions, or fresh rosemary or thyme into the dough for aromatic notes. Grated zest of lemon or orange can brighten the loaf with a subtle citrus perfume.
- Cheese and herbs: Fold in crumbled feta, grated parmesan, cheddar, or asiago along with chopped fresh herbs for a savory, cheese-lavored variation.
- Seeded crust: Sprinkle sesame seeds, poppy seeds, flaxseeds, or coarse cornmeal on the surface before baking for added texture and a rustic look.
- Make it vegan: Use water or plant-based milk for a dairy-free option. Ensure that any add-ins are plant-based as well.
- Gluten-free adaptation: Substituting gluten-free flour requires a different approach; look for no-yeast gluten-free flatbread-style dough recipes or use a gluten-free all-purpose flour blend designed for bread-like results. Expect a different texture and possibly a shorter shelf life.
- Herbed oil finish: After baking, brush the loaf with a warm blend of olive oil infused with garlic, rosemary, and lemon zest for an extra layer of aroma and flavor.
- Spice it up: A pinch of smoked paprika, chili flakes, or cumin seeds can lend warmth and a hint of smokiness to the crust.
- Mini loaf option: Divide the dough into smaller rounds for individual rustic “buns” that bake faster and are handy for picnics or bento lunches.
Storage & Make-Ahead Ideas
Storing and planning ahead are essential for maximizing the enjoyment of this bread. Here are practical tips to keep your loaf fresh and tasty:
- Freshness window: This bread is best enjoyed within the first 2–3 days when stored at room temperature in a clean cloth bag or wrapped in a tea towel to preserve crisp crust and soft crumb.
- Short-term refrigeration: If you need to keep it longer, wrap tightly in plastic wrap or store in an airtight container and refrigerate for up to 5 days. Reheat to revive crustiness.
- Freezing: Slice the loaf and freeze in an airtight bag or wrap well. Thaw at room temperature and reheat in a hot oven for a few minutes to restore the crust.
- Make-ahead dough: You can mix the dough in advance and refrigerate it for up to 24 hours before shaping and baking. A longer cold rest can deepen flavor and improve texture; allow the dough to come to room temperature before baking for best rise and crust formation.
- Storage with add-ins: If you’ve added herbs or cheese, cool completely before storing to prevent moisture buildup that can lead to a soggy crust.
Flavor Variations & Substitutions for Everyday Creativity
The beauty of this bread lies in its adaptability. Here are creative directions to keep your baking exciting:
- Herb-forward loaf: Fresh chopped rosemary, thyme, and sage mixed into the dough create a fragrant, savory loaf that pairs wonderfully with roasted vegetables and soups.
- Garlic lovers’ edition: Add roasted garlic mashed into the dough for a mellow, rich garlic flavor that permeates every bite.
- Cheesy crust: A coating of grated parmesan mixed with a little olive oil brushed on the crust before baking creates an irresistible cheesy finish.
- Sun-dried tomato and olive twist: Fold chopped sun-dried tomatoes and sliced olives into the dough to evoke Mediterranean vibes.
- Sweet-savory note: A touch of honey or maple in the dough can bring out a gentle sweetness that contrasts nicely with a sprinkle of flaky sea salt on top.
- Spiced accent: A pinch of cinnamon and nutmeg in a small batch can deliver a warm, comforting note that’s surprisingly delicious with savory toppings.
Fun Facts & Trivia (Optional)
Did you know that no-yeast bread recipes have appeared in various culinary traditions around the world for generations? In some regions, people relied on naturally fermenting dough or quick leavening methods using baking powder for rapid rise. The term rustic often signals a bread that is approachable, imperfect in shape, and deeply connected to the home kitchen—something that looks handmade and feels comforting to bake. The aroma of warm bread is so universally evocative that it has inspired countless early-morning wake-up notes, family conversations over a buttered slice, and the simple joy of sharing bread with neighbors. In some cultures, bread is more than food; it’s a symbol of hospitality and abundance. This no-yeast rustic loaf captures that spirit in a modern, accessible format, bridging tradition and convenience for today’s cooks who crave both authenticity and reliability.
Another fun tidbit: the crust’s crackle is a sensory signal of the Maillard reaction at work—the same culinary process that creates that irresistible browning on everything from seared steak to roasted coffee beans. The crisp edge you hear when you break into the loaf is the audible confirmation that flavor and texture have merged into something truly comforting. And because this bread uses a simple blend of pantry ingredients, it invites you to experiment as you bake—the kitchen becomes a playground where you can discover your preferred balance of crust, crumb, and aroma.
Conclusion: Embracing Rustic Comfort
Easy Homemade Rustic No Yeast Bread is more than a recipe; it’s an invitation to slow down and savor the everyday ritual of baking. It’s a loaf that speaks to the heart of home cooking: dependable, adaptable, and endlessly comforting. Whether you’re feeding a busy family, preparing a hospitable weekend lunch, or simply craving the warmth of a freshly baked slice, this bread delivers. It inhales the fragrance of toasty flour and exhales a sense of quiet contentment in every bite. So, preheat your oven, gather your ingredients, and let the yeasted waiting game go. The kitchen will fill with an irresistible aroma, and soon you’ll be sharing a loaf that feels like a hug—crisp on the outside, soft and inviting on the inside, ready to be torn, buttered, and enjoyed with good company.
Ingredients
-
Dough Base
– 2 cups all-purpose flour
→ Provides the main structure of the bread. All-purpose flour gives a light, workable crumb when combined with leavening agents and moisture. Sift or whisk quickly to evenly distribute the powders, then measure to keep the dough from becoming dense.
– 1 cup whole wheat flour
→ Adds a hearty flavor and more fiber. Whole wheat absorbs more liquid, so balance the dough by slightly increasing water if needed. For lighter texture, you can substitute half of this with more all-purpose flour.
– 2 teaspoons baking powder
→ Chemical leavener that creates rise without yeast. Ensure the powder is fresh for reliable lift; sift with the flours to distribute evenly and avoid clumps that can create uneven pockets.
– 1/2 teaspoon baking soda
→ Helps tenderize the crumb and reacts with acidic dairy to boost rise. If you use yogurt, this neutralizes some acidity and aids browning. Dissolve fully into the liquid before mixing to prevent spotting in the dough.
– 1 teaspoon salt
→ Enhances flavor and tightens gluten structure for a sturdier loaf. Salt can slow fermentation in yeasted breads, but here it balances sweetness and helps crust development. Whisk with dry ingredients for even distribution.
– 1 tablespoon sugar
→ Adds a touch of sweetness and helps browning of the crust. It also feeds the baking powder’s reaction to promote a gentle lift. If you prefer a savory loaf, reduce or omit.
– 1/2 cup plain yogurt (full-fat) or dairy-free yogurt
→ Contributes moisture, tenderness, and a bit of tang. Yogurt reacts with baking powder/soda to aid rise even without yeast. If using dairy-free yogurt, choose unsweetened, plain varieties for balanced flavor. You may whisk this with the warm water to ensure a smooth liquid.
– 1 1/4 cups warm water
→ Hydrates the dry ingredients and activates the leavening components. Warm (not hot) water around 110–120°F (43–49°C) helps the dough come together without killing the leaveners. Add gradually; you may need slightly more or less depending on flour brands.
– 2 tablespoons olive oil
→ Provides richness, softness, and prevents the crust from drying too quickly. Use extra-virgin olive oil for a smoother flavor; you can replace part of it with neutral oil if you prefer a crisper exterior.
Optional Add-ins
– 2 tablespoons sesame seeds (optional)
→ Adds a toasty, nutty crunch and visual appeal. Toast the seeds lightly in a dry pan for 1–2 minutes before mixing to maximize aroma. Distribute evenly through the dough for consistent crust texture.
– 2 tablespoons flax seeds (optional)
→ Introduces healthy fats and a subtle nutty flavor, plus a slight crunch. If you want a smoother crumb, grind the flax seeds first to help with moisture absorption; otherwise they’ll add texture in larger bites.
– 1 tablespoon chopped fresh rosemary (optional)
→ Imparts fragrant, savory notes ideal for rustic bread. Chop finely and fold into the dough to distribute flavor evenly. If using dried herbs, reduce to 1 teaspoon and crush between fingers to release aroma.
– 1/4 cup sunflower seeds (optional)
→ Provides crunch and mild nutty flavor. Lightly toast to heighten flavor, then fold in or sprinkle on top before baking for a crusty, seeded crust. Seed portions can be increased if you want a seed-speckled loaf.
Toppings
– Coarse sea salt for sprinkling
→ Finishing salt enhances crust flavor and adds a pleasant exterior sparkle. Sprinkle lightly on the surface just before baking for a salted crust; too much salt will overwhelm the loaf, so use sparingly.
– 1–2 tablespoons extra-virgin olive oil for brushing
→ Creates a glossy, flavorful crust when brushed on before baking. Apply a light, even coat to the surface after shaping and just before placing in the oven to encourage browning and a crisper crust.
Instructions
- Preheat your oven to 425°F (220°C) and line a sturdy baking sheet with parchment paper or lightly grease a loaf pan to ensure the bread releases cleanly after baking.
→ A hot oven encourages a rapid rise and a well-developed crust, while parchment prevents sticking and makes cleanup easy. - Toast the sesame seeds and sunflower seeds (if using) in a dry skillet over medium heat for 1–2 minutes, stirring constantly until fragrant, then remove from heat to cool.
→ Toasting concentrates flavor and aroma; cools slightly so they don’t burn when folded into the dough. - Sift or whisk together the all-purpose flour, whole wheat flour, baking powder, baking soda, and salt in a large bowl to ensure even distribution of leaveners and salt.
→ Sifting prevents clumps that could cause uneven rises and dense pockets in the crumb. - Whisk the sugar into the warmed water and yogurt until the sugar is fully dissolved and the mixture feels smooth, ensuring the liquid is around 110–120°F (43–49°C) to activate leaveners without killing them.
→ Warm liquids wake the baking powder and soda, promoting a gentle lift and tender crumb while keeping the dough pliable. - Whisk the olive oil into the yogurt-water mixture until fully integrated to create a creamy emulsion that will enrich the dough and help tenderize the crumb.
→ Oil coats proteins and starch, slowing moisture loss for a softer interior and crisper exterior. - If using rosemary or other herbs, fold them into the dry mixture now to distribute flavor evenly before incorporating liquids.
→ Dried or chopped fresh herbs release aroma best when dispersed in the dry ingredients, preventing large concentrated pockets of flavor. - Combine the wet ingredients with the dry ingredients, stirring with a wooden spoon or dough whisk just until a shaggy, cohesive dough forms and there are no major dry patches.
→ Overmixing develops gluten and makes the bread tough; mix until just combined for a tender crumb. - Fold in the toasted sesame seeds, flax seeds (grind flax seeds if you want a finer texture), and chopped rosemary evenly, distributing additions throughout the dough without overworking.
→ Even distribution prevents crusty hotspots and ensures consistent flavor and texture in every bite. - Turn the dough out onto a lightly floured surface and gently shape it into a rough oval or loaf shape without kneading extensively; minimal handling preserves tenderness.
→ Gentle shaping avoids excessive gluten development, which would make the loaf tough instead of light and rustic. - Place the formed dough on the prepared sheet or into a lightly oiled loaf pan, brush the top with 1 tablespoon of olive oil for a glossy finish, and let rest for 10–15 minutes to relax the dough.
→ Resting relaxes gluten, enabling a smoother rise and a more even crust during baking. - Score the top with a shallow cross or straight incision to guide expansion and prevent cracking in unexpected places.
→ Scoring controls the loaf’s expansion, yielding a more uniform crumb and an attractive crust. - Sprinkle a light pinch of coarse sea salt on top and, if desired, brush with additional olive oil to enhance crust color and flavor.
→ Finishing salt and oil promote a flavorful, crisp crust with a glossy appearance. - Bake on the middle rack for 30–40 minutes, or until the loaf is deeply browned, sounds hollow when tapped on the bottom, and an internal thermometer reads about 190–200°F (88–93°C).
→ Proper browning and internal temperature ensure a fully cooked interior with a sturdy but tender crumb. - Remove the bread from the oven and let it cool on a rack for at least 20 minutes before slicing to set the crumb and prevent gummy centers.
→ Resting after baking stabilizes the structure, making clean, even slices possible and improving flavor development. - If using a glaze or additional olive oil brushing, apply a light coat while still warm to enhance sheen and crust, then allow the loaf to cool completely before slicing for the best texture.
→ A warm, lightly oiled finish yields an attractive crust and helps preserve moisture within the crumb.
Notes
These easy homemade rustic no-yeast bread notes: this loaf uses a mix of all-purpose and whole wheat flour with baking powder and baking soda to lift without yeast, resulting in a sturdy, flavorful crust. Because there is no yeast, the dough relies on proper hydration and even distribution of leaveners for a light, accessible crumb. Sift or whisk the dry ingredients together to ensure uniform rise and prevent dense pockets. Use warm water (about 110–120°F / 43–49°C) to activate the baking powder and soda, which helps the dough come together and promotes browning during baking.
Texture and flavor tips: whole wheat adds heartiness and fiber, while yogurt (dairy or dairy-free) contributes moisture and tenderness with a touch of tang. If you prefer a milder flavor, you can use more all-purpose flour and less whole wheat. For a richer crust, brush the loaf with extra-virgin olive oil before baking and again after baking for shine and moisture. The optional add-ins (sesame seeds, flax seeds, rosemary, sunflower seeds) bring different textures and aromas; lightly toasting seeds beforehand enhances their flavor.
Mixing and shaping: combine all dry ingredients, whisk in the yogurt and warm water gradually until a shaggy dough forms. Add olive oil and any optional mix-ins, then fold until everything is just combined. Do not overwork, as this bread benefits from a looser, rustic crumb. Shape into a round or oval loaf and place on a parchment-lined tray or in a loaf pan for a more compact loaf. If using a loaf pan, grease lightly to prevent sticking.
Cooking and browning: bake until the crust is deeply golden and a skewer inserted into the center comes out clean or with a few crumb spots. For a crisper crust, brush with a thin coat of olive oil just before baking and again immediately after removing from the oven. Let the bread rest at least 10–15 minutes before slicing to finish the internal setting and prevent crumbling.
Storage and variations: this bread freezes well; wrap cooled loaves tightly and freeze for up to 2–3 months. To reheat, thaw and warm in a low oven (about 300°F / 150°C) for 10–15 minutes. If you want a lighter crumb, substitute up to half of the whole wheat with additional all-purpose flour, or add a tablespoon of cornmeal for subtle crunch on the crust.
Tips
- Consistency matters: Mix until just combined to avoid a tough crumb. If the dough looks dry, add water a tablespoon at a time; if it seems overly sticky, dust with a little flour and fold gently.
- Warm water is key: Keep the water around 110–120°F (43–49°C). Too hot can kill the leaveners; too cool slows rising. If your kitchen is chilly, knead the dough a bit longer or let it rest a few minutes before shaping.
- Whisk dry ingredients thoroughly: Sift or whisk all-purpose flour, whole wheat flour, baking powder, baking soda, and salt together to ensure even rise and crumb.
- Balance the yogurt: For a lighter crumb, use full-fat yogurt; for dairy-free, choose unsweetened plain yogurt alternatives. If using yogurt with extra sweetness, reduce sugar slightly to avoid a gummy interior.
- Texture control with add-ins: If adding sesame, flax, rosemary, or sunflower seeds, fold them in during the last stage of mixing to prevent clumping. Toast sesame and sunflower seeds for extra depth of flavor.
- Fat content matters for tenderness: Olive oil provides softness and helps keep the crust from drying. If you prefer a crunchier crust, you can reduce the oil slightly or use a mix of oil and melted butter.
- Shaping for even bake: Shape into a round loaf with a taut surface. A well-sealed surface traps steam, creating a better crust. If you like a rustic look, a slightly loose surface is fine—just be mindful of cracking edges.
- Scoring optional but helpful: A shallow cut on top (even a simple cross) allows controlled expansion and creates an attractive crust.
- Oven setup: Bake on a preheated baking sheet, stone, or cast-iron pan to promote even heat. If your oven runs cool, preheat longer or use a dutch oven technique by covering the loaf for part of the bake to trap moisture.
- Crust finish: Brush the loaf with extra-virgin olive oil just before baking for a glossy crust and enhanced flavor. You can also brush midway through baking to maintain moisture and sheen.
- Storage: Let the loaf cool completely before slicing to prevent gummy interiors. Store at room temperature in a bread bag for up to 3 days or freeze slices for longer storage.
FAQ
What is “Easy Homemade Rustic No Yeast Bread”?
A simple bread that doesn’t rely on yeast for rising. It typically uses baking powder or baking soda as a leavening agent and a few pantry staples to create a hearty, crusty loaf with a rustic texture.
What ingredients do I need?
Common ingredients include all-purpose or bread flour, baking powder (or baking soda + acid like yogurt or buttermilk), salt, water or milk, and optional add-ins like olive oil, herbs, or seeds. Some recipes use yogurt or sour cream to add moisture and a slight tang.
Can I substitute whole wheat or other flours?
Yes. You can substitute part or all of the all-purpose flour with whole wheat, almond, or other flours. Note that whole wheat adds density and may require a touch more liquid. Start with a 25–50% substitution and adjust as needed.
Is this bread truly bread without yeast?
Yes. It uses a chemical leavener (baking powder or baking soda with an acid) instead of yeast to create rise. The texture will be different from yeast-raised bread—more crumbly and rustic, with a nice crust.
How do I achieve a crusty exterior?
Preheat a heavy baking vessel (like a cast-iron Dutch oven) or bake on a hot stone. Place the dough in a hot, lightly oiled pan, and bake with steam for the first 10–15 minutes if possible. A hotter oven (425–450°F / 220–230°C) helps form a crisp crust.
What are common binding substitutes if I don’t have yogurt?
You can use milk with a splash of lemon juice, buttermilk, sour cream, or simply water with an extra tablespoon of oil. Some recipes use mashed bananas or applesauce in small amounts for moisture, but this changes flavor and texture.
How long does it take to bake?
Typical bake times range from 25–45 minutes, depending on pan size, oven, and whether you use steam. The loaf is done when the outside is deeply golden and a tester inserted into the center comes out clean or with a few crumbs.
Why did my loaf turn out dense or flat?
Possible reasons: insufficient leavening (expired baking powder), too much liquid, too little flour, or overmixed batter. Letting the batter rest briefly can help hydrate flour. Use fresh leavener and measure ingredients carefully. If using a pan, ensure it’s the right size for the recipe.
How should I store this bread?
Store at room temperature in a bread bag or wrapped in a clean towel for 2–3 days. For longer storage, freeze slices or the whole loaf wrapped in plastic, then in foil. Reheat in a toaster, oven, or skillet to refresh the crust.
Can I add flavorings or mix-ins?
Yes. Add chopped olives, herbs (rosemary, thyme), garlic, seeds, grated cheese, or sun-dried tomatoes for variety. Mix-ins should be added quickly and evenly to avoid overworking the batter, which can toughen the loaf.