Introduction / Hook
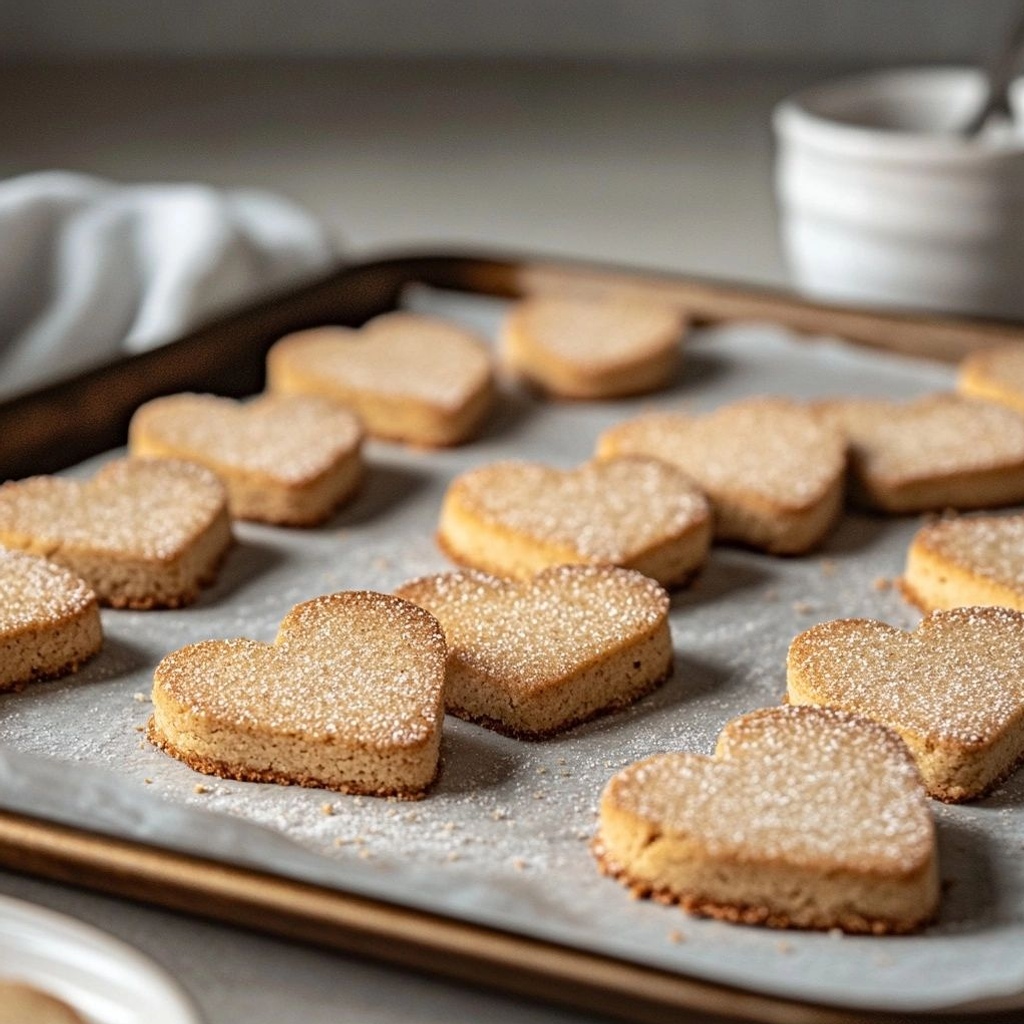
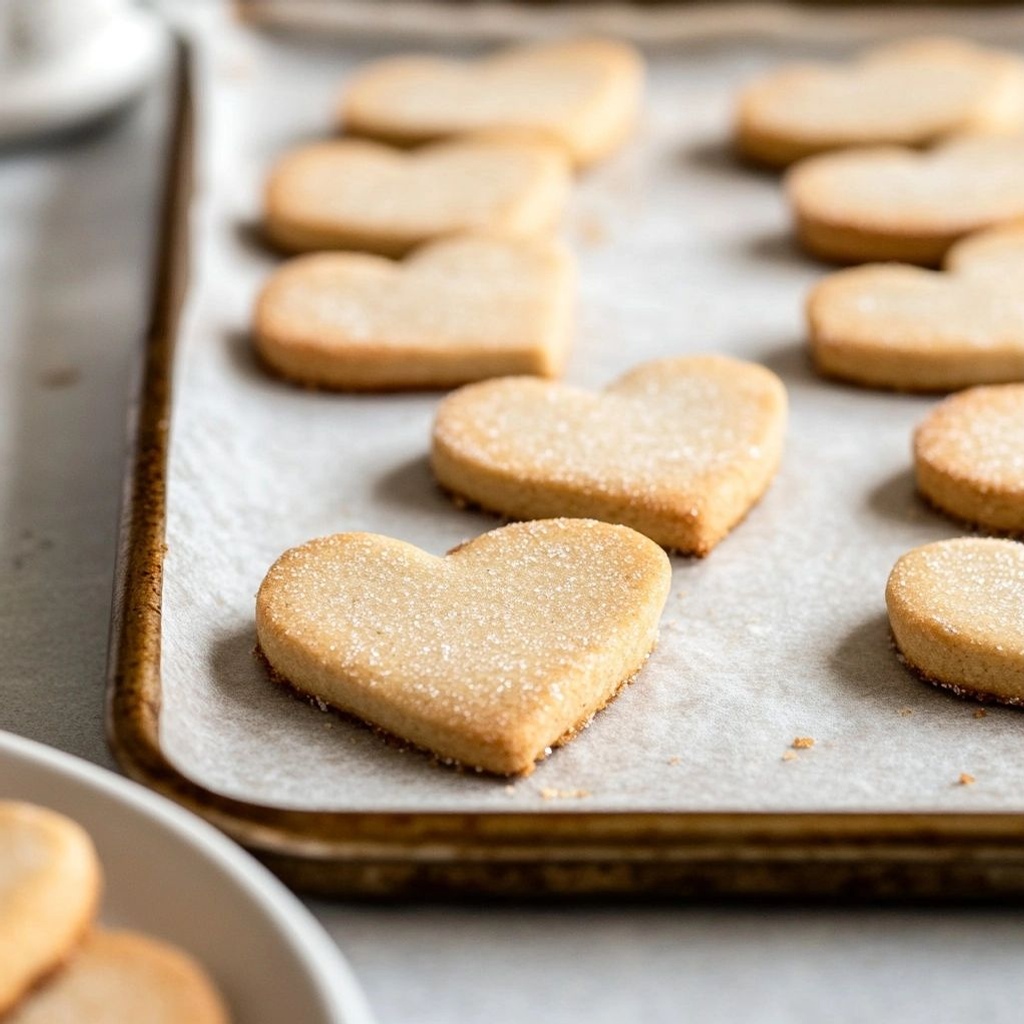
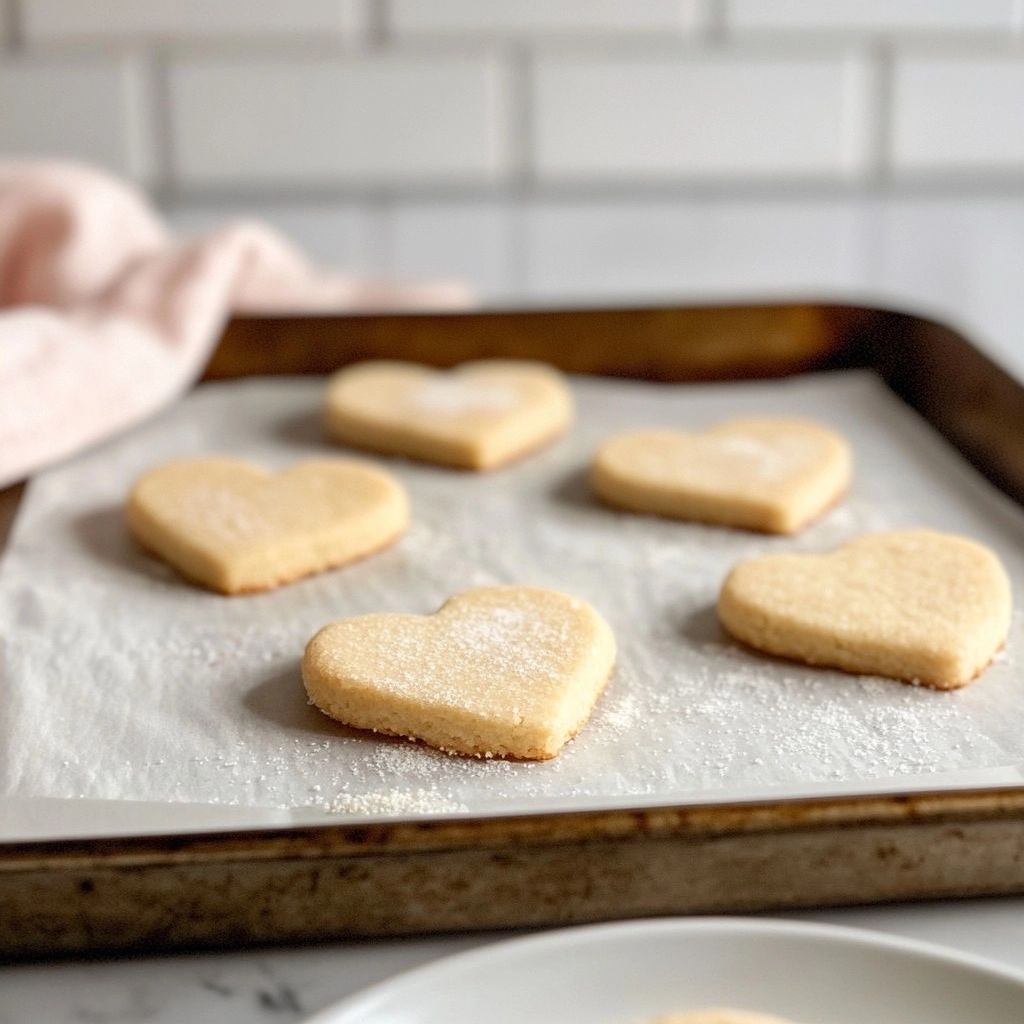
Imagine cookies that look like little love notes, ready to melt in your mouth with a single bite. Cute Slice and Bake Heart Cookies are not just cookies; they are tiny tokens of warmth, made with simple ingredients and a dash of whimsy. The moment you slice into them, you release swirls of buttery fragrance that weave together vanilla, a hint of almond, and a soft, tender crumb. The edges crisp just enough to satisfy, while the centers stay chewy and comforting. Perfect for Valentine’s Day, anniversaries, or any time you want to celebrate sweetness with a touch of romance, these cookies are as charming to decorate as they are to devour. They’re easy enough for beginners to master, yet pretty enough to feel special—like you’ve handed someone a edible postcard that says, “You’re loved.”
The Story Behind the Dish
Heart cookies have a timeless appeal that crosses generations. The slice-and-bake method, beloved by home bakers for its simplicity and reliability, traces its roots to a time when families gathered around the kitchen table to prepare treats in advance for busy weeks. The heart shape, a universal symbol of affection, has appeared in countless culinary traditions—from ornate sugar cookies shaped for weddings in Europe to playful treats for children in the Americas. This particular recipe blends the old-world charm of slice-and-bake cookies with a modern, kid-friendly aesthetic. It’s a gentle nod to nostalgic bake-sale memories and a nod to the pantry shortcuts that keep our modern lives moving. The result is a cookie that feels familiar—like a familiar hug you can hold in your hand—while still offering the exquisite satisfaction of a well-made, homemade biscuit.
Why You’ll Love This Recipe
- Easy: The slice-and-bake method means you can prepare the dough ahead, portion it, and bake cookies in minutes whenever a craving strikes.
- Cheerful and shareable: Heart shapes bring a smile and make any gathering feel special, from school lunches to date nights.
- Versatile: The base dough accepts a range of flavors and add-ins, so you can tailor the cookies to seasonal ingredients or dietary needs.
- Impressive presentation: The heart form, delicate color, and buttery aroma elevate a simple cookie into a festive treat that looks handcrafted with care.
- Kid-friendly: Easy for little hands to help with measuring, rolling, and decorating, creating a delightful baking memory.
- Make-ahead friendly: Dough can be wrapped and frozen, making it a practical option for holiday baking or party planning.
Flavor Profile & Texture
The flavor of Cute Slice and Bake Heart Cookies is a graceful balance of classic butter-sugar goodness with a whisper of vanilla and almond. The base is rich and creamy, a testament to high-fat butter that yields a melt-in-your-mouth crumb. You’ll notice subtle vanilla notes, with a gentle sweetness that never feels cloying. If you include almond extract or zest, there’s a delicate nuttiness and brightness that lifts the palate. The texture offers a charming contrast: crisp, slightly amber-edged cookies around the periphery meet tender, soft centers that pull apart with a satisfying sigh. When you bite into them, there’s a light snap followed by a cozy, crumbly melt—a comforting sensation that pairs beautifully with a warm beverage or a dollop of jam. The heart shape invites a playful texture dynamic: the points of the heart give a tiny crackly bite, while the larger rounded body remains soft, airy, and crumbly in the same delightful inhale of steam and butter scent.
Texture Notes
- Edges: crisp and delicate, with a faint butter caramelization from the baking process.
- Centers: soft, tender, and lightly chewy, offering a comforting mouthfeel.
- Crumb: light and sandy, not dense, perfect for stacking on a decorative plate.
- Aftertaste: clean sweetness with a whisper of vanilla and almond, leaving you reaching for another bite.
Occasions & Pairings
These heart cookies shine in a variety of settings. They’re perfect for intimate celebrations or grander gatherings when you want to add a personal touch without spending hours in the kitchen. Here are some ideas to maximize their charm:
- Valentine’s Day brunch or dessert table: line a platter with a ribbon, dust with a touch of powdered sugar, and present with a small card that reads a loving note.
- Weddings and anniversaries: a DIY cookie bar where guests shape, bake, or decorate their own little hearts adds interactive charm.
- School classrooms and bake sales: a cheerful treat that travels well and holds its shape, easy to package in clear bags with a ribbon.
- Gift-ready treats: pair with a jar of homemade jam or a small tin of tea for an edible gift that exudes warmth.
- Tea time companions: they pair beautifully with black tea, Earl Grey, chai, or a creamy hot chocolate for a comforting afternoon ritual.
- Drinks: vanilla latte, hot chocolate, rose tea, or a light sparkling wine for a celebratory touch.
- Sides: a spoonful of lemon curd, raspberry jam, or a thin smear of butter for added richness.
- Desserts: a small scoop of vanilla bean ice cream or a few fresh berries to balance the sweetness.
Tips, Variations & Substitutions
Every kitchen has its own personality, so feel free to adapt this recipe to fit what you have on hand or to reflect your dietary needs. Here are practical tips to unlock your best results and explore creative twists:
- Chill time: While the recipe is designed for slice-and-bake convenience, chilling the dough briefly (15–30 minutes) helps prevent spreading and keeps the heart shapes sharp when sliced. If you’re in a rush, you can skip chilling, but expect slightly softer edges.
- Flavor enhancements: Add a pinch of orange zest, lemon zest, or a splash of almond extract to intensify aroma. For a more chocolatey version, fold in finely chopped white or dark chocolate chunks in small amounts, or briefly dip cooled cookies in melted chocolate for a glossy finish.
- Color & decoration: After baking, drizzle with melted white or dark chocolate, or dust with edible sparkles for a festive look. For younger bakers, a light coat of colored sugar or sprinkles can make the cookies feel extra special.
- Dietary adaptations:
- Gluten-free: Use a 1:1 gluten-free flour blend that behaves similarly to all-purpose flour. The texture may be slightly crisper; consider adding an extra tablespoon of butter to improve tenderness.
- Vegan: Substitute plant-based butter and a vegan-friendly milk option if the dough requires moisture adjustments; check that the chosen butter substitute yields a similar mouthfeel.
- Reduced sugar: Use half the amount of sugar in the dough and compensate with a touch of vanilla or citrus zest to maintain flavor without over-sweetening.
- Flavor twists: For a nutty persona, add a tablespoon of finely chopped toasted almonds or pecans. For a fall twist, incorporate a pinch of cinnamon and a trace of nutmeg to evoke warm spice notes.
- Heritage variations: In some cultures, a touch of cardamom or rosewater can add an exotic, celebratory edge that pairs beautifully with vanilla and butter.
Storage & Make-Ahead Ideas
The slice-and-bake concept is inherently friendly to planning. Here are practical ways to store, freeze, and prepare ahead so your cookies are ready when inspiration strikes:
- Raw dough: After shaping the dough into a log and wrapping tightly, refrigerate for up to 5 days. When you’re ready to bake, simply slice and bake as directed. The dough will firm up in the fridge, which helps maintain clean heart shapes.
- Freezing dough: Freeze the dough log for up to 2–3 months. Thaw overnight in the fridge before slicing. For best results, re-chill the slice ends briefly before baking to ensure precise heart shapes.
- Baked cookies: Store baked cookies in an airtight container at room temperature for up to 4–5 days. Between layers, place parchment to prevent sticking. They also freeze well for up to 2 months; thaw at room temperature and, if desired, warm gently in a low oven before serving to refresh the texture.
- Make-ahead party prep: Prepare the dough ahead, portion into slices, and freeze. On the day of the event, simply thaw a little, slice, and bake in batches to maintain crisp edges and fresh centers.
Fun Facts & Trivia (Optional)
Delightful details that add flavor to your baking journey:
- The heart shape is one of the most universally recognized symbols of love and affection, dating back to antiquity and appearing in art, jewelry, and culinary traditions around the world.
- Slice-and-bake cookies emerged as a practical, family-friendly method in the 20th century, enabling home bakers to enjoy freshly baked cookies on demand without starting from scratch each time.
- Butter-forward cookies like these are a celebration of classic pastry technique: the balance between fat, flour, and a touch of sweetness creates a tender crumb that many people find nostalgically comforting.
- Decorating cookies with hearts has become a modern ritual that mirrors the sentiment behind the recipe—care, connection, and small acts of sweetness that make ordinary days feel special.
Conclusion: A Cookie for Celebrations Big and Small
Cute Slice and Bake Heart Cookies embody the spirit of cooking as an act of care. They’re not merely about eating; they’re about sharing warmth, crafting memories, and inviting a moment of joy into everyday life. The dough, with its familiar butter aroma and gentle sweetness, becomes a canvas for your creativity—whether you want pristine heart shapes for a formal gathering or a playful, decorated batch for a family afternoon. The ease of the slice-and-bake method ensures you can focus on the little details that make your cookies uniquely yours: the perfect amount of edge crispness, the soft tenderness in the center, the balance of vanilla and almond (or your favorite flavor duo), and the sparkle of a decorative finish that speaks to your personality. Embrace the ritual of preheating, slicing, and sharing, and watch how these heart cookies transform simple moments into sweet memories that linger long after the last bite.
Ingredients
Cookie Dough Base
-
– 2 1/2 cups all-purpose flour (stirred, measured)
→ Provides the structure for the cookies. Sift or whisk lightly to remove lumps, then measure to avoid dense dough. This base forms the sturdy slice-and-bake texture that holds its shape when chilled and cut into hearts.
– 1 cup unsalted butter, softened to room temperature
→ Butter provides tenderness, flavor, and the sandy crumb typical of shortbread-like cookies. Soften to a squishable stage (not melted) so it creams evenly with sugar for a classic cookie crumb rather than a greasy feel.
– 1 cup granulated sugar
→ Sweetens and helps with the cookie’s tender crumb. Cream it with softened butter until pale and fluffy to trap air for a lighter texture; do not skip this step for the right mouthfeel.
– 2 large eggs
→ Eggs bind the dough, add moisture, and contribute structure. Use room-temperature eggs for a smoother emulsion; if the dough feels too firm, you can whisk in a teaspoon of milk with the eggs before combining.
– 1 teaspoon pure vanilla extract
→ Adds warm, aromatic sweetness that enhances all other flavors in the dough. For best flavor, use real vanilla extract or a vanilla bean paste; avoid imitation vanilla if possible for richer notes.
– 1/4 teaspoon almond extract (optional)
→ Imparts a subtle nutty sweetness that complements vanilla and any jam fillings. Use sparingly, as almond can overpower; if you dislike almond, omit entirely.
– 1/4 teaspoon salt
→ Balances sweetness and heightens overall flavor; a pinch enhances the cookies’ bite and prevents them tasting flat.
– 1/2 teaspoon baking powder
→ Aids in a gentle lift to keep slices from becoming dense, helping maintain a light crumb after chilling and slicing. Do not overuse, or cookies may spread too much.
– 2 tablespoons milk (or dairy-free alternative)
→ Adds moisture and helps bring the dough together if it’s too dry or crumbly. Add a little at a time until dough just comes together without sticking to your fingers.
Filling & Color
-
– 1/2 cup strawberry jam (or raspberry jam)
→ Provides a fruity center that becomes a charming reveal when sliced. Use a jam with no large fruit pieces; a smooth or seedless option helps the jam distribute evenly. Chill the jam slightly to prevent oozing during slicing.
– Optional: 1 tablespoon lemon zest (for a bright contrast)
→ Adds a fresh, zippy aroma that pairs beautifully with jam and vanilla. Zest finely and mix into the dough for a subtle citrus note; avoid zesting too aggressively to prevent bitterness.
– Optional: 1/4 cup white chocolate chips or mini chocolate chips
→ Adds pockets of sweetness and a bit of melt-in-your-mouth texture when baked. Chop or use mini chips to keep distribution even in the sliced cookies.
Optional Add-ins
-
– 1/3 cup chopped nuts (pecans, almonds, or walnuts)
→ Provide crunch and a toasty flavor contrast. Toast nuts lightly in a dry skillet or oven before adding for a deeper flavor; chop finely so they distribute evenly and don’t interfere with slicing.
– 1/4 cup dried cranberries or chopped dried cherries
→ Contribute tart sweetness and chewy texture. Coarsely chop to ensure bites are consistent; store in an airtight container to maintain plumpness.
Decorating & Storage
-
– Powdered sugar for dusting
→ Finishing touch that adds a delicate, sweet top layer. Lightly dust cookies after they cool for an elegant look; avoid heavy dusting that can mask flavors.
– 1–2 tablespoons sanding sugar or edible crystal sugar (pink or red)
→ Creates a festive, heart-shaped sparkle when cookies are sliced and plated. Use with light pressure to prevent dulling the underlying cookie surface; store in an airtight container to keep color pristine.
– Optional: parchment paper or silicone baking mat for chilling and slicing
→ Prevents sticking when wrapping dough logs and during slicing. Chill logs on parchment to minimize sticking and ensure clean, precise heart shapes.
Instructions
- Cream the softened butter and granulated sugar together on medium speed until the mixture is pale, fluffy, and disperses air evenly; this creates a tender crumb and helps the cookies rise slightly during baking.
- Beat in the eggs one at a time, ensuring each is fully incorporated before adding the next; this creates a smooth emulsion that traps moisture and prevents a greasy, separated dough.
- Stir in the vanilla extract and optional almond extract (if using) until evenly distributed; this builds the flavor foundation that will translate through the entire cookie and its jam center.
- Sift or whisk the all-purpose flour with the baking powder and salt, then fold the dry mix into the creamed mixture in two additions; this maintains a tender crumb and prevents overworking the gluten which could make the cookies tough once baked.
- Mix in 2 tablespoons of milk just until the dough begins to come together and holds its shape when pressed; this moisture helps the dough slice cleanly and helps the logs set without cracking.
- If using optional zest, fold in the lemon zest now in a light, even distribution to avoid large pockets of zest that could overwhelm the dough’s vanilla notes.
- Turn the dough onto a lightly floured surface and perform a few short kneads just until cohesive; avoid over-kneading to keep the dough tender and sliceable.
- Divide the dough into two equal portions, shape each into a rough rectangle, wrap tightly in parchment or plastic, and chill for at least 1 hour; chilling firms the dough so it slices cleanly into neat heart shapes without spreading.
- Prepare the filling by ensuring the jam is smooth and has been chilled slightly; this helps it stay in place when the dough is rolled and prevents oozing during slicing and baking.
- Roll one portion of the dough between two sheets of parchment or on a lightly floured surface into a rectangle about 1/4 inch (6 mm) thick; this thickness provides a sturdy slice that remains tender after baking.
- Spread the rolled dough with an even layer of jam, leaving a small margin around the edges to prevent overflow; gently pat the jam with the back of a spoon to remove excess air and ensure a dense, uniform center.
- Roll the second portion of dough into a matching rectangle and place it on top of the jam layer; press lightly to seal and create a uniform thickness; this forms a compact log ready for slicing.
- Wrap the filled dough tightly in parchment or plastic and chill for at least 2 hours or overnight; chilling ensures clean, precise slices and minimizes juice leakage during cutting and baking.
- Preheat the oven to 350°F (175°C) and line a baking sheet with parchment paper or a silicone mat; prepared sheets prevent sticking and promote even browning across the bottom of the cookies.
- Unwrap the dough log and slice into 1/4-inch (6 mm) thick discs with a sharp, non-serrated knife; if the dough resists, let it rest at room temperature for 5–10 minutes to soften slightly for clean cuts.
- Arrange the cookie slices on the prepared sheet at least 1 inch apart to allow for any slight expansion; spacing prevents fused edges and ensures uniform bake across each heart shape.
- Bake for 12–14 minutes or until the edges are set and just light golden; rotate the tray halfway through for even browning and to ensure consistent surface color on all cookies.
- Let the cookies cool on the baking sheet for 5 minutes, then transfer to a rack to cool completely; this step finishes the setting process and prevents residual steam from softening the centers.
- Dust lightly with powdered sugar once cooled for a delicate top finish that complements the jam center without overwhelming the flavor; the sugar adds a subtle sweetness and a festive look.
- If desired, sprinkle sanding sugar in a small amount on top of the cookies while they are still slightly warm to set a gentle sparkle without dulling the surface; ensure the surface is dry to prevent sticking.
- Store the cookies in an airtight container at room temperature for up to 5 days, with parchment between layers to prevent sticking; for longer storage, freeze the unbaked logs or fully baked cookies wrapped tightly for up to 1 month and re-crisp in a warm oven before serving.
Notes
“These cute slice-and-bake heart cookies are a playful, buttery treat with a sturdy shortbread-like base that holds its shape beautifully when chilled and sliced.”
“Chill the wrapped logs well to ensure clean, precise heart shapes; this also makes slicing easier and helps prevent spreading for a crisp edge.”
“Spread a smooth layer of strawberry or raspberry jam between the cookie dough and the other half to reveal a charming center when you cut the slices.”
“For extra brightness, fold in lemon zest into the dough or sprinkle a few white chocolate chips for pockets of sweetness without overpowering the vanilla.”
“If you don’t have almond extract, you can omit it entirely; it’s optional and mainly enhances the subtle nutty aroma.”
“These cookies freeze well—freeze the logs before slicing for later; bake straight from the freezer with a few minutes added to the bake time.”
“To decorate, dust with a light veil of powdered sugar or add a touch of edible sanding sugar for a festive look; store in an airtight container to maintain freshness.”
“Tips: sift or whisk the flour to remove lumps and measure accurately; ensure your butter is softened but not melted to achieve a tender crumb.”
Tips
Tips for Making Cute Slice and Bake Heart Cookies
- Measure flour correctly: after stirring, use the scoop-and-level method to avoid compact dough that can be dense when baked.
- Soften butter properly: aim for a squishy, room-temperature consistency (not melted) so sugar can cream in evenly and create a tender crumb.
- Room-temperature eggs help emulsify the dough; if your dough feels stiff, whisk each egg briefly with 1 teaspoon of milk before adding.
- Creaming technique matters: beat butter and sugar until pale and fluffy to trap air and achieve a lighter slice-and-bake texture.
- A tiny amount of almond extract can elevate flavor, but if you’re unsure, omit it and rely on vanilla for a milder profile.
- Salt enhances flavor and prevents flat sweetness; a small pinch makes the cookies taste more rounded.
- Do not overwork the dough after adding flour and baking powder—mix just until combined to keep a tender crumb.
- Chill the dough logs well: wrap tightly and refrigerate until firm before slicing to prevent spreading and to maintain clean heart shapes.
- Paring with jam: keep the jam smooth and slightly chilled to prevent oozing when the logs are sliced; use a smooth jam for even filling.
- Enhance color and flavor with optional lemon zest, but zest finely to avoid bitterness and to keep the dough from drying out.
- Distribute add-ins evenly: for nuts or chips, toss with a touch of flour to prevent sinking to the bottom during slicing.
- For a festive finish, dust with powdered sugar after cooling, and use a light touch with sanding sugar to avoid overpowering the cookie flavor.
- Line pans with parchment or use a silicone mat to prevent sticking during chilling and slicing, ensuring clean, precise heart slices.
FAQ
What are the main ingredients for Cute Slice and Bake Heart Cookies?
Common versions use butter, sugar, eggs, flour, and baking powder. For the cookie dough itself, you’ll also need vanilla extract and a pinch of salt. If you want the heart color, use food coloring and optional flavorings like almond or strawberry extract.
Do I need to chill the dough before slicing?
Yes. After dividing the dough into two color doughs, wrap each in plastic and refrigerate for at least 1 hour or until firm. Chilling helps the dough hold its shape when sliced and baked.
How long should I bake the cookies and at what temperature?
Scoop dough slices about 1/4 inch thick and bake at 350°F (175°C) for 8–12 minutes, until the edges are light golden. All ovens vary, so start with 8 minutes and watch for doneness.
What sizes do the cookies come out as, and can I adjust the thickness?
The standard slices create small to medium heart cookies. For thinner cookies, roll the dough a bit thinner before shaping and slicing; for thicker cookies, keep dough thicker and bake a few minutes longer, watching carefully.
How should I store leftover cookies?
Store baked cookies in an airtight container at room temperature for up to 5 days. For longer storage, freeze them on a sheet tray until solid, then transfer to a freezer bag for up to 2–3 months.
Can I make this recipe dairy-free or vegan?
Yes. Use vegan butter or coconut oil in place of butter, and a plant-based egg replacer or 1 flax egg. Use a dairy-free chocolate or frosting if needed to decorate. Check that all flavorings and colorings are dairy-free.
How can I customize colors for holidays or events?
Divide the dough into two or more portions and tint each with different food coloring. You can pair colors for holidays (red and pink for Valentine’s, red and green for Christmas) or use pastel shades for baby showers and birthdays.
What if the dough cracks during rolling or slicing?
Chill the dough a little longer, or lightly dust your work surface and rolling pin with flour. Avoid overworking the dough, and let it rest briefly if it becomes sticky. If cracks persist, soften with a tiny bit of warmed dough from a fresh portion.
Can I add fillings or decorate with frosting?
These cookies are best with simple frosting if desired. After baking and cooling, you can pipe royal icing, melts of chocolate, or sugar glaze onto the surface for cute details. For fillings, consider a thin layer of jam or buttercream between two cookie slices before chilling, if you’re making a sandwich style.
What are common mistakes to avoid?
Avoid overworking the dough, which can make cookies tough. Don’t skip chilling, or you’ll have trouble slicing. Ensure the baking sheet is not overcrowded and space slices evenly. Also, avoid overbaking—edges should be just lightly golden to stay soft and cute.