Introduction / Hook
Picture a chilly Christmas evening, the streets blanketed in snow, and the intimate glow of fairy lights casting a magical ambiance throughout your home. Now, imagine settling down with a warm bowl of Butternut Squash Christmas Stew, its fragrant aroma filling the air with a comforting and inviting scent. This dish is a culinary celebration of the holiday season, combining the earthiness of butternut squash with spices that awaken memories of festive gatherings and cherished family traditions. The perfect embodiment of heartwarming comfort, this stew is a testament to the spirit of togetherness and joy that Christmas evokes.
The Story Behind the Dish
Butternut squash has long been cherished as a winter favorite, with its origins traced back to the Americas. This versatile gourd, named for its buttery texture and nutty aroma, was revered by Native American tribes who considered it a sustenance fruit. Over time, butternut squash made its way into a variety of global cuisines, adapting to diverse culinary traditions along the way.
The story of the Butternut Squash Christmas Stew is woven with threads of nostalgia and the warmth of family reunions. In many European countries, stews have been an integral part of holiday meals, offering a hearty, warming dish that can be shared by many. Combining traditional holiday spices like cinnamon and nutmeg with the mellow sweetness of butternut squash, this stew is a tribute to the classic flavors of Christmas, spurred by the essence of community and celebration.
Why You’ll Love This Recipe
- Easy to Prepare: With minimal preparation and straightforward steps, this stew is perfect for cooks of all levels.
- Wholesome Ingredients: Packed with vitamins and nutrients, butternut squash is a healthy choice that doesn’t compromise on flavor.
- Versatile: Enjoy it as a main dish or a side, with room for creative additions to suit your taste.
- Comforting: The cozy stew is like a warm hug on a cold Christmas night, promising to soothe and satisfy.
- Family-Friendly: Loved by both kids and adults, it’s a delightful way to introduce seasonal vegetables to your table.
Flavor Profile & Texture
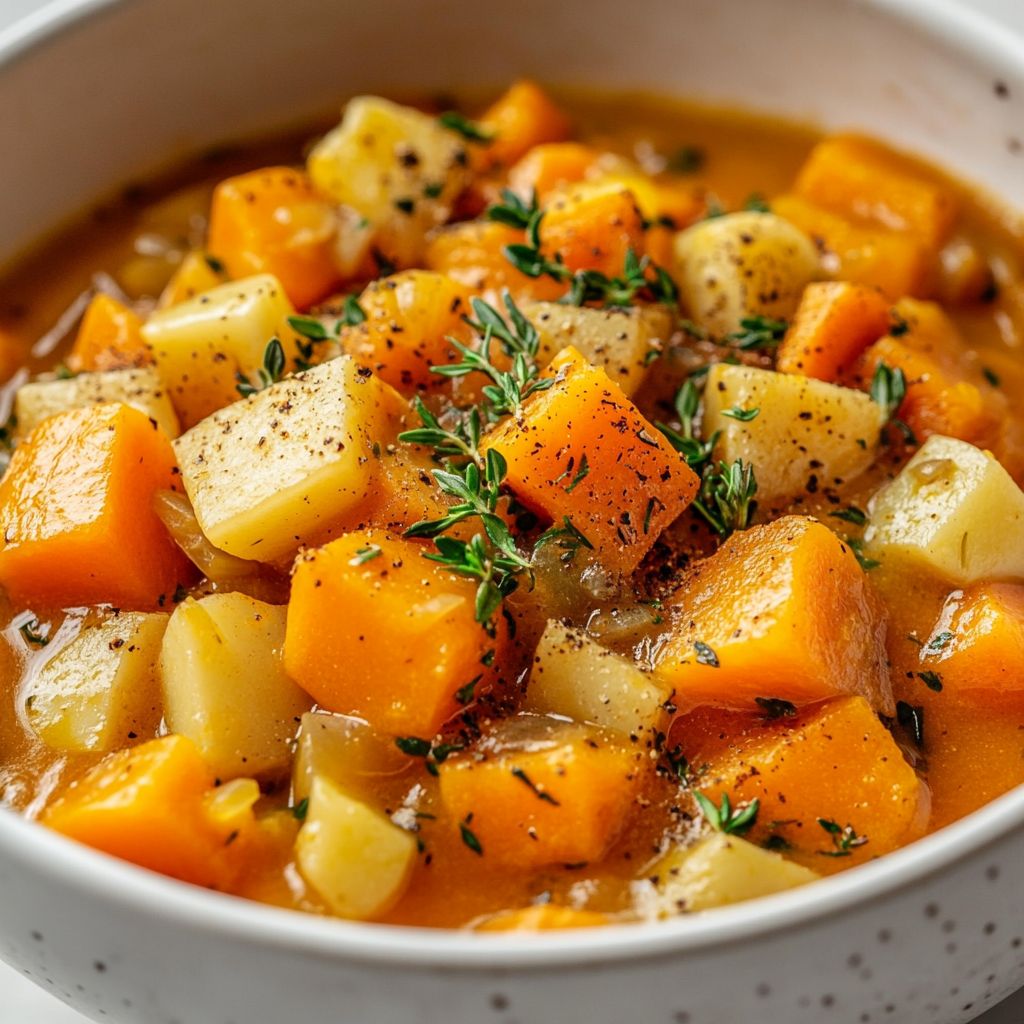
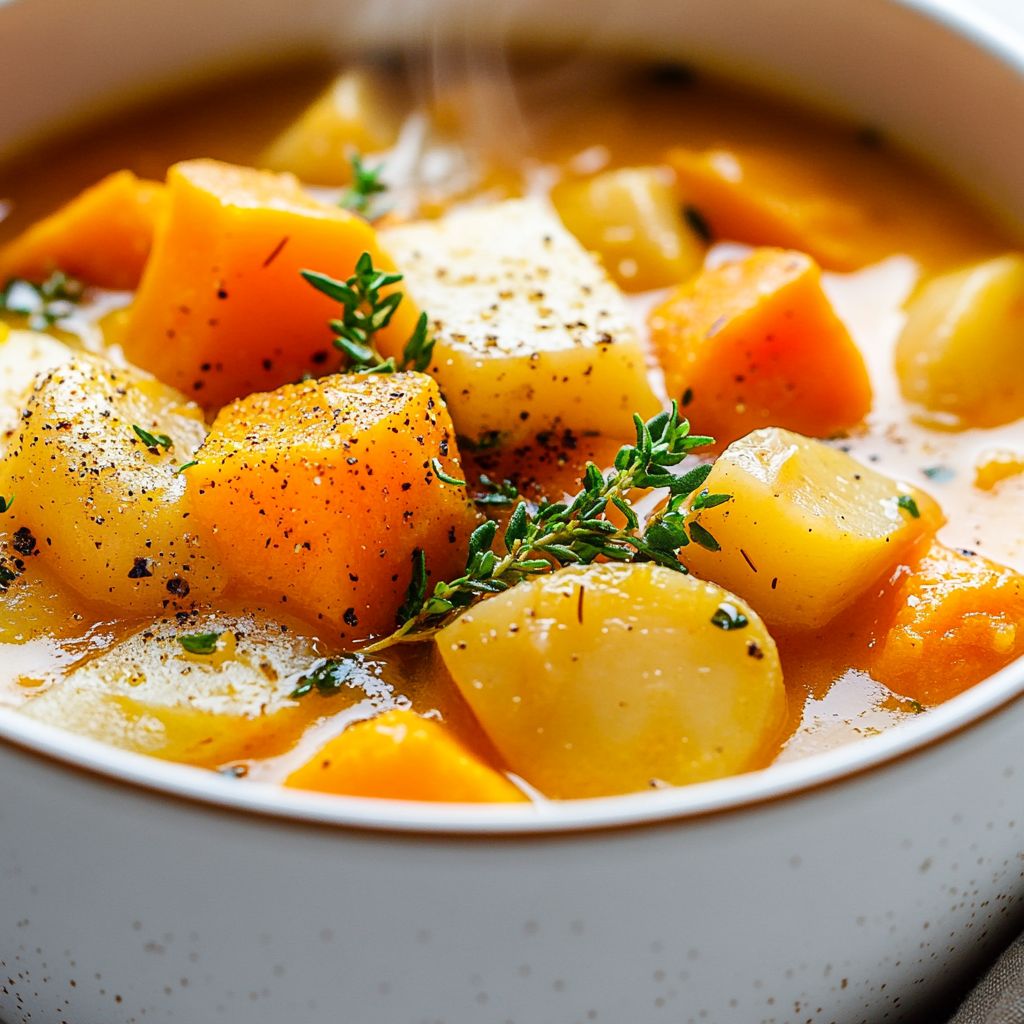
The Butternut Squash Christmas Stew is a tapestry of flavors and textures that captures the very essence of holiday cheer. At its heart is the creamy, slightly sweet butternut squash, which offers a lush, velvety texture upon each spoonful. This richness is beautifully balanced by a medley of aromatic spices such as cinnamon, nutmeg, and a hint of cloves, imparting the distinctive warmth of Christmas.
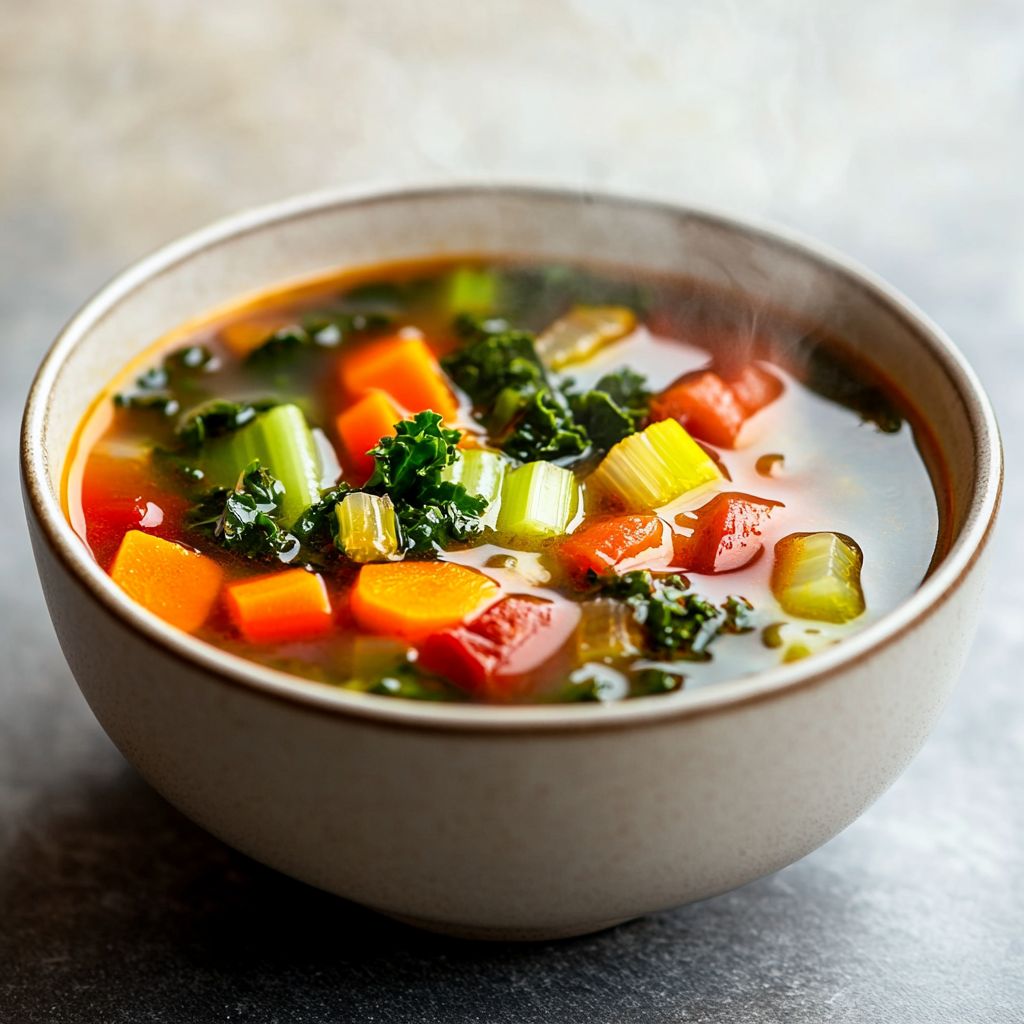
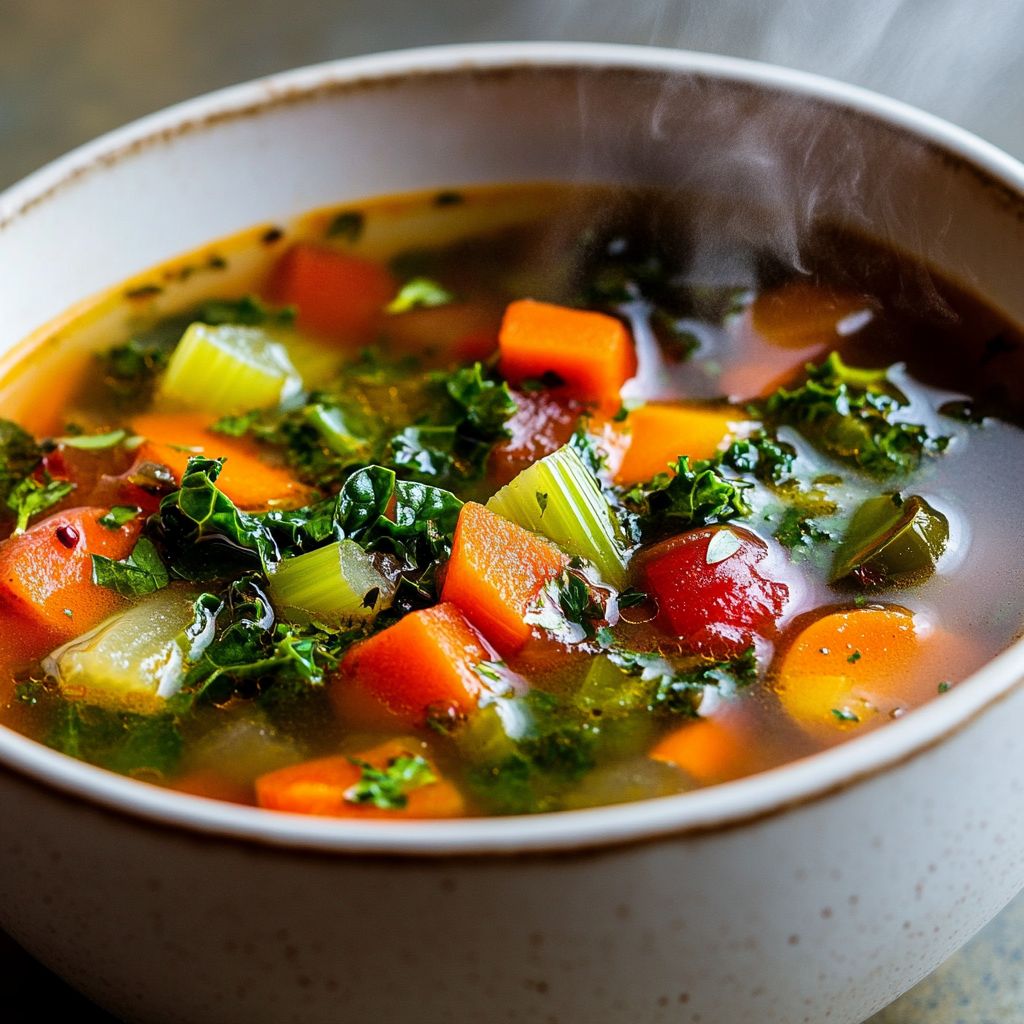
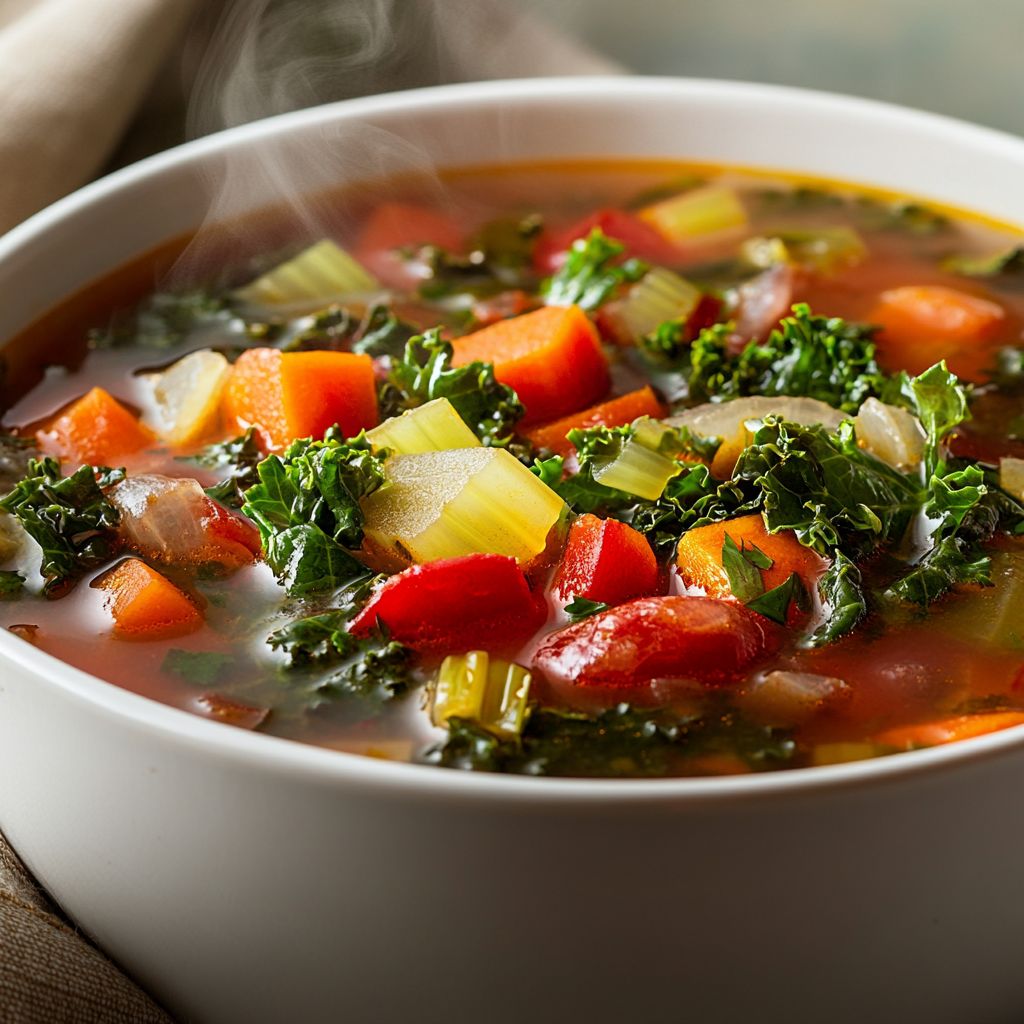
The stew often includes tender, slow-cooked vegetables that add layers of complexity and crunch. Potatoes and carrots bring an earthy depth, while celery introduces a subtle freshness that lifts the entire dish. When combined with a delicate, savory broth, each ingredient harmonizes to create a stew that’s both celebratory and nourishing. Each bite is a revelation, with flavors that evoke the coziness of the holidays and textures ranging from creamy to fork-tender.
Occasions & Pairings
There’s no better time to savor this Butternut Squash Christmas Stew than during the festive period. Whether you’re hosting a cozy Christmas Eve dinner with family or gathering with friends for a casual winter potluck, this stew shines as a memorable centerpiece. It pairs beautifully with freshly baked crusty bread or soft dinner rolls, perfect for soaking up the flavorful broth.
To enhance the wintery vibes of this dish, consider pairing it with a rich red wine that complements the spices. For those preferring lighter refreshments, a sparkling cider offers a refreshing contrast to the warmth of the stew. And for dessert, a classic apple pie or bread pudding will effortlessly round out the meal, sticking with timeless, comforting flavors.
Tips, Variations & Substitutions
One of the most delightful aspects of this stew is its adaptability. Feel free to experiment and lend your personal twist to the recipe:
- Protein Boost: For a heartier version, consider adding cooked shredded chicken or turkey leftovers.
- Vegan Option: Substitute the broth with vegetable broth and include proteins like chickpeas or lentils to keep it plant-based.
- Spice it Up: Introduce a dash of chili powder or cayenne for those who enjoy a kick in their stews.
- Herbs Galore: Fresh herbs like thyme or rosemary can be added for additional layers of fragrance.
- Sweet Tooth: Drizzle a touch of pure maple syrup into the stew to enhance the natural sweetness of the squash.
Storage & Make-Ahead Ideas
This stew’s flavors deepen and develop over time, making it an ideal candidate for a make-ahead dish. Prepare it a day or two in advance, allowing it to cool completely before transferring it to an airtight container. It can be stored in the refrigerator for up to four days, making meal planning effortless—simply reheat and serve when needed.
If you wish to freeze the stew, portion it into freezer-safe containers or bags, leaving some space at the top to allow for expansion. Once properly sealed, it can be stored for up to three months. To enjoy it, thaw overnight in the refrigerator and reheat gently on the stove, stirring occasionally to maintain its creamy texture.
Leftovers can be stored safely and reheated on the stovetop or in the microwave. Add a splash of broth or water during reheating to return it to its original consistency. Enjoy the convenience of having a wholesome, comforting meal ready whenever you desire.
Fun Facts & Trivia
Did you know that butternut squash is technically a fruit? Its seeds encapsulated within the flesh define its classification, but its culinary use solidly places it within the vegetable realm. This delightful squabble of categorizations only enriches the inviting mystery of this Christmas stew.
As for spices like cinnamon and nutmeg, their history dates back to ancient civilizations that cherished them for their medicinal benefits and enchanting scents. In fact, cinnamon was once deemed more precious than gold and was often used as a gift for royalty. It’s fascinating to see how these humble ingredients that have traversed centuries imbue our kitchens with such profound warmth and joy, especially during the most wonderful time of the year.
Ingredients
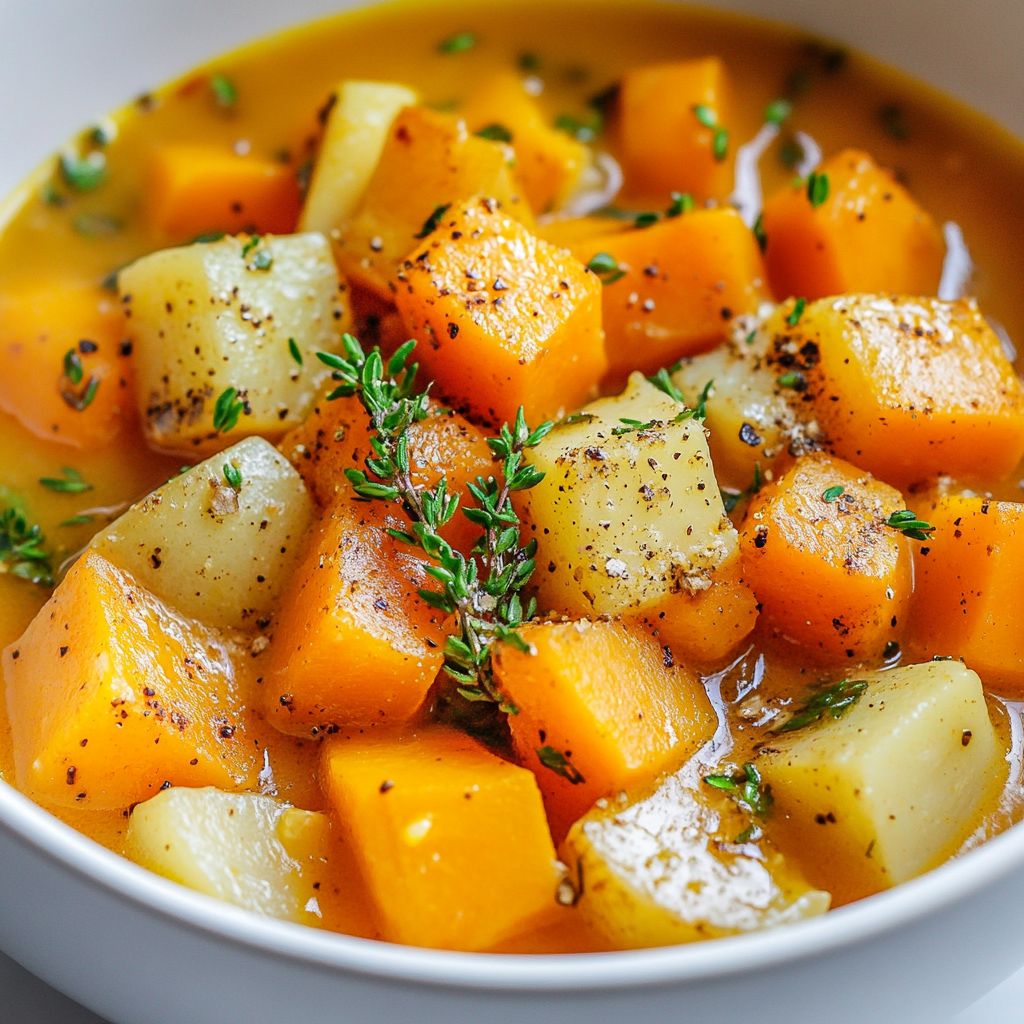
- Butternut Squash
→ The star ingredient of this stew, butternut squash adds a lovely sweetness and creamy texture when cooked. Choose a squash that is firm and heavy for its size, with smooth, blemish-free skin. Peel it carefully, then dice it into uniform cubes to ensure even cooking throughout the stew. - Olive Oil
→ Used for sautéing the vegetables, olive oil adds healthy fats and helps to enhance the flavors of the stew. Use a good quality extra virgin olive oil for the best flavor. Heat it in the pot before adding the diced vegetables to allow them to soak up the rich taste. - Onion (1 large)
→ Adds a sweet, aromatic base to the stew. Chop the onion finely to ensure it cooks evenly and becomes translucent. Cooking the onion until soft will release its natural sugars, adding depth and flavor to the dish. - Garlic (4 cloves)
→ Provides a punch of flavor and aroma to the stew. Use fresh garlic, minced or finely chopped, and add it to the pot after the onions have softened to prevent burning. Garlic enhances the overall taste and brings warmth to the stew. - Carrots (2 medium)
→ Carrots add sweetness and color, complementing the butternut squash. Peel and chop them into bite-sized pieces, ensuring they are roughly the same size as the squash for even cooking. They will soften as the stew simmers while retaining some texture. - Celery (2 stalks)
→ Offers a subtle depth of flavor and a slight crunch to the stew. Chop the celery into small, even pieces and add it with the onions. This aromatic vegetable helps build layers of flavor and adds a touch of freshness. - Vegetable Broth (4 cups)
→ Serves as the base of the stew, adding moisture and flavor. Choose a low-sodium vegetable broth to allow the natural flavors of the fresh ingredients to shine. You can enhance it further with herbs and spices. - Thyme (1 teaspoon, dried)
→ A classic herb that adds earthy and savory notes to the stew. Dried thyme is concentrated in flavor, so a little goes a long way. Add it early in the cooking process to allow the flavors to meld throughout the stew. - Bay Leaf (1)
→ Imparts a subtle depth and fragrance to the stew while it simmers. Add the bay leaf whole and remove it before serving, as it can be tough to chew. Use only one, as it can overpower the dish if used excessively. - Salt and Pepper
→ Essential for seasoning the stew, enhancing the flavors of all other ingredients. Start with a small amount of salt and freshly cracked black pepper, tasting as you go to adjust to your preference. Seasoning is key to making sure the stew has a balanced flavor profile. - Spinach or Kale (2 cups, fresh)
→ Adds nutritional value and a vibrant green color to the finished dish. Wash and chop the greens, adding them to the pot towards the end of the cooking time so they wilt but retain their bright color and nutrients.
Instructions
- Begin by preparing your butternut squash for cooking.
→ Carefully slice the squash in half lengthwise and scoop out the seeds with a spoon. Use a vegetable peeler to remove the skin, ensuring all of the tough exterior is eliminated. Cut the squash into uniform cubes, approximately 1-inch in size, as this promotes even cooking throughout the stew. - Heat a large, heavy-bottomed pot or Dutch oven over medium heat and add 2 tablespoons of olive oil.
→ Olive oil is key for sautéing your vegetables. Heating the oil allows it to reach the right temperature, ensuring it can coat the vegetables and help them caramelize beautifully while preventing sticking. Wait until the oil shimmers but does not smoke before moving to the next step. - Finely chop 1 large onion and add it to the pot once the oil is hot.
→ To chop an onion correctly, cut off the ends, peel off the skin, and slice it in half. Place the flat side down for stability and make horizontal and vertical cuts to achieve a fine chop. Sauté the onion, stirring occasionally, for about 5 minutes until it becomes translucent and starts to soften. - Minced 4 cloves of fresh garlic and add them to the pot with the softened onions.
→ To minced garlic, use a chef’s knife to crush the clove slightly before chopping. This releases more flavor. Stir in the garlic and let it cook for around 1 minute until fragrant, being careful not to let it burn as this will produce a bitter taste. - Peel and chop 2 medium carrots into bite-sized pieces and add them to the pot.
→ Slice the carrots into rounds, then cut those rounds into quarters to achieve even-sized pieces that match the squash. This ensures they cook at the same rate. Stir the carrots into the mixture, allowing their sweet aroma to mingle with the onions and garlic. - Chop 2 stalks of celery into small, even pieces and add them to the pot.
→ Cut off the leafy tops, then slice the celery lengthwise into halves or quarters before chopping into small dice. This adds a wonderful crunch and aromatic flavor base to your stew. Stir well to combine all the vegetables. - Add the diced butternut squash to the pot, stirring to incorporate it with the other vegetables.
→ Ensure the squash is evenly mixed with the aromatics, as this allows the flavors to develop and the squash to begin softening before adding the broth. - Pour in 4 cups of low-sodium vegetable broth and stir in 1 teaspoon of dried thyme and 1 bay leaf.
→ Use a measuring cup to pour the broth which serves as the liquid base of the stew, enhancing flavor and moisture. Stirring in thyme early allows the herb’s flavors to infuse the broth. A whole bay leaf adds depth but should be removed before serving, as it can be tough. - Season the stew with salt and freshly cracked black pepper to taste, starting with a small pinch of each.
→ Using salt enhances the natural flavors of the vegetables. Stir well, taste, and adjust the seasoning as needed. Remember that it’s easier to add more seasoning later than to fix an over-seasoned dish. - Bring the stew to a gentle boil, then reduce the heat to low and cover the pot. Let it simmer for about 30 minutes.
→ Simmering allows the vegetables to cook through and the flavors to meld beautifully. Stir occasionally to prevent sticking and to ensure even cooking. - After 30 minutes, check the tenderness of the vegetables with a fork. They should be easily pierced.
→ This test checks if they have softened adequately for the stew texture. If necessary, continue cooking for an additional 10-15 minutes until fully tender. - Once the vegetables are tender, add 2 cups of washed and chopped fresh spinach or kale to the stew.
→ Stir the greens into the hot stew; they will wilt quickly. Adding them at the end preserves their bright color and nutrients, enhancing the dish’s final flavor and presentation. - Finally, adjust the seasoning one last time, removing the bay leaf before serving.
→ Taste the stew and add any final salt or pepper as necessary. Removing the bay leaf is crucial as it can be irritating to eat. Serve hot and enjoy the festive warmth of your butternut squash Christmas stew.
Notes
These Butternut Squash Christmas Stew is a warm and comforting dish perfect for the holiday season. The combination of butternut squash, carrots, and other veggies creates a hearty and nutritious meal. To enhance the flavors, consider adding your favorite herbs or spices, such as a pinch of nutmeg or a sprinkle of red pepper flakes for a bit of heat. You can also personalize the stew by incorporating different greens, like Swiss chard or collard greens, for added texture and nutrition. Serve this stew with crusty bread or over a bed of quinoa for a wholesome meal. This recipe is not only vegetarian but can also be made vegan by ensuring your vegetable broth is free from any animal products. It is a great make-ahead meal, and flavors improve upon reheating, making it a fantastic option for meal prep or holiday gatherings.
Tips
- Choosing the Right Butternut Squash: When selecting your butternut squash, look for options that feel heavy for their size and have smooth skin. The color should be a rich tan. For peeling, use a sharp vegetable peeler to navigate its curved surface. Cut carefully to achieve uniform, bite-sized cubes; this ensures even cooking.
- Using Olive Oil: Opt for high-quality extra virgin olive oil for the best flavor profile in your stew. Preheat the oil in your pot before adding vegetables; this helps to draw out more flavors from the ingredients. Avoid overheating the oil, as it can burn and create an unpleasant taste.
- Cooking the Onion: Chop the onion very finely for even cooking. Sauté it over medium heat until it becomes translucent and soft, which usually takes about 5-7 minutes. This step caramelizes the onion slightly, enhancing sweetness and creating a rich base for your stew.
- Adding Garlic: To avoid burning, add the minced garlic to the pot after the onions are cooked. Sauté it for only about 1-2 minutes until fragrant, stirring frequently. Burnt garlic can impart a bitter taste, so keep an eye on it carefully.
- Preparing Carrots and Celery: Peel and cut the carrots into pieces similar in size to the butternut squash. This helps all ingredients cook at the same rate. The celery should be chopped small enough to blend well into the stew, providing flavor without overwhelming the dish.
- Choosing the Right Broth: Use a low-sodium vegetable broth for better control over the salt levels in your stew. If you have homemade broth on hand, that can elevate the flavor even more. You can also consider enhancing store-bought broth with additional herbs when you add the other ingredients.
- Timing for Herbs: Since dried herbs like thyme are concentrated, adding them early during the cooking process allows their flavors to infuse the stew. Make sure to stir them in properly and let everything simmer to enhance the herbaceous notes.
- Using a Bay Leaf: Remember to add the bay leaf whole at the beginning of the cooking process. Don’t forget to remove it before serving, as it can be tough and is not meant to be eaten. One bay leaf is generally sufficient to impart flavor without being overpowering.
- Seasoning Wisely: Start with a pinch of salt and a couple of cracks of fresh black pepper; you can always add more later. Taste frequently as the stew simmers to find the perfect balance of flavors, adjusting as necessary based on your palate.
- Incorporating Greens: Add spinach or kale in the final 5-10 minutes of cooking just to wilt them down. This helps maintain their vibrant color and nutritional benefits. For a different texture, consider adding the greens a bit earlier if you prefer them softer.
FAQ
What ingredients are needed for Butternut Squash Christmas Stew?
The main ingredients include butternut squash, carrots, celery, onion, garlic, vegetable broth, tomatoes, olive oil, and a variety of spices such as thyme and rosemary.
How long does it take to prepare Butternut Squash Christmas Stew?
Preparation time is approximately 15-20 minutes, while the cooking time is around 30-40 minutes.
Can I make Butternut Squash Christmas Stew ahead of time?
Yes, you can prepare the stew ahead of time. It can be stored in the refrigerator for up to 3 days or frozen for up to 3 months. Just reheat before serving.
Is Butternut Squash Christmas Stew vegan?
Yes, the recipe is naturally vegan as it uses vegetable broth and no animal products.
Can I add protein to the Butternut Squash Christmas Stew?
Absolutely! You can add cooked lentils, chickpeas, or tofu for a protein boost. You can also use plant-based sausages if desired.
What can I serve with Butternut Squash Christmas Stew?
The stew pairs well with crusty bread, rice, or quinoa for a heartier meal. You can also enjoy it with a side salad.
Is there a way to make the stew spicier?
Yes, you can add red pepper flakes, cayenne pepper, or diced jalapeños to increase the spice level to your liking.
Can I substitute butternut squash with another vegetable?
While butternut squash adds a unique flavor and texture, you can substitute it with other winter squashes like pumpkin or acorn squash, or even sweet potatoes.