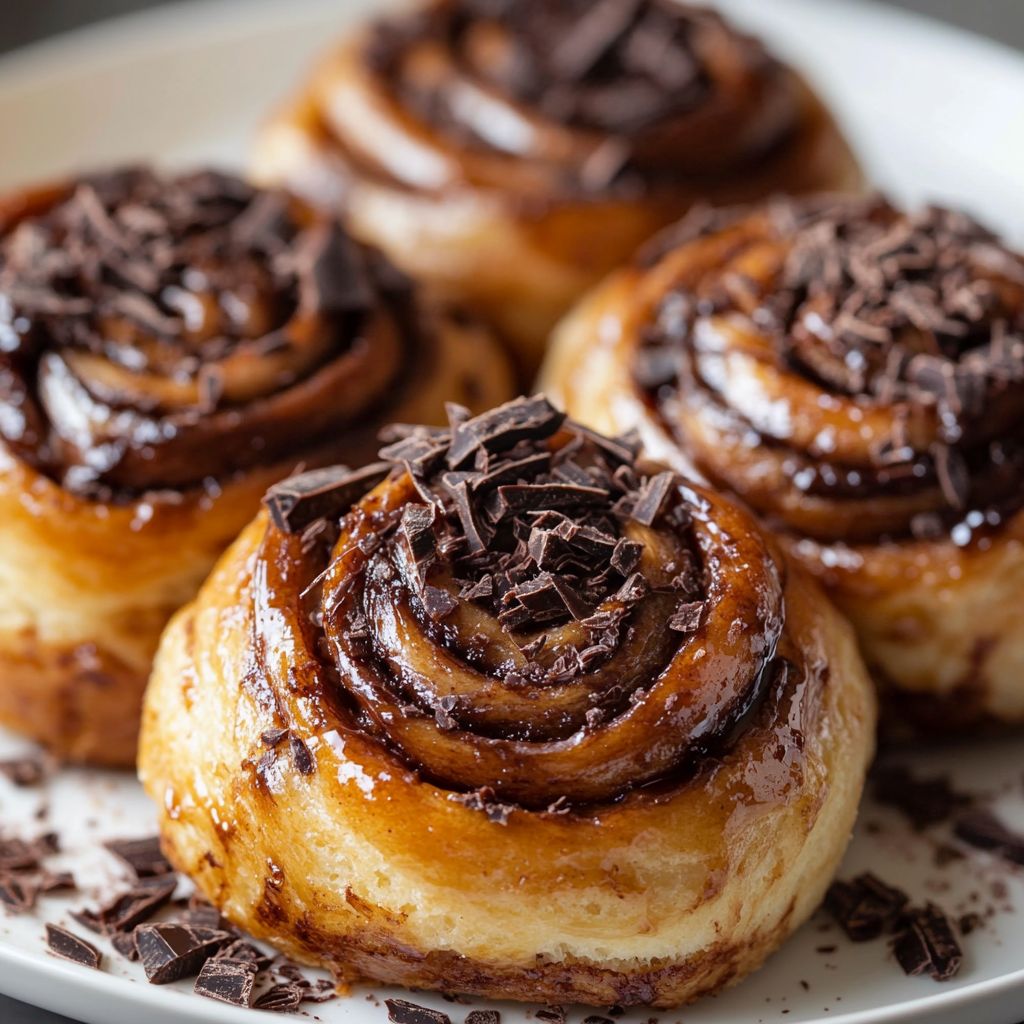
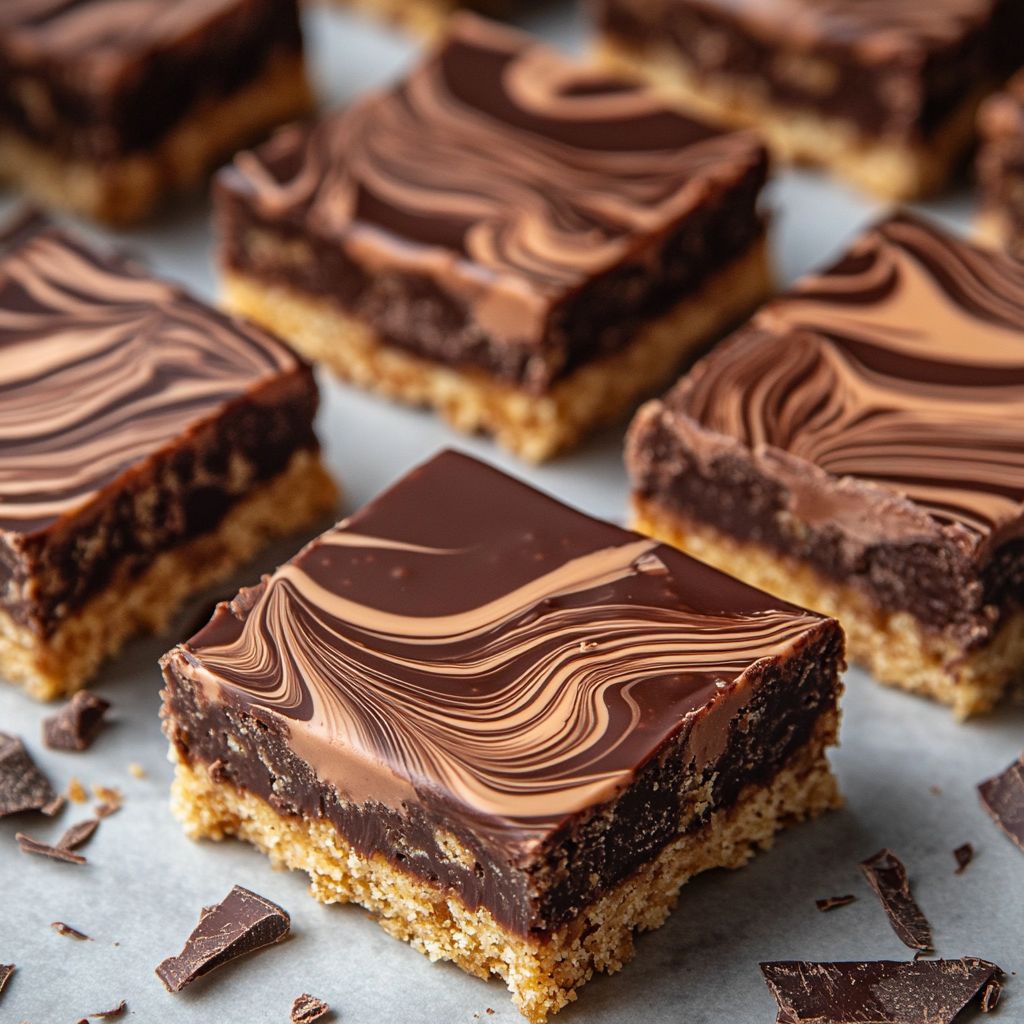
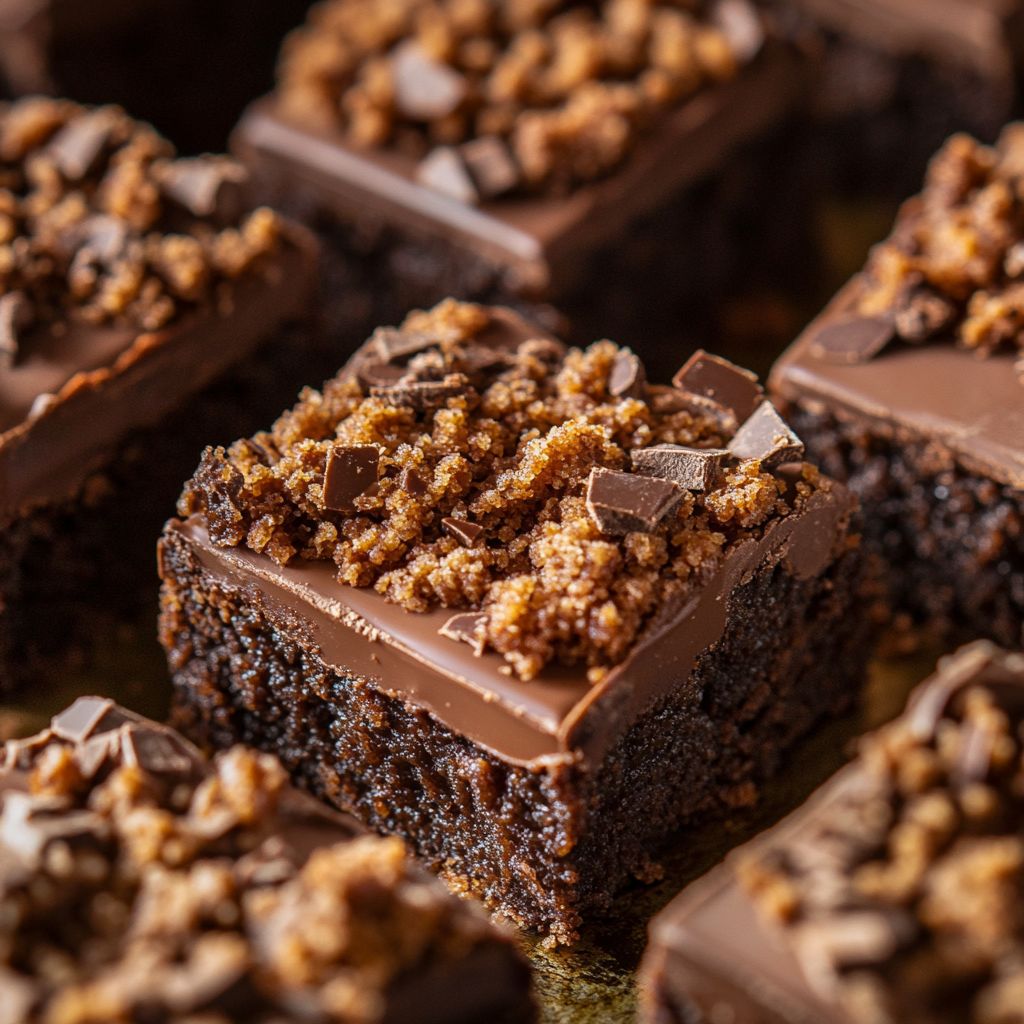
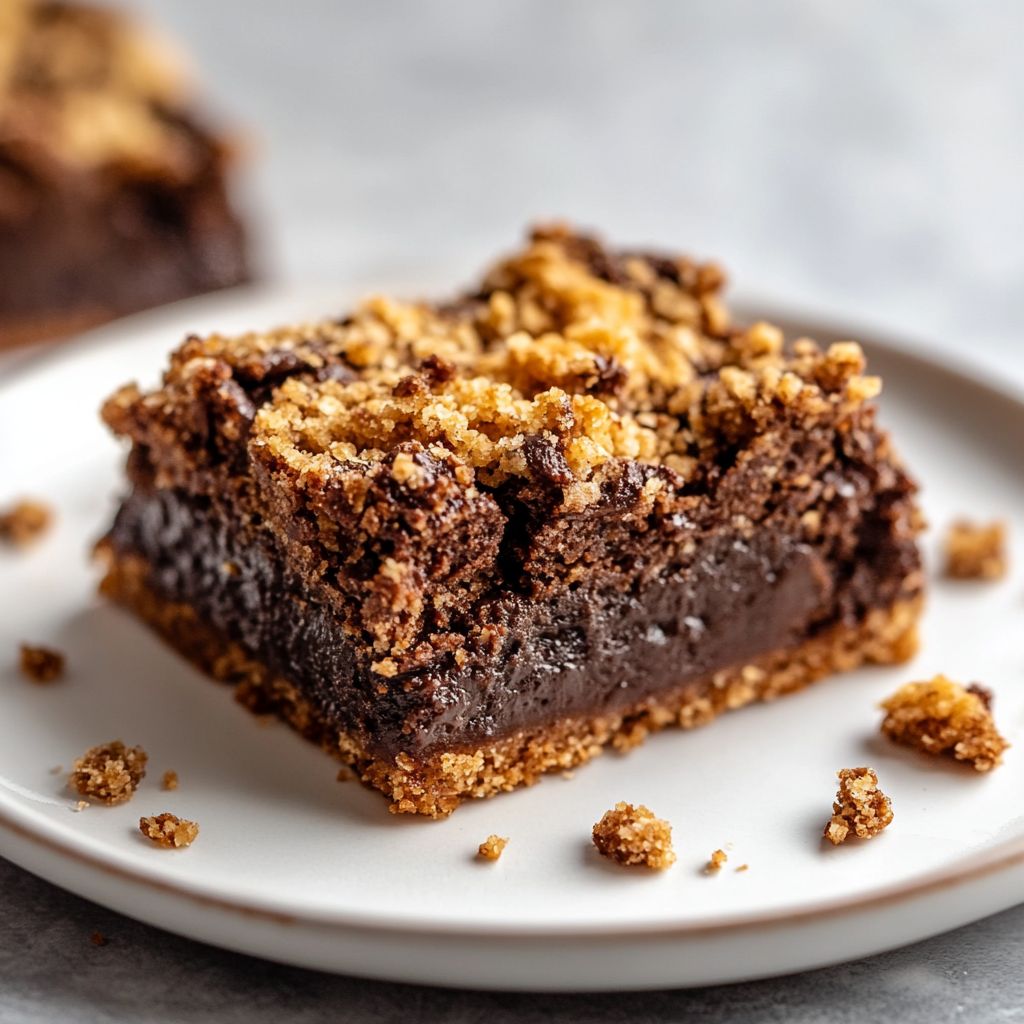
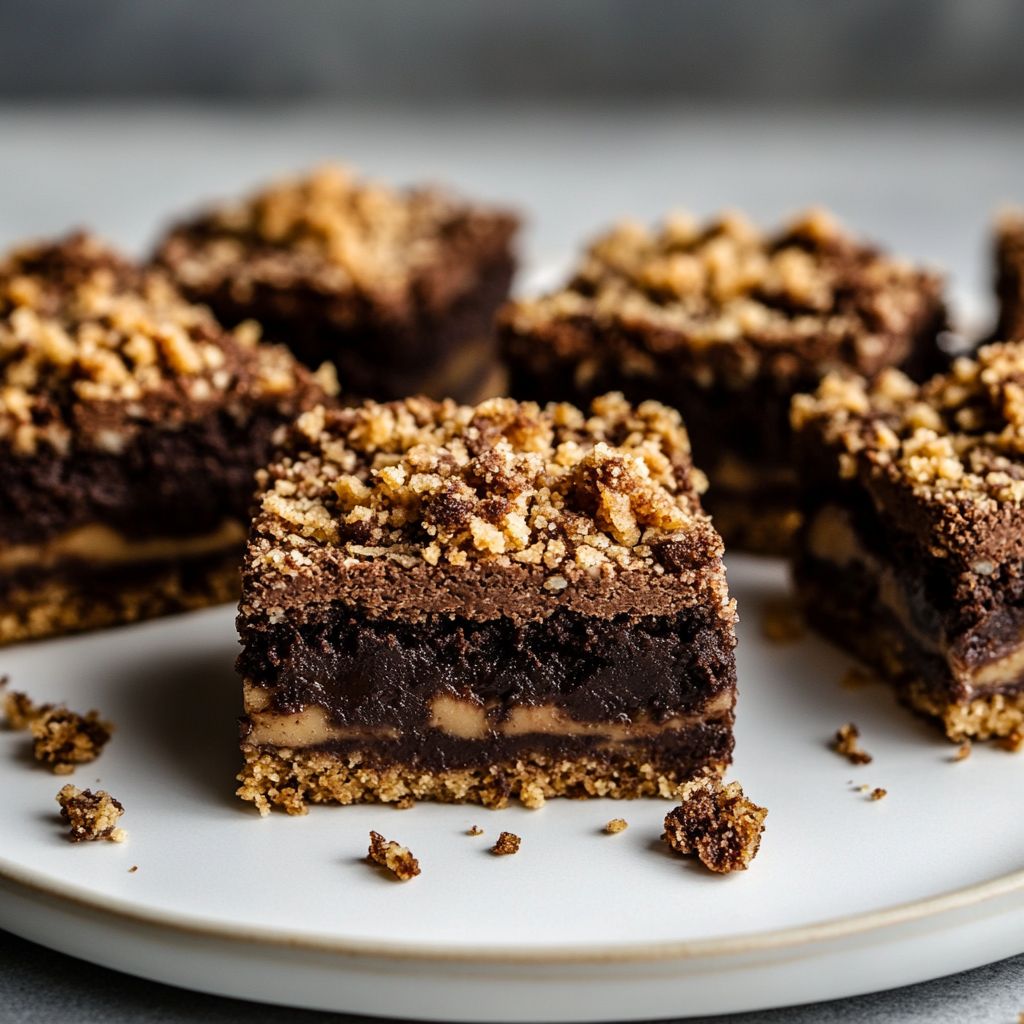
Introduction: A Symphony of Flavors and Textures
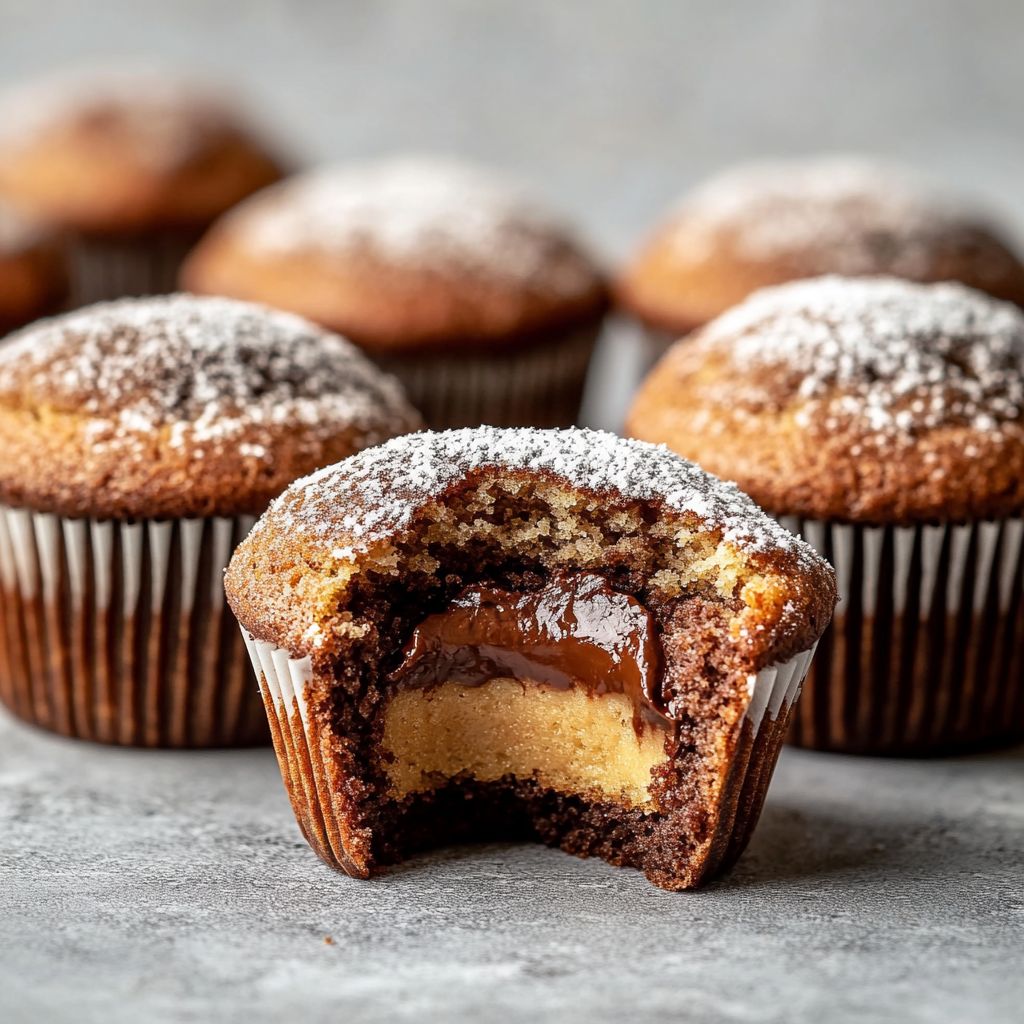
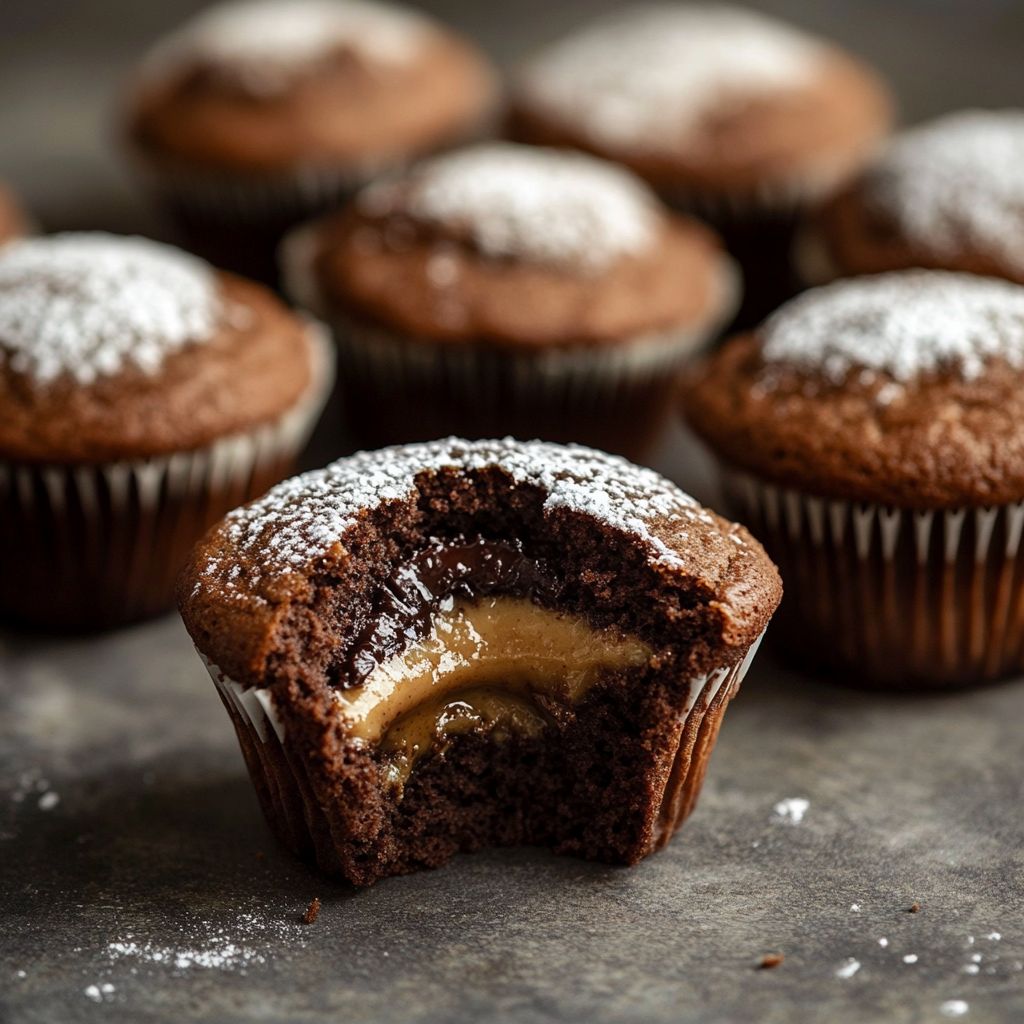
Imagine biting into a dessert that promises a delightful fusion of rich chocolate, creamy custard, and aromatic vanilla. Welcome to the world of Chocolate Custard Vanilla Squares—a confectionery masterpiece that transcends ordinary dessert fares. This enticing treat teases your palate with its luscious layers and promises an unforgettable culinary experience, ideal for satisfying any sweet tooth.
As soon as you take a bite, the velvety smoothness of the custard melds seamlessly with the deep, decadent chocolate layer, dancing harmoniously on your tongue. The subtle hint of vanilla adds an aromatic note, completing the trifecta of indulgence. These squares are not just a dessert; they are an invitation to delight in the pure joy of flavor and texture, meticulously crafted to elevate your everyday dining experience into a celebration of taste.
The Story Behind the Dish: A Timeless Classic
The inspiration for Chocolate Custard Vanilla Squares traces back to the rich culinary traditions of Europe, where desserts are revered almost as an art form. This recipe is a nod to classic patisserie offerings, combining elements from beloved traditions: the custard—a staple in many European desserts, and chocolate—one of the world’s most cherished indulgences.
Historically, custard-based desserts have been adored for centuries. Their origins can be linked to the culinary practices of the Middle Ages, where milk and eggs were transformed into sweet delights. Over time, these custards evolved into a myriad of forms, often layered with luxurious ingredients such as chocolate for an added marvel of flavor. The interplay of chocolate and custard is a testament to how simplicity can create a sophisticated and enduring dessert.
Why You’ll Love This Recipe
- Elegantly Simple: Despite its intricate flavor profile, this dessert is straightforward to make, making it accessible to home bakers of all skill levels.
- Irresistibly Delicious: The combination of rich chocolate, smooth custard, and vanilla creates a balanced dessert that delights with every bite.
- Versatile Occasion Treat: Whether it’s a weekend dinner, holiday gathering, or special occasion, these squares are perfect for any event.
- Family-Friendly: This dessert is bound to please both kids and adults alike, making it an excellent addition to any family dinner.
- Make-Ahead Wonder: This dessert can be prepared in advance, allowing you to enjoy your event stress-free.
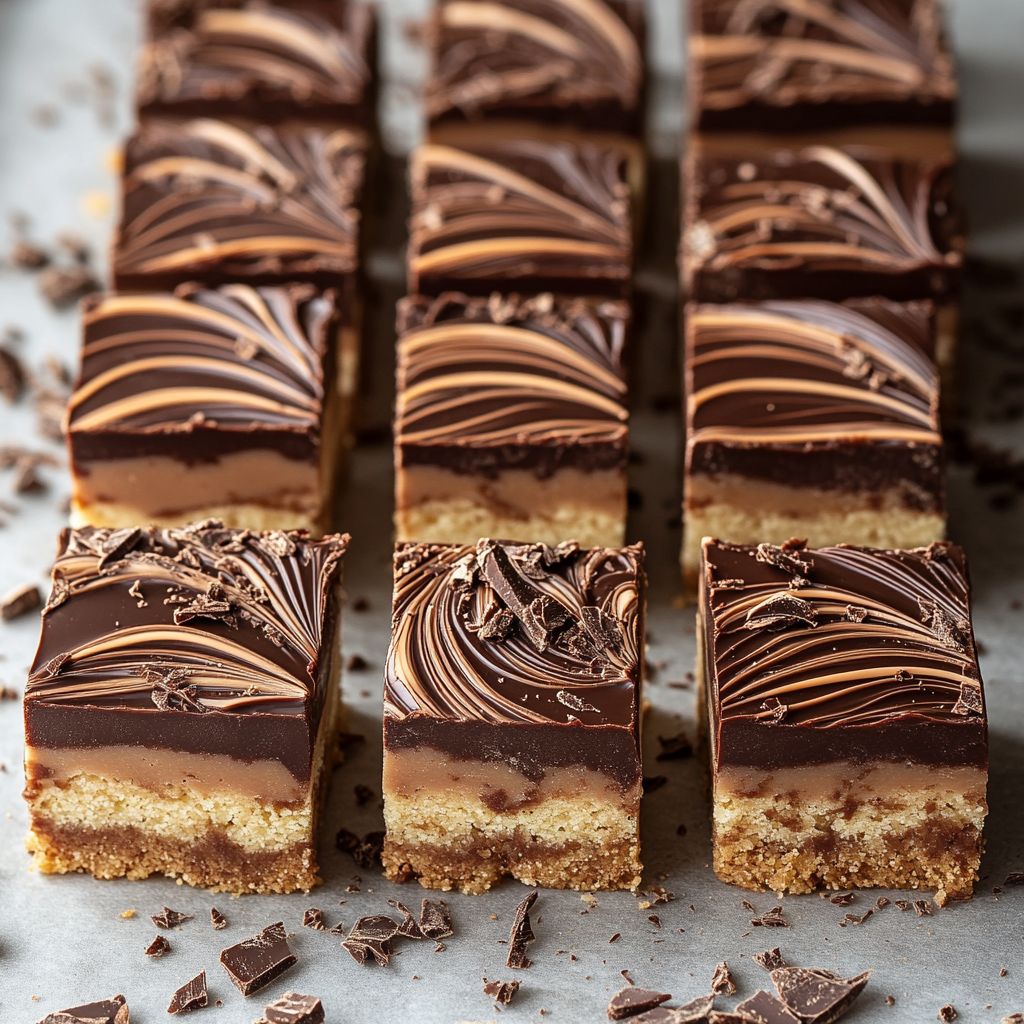
Flavor Profile & Texture
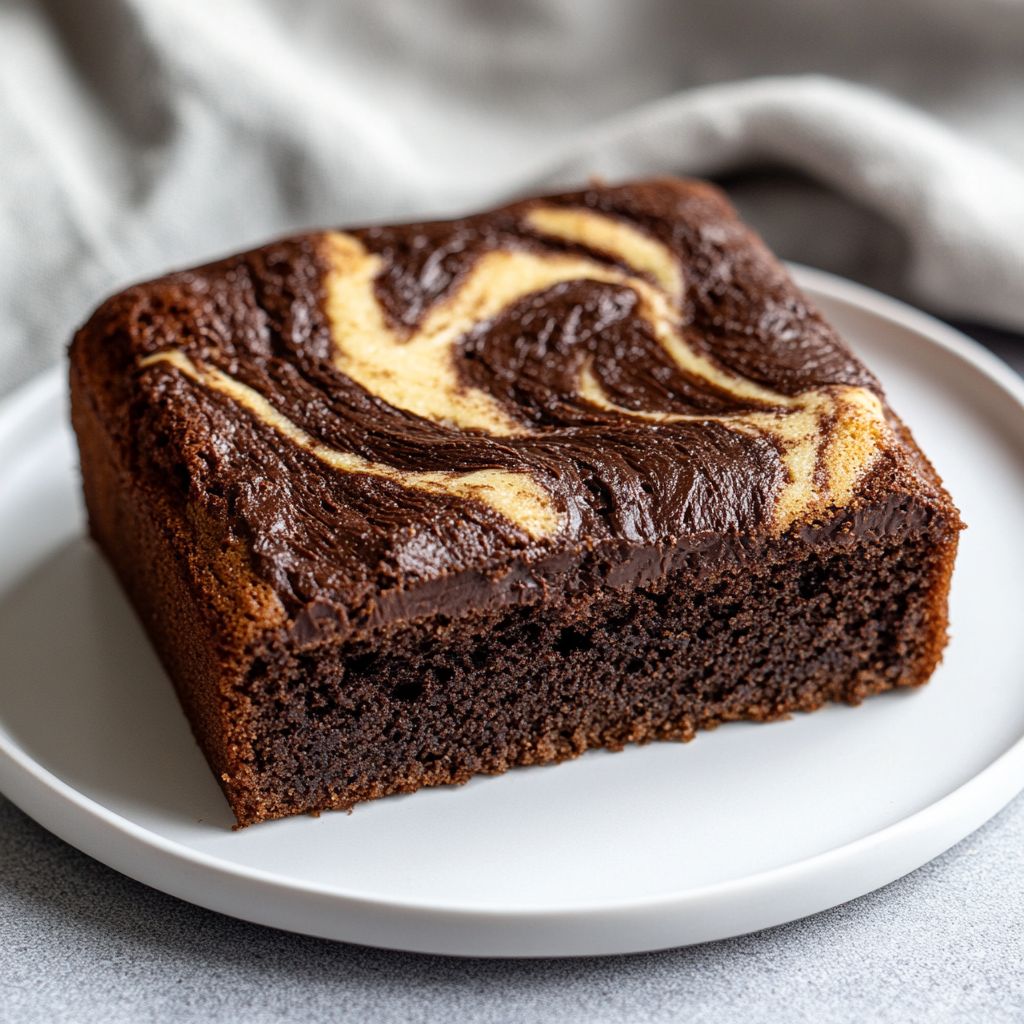
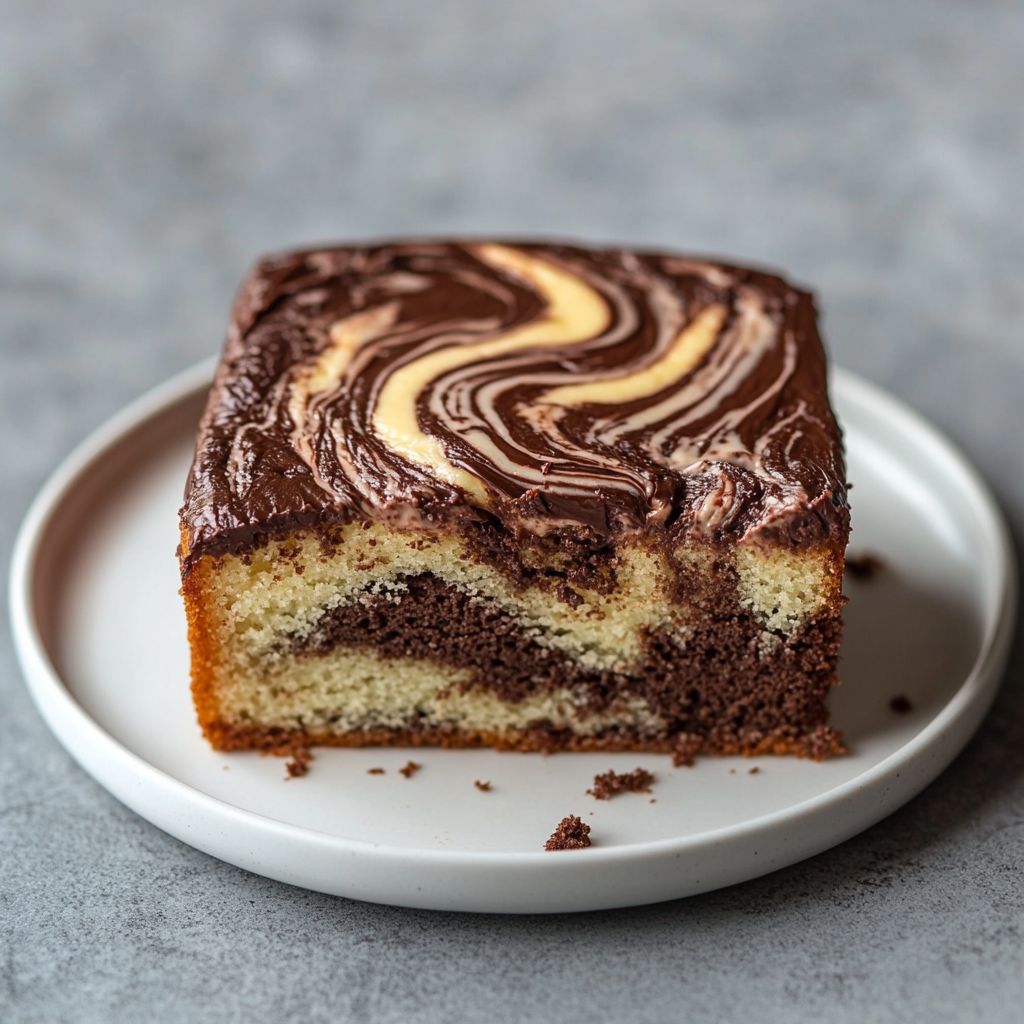
The profile of Chocolate Custard Vanilla Squares can be best described as a well-orchestrated harmony where each layer sings its own unique tune. The base note is the rich, fudgy chocolate that delivers an intoxicating blend of sweetness and bitterness, offering a profound depth of flavor with every nibble.
The custard layer elevates the experience with its creamy, silky texture, bringing an unexpected lightness that counterpoints the dense chocolate layer beneath. Infused with the subtle warmth of vanilla, this layer lends a fragrant melody that lingers delightfully.
The combination of these textures and flavors results in a dessert that is more than the sum of its parts. Each bite takes you on a sensory journey—beginning with the rich chocolate, transitioning to the creamy custard, and culminating in the aromatic exhale of vanilla.
Occasions & Pairings
Chocolate Custard Vanilla Squares are as adaptable as they are delicious, making them perfect for a variety of occasions. Serve them at upscale dinner parties as a sophisticated conclusion to the meal, or at casual family gatherings for an assured crowd-pleaser. Their portability also makes them fantastic for potluck events or as a welcome gift to neighbors.
As for pairings, these decadent squares go exquisitely with a steaming cup of freshly brewed coffee or a light herbal tea, allowing the flavors to intermingle with subtlety. For an extra-special pairing, you may consider offering a glass of dessert wine—something with berry undertones—as it complements the rich chocolate and custard beautifully.
Tips, Variations & Substitutions
The versatility of Chocolate Custard Vanilla Squares makes it easy to modify depending on dietary needs or flavor preferences:
- Vegan Version: Substitute the dairy products with coconut or almond milk for the custard and use a high-quality vegan chocolate to ensure everyone can enjoy.
- Gluten-Free: If incorporating a crust, opt for gluten-free flour blends or nut-based crust options to cater to gluten-sensitive dietary needs.
- Flavor Twists: For an exciting variation, consider adding a hint of mint extract to the chocolate layer or a burst of citrus zest for a refreshing kick.
- Decadent Layers: For added texture, you could incorporate nuts or a fruit layer between the chocolate and custard.
Storage & Make-Ahead Ideas
These delightful squares are as practical as they are delicious. They store well, meaning you can prepare them ahead of time—perfect for busy schedules or planned gatherings. Once prepared, they can be kept in an airtight container in the refrigerator for up to five days without any loss of flavor or texture.
For longer preservation, consider freezing them. Simply wrap them tightly in plastic wrap, followed by a layer of foil, and store in the freezer for up to three months. When you’re ready to enjoy them, let them thaw in the refrigerator overnight for optimal texture and taste.
Not only does this make-ahead option save you time, but it also heightens anticipation for those savoring the dessert days later. With each bite as fresh as the moment they were made, these custard squares are a brilliant way to facilitate advance preparation while ensuring each serving delights anew.
Fun Facts & Trivia
Did you know that the love affair with custard-based desserts can be traced back to the culinary opulence of Renaissance Europe, particularly in France and Italy, where such desserts were a mainstay in the grand feasts of royalty?
The integration of chocolate into desserts only became widespread after the Spanish explorers introduced cacao from the Americas to Europe in the 16th century. The mingling of chocolate with diverse ingredients like custard became a defining moment in dessert history, revolutionizing sweet creations worldwide.
This fusion dessert, with its rich legacy and modern-day charm, not only ties together the culinary traditions of two continents but also invites us to partake in a history that is as rich and indulgent as the squares themselves.
Chocolate Custard Vanilla Squares aren’t just a sweet treat—they’re a narrative of culture, tradition, and innovation. Whether you’re enjoying them for their sumptuous flavors or their rich history, they’re bound to leave an indelible mark on your taste buds and your heart.
Ingredients
- Chocolate Custard Base
- 1 cup whole milk
→ Whole milk provides creaminess and richness to the custard, enhancing its flavor and texture. Use room temperature milk for better integration with the other ingredients and to ensure a smooth custard mixture. - 1 cup heavy cream
→ Heavy cream adds a luxurious thickness to the custard, lending a silky mouthfeel. Choose fresh cream and avoid ultra-pasteurized options for the best flavor. Allow it to come to room temperature to mix easily with the other components. - 1/2 cup granulated sugar
→ Sugar sweetens the custard while also helping to create a smooth texture. For a more complex flavor, consider using superfine sugar, which dissolves more easily. Adjust the amount if you desire a less sweet custard. - 4 large egg yolks
→ Egg yolks are crucial for thickening the custard and provide richness. Use fresh, large egg yolks, and ensure they are well whisked before adding to the mixture to create a more homogeneous custard. - 1 teaspoon pure vanilla extract
→ Pure vanilla extract adds depth and a natural sweetness to the custard. Avoid imitation vanilla for the best flavor. Make sure to add it towards the end of the mixing process to preserve its aromatic qualities. - 2 ounces semisweet chocolate (chopped)
→ Semisweet chocolate provides the distinctive chocolate flavor in the custard. Chop it into small, even pieces to ensure it melts smoothly into the mixture. Consider using high-quality chocolate for the best taste.
- 1 cup whole milk
- Vanilla Layer
- 2 cups heavy cream
→ This layer uses heavy cream to create a rich and luscious vanilla topping. It’s important for the cream to be chilled beforehand, as cold cream whips more easily and holds its shape better. - 1/4 cup powdered sugar
→ Powdered sugar sweetens the whipped cream without adding graininess. Sift it before adding to the cream to prevent lumps and ensure a smooth texture. - 1 teaspoon pure vanilla extract
→ Pure vanilla extract enhances the flavor of the whipped cream layer. Similar to the custard, use pure vanilla to achieve a more intense and authentic vanilla flavor.
- 2 cups heavy cream
- To Assemble
- Cocoa powder for dusting
→ Cocoa powder is used for dusting the assembled squares, adding a visually appealing layer and rich chocolate flavor. Use unsweetened cocoa powder, and apply it using a fine sifter to ensure an even and delicate coating. - Chocolate shavings or curls (optional)
→ For an elegant touch, chocolate shavings can be sprinkled on top. Use a vegetable peeler to create thin shavings from a chocolate bar, and allow them to sit at room temperature to avoid melting.
- Cocoa powder for dusting
Instructions
- Begin by assembling all your ingredients on a clean countertop.
→ Having everything prepped and organized—often referred to as mise en place—ensures a smoother cooking process and allows you to focus on executing each step without interruptions. - Preheat your oven to 325°F (160°C).
→ Preheating the oven is essential to ensure the custard bakes evenly and achieves the desired texture. An adequately heated oven also helps to set the custard correctly, preventing it from being overcooked or undercooked. - In a medium saucepan, combine 1 cup of whole milk and 1 cup of heavy cream.
→ Stirring these liquids together provides a harmonious blend of flavors, and the combination creates a rich base for the custard. Heat gently over medium-low heat until it is steaming but not boiling, which will help to prevent curdling. - Add 1/2 cup of granulated sugar to the milk and cream mixture.
→ Stir continuously until the sugar fully dissolves, ensuring a consistent sweetness throughout the custard. This step is crucial as undissolved sugar can affect the texture. - In a separate bowl, whisk together 4 large egg yolks until they are pale and slightly thickened.
→ This action incorporates air, which helps to lighten the yolks and create a smoother custard. Whisking until the yolks are pale shows that they are well-combined, which is vital for a uniform custard. - Gradually pour the hot milk and cream mixture into the egg yolks while whisking continuously.
→ This method, often called tempering, prevents the eggs from scrambling by slowly introducing heat. It’s crucial to whisk consistently to ensure an even mixture and avoid cooking the yolks too quickly. - Return the mixture to the saucepan and place it over low heat.
→ Cooking on low heat allows the custard to thicken slowly without curdling. Stir constantly with a wooden spoon or silicone spatula, scraping the bottom to prevent sticking and scorching. - Cook until the custard mixture thickens enough to coat the back of a spoon.
→ This step usually takes about 5-10 minutes. To test, dip a spoon into the mixture, and if it leaves a line when you run your finger through, it’s thickened enough. - Remove the saucepan from the heat and add 2 ounces of chopped semisweet chocolate and 1 teaspoon of pure vanilla extract.
→ Stir until the chocolate is fully melted and the mixture is smooth. The chocolate adds depth to the custard, and adding vanilla after cooking preserves its aromatic properties. - Strain the custard through a fine-mesh sieve into a clean bowl to remove any coagulated bits.
→ This step ensures a silky texture, creating a more refined custard. Press down gently on the solids if necessary to extract all the flavorful custard. - Place a piece of plastic wrap directly onto the surface of the custard to prevent a skin from forming.
→ This helps retain moisture and maintain a smooth surface. Let the custard cool at room temperature for a short while, then transfer it to the refrigerator to chill completely, at least 2 hours. - While the custard cools, prepare the vanilla layer by ensuring 2 cups of heavy cream is well-chilled.
→ Chilled cream whips better and holds peaks more effectively, leading to a fluffier and more stable topping. Place the mixing bowl and beaters in the fridge or freezer for about 10 minutes before whipping. - In the chilled bowl, combine the heavy cream, 1/4 cup of sifted powdered sugar, and 1 teaspoon of pure vanilla extract.
→ Use a hand mixer or stand mixer to whip the mixture to soft peaks. Whipping at a medium speed allows for even incorporation of air, resulting in a light and billowy whipped cream. - Continue whipping until stiff peaks form, being careful not to over-whip, which can turn the cream grainy.
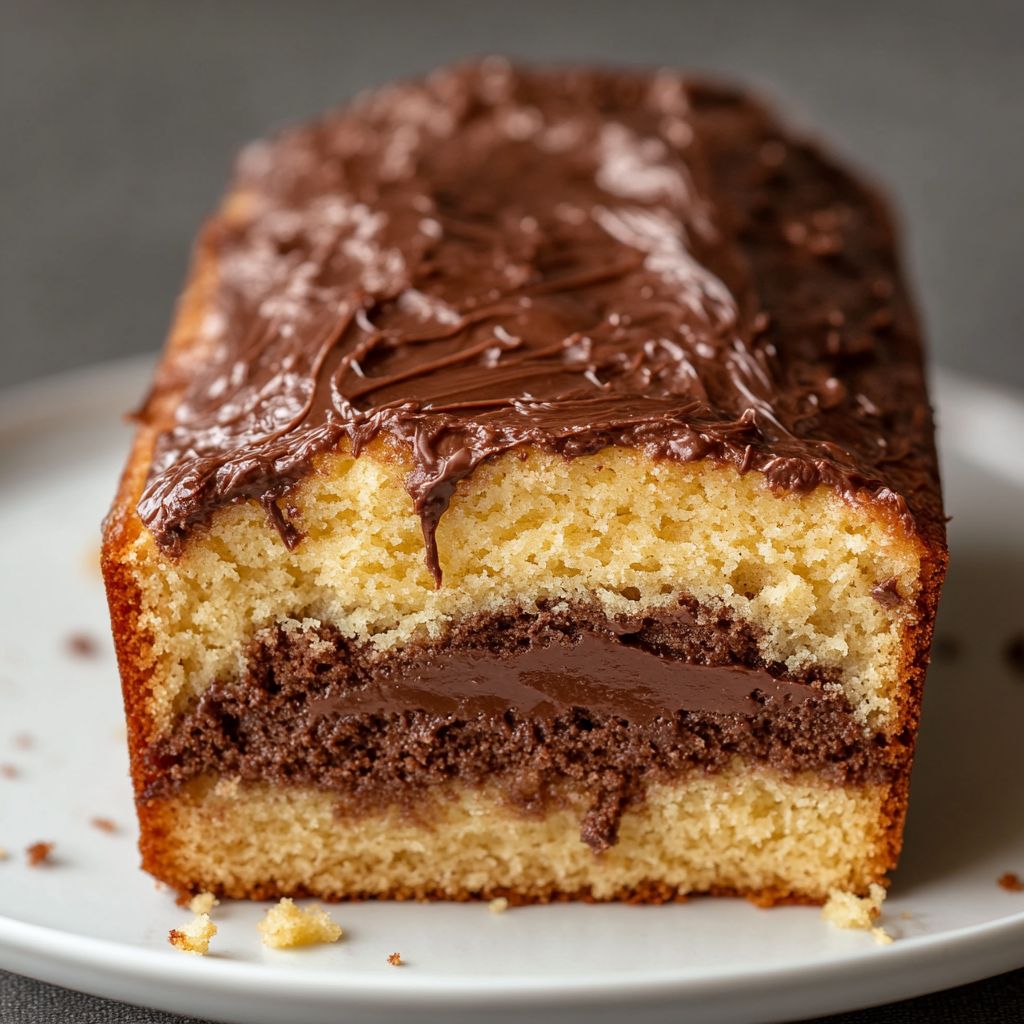
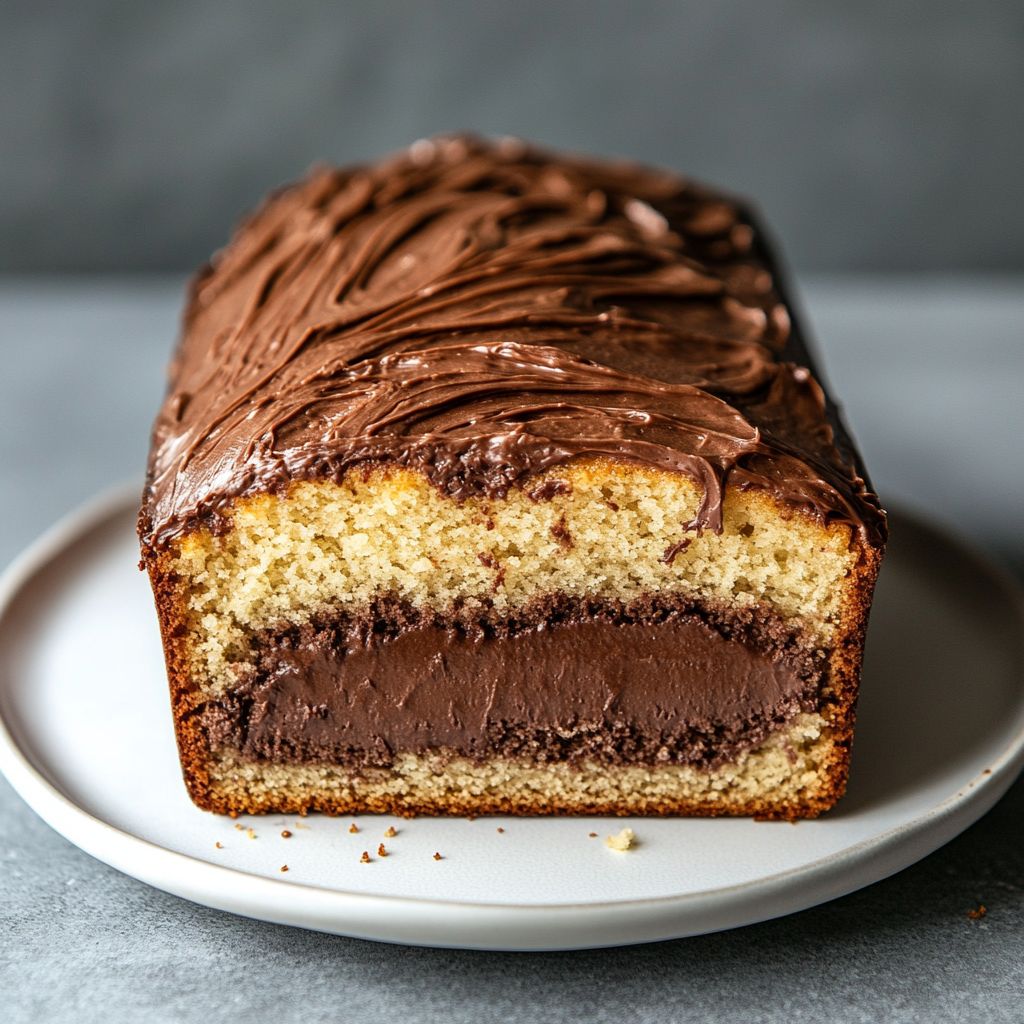
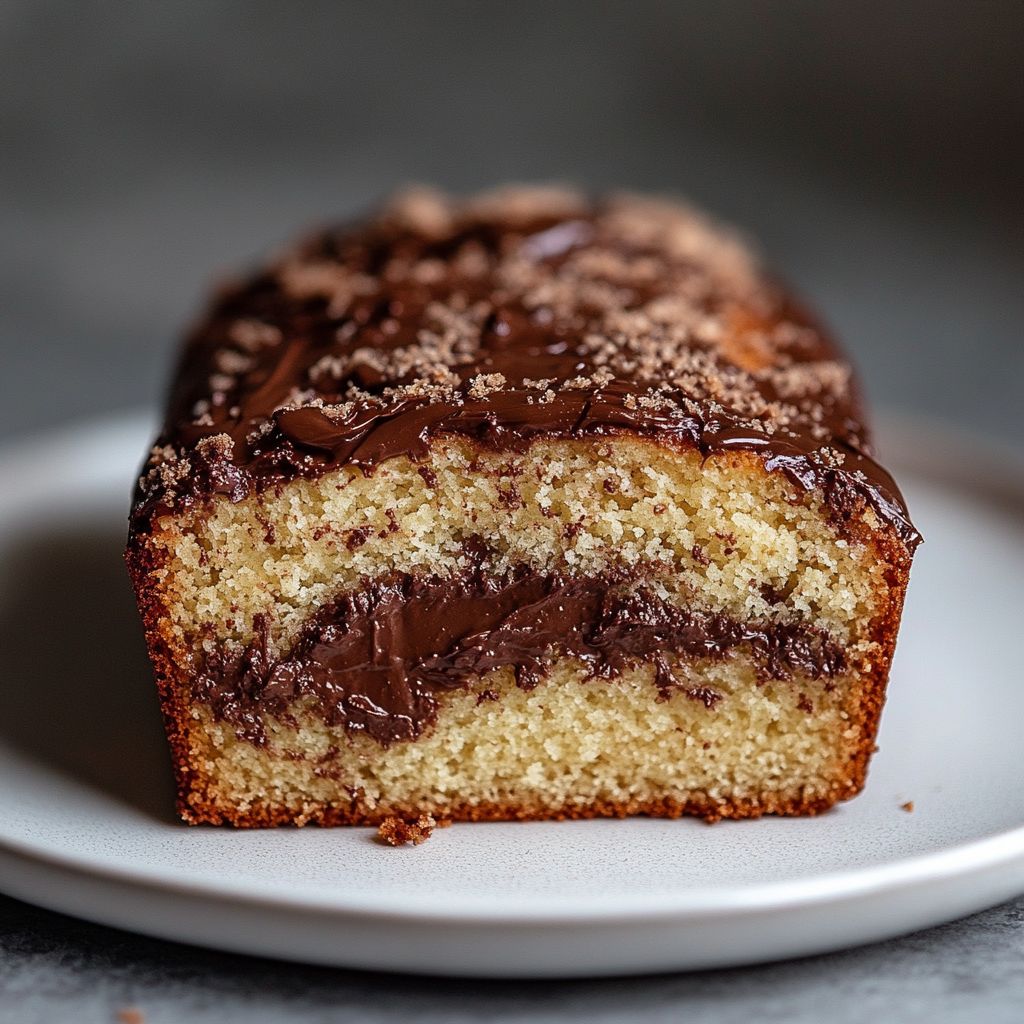
→ Stiff peaks hold their shape and are perfect for layering; stop whipping as soon as you reach that point to maintain a smooth texture. - Once the chocolate custard has fully chilled, carefully spoon it into your desired serving dish or square baking dish, smoothing the surface with a spatula.
→ Ensuring an even layer creates a visually appealing presentation and uniform texture throughout. Allow approximately 1 inch of space at the top for the whipped vanilla layer. - Spread the stabilized vanilla layer gently over the chocolate custard, using an offset spatula for a smooth finish.
→ Spreading gently avoids disturbing the chocolate layer below. An offset spatula allows for smooth, even distribution, creating a beautiful presentation. - Cover the assembled dessert with plastic wrap and chill in the refrigerator for at least 2 hours to allow the layers to set.
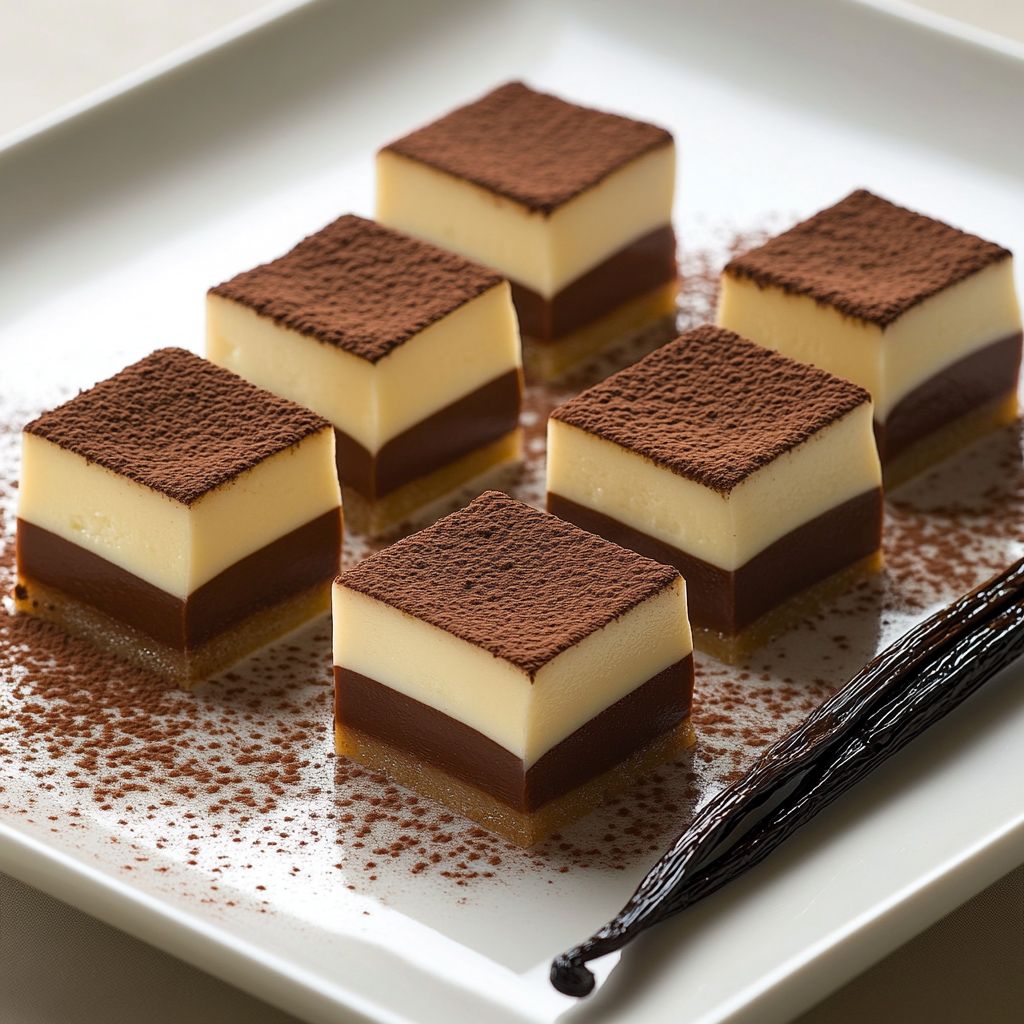
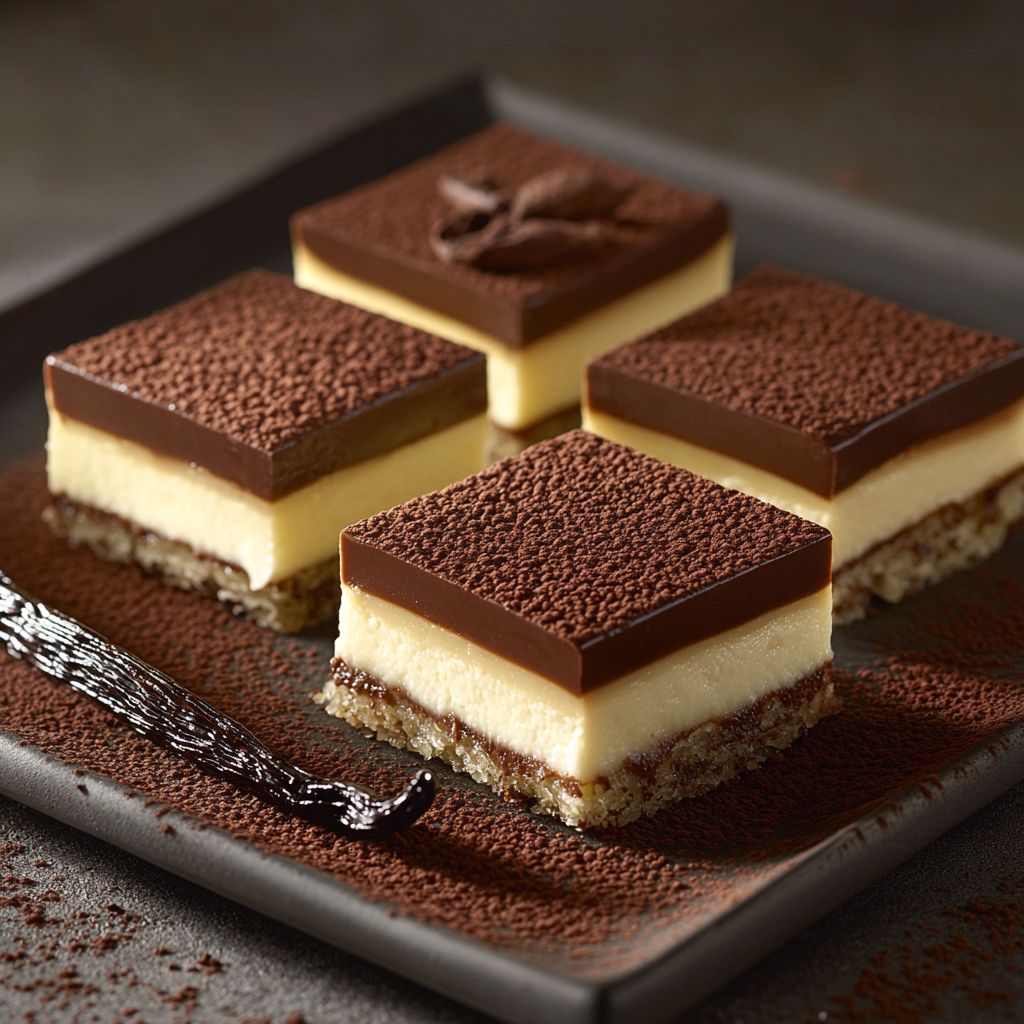
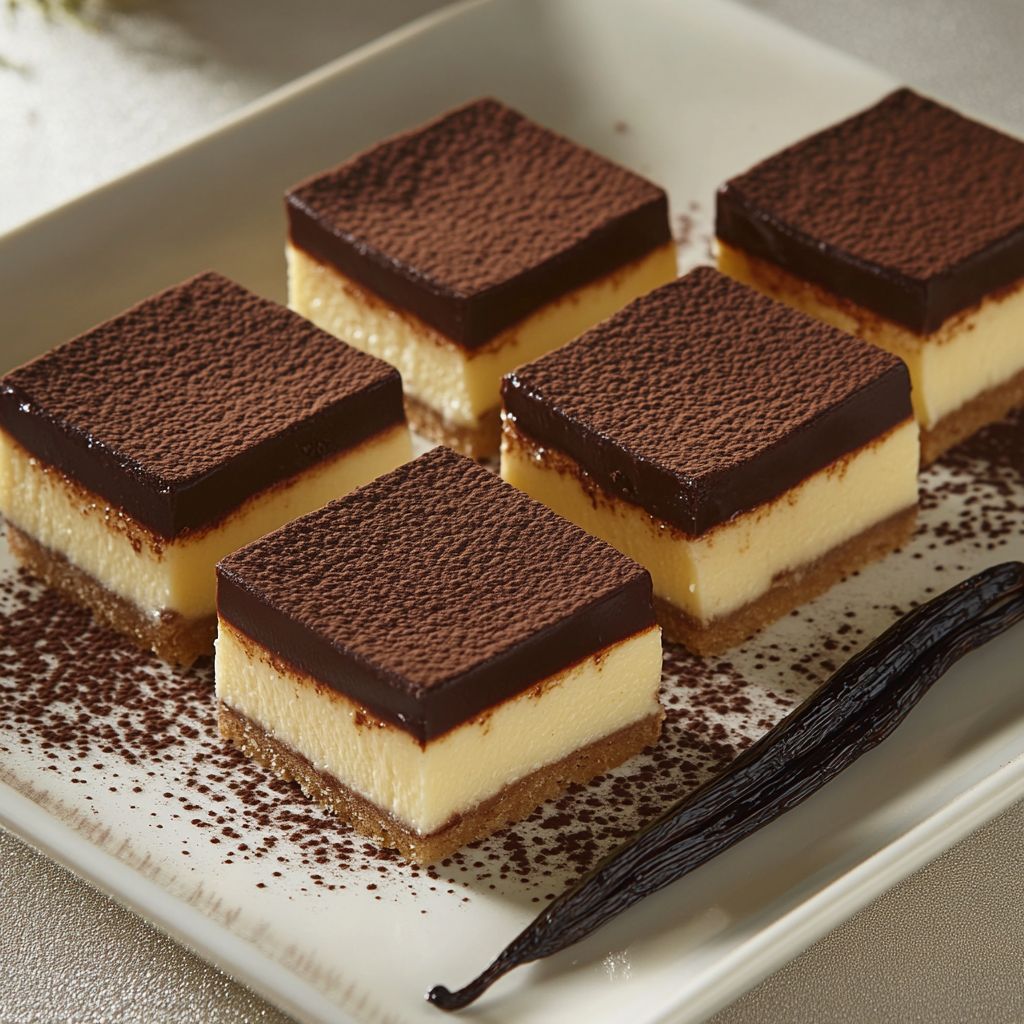
→ This chill time melds the flavors and allows the layers to firm up, making it easier to cut and serve. The longer it sits, the more the flavors develop. - Once set, dust the top with cocoa powder using a fine sifter for a delicate finish.
→ Dusting cocoa powder before serving adds an elegant touch and enhances the chocolate flavor. The sifter ensures an even and fine layer, avoiding clumps. - If desired, garnish with chocolate shavings or curls for added decoration just before serving.
→ Create chocolate shavings using a vegetable peeler on a chocolate bar, which adds a beautiful visual element and extra richness to the dessert. - Slice the dessert into squares using a hot sharp knife, rinsing it under hot water between cuts to achieve clean edges.
→ Rinsing the knife helps to create sharp, clean slices that maintain the integrity of each layer, making for a beautifully presented dessert. - Serve immediately and enjoy the rich layers of chocolate and vanilla flavors.
→ The contrast between the chocolate custard and the vanilla cream, combined with the smooth texture, offers a delightful experience that pleases the palate.
Notes
These Chocolate Custard Vanilla Squares are a delightful dessert combining the richness of chocolate custard with a light vanilla layer. The custard is made creamy with whole milk and heavy cream, infused with the richness of egg yolks for that perfect texture. For the vanilla layer, whipped heavy cream sweetened with powdered sugar tops off the base, creating a beautiful contrast of flavors and textures. Make sure to chill your cream thoroughly before whipping for the best results. You can also elevate the presentation with a dusting of cocoa powder and optional chocolate shavings on top. This dessert is perfect for gatherings or as a rich treat after dinner, and it can be stored in the refrigerator for a few days, maintaining its delightful flavors.
Tips
Cooking Tips for Chocolate Custard Vanilla Squares
- Preparing the Custard: When combining the milk, heavy cream, and sugar, heat the mixture gently over low to medium heat, stirring constantly until the sugar dissolves completely. This prevents scalding and helps the custard achieve a smooth consistency.
- Tempering the Egg Yolks: To avoid scrambling the egg yolks, gradually add a small amount of the heated cream mixture into the yolks while whisking continuously. Once warmed, slowly pour the yolk mixture back into the saucepan, stirring constantly.
- Cooking the Custard: Cook the custard over low heat until it thickens enough to coat the back of a spoon. Use a food thermometer to check for doneness; it should reach about 170°F (77°C). Remember to stir frequently to prevent sticking.
- Cooling the Custard: After cooking, strain the custard through a fine mesh sieve into a bowl to remove any cooked egg bits. Cover the custard with plastic wrap, pressing it directly onto the surface to prevent a skin from forming as it cools.
- Whipping the Cream: Ensure that both your mixing bowl and beaters are chilled; this will help the cream whip up faster and achieve more volume. Begin whipping on a low speed to prevent splattering, and then increase to medium-high once it starts to thicken.
- Layering: When assembling the chocolate custard and vanilla layers, start with the chocolate custard on the bottom for a stable base. Spread the vanilla layer evenly on top using a spatula, smoothing it out for a clean finish.
- Dusting with Cocoa Powder: Use a fine mesh sieve for an even dusting of cocoa powder over the top layer. This not only adds flavor but also enhances the presentation of the squares.
- Storage: Keep the assembled squares covered in the refrigerator. They will keep well for 3-4 days. If you’re preparing them in advance, add the cocoa powder and chocolate shavings just before serving for the best flavor and appearance.
FAQ
What are Chocolate Custard Vanilla Squares?
Chocolate Custard Vanilla Squares are a delightful dessert made with layers of chocolate custard and vanilla custard, all set within a square pastry base. They are rich, creamy, and offer a delicious contrast between chocolate and vanilla flavors.
How long does it take to prepare Chocolate Custard Vanilla Squares?
The total preparation time is approximately 30-40 minutes, with an additional chilling time of at least 2 hours for the custards to set properly.
Can I use store-bought custard for this recipe?
Yes, you can use store-bought custard to save time. However, homemade custard tends to have a richer flavor and creamier texture that enhances the overall dessert experience.
What ingredients do I need for Chocolate Custard Vanilla Squares?
You’ll need ingredients for both the chocolate and vanilla custards, which typically include milk, sugar, eggs, cornstarch, cocoa powder (for chocolate custard), and vanilla extract (for vanilla custard), along with a pastry base.
Is it possible to make this dessert gluten-free?
Yes, you can make the dessert gluten-free by using gluten-free flour or a gluten-free pastry alternative for the base. Ensure that all other ingredients are also gluten-free.
Can I add any other flavors to the custards?
Absolutely! You can experiment with additional flavors such as hazelnut extract, almond extract, or even a pinch of coffee for added depth in the chocolate custard.
How do I store leftovers of Chocolate Custard Vanilla Squares?
Leftover squares should be stored in an airtight container in the refrigerator. They can last for up to 3 days while maintaining their taste and texture.
Can I freeze Chocolate Custard Vanilla Squares?
While it’s possible to freeze them, the texture might change upon thawing. If you choose to freeze, make sure to wrap them tightly in plastic wrap and then place them in an airtight container. Thaw in the refrigerator before serving.