Introduction / Hook
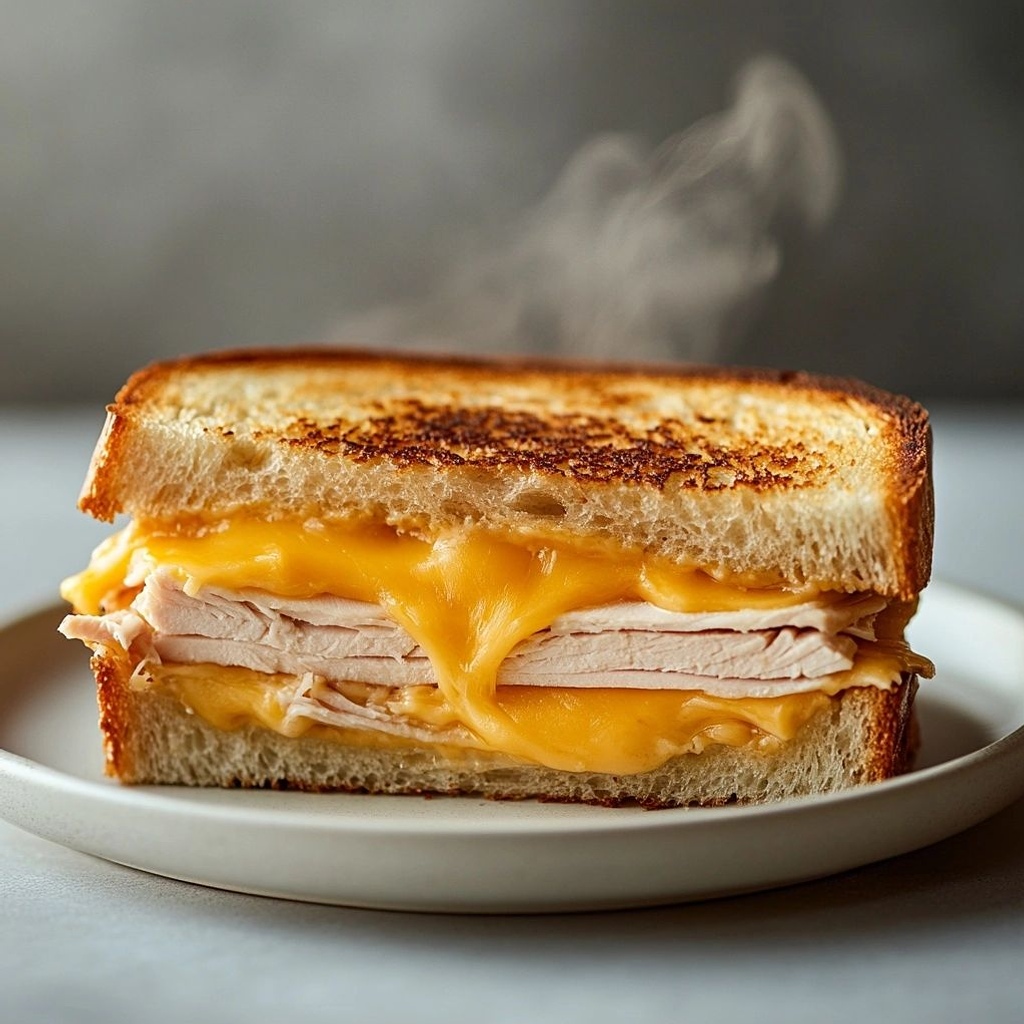
Imagine a warm afternoon spent in a sunlit kitchen, the kind of scent that instantly makes time slow down. You slice into a toasted sandwich that looks simple on the outside but bursts with contrasts: melty cheese, tender slices of turkey, a whisper of buttered bread, and a crisp edge that gives way to a pillow-soft interior. The Turkey Cheese Toastie is not merely a sandwich; it’s a small, satisfying ritual that turns everyday lunches into comfort, a quick weeknight savior that somehow tastes like a small celebration. In one bite you’ll hear the satisfying crack as the crust gives, feel the gooey embrace of cheese, and taste the savory, lightly browned turkey that sings with a hint of caramelized bread. This toastie isn’t trying to be fancy; it’s doing something timeless and essential—delivering warmth, familiarity, and a touch of indulgence with minimal fuss. It’s the kind of dish that becomes a family staple, requested on busy workdays, lazy weekends, and everything in between. Get ready to fall in love with a sandwich that respects your time but rewards your palate with comforting, classic flavors, elevated by simple techniques and thoughtful ingredients.
The Story Behind the Dish
Turkey and cheese toasties have a robust, wanderer’s history threaded through kitchens around the world. They’re the kind of dish that migrates with families, adapting to what’s on hand—the last sliver of roast turkey, a block of cheddar that’s been waiting in the fridge, a crusty loaf that’s seen better days. The idea is universal: a compact, portable meal that can be whipped up in moments and shared with friends and family. In many households, the toastie became a post-school ritual, a quick lunch during busy days, or a comforting snack after a long shift. The turkey variant often signals leftover magic—the leftovers that deserve a fresh chance to shine rather than ending up in the bin.
This particular incarnation—turkey and cheese nestled between slices of bread and toasted to a golden brown—has a subtle culinary lineage. Think of adaptations across different cultures: a Swiss-inspired melt with Emmental’s mild, nutty profile; a sharp cheddar punch that evokes comforting memories; a touch of mayonnaise or mustard brushed onto the bread for tang; or a sprinkle of herbs to carry a note of springtime brightness. What binds them together is the philosophy: take what you have, treat it gently, and let the heat—the transformation, the browning, the melty interior—do the storytelling. The turkey cheese toastie is a quiet celebration of leftovers, of budget-friendly brilliance, and of how a simple sandwich can be a canvas for memory-making. It’s humble in its ingredients, grand in its results, and wonderfully adaptable to the seasons and pantry with a flexibility that makes it a perennial favorite in kitchens everywhere.
Why You’ll Love This Recipe
- Speed and simplicity: Ready in minutes with minimal effort, perfect for a quick lunch or satisfying snack.
- Comfort in every bite: The tang of melted cheese, the savory warmth of turkey, and the toasty, crispy bread create a comforting, nostalgic flavor profile.
- Budget-friendly: Uses humble ingredients that often come together from pantry staples or leftover slices, turning them into something special.
- Versatile and forgiving: Flexible with fillings, condiments, and bread types, so you can tailor it to your mood or dietary needs.
- Kid-friendly and crowd-pleasing: A snack that both little hands and grown-ups will reach for, easy to customize for picky palates.
- Texture contrast: A crisp, caramelized crust shelters a gooey, melty interior with tender turkey—an irresistible combination.
- Make-ahead potential: Assemble a batch in advance, refrigerate, and grill when hunger strikes for a fast, satisfying meal.
Flavor Profile & Texture
The Turkey Cheese Toastie is a study in balance. The bread provides a sturdy, slightly sweet foundation, its edges turning golden-brown and delicate at the same time. When buttered correctly, the crust develops a toasty snap, giving way to a soft, almost chewy center that holds its shape as you bite. The cheese acts as the glue, melting into a luscious, silky layer that coats the turkey slices and threads through every fold of the bread. Depending on the cheese you choose, you’ll get a spectrum of flavors: a mellow, creamy swiss or cheddar brings a gentle bite and a toasty aroma; a pepper jack adds a subtle kick; a fontina or gruyère lends a rich, nutty depth. The turkey contributes a savory, slightly seasoned character—pale, lean slices that stay tender when warmed. A whisper of mayonnaise, mustard, or a light herb can lift the profile with brightness or a touch of tang, while a pinch of black pepper or a dash of smoked paprika can introduce a welcome complexity without overpowering the core flavors.
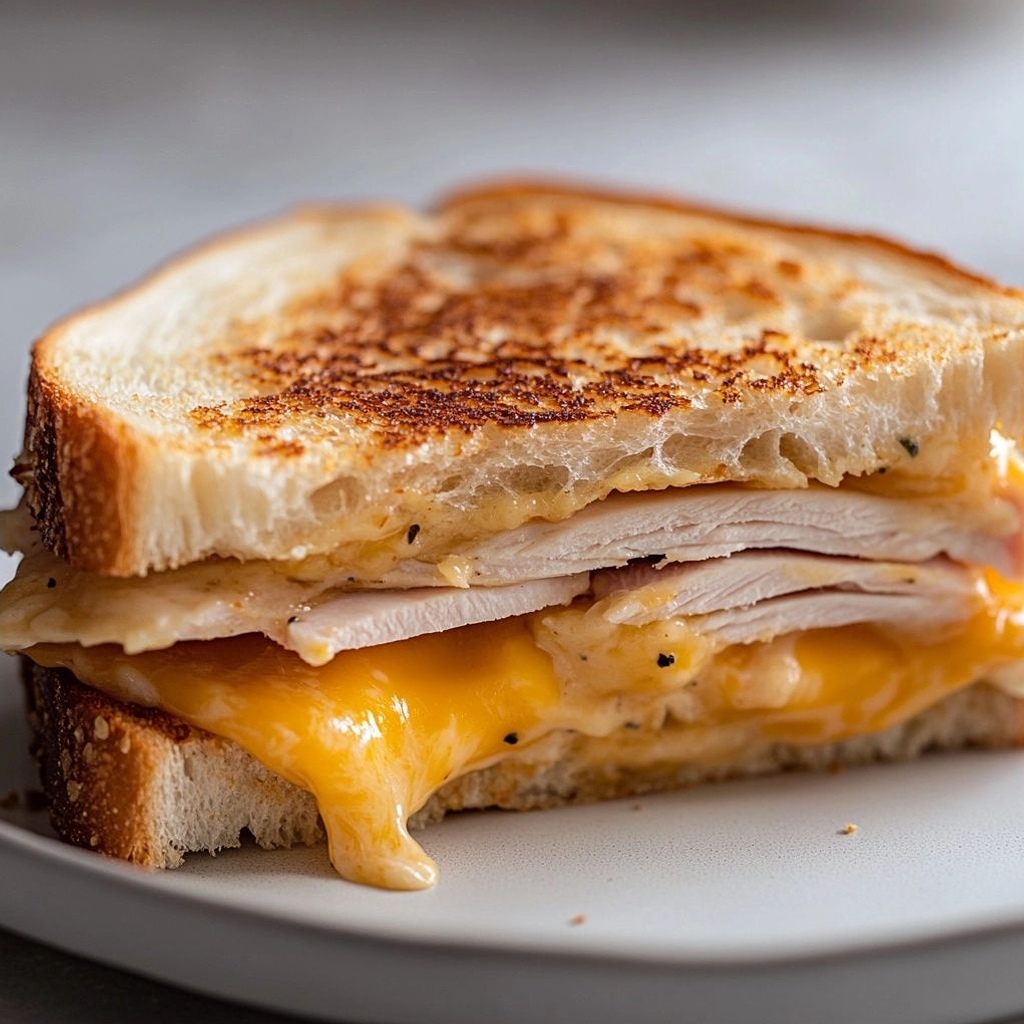
Texture-wise, you’re aiming for that crisp-edged crust that yields to a soft, molten center. The bread’s exterior should be evenly browned, not burnt, with a uniform crunch. Inside, the cheese should be gooey and stretchy enough to pull into long, delicious strings as you separate the halves. The turkey remains tender and juicy, studded with pockets of melted cheese. If you like a little extra bite, you can toss in a few crisp pickle slices, arugula, or a thin layer of caramelized onions that add contrast without overshadowing the main flavors. The end result is a sandwich that’s indulgent yet balanced, simple yet sophisticated enough to feel comforting during any season.
Occasions & Pairings
The Turkey Cheese Toastie is at home in a variety of settings. It shines as a quick weeknight dinner when time is tight but appetite is not. It’s a satisfying weekend lunch to share with family while a movie plays in the background. It also makes a superb picnic staple when paired with a light salad, a cup of soup, or a few crisp pickle spears. For a more refined version, serve it alongside a fresh tomato soup, a tangy citrus salad, or a small plate of olives and grapes that balance the richness with brightness. In colder months, it becomes a heartwarming comfort food that warms the kitchen and the soul, while in warmer months you can add a layer of brightness with fresh herbs or a quick salsa to refresh the palate.
Pairings to consider:
– Soups: Creamy tomato soup, broccoli cheddar soup, or a light chicken noodle soup.
– Salads: Simple green salad with lemon vinaigrette, arugula and shaved fennel, or a chickpea salad with herbs.
– Sides: Pickles, cornichons, or a handful of kettle-cooked chips for crunch.
– Beverages: A glass of iced tea with lemon, a light beer, or a sparkling water with a squeeze of lime.
Remember, the beauty of this toastie is that it can scale from a quick solo lunch to a shared, cozy meal with minimal extra effort.
Tips, Variations & Substitutions
Here are many ways to tailor the Turkey Cheese Toastie to your taste, dietary needs, or what you have in the fridge:
- Cheese choices: Use a mild cheddar for classic flavor, Gruyère for a nutty depth, Swiss for a smooth melt, or Pepper Jack for a hint of heat. A combination of cheeses often yields the best melt and complexity.
- Bread options: Sourdough provides a tangy crust and sturdy structure; whole-grain or multigrain adds nuttiness and extra texture; white sandwich bread yields a soft, even melt; brioche gives a touch of sweetness and a richer crumb.
- Butter vs. mayo: Butter yields a crispier crust with a classic flavor. A light spread of mayonnaise can add moisture and a subtle tang that complements the turkey.
- Flavor boosters: A thin smear of Dijon mustard or a whisper of horseradish can brighten the sandwich; add a few slices of tomato or some caramelized onions for depth; a handful of fresh herbs like chives or parsley can lift the finish.
- Health-focused twists: Use low-fat cheese blends, whole-grain bread, and turkey breast sliced thin to keep the sandwich lighter while maintaining flavor. You can also add leafy greens like baby spinach or arugula for extra nutrition and crunch.
- Vegan or dairy-free version: Replace cheese with a melty vegan cheese alternative and use a plant-based butter substitute. Ensure the bread is vegan if needed, and consider adding avocado slices for creaminess.
- Gluten-free option: Choose gluten-free bread. If you find the crust doesn’t crisp as well, brush the pan with a little oil and monitor heat more closely to prevent sticking.
- Regional twists: Add a touch of smoky paprika or chipotle for a Southwestern vibe; mix in a thin layer of pesto for a herby uplift; a zest of lemon in the greens can brighten the flavor profile in Italian-inspired versions.
Storage & Make-Ahead Ideas
If you like to be prepared, there are smart ways to store and reheat Turkey Cheese Toasties without sacrificing their texture or flavor. To make ahead, assemble the sandwiches (without grilling) on parchment on a baking sheet. Cover tightly with plastic wrap or foil and refrigerate for up to 24 hours. When you’re ready, grill or pan-sear as usual. If you end up with leftovers, store the cooled sandwich halves in an airtight container in the fridge for up to 2 days. Reheat in a skillet over medium heat, pressing gently with a spatula to re-crisp the crust, until the cheese is melted and the bread is thoroughly warmed. You can also toast the halves in an oven or toaster oven at a moderate temperature for a few minutes. If you want to freeze, assemble the sandwiches, wrap tightly, and freeze for up to 2 months. Thaw completely before cooking, then grill as usual for best results.
For a make-ahead meal prep option, consider pre-grating or pre-slicing your cheese and turkey, keeping condiments separate. When you’re ready to eat, you’ll only need to assemble, butter the bread, and grill, turning halfway to ensure even browning. The key is keeping the bread relatively dry and the fillings balanced, so you don’t end up with a soggy or unevenly heated sandwich.
Fun Facts & Trivia (Optional)
Did you know that simple grilled cheese-inspired sandwiches have a long and storied culinary history in many cultures? The concept of toasting bread with stuff inside goes back centuries, but modern, melty incarnations became household favorites with the post-war era when convenience and speed blended with abundant dairy and deli meats. Leftover turkey sandwiches were a practical way to stretch meals after holiday birds or Sunday roasts, and the Turkey Cheese Toastie became a practical, beloved daily ritual for many families. The exact combination of cheese, meat, and bread varies by region, but the core appeal remains the same: a compact, satisfying, and satisfyingly crispy bite that turns ordinary leftovers into something special. If you ever feel stuck in a sandwich rut, think of this toastie as a reminder that the simplest ideas—bread, cheese, and something savory in between—can deliver the most comforting, reliable flavors you crave after a long day.
Conclusion: A Toast to Everyday Comfort
There’s a reason why the Turkey Cheese Toastie endures: it’s a tiny testament to the joy of good, honest ingredients treated with care. It rewards you with warmth, texture, and taste in a way that feels earned, not manufactured. It’s adaptable, forgiving, and almost always delicious, whether you’re cooking for one or feeding a crowd. So next time you’re looking for something quick, satisfying, and a little nostalgic, reach for a slice of bread, a handful of turkey, and a blanket of cheese. Toast it, melt it, savor it—and let the simple act of making and sharing this humble sandwich remind you that comfort can be effortless, delicious, and endlessly comforting.
Ingredients
- Toastie Base
→ Choose sturdy sandwich bread (like sourdough, thick-cut white, or whole-grain) to hold the fillings without becoming soggy. Lightly toast or leave untoasted depending on preference; for a crisp final texture, butter the outside or brush with a thin layer of oil before grilling. - 2 slices sourdough bread (or your preferred sturdy bread)
→ The bread forms the structural shell of the toastie. Sourdough provides flavor and resilience when pressed, but any slice with good density works. Ensure slices are even in thickness for uniform toasting. - 2–3 slices deli turkey breast (about 4–6 oz)
→ Provides the protein and makes the filling hearty. Use cooked, sliced turkey from the deli or leftovers. If using leftovers, pat dry softly to avoid a soggy crust. Fold or layer evenly for consistent melt and bite. - 2 slices cheese (e.g., cheddar, Gruyère, or Swiss)
→ The cheese acts as the melt and binding agent, creating a gooey, cohesive filling. Choose a cheese that melts well; for extra flavor, combine two types (e.g., cheddar for sharpness with Gruyère for creaminess). Shred or slice evenly to ensure uniform melt. - 1–2 teaspoons unsalted butter (softened) or neutral oil for grilling
→ Fat is essential for crisping the bread and aiding even heat transfer. Softened butter gives a rich flavor and golden crust, while oil provides a higher smoke point. Apply to the outside of each bread slice before grilling. - Optional: 1–2 teaspoons mayonnaise or Dijon mustard (for spread)
→ Adds moisture, tang, and helps with flavor balance. If using mustard, mix with a small amount of mayo to prevent overpowering heat; spread a thin, even layer on the inside of the bread before adding fillings. - Optional: 2 slices tomato or a few thin cucumber sticks
→ Fresh produce adds brightness and moisture. If using tomato, pat dry to reduce excess moisture that can make the toast soggy. Layer evenly for balanced bite with cheese and turkey. - Salt and freshly ground pepper to taste
→ Seasoning enhances every component. Lightly season the turkey and cheese with salt if the cheese isn’t very salty; pepper adds a subtle kick. Add sparingly to avoid overpowering the flavors.
Instructions
- Preheat a heavy skillet or griddle over medium heat and set it to the appropriate temperature for toasting; ensure the surface is hot but not smoking before assembly so the bread sears quickly and develops a golden crust without burning the fillings.
→ A properly preheated pan creates an immediate sear, sealing in moisture and preventing the bread from becoming soggy as the cheese melts. - Butter the outside faces of both bread slices with softened unsalted butter or lightly brush with neutral oil, spreading evenly to corners; this ensures uniform browning and a crisp texture across the entire surface.
→ Fat on the outside promotes even caramelization and a rich, crisper crust that complements the filling. - If using optional mayonnaise or Dijon mustard, whisk a small amount of mayonnaise with Dijon mustard to form a thin, spreadable layer, then lightly spread it on the inside faces of one bread slice to add moisture and tang without making the bread soggy.
→ A thin layer protects the bread from drying out and helps balance flavors with the turkey and cheese. - Layer two slices of sourdough bread with the buttered sides facing outward on your work surface, then place the spread (if using) on the inner face of the bottom slice, ensuring an even coverage to the edges.
→ Even spreading prevents pockets of concentrated seasoning and ensures consistent toasting across the surface. - Arrange 2–3 slices of deli turkey breast in a single, even layer over the bottom bread, overlapping slightly if needed but keeping the layer cohesive so the filling stays intact during pressing.
→ A uniform layer promotes even heating, prevents crowding, and helps the cheese melt through the turkey for a balanced bite. - Top the turkey with 2 slices of cheese (or a layered combination like cheddar and Gruyère) arranged to cover the turkey completely, then sprinkle a pinch of salt and freshly ground pepper over the cheese only if you feel the cheese needs a flavor boost.
→ Cheese acts as the binding melt; coverage ensures every bite is creamy and cohesive while seasoning enhances overall flavor without overpowering the filling. - Place the second slice of bread on top, buttered side facing outward, forming a complete sandwich ready for grilling; press gently to help the layers settle and reduce air pockets.
→ Gentle pressing helps the sandwich compress into a uniform shape, aiding even contact with the hot skillet for a consistent crust. - Grill the assembled toastie in the preheated skillet, pressing down with a spatula or using a sandwich press, and cook for 3–4 minutes on the first side until the bread is deeply golden and the cheese begins to melt; rotate or flip halfway to ensure even browning.
→ A steady, moderate heat allows the cheese to melt without scorching the bread, creating a glossy crust and a cohesive filling. - Flip the toastie carefully and cook for an additional 2–3 minutes, applying light pressure to keep the sandwich compact while the cheese finishes melting and the bread develops a crisp, caramelized crust; remove from heat when the cheese is fully melted and the interior is hot.
→ Finishing on the second side guarantees a uniform texture throughout and a fully melted filling that holds together upon cutting. - Let the turkey cheese toastie rest for 1–2 minutes off the heat before slicing; this brief rest allows the cheese to set slightly, making clean cuts and preventing the molten center from oozing excessively.
→ Resting helps the structure set, improves bite integrity, and enhances overall presentation when served. - Optional: Add thin tomato slices or cucumber sticks between the turkey and cheese before the final top bread layer for brightness, ensuring any moisture is patted dry to avoid sogginess; slice tomatoes thinly and distribute evenly.
→ Fresh produce adds acidity and crunch, balancing rich cheese and turkey while maintaining a crisp bite. - Season to taste with a light pinch of salt and pepper on the interior or with the cheese if needed after the final rest, tasting and adjusting in small increments to avoid overpowering the delicate balance of flavors.
→ Proper seasoning elevates the sandwich without overwhelming the other components, and incremental tasting ensures you achieve the intended profile.
Notes
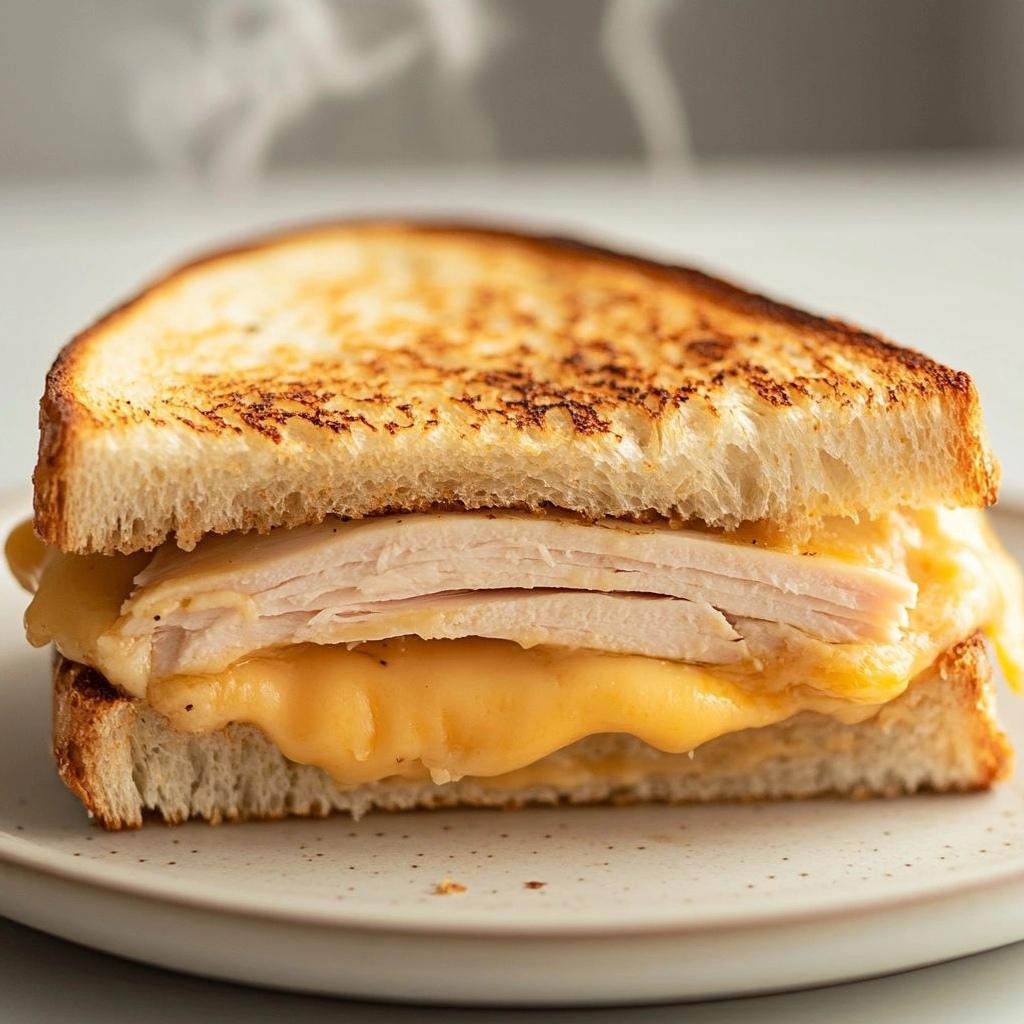
These turkey cheese toasties are a quick, comforting lunch option that balance protein, melted cheese, and crisp bread. You can customize them by using different cheeses (emmental, fontina, or a sharp cheddar), adding a spread like mayonnaise or Dijon for moisture and tang, or including fresh tomato or cucumber for brightness. For a crisper crust, butter the outside of the bread and grill in a hot skillet or panini press until golden and the cheese is melted. If you prefer a lighter version, toast the bread lightly and skip butter/oil, then grill briefly just to melt. For even melting, assemble with evenly layered turkey and cheese, press with a spatula or the pan lid, and allow the sandwich to rest a minute before cutting. They pair nicely with a simple green salad or pickles and can be made ahead and reheated in a toaster oven. Always choose high-quality deli turkey and a cheese that melts well for the best result.
Tips
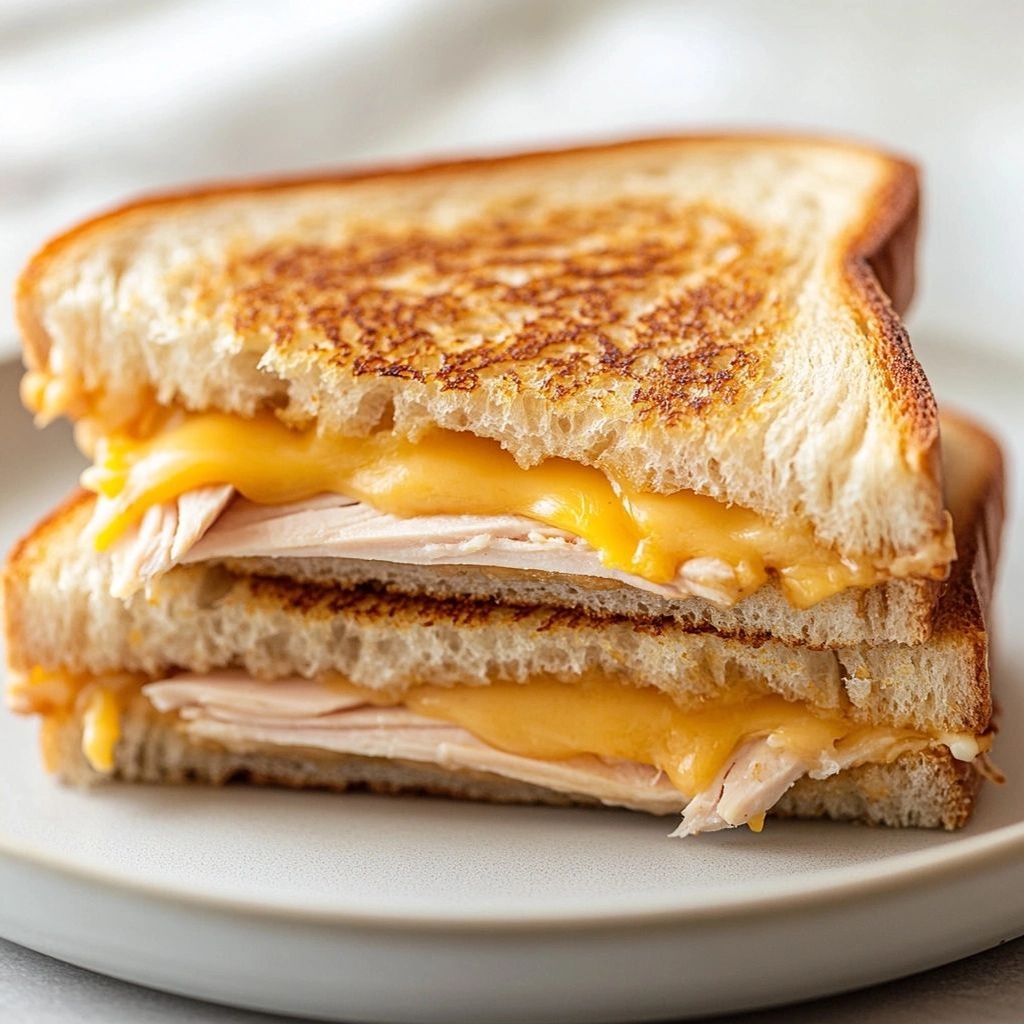
- Pre-toast the bread lightly if you want extra structure, especially with very soft sandwich breads. A quick 1–2 minute toast keeps the crust crisp without risking soggy interiors after adding fillings.
- Spread a thin layer of softened butter or oil on the outside faces of both bread slices. This creates a golden, glossy crust and helps prevent sticking when grilling on a hot pan or sandwich press.
- Choose a cheese that melts well and pairs with turkey. A mix like cheddar for sharpness and Gruyère for creaminess yields a balanced, stringy melt. If you prefer simpler flavors, a single melty cheese (Swiss or cheddar) works great too.
- Slice cheese evenly to match the bread size so every bite melts consistently. If using shredded cheese, distribute it evenly rather than piling in the center.
- Pat turkey slices dry if they’re from the fridge to remove excess moisture that could make the toast soggy. Layer them evenly so each bite has meat and cheese.
- Consider a light mayonnaise or Dijon spread on the inside of the bread for moisture and tang, but don’t overdo it—thin layers prevent sogginess and balance the richness of the cheese.
- If adding tomato, pat dry well and slice thinly to reduce moisture. Layer tomato away from the bread edge to prevent water from seeping into the crust during grilling.
- Use medium-low heat and a weighted press or a second pan to press the toastie slightly as it cooks. This helps the cheese melt fully while the bread browns evenly, minimizing burnt edges.
- Cover the pan briefly after adding the top slice to trap heat and encourage even melting, then uncover to finish browning and crisping the exterior.
- Flip once halfway through cooking for even browning on both sides. If you’re using a panini press, simply close and let the heat do the work until the cheese is melted and the bread is golden.
- Rest the toastie for 1–2 minutes after removing from heat. This helps the cheese set slightly, making it easier to slice and preventing ooze.
- Variations: add a handful of arugula or baby spinach after melting for a peppery bite, or swap turkey for chicken or ham to vary flavors without changing the technique. For a crunch, sprinkle a little red pepper flakes or cracked black pepper before serving.
FAQ
What is a Turkey Cheese Toastie?
A Turkey Cheese Toastie is a toasted sandwich made with sliced turkey, melted cheese, and bread. It’s warm, savory, and quick to make for a satisfying meal.
What ingredients do I need?
Typical ingredients: sliced turkey, cheese (like cheddar, mozzarella, or Swiss), bread, and butter or oil for toasting. Optional extras include tomato slices, mayo, mustard, greens, or pickles.
Can I use alternative breads?
Yes. You can use white, whole wheat, sourdough, rye, or gluten-free bread. For a crisper crust, choose a sturdier bread like sourdough.
What’s the best way to toast it?
Butter the outside of the bread for a golden crust, layer turkey and cheese between slices, then cook in a skillet over medium heat for 3–5 minutes per side, or until the cheese is melted and the bread is toasted. You can also use a toaster oven or panini press.
How do I prevent the cheese from leaking out?
Use a moderate amount of cheese, place it evenly in the center, and avoid piling on too much liquid fillings. If using tomato or pickles, pat dry to reduce moisture.
What if I don’t have butter?
You can use olive oil, mayonnaise spread on the outside, or cooking spray. Each option yields a slightly different crust texture.
Can I add extras like tomato or bacon?
Absolutely. Add tomato slices, cooked bacon, avocado, mustard, or mayo to customize. Keep fillings balanced to ensure even melting and toasting.
How long does it keep and how should I store leftovers?
Leftovers can be stored in the refrigerator for 2–3 days. Reheat in a skillet or toaster oven to restore crispiness. Avoid microwaving for best results, as it can make the bread soggy.
Is this recipe kid-friendly?
Yes. It’s simple, quick, and adaptable. You can cut it into smaller halves or triangles for kids and adjust fillings to their taste preferences.