Introduction / Hook
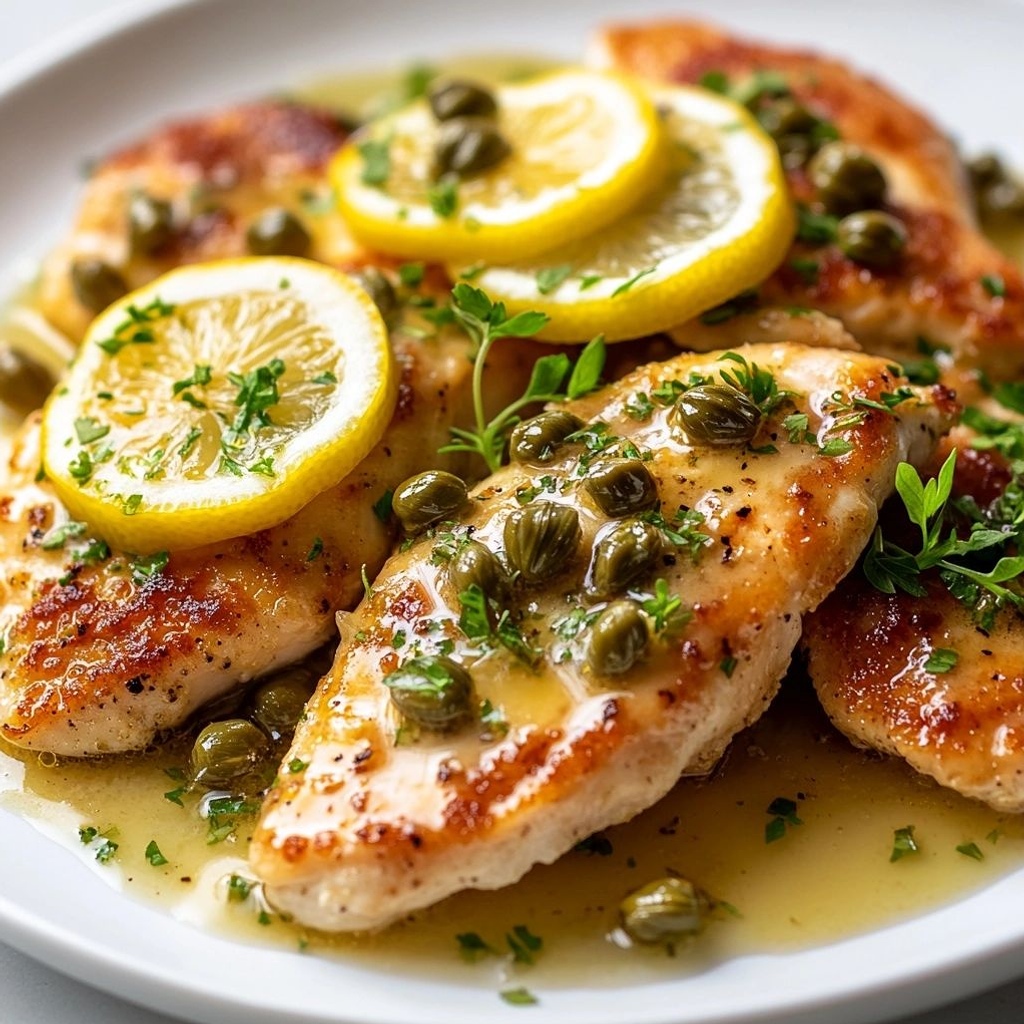
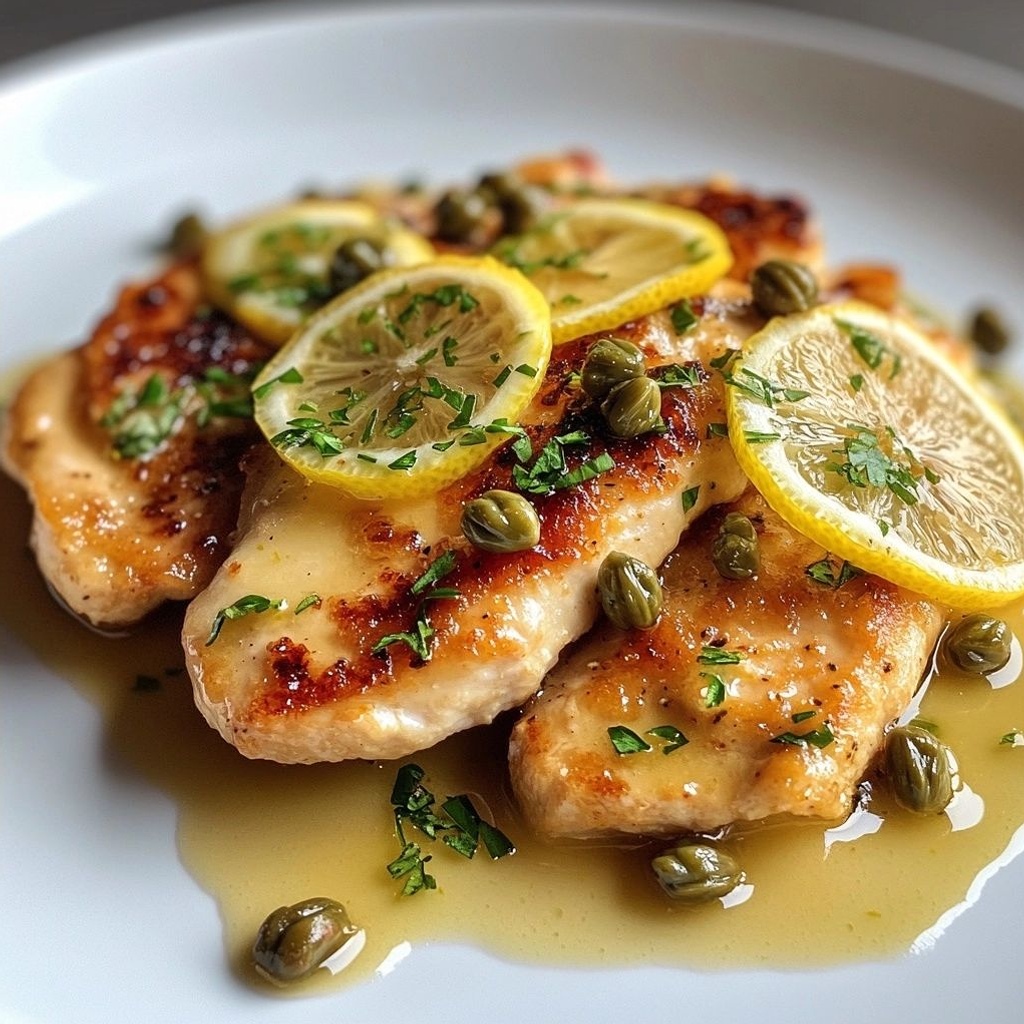
Imagine a bright, gleaming skillet where golden chicken sizzles until perfectly browned, its surface lacquered with a glossy, tangy lemon-caper sauce. The air fills with the whisper of butter, a kiss of white wine, and the faint, inviting aroma of garlic dancing with zest. This is piccata in all its glamorous simplicity: a dish that takes humble chicken breasts and elevates them to restaurant-worthy elegance with just a handful of pantry staples. Each bite delivers a balance of richness and brightness—the savory depth of seared chicken, the briny pop of capers, the citrus snap of lemon, and a silky, velvety sauce that clings to every nibble. It’s comfort food with a touch of sophistication, quick enough for a weeknight but refined enough for entertaining guests. Welcome to Chicken Piccata: a dish that feels like sunshine on a plate, even on the coldest evenings.
This description will guide you through a rendition that stays true to the classic spirit while inviting you to personalize and experiment. You’ll learn how the technique—quick pan-searing, deglazing with wine, and emulsifying a glossy reduction—creates glossy, restaurant-level results in a home kitchen. The dish is deceptively simple, yet it rewards careful attention to heat control, timing, and balance between acidity and richness. If you crave a meal that is bright, satisfying, and elegantly straightforward, Chicken Piccata is your gateway dish.
The Story Behind the Dish
Chicken Piccata has roots in the traditional Italian technique of “in butter” sautéing, which emphasizes quick cooking in a small amount of fat to achieve caramelized edges and a juicy interior. While the exact origin story varies, the dish as we know it gained popularity in Italian-American cuisine, where chefs embraced citrus and capers as signature notes that harmonize with poultry. The caper, a tiny bud that’s pickled in brine, provides a bright, tangy counterpoint to the tenderness of the chicken, while lemon—especially the zest—lends a sunny aromatics that feels both comforting and celebratory. The concept of finishing a dish with a glossy pan sauce—made by deglazing with wine and butter—emerged from classic techniques that maximize flavor by scraping up the browned fond from the pan, rather than discarding it.
Anecdotally, piccata-inspired preparations have traveled across continents, taking on regional touches. Some kitchens favor a splash of white wine or even a touch of chicken stock to extend the sauce, while others lean into an extra squeeze of lemon for a more assertive citrus note. The common thread is a lightness that never neglects depth: seared chicken that stays juicy, a sauce that’s vibrant but balanced, and a finish that glistens with the sheen of butter. The dish has become a beloved staple in homes and bistros alike because it embodies the idea that simplicity, technique, and a handful of bright ingredients can conjure a meal that feels special without demanding hours in the kitchen.
Why You’ll Love This Recipe
- Quick and reliable: ready in about 30 minutes, perfect for busy weeknights or casual entertaining.
- Elegant flavor with everyday ingredients: bright citrus, tangy capers, and a velvety sauce that coats every bite.
- Versatile: pairs beautifully with pasta, rice, or vegetables, and you can tailor the sauce to your taste.
- Low-fuss technique: sear, deglaze, reduce, finish with butter—standard methods that yield restaurant-worthy results.
- Comforting yet sophisticated: a balanced dish that satisfies both the craving for homestyle nourishment and the desire for something a bit special.
- Diet-friendly adaptability: easily adapted for gluten-free, lighter, or dairy-conscious diets.
Flavor Profile & Texture
The flavor profile of Chicken Piccata is all about contrast and harmony. The chicken starts with a savory, caramelized crust that adds depth and a touch of roasted aroma. Inside, the meat remains tender and juicy, a testament to careful searing and not overcooking. The sauce—bright, silky, and luxurious—unfolds in layers:
-
Lemon provides a clean, zippy acidity that lifts the dish and cuts through the richness of the butter and olive oil. - Briny pop: Capers contribute a distinctive saltiness and tang that echo the lemon’s acidity, creating a harmonious balance rather than a single-point sharpness.
- Buttery gloss: A finish of cold butter whisked into the sauce creates a satin sheen and a lush mouthfeel that coats the chicken and any accompanying components.
- Herbal whisper: A touch of parsley or oregano brightens the plate and adds a fresh, green aroma that lingers.
Texturally, you’ll experience a crisp exterior giving way to a tender interior, followed by the velvety, lacquered sauce that clings to every surface. The sauce’s consistent emulsion makes each bite feel cohesive, with the lemon’s zing and the capers’ snap weaving through the creamy thread of butter. When served with pasta—such as linguine or spaghetti—the starches absorb the sauce, turning each forkful into a complete, delicious moment. If you choose a lighter route, serving the chicken atop a bed of sautéed greens or roasted vegetables provides a fresh counterpoint to the indulgence of the butter-laden sauce.
Occasions & Pairings
Chicken Piccata shines in a variety of settings. It can anchor a busy weeknight dinner when you want something slightly elevated but not fussy, or it can be the centerpiece of a more relaxed dinner party, where guests appreciate classic flavors done well. Its bright, citrus-forward profile makes it an ideal dish for spring menus, Sunday dinners, or when you’re craving something that feels celebratory without requiring a long ingredient list.
- Side dishes: classic buttered noodles or al dente linguine, mashed potatoes, or a simple sauté of asparagus, green beans, or wilted spinach.
- Salads: a crisp arugula salad with shaved Parmesan and a lemon vinaigrette echoes the dish’s citrus notes.
- Wine: a dry white such as Pinot Grigio, Sauvignon Blanc, or a moderate Chardonnay pairs beautifully with the lemony sauce and fishy-capery brightness; for non-alcoholic options, consider a sparkling lemon water or a chilled white grape juice.
- Desserts: a light citrus-inflected dessert like lemon semifreddo or orange-blossom poached pears complements the meal without overpowering it.
Tips, Variations & Substitutions
Here are practical ways to tailor Chicken Piccata to your kitchen, dietary needs, and flavor preferences:
- Protein swaps: Use thinly sliced turkey cutlets as an alternative to chicken, or keep chicken but nestle with skinless, boneless chicken thighs for extra moisture.
- Gluten-free option: Ensure your flour dredge is gluten-free, or skip dredging altogether for a lighter crust. Use gluten-free pasta or serve over rice to keep the dish gluten-free.
- Vegan adaptation: Create a plant-based version with pan-seared mushroom cutlets or baked tofu; use olive oil instead of butter and a vegan butter substitute in the sauce.
- Low-fat approach: Pan-sear with less oil and finish the sauce with a small amount of cold butter or a splash of cashew cream for richness without heavy dairy.
- Flavor twists: Add a pinch of crushed red pepper for warmth, or finish with caper brine for an extra tangy note. A sage or thyme sprig can introduce an earthy dimension that complements the chicken.
- Make-ahead notes: The sauce can be prepared ahead and gently reheated, though the butter should be added off heat to preserve the emulsion. Reheating slowly helps maintain gloss and balance.
- Pan technique: For a perfect crust, ensure the pan is hot before adding the chicken, and resist the urge to move it too soon—letting the surface sear creates attractive browning and flavor.
Storage & Make-Ahead Ideas
Leftovers can be a welcome surprise the next day if stored properly. The best approach is to separate the components and reassemble when reheating:
- Storage: Refrigerate leftovers in an airtight container for up to 3 days. For optimal flavor, store the chicken and sauce separately to prevent the chicken from becoming soggy.
- Freezing: While not typically frozen as a primary method due to the delicate nature of the sauce, you can freeze the cooked chicken with a portion of the sauce for up to 2 months. Thaw in the refrigerator overnight and reheat gently on the stove, whisking in a little extra lemon juice or a spoonful of butter to re-emulsify.
- Reheating: Reheat gently over low heat, adding a splash of stock or water to loosen the sauce if needed. Finish with a quick whisk of cold butter to restore gloss and body.
- Make-ahead variations: Prepare the lemon-caper sauce in advance and keep it covered in the refrigerator. When ready to serve, sear the chicken, deglaze the pan, and combine with the pre-made sauce for a quick finish.
Fun Facts & Trivia (Optional)
– Capers used in piccata are the pickled flower buds of the Capparis spinosa shrub; their distinctive briny bite has roots in Mediterranean preservation practices dating back centuries.
– The term “piccata” is often linked to a cooking technique that emphasizes a quick, high-heat sear and a glossy finish, a method that has influenced countless Italian-inspired dishes beyond chicken.
– Lemon plays a dual role in this dish: it brightens the sauce and helps balance richness, while the zest adds an aromatic citrus perfume that lifts the entire plate before the first bite.
– In some regions, piccata is prepared with white wine reductions that contribute a nuanced acidity rather than relying solely on lemon; recipes vary with family traditions and local ingredients.
Ingredients
- Chicken Piccata Base
→ 2 skinless, boneless chicken breasts, pounded to an even thickness (about 1/2 inch) to ensure uniform cooking and quick searing. Use a meat mallet or rolling pin between two sheets of plastic wrap. This helps the cutlets cook quickly without drying out and creates a tender, even crumb around each piece. - All-purpose flour for dredging
→ Lightly dredge chicken in seasoned flour to create a thin coating that will crisp in the pan and help form a flavor-packed base for the sauce. Dust both sides of each breast just before cooking. For a gluten-free version, substitute with almond flour or a gluten-free all-purpose blend and shake off excess to prevent a gummy texture. - Salt (to taste)
→ Enhances flavor and helps draw moisture into the meat before cooking. Lightly season both sides of the chicken during dredging and adjust the final salt level of the sauce at the end. For low-sodium cooking, use a measured amount and taste as you go. - Freshly ground black pepper
→ Adds subtle heat and balances the bright acidity of the lemon. Grind just before use for maximum aroma. You can adjust the amount to suit your preference for peppery notes in the crust and sauce. - Extra-virgin olive oil
→ Used for searing the chicken to develop a golden crust and to start the sauce with a rich, fruity fat. Keep the heat medium-high to prevent burning the flour coating and to achieve a crisp exterior without overcooking the chicken. If your pan is smoking, reduce the heat slightly and add a small knob of butter later for flavor. - Unsalted butter
→ Adds a lush, velvety texture to the sauce and helps deglaze the pan after browning the chicken. Use part for searing and part to finish the sauce, emulsifying with the pan juices for a glossy finish. For dairy-free versions, substitute with a high-heat-safe margarine or olive oil blend, though texture may vary. - Garlic cloves, minced
→ Provides a savory backbone to the sauce; sauté until fragrant to release its aroma without browning too deeply. Use fresh garlic for the strongest flavor; you can press or mince to a paste for quicker incorporation into the sauce if desired. - Dry white wine or additional chicken broth
→ Deglazes the pan to lift browned bits and forms the tangy, bright sauce. White wine adds citrusy acidity and depth; if avoiding alcohol, substitute with extra chicken broth. Let the alcohol cook off briefly before adding other liquids to keep the sauce from tasting harsh. - Chicken broth (low-sodium preferred)
→ Builds the main body of the sauce and adds moisture. Use warmed broth to prevent temperature shock in the pan and reduce the risk of clumping when returning the chicken to the sauce. If using wine, balance with broth to your preferred richness. - Fresh lemon juice
→ Brightens the dish and provides signature Piccata acidity. Use freshly squeezed juice rather than bottled for the freshest flavor. Add gradually to taste and adjust with a little zest (see next item) if you want more citrus aroma without bitterness. - Lemon zest (optional but recommended)
→ Intensifies lemon aroma and elevates the sauce with a sunshine-note that pairs beautifully with butter and capers. Zest the outer yellow skin in thin strips, avoiding the white pith for a clean citrus finish. Add at the end to retain aroma. - Capers, drained
→ Provide a briny, citrusy pop that is essential to classic Piccata. Rinse quickly to remove excess salt if using in a low-sodium version, then pat dry before adding to the sauce to keep them from disintegrating and to maintain texture. - Fresh parsley, chopped (for garnish)
→ Adds color and a light herbal finish. Chop finely and sprinkle over the finished dish just before serving to keep the herbs vibrant. If you prefer, substitute with fresh thyme or dill depending on your pairing with sides.
Instructions
- Pound the chicken breasts to an even thickness of about 1/2 inch (12–13 mm) between two sheets of plastic wrap using a meat mallet or rolling pin to ensure uniform cooking and a tender, quick sear.
→ An even thickness prevents overcooking on the edges while the center finishes, and it creates a uniform crust that browns consistently. - Season the chicken lightly with salt and freshly ground black pepper on both sides before dredging to heighten flavor and aid adhesion of the coating.
→ Salt seasons the meat and draws moisture, while pepper adds a gentle heat that balances the acidity of the sauce once cooked. - Dredge each piece of chicken in all-purpose flour, shaking off excess to leave a thin, even coating that will crisp in the pan and form a flavorful base for the sauce.
→ A light dredge creates a protective crust that helps seal in juices and provides surface texture for deglazing later. - Heat a heavy skillet over medium-high heat and add a thin layer of extra-virgin olive oil, allowing it to shimmer before adding the chicken to ensure a golden crust without sticking.
→ Searing in a hot pan develops color, flavor, and a flavorful fond that deglazes into the Piccata sauce. - Cook the chicken in a single layer until well browned on the first side, about 2–3 minutes, then flip and sear the second side until just cooked through (internal temperature around 165°F/74°C). Remove to a warm plate to rest.
→ Resting prevents the juices from rushing out and helps keep the meat moist; a quick sear seals in aroma while avoiding overcooking the center. - Reduce the heat to medium and add a knob of unsalted butter to the pan, allowing it to melt and bubble, then scrape up the browned bits (fond) with a wooden spoon to incorporate their flavor into the sauce.
→ Butter enriches the sauce and the fond provides depth; deglazing lifts caramelized sugars and meat juices for a glossy final texture. - Add the minced garlic to the pan and sauté for about 30–60 seconds until fragrant, taking care not to brown it, which can introduce bitterness.
→ Garlic blooms quickly; gentler heat preserves its sweet, nutty aroma that anchors the sauce’s brightness. - Pour in dry white wine (or additional chicken broth if avoiding alcohol) to deglaze, scraping the pan to lift any browned bits, and simmer for 1–2 minutes to reduce and mellow the alcohol if using wine.
→ Deglazing creates a tangy, aromatic foundation for the sauce and concentrates flavors by reducing volume slightly. - Stir in warmed chicken broth, whisking to blend with the fond and butter, then bring to a gentle simmer to meld flavors and thicken slightly.
→ Warm broth prevents temperature shock and helps the sauce emulsify with the butter for a silky texture. - Stir in freshly squeezed lemon juice to brighten the sauce, tasting as you go and adjusting with a touch more lemon or broth to balance acidity with richness. Add optional lemon zest at this stage for extra aroma.
→ Fresh lemon provides the signature Piccata brightness; balancing acidity with richness ensures a lively yet cohesive sauce. - Return the chicken to the pan, nestling the cutlets into the sauce and simmer just until heated through, turning once to coat the meat with the sauce.
→ Reheating gently in the sauce allows the flavors to marry and keeps the chicken moist without toughening the coating. - Stir in drained capers and cook for 1–2 minutes to infuse the sauce with their briny pop, then season to taste with a final pinch of salt and pepper if needed.
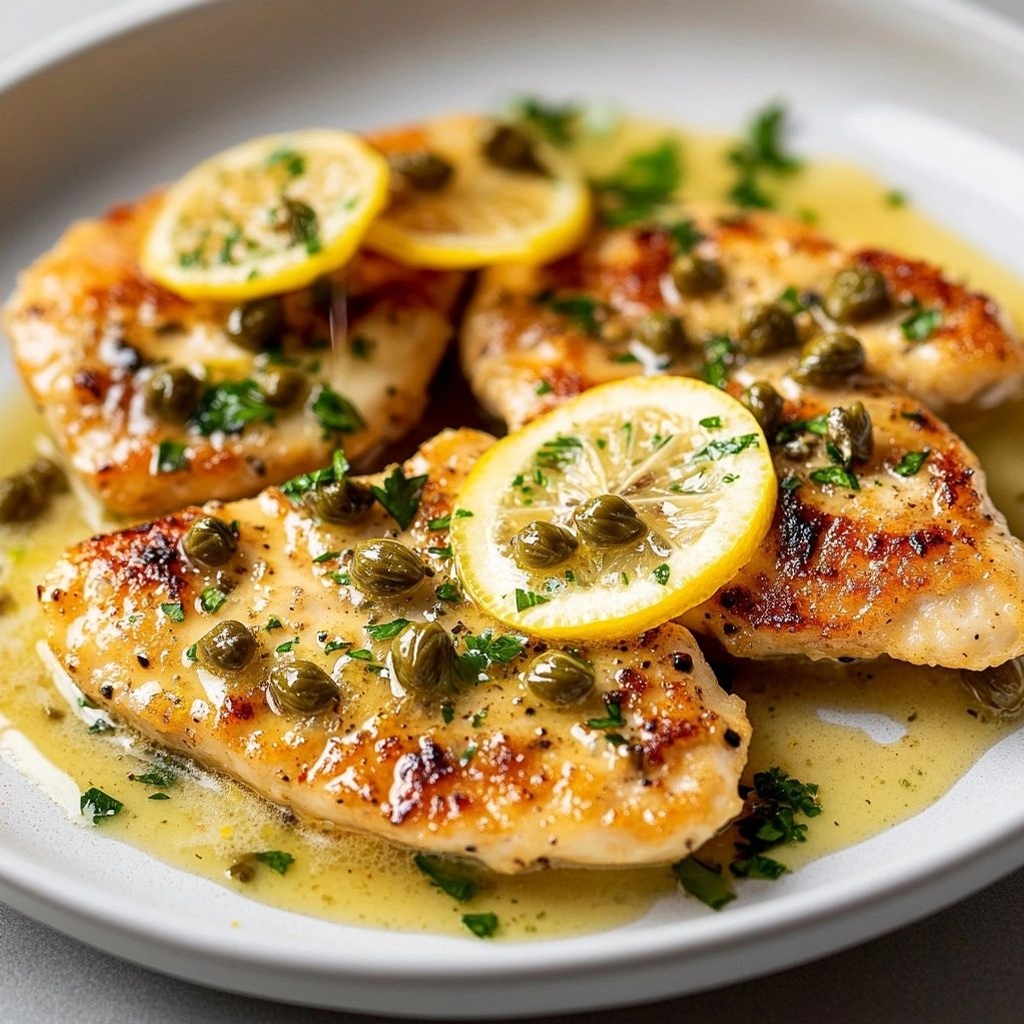
→ Capers contribute a bright, salty contrast that cuts through the richness and harmonizes with lemon and butter. - Transfer the chicken to a serving platter or plates, spoon the sauce over the top, and garnish with finely chopped fresh parsley for color and a clean herbal finish.
→ Parsley adds freshness and visual appeal; serve immediately to enjoy the vibrant flavors and tender texture.
Notes
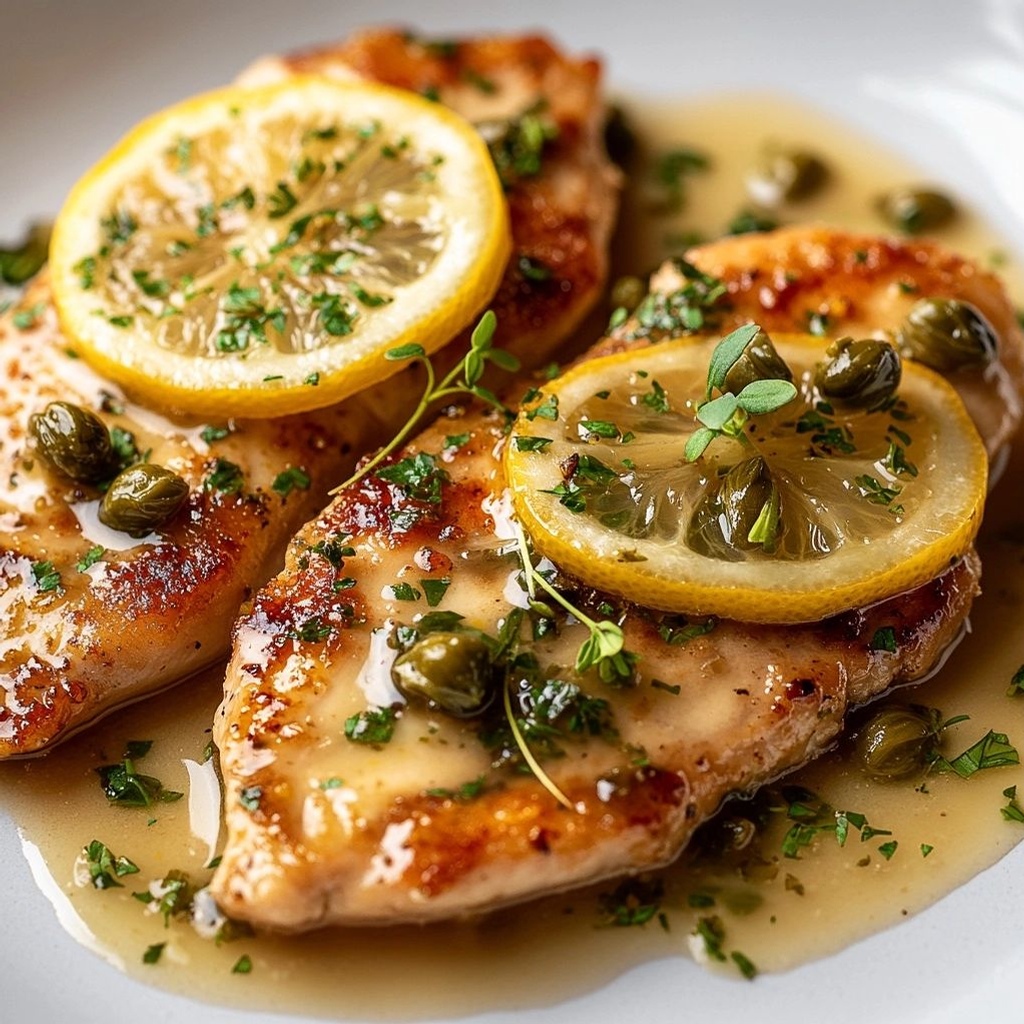
These chicken piccata are a bright, weeknight-friendly dish that comes together quickly with a crisp sear and a tangy lemon-caper sauce. The thinly pounded cutlets cook evenly and stay juicy when finished with a glossy butter-pan sauce. For a gluten-free version, use almond flour or a certified gluten-free all-purpose blend for dredging, and ensure the broth and wine (if used) are gluten-free labeled.
Tips for a perfect sear: pat the chicken very dry before dredging to help the coating crisp up. Do not crowd the pan; cook in batches if needed to maintain a steady sizzle. Use a light hand with flour to keep the crust thin and crisp rather than heavy.
Flavor and texture variations: swap fresh lemon juice for half the amount of white wine for a lighter, brighter sauce, or add a splash of chicken stock to mellow the acidity. Add a pinch of red pepper flakes if you like a subtle warm heat. Finish the dish with a touch more cold butter off the heat for a velvety sheen.
Make-ahead and storage: the coated chicken can be breaded ahead of time and refrigerated for up to 2 hours before cooking. The sauce is best made fresh; however, leftovers store well in the fridge for 2–3 days and can be reheated gently over low heat. For freezing, freeze the cooked chicken in a light sauce, then rewarm slowly to preserve moisture.
Serving ideas: pair with sautéed greens, buttered new potatoes, or a simple pasta tossed in olive oil and parsley to mirror traditional Piccata. A crisp white wine such as Pinot Grigio or Sauvignon Blanc enhances the citrus notes, while a sparkling water with a twist of lemon makes a refreshing non-alcoholic pairing.
Tips
- Prevent sticking and achieve a crisp crust by patting the chicken dry before dredging and letting the oil heat until shimmering but not smoking before adding the cutlets.
- Dust lightly and evenly with flour, tapping off excess to avoid a gummy coating. If your flour clumps, sift it and mix with a pinch of salt and pepper for even seasoning.
- Season the chicken just prior to dredging and taste your sauce as you go. A little extra salt at the end can balance brightness from the lemon and capers.
- Use medium-high heat for searing to develop a golden crust quickly without drying out the chicken. If the pan starts to smoke, lower the heat slightly and adjust butter later for flavor.
- When searing, avoid overcrowding the pan; cook in batches to preserve temperature and achieve even browning.
- Deglaze the pan with white wine or broth to lift the browned fond. Let the liquid simmer briefly to cook off alcohol (if using wine) and concentrate flavor before adding more liquids.
- Warm the chicken broth before adding it to the pan to prevent temperature shock and to help keep the sauce smooth and cohesive.
- Cook garlic just until fragrant, then add liquids. Over-browning garlic can introduce bitterness, so keep the heat steady and stir frequently.
- For a glossy, velvety sauce, swirl in butter off heat or over very low heat after the sauce has reduced. Do not boil once butter is added to prevent separation.
- If using wine, choose a dry white such as Pinot Grigio or Sauvignon Blanc. For a non-alcoholic version, use a little extra broth plus a splash of lemon juice for brightness.
- Rinse capers briefly if they taste overly salty, then pat dry to maintain texture and prevent added saltiness in the sauce.
- Finish with a touch of lemon juice and, if desired, lemon zest for a fresh burst of citrus aroma right before serving.
- Garnish with chopped fresh parsley just before plating to maintain vibrant color and a hint of herbal brightness.
- Rest the finished dish for a minute or two after removing from heat to allow flavors to meld before plating with sides like sautéed greens or roasted potatoes.
FAQ
What is chicken piccata?
Chicken piccata is a classic Italian-American dish featuring thin chicken cutlets sautéed until golden, then simmered in a tangy caper-lemon sauce. It’s typically served with pan sauce poured over the meat and often accompanied by pasta or vegetables.
What ingredients are essential for traditional chicken piccata?
Key ingredients include boneless, skinless chicken cutlets, flour for dredging, olive oil or butter for sautéing, lemon juice, capers, chicken stock or white wine, and fresh parsley for garnish.
Can I use chicken breasts instead of cutlets?
Yes. You can thinly slice chicken breasts into cutlets or pound them to 1/4 inch thickness to ensure quick, even cooking. Alternatively, use whole chicken breasts and slice them after cooking.
Is flour necessary for the coating?
Coating the chicken in seasoned flour helps create a light crust and helps thicken the sauce. If you’re gluten-free, you can use cornstarch or a gluten-free flour blend.
How do I prevent the chicken from sticking or drying out?
Pat the chicken dry, lightly dredge in flour, and cook in hot oil or butter over medium-high heat in a single layer without overcrowding the pan. Let the chicken rest for a couple of minutes after cooking.
What’s the role of capers in chicken piccata?
Capers add a bright, tangy, briny note that complements the lemon. Rinse them if they’re very salty, and chop if you prefer a milder texture.
Can I adjust the lemon flavor?
Yes. Start with the juice of 1 lemon and adjust to taste. You can add a touch of lemon zest for extra brightness, or reduce the amount for a milder citrus note.
Can I make chicken piccata ahead of time?
The sauce can be prepared in advance and kept refrigerated for up to 2 days. Reheat gently and add a splash of stock or water if it thickens. Cook the chicken fresh to serve for best texture.
What’s a good serving suggestion?
Serve chicken piccata with cooked pasta, rice, or roasted vegetables. A simple side of sautéed greens or steamed asparagus works well, with extra sauce spooned over the top.