Introduction / Hook
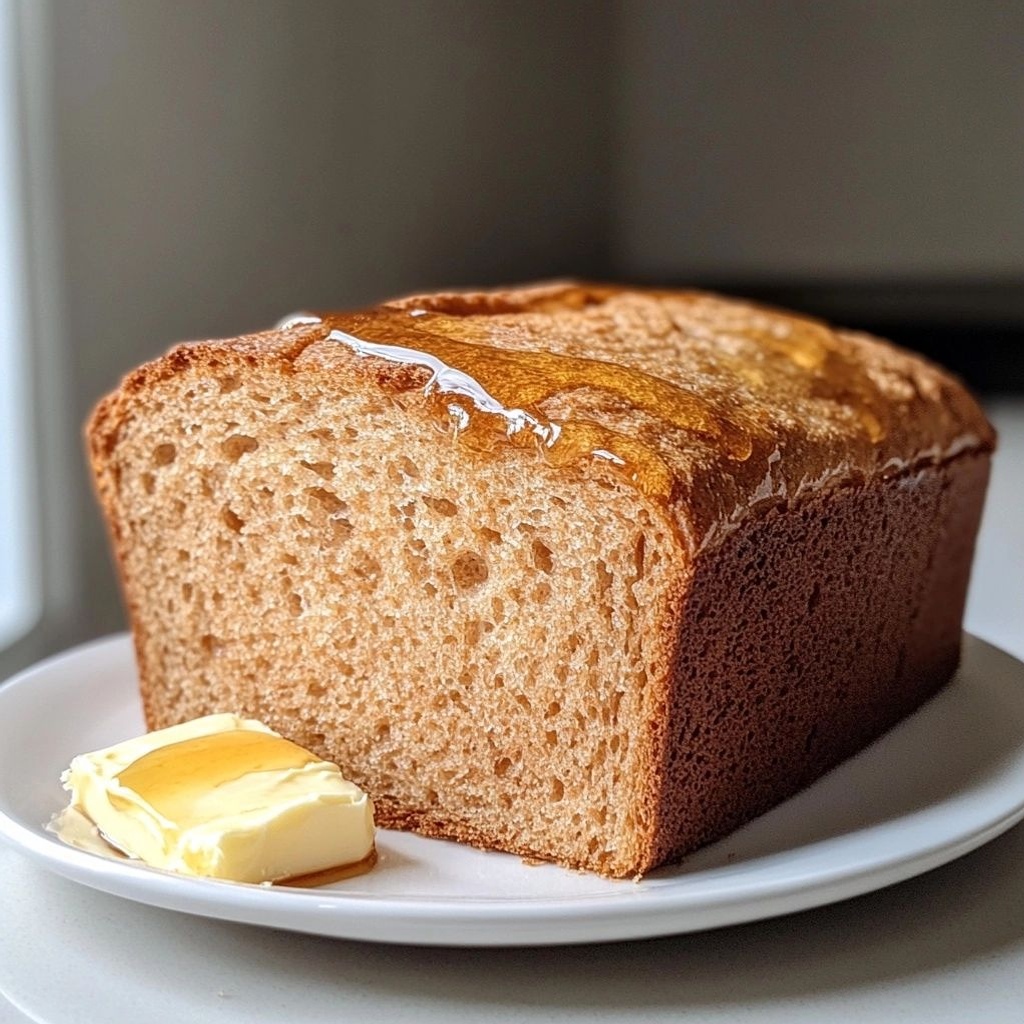
There’s something quietly comforting about a loaf of bread that smells like sunlight and homemade warmth—the kind of scent that wraps the kitchen in a cozy embrace and invites you to slow down for a slice of simplicity. Honey Whole Wheat Bread is more than just a everyday staple; it’s a gentle invitation to nourish your mornings, savor a wholesome afternoon snack, or anchor a comforting family meal. The honey lends a shy kiss of sweetness that doesn’t overtly shout, allowing the rustic, nutty character of whole wheat to stay at the center stage. The texture is tender yet substantial, with a moist crumb that holds up to generous spreads and warm butter. When you slice into it, you’ll hear that familiar, satisfying thud—the sound of a loaf that was made with patience and care, not rushed through the machine. This is bread that feels both familiar and special, a versatile canvas that welcomes a drizzle of olive oil, a sprinkle of sea salt, or a hearty smear of jam. If you’ve ever longed for a bread that nourishes the soul as much as the body, you’re about to fall in love with this Honey Whole Wheat loaf.
The Story Behind the Dish
Bread is a universal language, but every loaf carries a trace of its own neighborhood, season, and the baker who shaped it. Honey Whole Wheat Bread sits at a quiet intersection of rustic pantry staples and modern preference for natural sweetness. Historically, honey has been used to sweeten bread long before refined sugar became ubiquitous, lending a depth of flavor that molasses or sugar alone can’t achieve. Whole wheat, ground from the entire grain, offers a nutty sweetness and a heartier texture that has sustained communities for generations. The combination of the two is a gentle nod to traditional baking while remaining incredibly approachable for today’s kitchen. In many cultures, a loaf like this is shared after a long day, offered to neighbors on a weekend morning, or baked to celebrate simple, everyday moments—urgent enough to feed the family, calm enough to feel like a personal ritual. The act of kneading, waiting for the dough to rise, and watching the loaf take shape in the oven is, in itself, a small ceremony that reconnects us with patience and craft. This recipe embodies that spirit: straightforward ingredients, an uncomplicated process, and a result that tastes like home without being fussy.
Why You’ll Love This Recipe
- Wholesome simplicity: Uses common pantry ingredients and yields a loaf that feels nourishing and sturdy.
- Balanced sweetness: Honey offers natural sweetness without overpowering the grain’s aroma and flavor.
- Versatile texture: A soft crumb with a slight density that holds up to toppings, toasting, or sandwiches.
- Family-friendly: Gentle flavors that appeal to kids and adults alike, perfect for school lunches or weekend breakfasts.
- Fragrance that lingers: The warm sweetness of honey, the earthy aroma of whole wheat, and a toasty crust combine to fill the kitchen with irresistible scent.
- Make-ahead friendly: Great for meal planning—freeze or refrigerate slices for quick breakfasts or snacks later in the week.
Flavor Profile & Texture
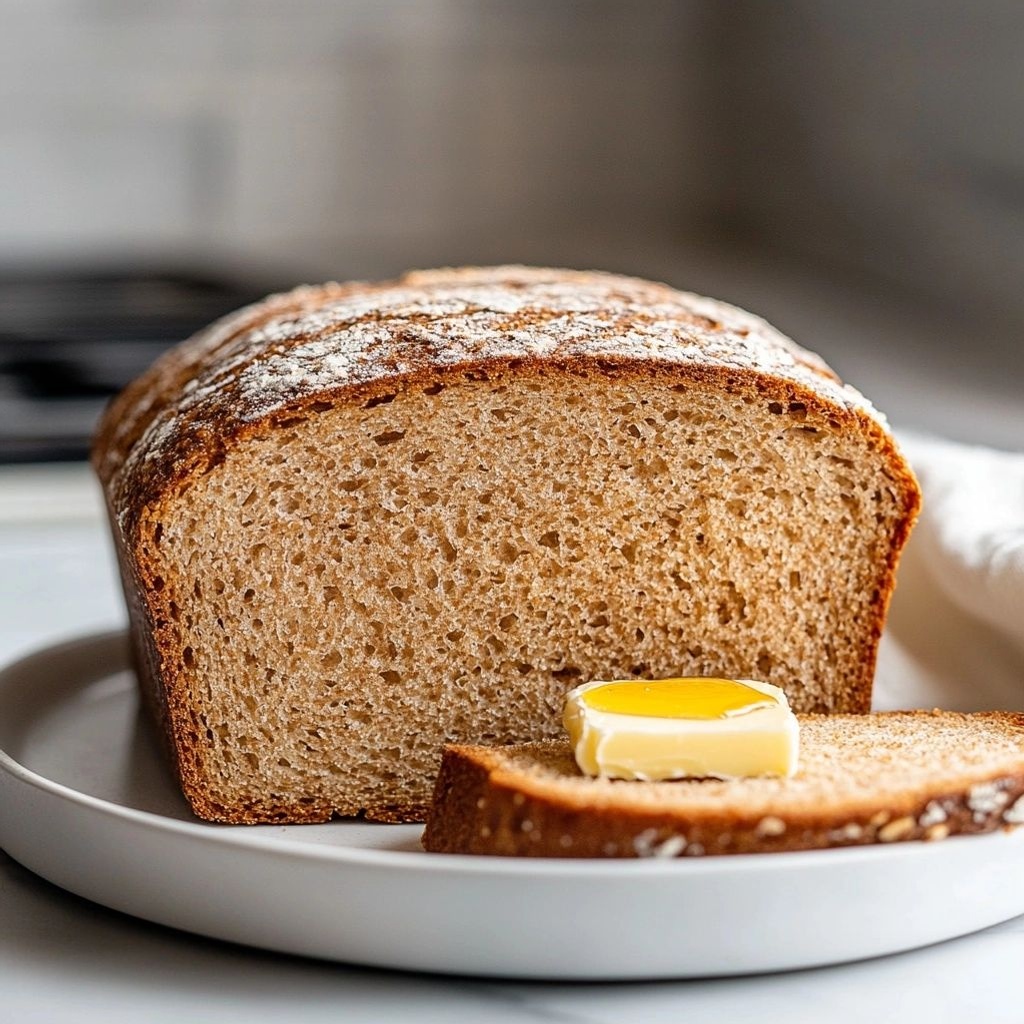
The flavor of Honey Whole Wheat Bread sits at a comforting intersection of sweetness and grain. The honey contributes a gentle, floral sweetness with subtle caramel notes, particularly as the loaf browns and the sugars caramelize at the crust. The whole wheat flour brings a nutty, slightly earthy undertone that’s heartier than white bread, yet not so heavy as to be off-putting. You’ll notice a balanced crumb—soft and tender, yet with a sturdy structure that gives way gracefully under the weight of a generous smear of butter or cream cheese. The crust often develops a delicate crisp edge, with toasty, almost malt-like notes that contrast beautifully with the moist inner crumb. When toasted, the loaf becomes even more aromatic, the honey intensifying and the crust taking on a gentle crunch. The aftertaste remains warm and comforting, leaving you with a satisfying sense of fullness rather than a bland finish. The aroma alone—honey mingling with toasted wheat—has the power to make a kitchen feel welcoming before you even take the first bite.
Occasions & Pairings
This loaf shines across a range of occasions, from casual weeknight dinners to weekend brunches and holiday gatherings. Its versatility makes it a dependable staple for both everyday life and special moments. Here are some pairing ideas and serving occasions to consider:
- Weekday breakfasts: Toast with a spread of almond butter and sliced bananas, or a light slather of honey and butter for a quick, comforting start.
- Sandwich staple: A soft, sliceable bread perfect for grilled cheese, turkey avocado, or classic PB&J.
- Brunch center: Serve with creamy scrambled eggs, smoked salmon, dill, and a dollop of yogurt for a wholesome brunch spread.
- Holiday comfort: Pair with roasted vegetables, hearty soups, or stews—its sturdy crumb stands up to steaming ladles and hearty fillings.
- Tea time or light dessert: A small slice with clotted cream or ricotta and a drizzle of honey or berry compote creates a simple, elegant treat.
Drinks that pair nicely include a warm cup of black tea or coffee in the morning, or a lightly spiced chai for an afternoon pick-me-up. For sides, consider a lemony yogurt dip, herb butter, or a bright olive oil with sea salt. If you’re planning a cheese spread, a mild, creamy cheese such as fontina or havarti complements the sweetness without competing with it, while a sharper cheddar can provide a more pronounced contrast. Desserts can even lean into the sweetness balance—think a honey-roasted fruit compote or a slow-mimmered apple butter as a topping for an extra indulgent treat.
Tips, Variations & Substitutions
Here are practical ideas to tailor this bread to your pantry, dietary preferences, or mood:
- Flour variations: You can blend 100% whole wheat with a portion of all-purpose flour to yield a lighter crumb if desired. A 70/30 ratio (70% whole wheat, 30% white) often hits a sweet spot between flavor and tenderness.
- Honey alternatives: Maple syrup or agave nectar can be used in equal measure, offering a different but complementary sweetness. For a rich molasses note, a touch of dark honey or brown sugar can be added, though this will darken the crust.
- Vegetarian/vegan adjustments: Use plant-based milk (like almond, soy, or oat) and a vegan butter substitute. Ensure the yeast is active in warm liquid to rise properly; the rest of the method remains the same.
- Gluten-free adaptation: Substitute with a gluten-free flour blend designed for yeast baking and follow package directions for hydration. Expect a slightly different crumb and texture; consider adding a small amount of psyllium husk powder to mimic elasticity.
- Add-ins for variation: A handful of flaxseeds, sesame seeds atop the loaf before baking, or a sprinkle of oats on the crust can add texture and visual appeal. For flavor depth, incorporate a teaspoon of orange zest or a pinch of cinnamon.
- Sweetness balance: If you prefer a subtler sweetness, reduce honey by a tablespoon or two. If you like a more pronounced honey aroma, brush the crust with a little warmed honey mixed with water during the last few minutes of baking (be mindful not to burn).
- Texture tweaks: For a lighter crumb, let the dough rise a bit longer in a warm, draft-free spot. For a denser loaf, give it a shorter first rise and a longer second rise in the pans.
Storage & Make-Ahead Ideas
While fresh bread is a joy, planning ahead ensures you can enjoy it for days. Here are practical storage and make-ahead strategies:
- Room temperature: Store cooled bread in a bread bag or wrapped in a clean cloth at room temperature for up to 3 days. Avoid plastic if you want the crust to stay crisp; if the loaf softens, a quick toast will bring back the texture.
- Refrigeration: Refrigeration can dry bread out quickly, so it’s best to avoid unless you need to extend shelf life to about a week. If refrigerating, wrap tightly and toast before eating to restore softness.
- Freezing: Slice the bread once cooled, then freeze in an airtight bag. This makes it easy to pull out a portion for toasting or sandwiches. Toast or warm slices directly from the freezer for the best texture.
- Make-ahead dough: You can prepare the dough a day ahead, refrigerate it after the first rise, and then shape and bake when ready. This is excellent for weekend breakfasts or guests arriving in the morning.
- Freezing the dough shape: For a ready-to-bake option, shape the loaves in the pan, cover tightly, and freeze. Thaw and allow a final rise before baking as usual.
The Process: A Gentle Path to Perfect Loaf
While the bread-making process can look daunting at first glance, this Honey Whole Wheat Bread follows a gentle, almost meditative rhythm. The key lies in three steps: blooming the yeast with warm liquid and a pinch of sugar to wake it up, developing the dough with the right balance of liquids and flour, and two patient rises that allow the gluten to relax and the flavors to deepen. You’ll notice the dough becoming smoother, silkier, and more elastic as you knead—an indicator that the gluten network is forming, which will give the bread its structure. The first rise is a quiet hour or two, depending on warmth, during which the dough will noticeably puff up. The second rise—after shaping—fills the loaf with air pockets that create that wonderful crumb. As the loaf bakes, the kitchen fills with an irresistible aroma that’s both toasty and honey-sweet, inviting family members to gather and anticipate the moment the crust releases its fragrance into the room.
Fun Facts & Trivia (Optional)
– Honey has natural antimicrobial properties and can help to keep bread moist, contributing to a longer-lasting soft crumb.
– Whole wheat flour contains the bran and germ, which add texture and nutrition but can also cause bread to rise a bit differently than white flour; a gentle hand with hydration helps achieve a balanced crumb.
– The color of the crust is influenced by the Maillard reaction, a chemical process that occurs when amino acids and sugars react under heat, giving us that warm, caramelized hue and complex aroma.
– In many households, bread is a symbol of abundance and sharing. A loaf on the table often marks the start of a comforting meal and a moment to connect with others around the table.
Make-It-Feel-Good Summary
Honey Whole Wheat Bread is more than a recipe—it’s a ritual of nourishment. It invites you to slow down, measure with intention, and bake with care. Each slice carries a story of harvests and home kitchens, a reminder that the best food often comes from simple, honest ingredients treated with patience. The bread’s gentle sweetness is balanced by the earthiness of the wheat, making it a reliable companion for a wide array of toppings, spreads, and meals. Whether you’re starting your day with a slice slathered in butter, layering it with avocado and tomato for a savory brunch, or serving it as a robust side with soups and stews, this loaf holds its own as a beloved staple. The journey from flour to fragrant loaf is approachable enough for novice bakers and comforting enough for seasoned ones, providing a sense of accomplishment with every carefully measured cup and every knead of the dough. If you’re seeking a bread that embodies warmth, practicality, and a touch of sweetness, this Honey Whole Wheat Bread is your go-to recipe—a classic reimagined for everyday life.
Closing Thoughts
In the end, Honey Whole Wheat Bread is about more than nourishment. It’s about the quiet joy of creating something tangible with your own hands, the pleasure of the kitchen’s evolving aroma, and the simple satisfaction of breaking bread that tastes like home. It’s a recipe you can lean on—a familiar friend in the baking repertoire—that adapts to your preferences, your schedule, and your mood. So dust off your mixing bowl, warm your milk or water to a gentle warmth, and prepare to welcome a loaf that brings the comforting essence of bakehouse tradition into your own kitchen. The oven timer ticks, the dough rises, and a golden crust forms—an ordinary miracle you can savor slice by slice. And when you finally pull that loaf from the oven, you’ll know you’ve created something that will be remembered long after the last crumb has vanished.
Ingredients
- 2 1/2 cups whole wheat flour (finely milled, sifted if dense)
→ Whole wheat flour provides a hearty, nutty flavor and a denser crumb. Because whole wheat absorbs more moisture than all-purpose flour, you may need a touch more liquid if your flour is particularly coarse. Knead until the dough is smooth and elastic to develop gluten for proper rise and structure. - 1 cup all-purpose flour
→ Added to lighten the crumb and improve the dough’s handling. If you prefer a 100% whole wheat loaf, replace with an additional 1/2 cup whole wheat flour and adjust water gradually. This flour helps create a softer interior while preserving whole-grain nutrition. - 2 1/4 teaspoons active dry yeast (1 standard packet)
→ Yeast is the leavening agent that creates rise and loaf texture. Use fresh or properly stored dry yeast. Activate in warm water (not hotter than 110°F/45°C) with a pinch of sugar if proofing is desired; the mixture should foam within 5–10 minutes to confirm activity. - 2 cups warm water (about 110°F/45°C)
→ Warm liquid activates yeast and helps hydrate flour for a good dough consistency. If you use dairy (milk), reduce water slightly to maintain hydration balance. If your tap water is very hard, a pinch of sugar can aid yeast fermentation. - 1/4 cup honey
→ Honey adds natural sweetness, helps with browning, and contributes moisture to the crumb. Use mild honey to avoid overpowering the wheat flavor. If you prefer a lighter sweetness, reduce to 2–3 tablespoons. For a richer crust, brush the loaf with honey-water glaze during the final bake. - 2 tablespoons olive oil (or melted butter)
→ Fat tenderizes the crumb, adds flavor, and improves dough extensibility for easier shaping. Olive oil gives a mild fruity note; you can substitute neutral oil or melted butter for a richer loaf. Use at room temperature so it blends evenly. - 1 teaspoon salt
→ Salt strengthens gluten formation, controls fermentation, and enhances overall flavor. Add with the flours to ensure even distribution. If using low-sodium ingredients, you may choose to adjust to taste after the first rise. - 1 large egg, lightly beaten (optional for richer crumb and better color)
→ Egg enriches the dough, contributing tenderness, moisture, and a golden crust. If the recipe is vegan or dairy-free, omit the egg and increase water to maintain hydration, or substitute with 1 tablespoon ground flaxseed mixed with 3 tablespoons water per egg. - 1 tablespoon active dry yeast (additional, if doubling the batch)
→ Only needed if you are making a larger loaf or a dense dough; standard 2 1/4 teaspoons is sufficient for a 2-pound loaf. Do not add extra yeast if you want a slower, more developed flavor and crumb structure. - Rolled oats for topping (optional)
→ A light sprinkling of rolled oats adds a rustic appearance and a gentle textural contrast on the crust. They also help absorb surface moisture during baking for a more even crust. Use as a light scatter; press gently to help them adhere during proofing. - Sesame seeds or flax seeds for topping (optional)
→ Seeds contribute visual appeal, a slight toasty flavor, and added crunch. They are best added right before baking to ensure they stick to the dough. Adjust quantity to your preference; avoid overcrowding to prevent clumping. - 1 egg wash (1 beaten egg with 1 tablespoon water) for crust (optional)
→ An egg wash gives the crust a glossy, golden finish and helps toppings adhere. Brush lightly just before baking for best color; if vegan, use a plant-based milk wash or a light brush of olive oil instead. - Honey water glaze (optional)
→ A thin glaze made from 1 tablespoon honey whisked into 1–2 tablespoons hot water is brushed on after baking for a subtle sheen and extra sweetness. Let the loaf cool slightly before applying to avoid pooling.
Instructions
- Preheat your oven to 375°F (190°C) and lightly grease a 9×5-inch loaf pan or line with parchment.
→ Proper preheating ensures the dough begins to rise immediately and forms a uniform crust; greasing or parchment prevents sticking and allows easy removal after baking. - In a large bowl, whisk together the whole wheat flour, all-purpose flour, and salt until evenly distributed.
→ Sifting or whisking both flours with salt ensures even gluten development and prevents dense pockets of flour from inhibiting rise. - In a separate small bowl, activate the 2 1/4 teaspoons of active dry yeast in 1/2 cup of the warm water (about 110°F/45°C) with a pinch of honey or sugar; let it foam for 5–10 minutes.
→ Proofing confirms the yeast is alive and active; a foamy head indicates proper fermentation readiness for leavening the dough. - Combine the remaining warm water, honey, and olive oil in a large mixing bowl, then whisk in the lightly beaten egg (if using) until the mixture is smooth.
→ This creates a balanced, slightly sweet liquid base that hydrates the dough and contributes to a tender crumb; including the egg enriches flavor and color. - Pour the foamy yeast mixture into the liquid ingredients and stir with a wooden spoon until combined, then gradually add the flour mixture in two additions, mixing until a shaggy dough forms.
→ Gradual incorporation prevents flour from flying out and ensures even hydration; stop when the dough holds together and leaves the sides of the bowl when pulled away. - Turn the dough onto a lightly floured surface and knead for 8–12 minutes until smooth and elastic, using a gentle folding technique and adding small amounts of flour only as needed to prevent sticking.
→ Kneading develops gluten structure for strength and height; enough kneading yields a springy, not tacky, dough. - Place the dough in a lightly oiled bowl, turning once to coat, then cover with a clean kitchen towel or plastic wrap and let rise in a warm, draft-free spot until doubled in size, about 1 to 1 1/2 hours.
→ A proper first rise builds loaf volume and flavor; avoid over-proofing, which can collapse during baking. - Gently deflate the dough by pressing it with your fingertips, then turn it onto a lightly floured surface and shape it into a rectangular log that fits the loaf pan.
→ Gentle deflation releases built-up gas without tearing gluten; shaping creates an even loaf and uniform crumb. - Place the shaped dough into the prepared loaf pan, cover, and let rise again until the dough crests about 1 inch above the rim, about 30–45 minutes.
→ The second rise ensures a tall, well-formed loaf with a light interior; avoid over-rising which can cause a peaked or uneven top. - If using an egg wash, whisk 1 beaten egg with 1 tablespoon water and brush the surface of the loaf lightly just before baking; sprinkle rolled oats or sesame/ flax seeds as desired.
→ The wash promotes a glossy crust and helps toppings adhere; seeds add texture and aesthetic appeal without overpowering the grain sweetness. - Bake the loaf in the preheated oven for 30–35 minutes, rotating midway for even browning, until the crust is deep golden and the loaf sounds hollow when tapped on the bottom.
→ A golden crust indicates proper Maillard reaction and crust formation; tapping confirms internal doneness without needing a thermometer. - Remove the loaf from the pan and transfer to a wire rack to cool completely for at least 1 hour before slicing; brush with honey-water glaze if desired after the loaf cools slightly.
→ Cooling allows the crumb to set and keeps slices from becoming gummy; glazing while warm can smear or pool, so apply after the loaf has cooled for stability. - Slice with a sharp serrated blade and serve the honey whole wheat bread warm or at room temperature, storing any leftovers in a sealed container for up to 3 days or freezing for longer storage.
→ Proper slicing with a sawing motion minimizes compressing the crumb and ensures even portions; airtight storage preserves moisture and flavor.
Notes
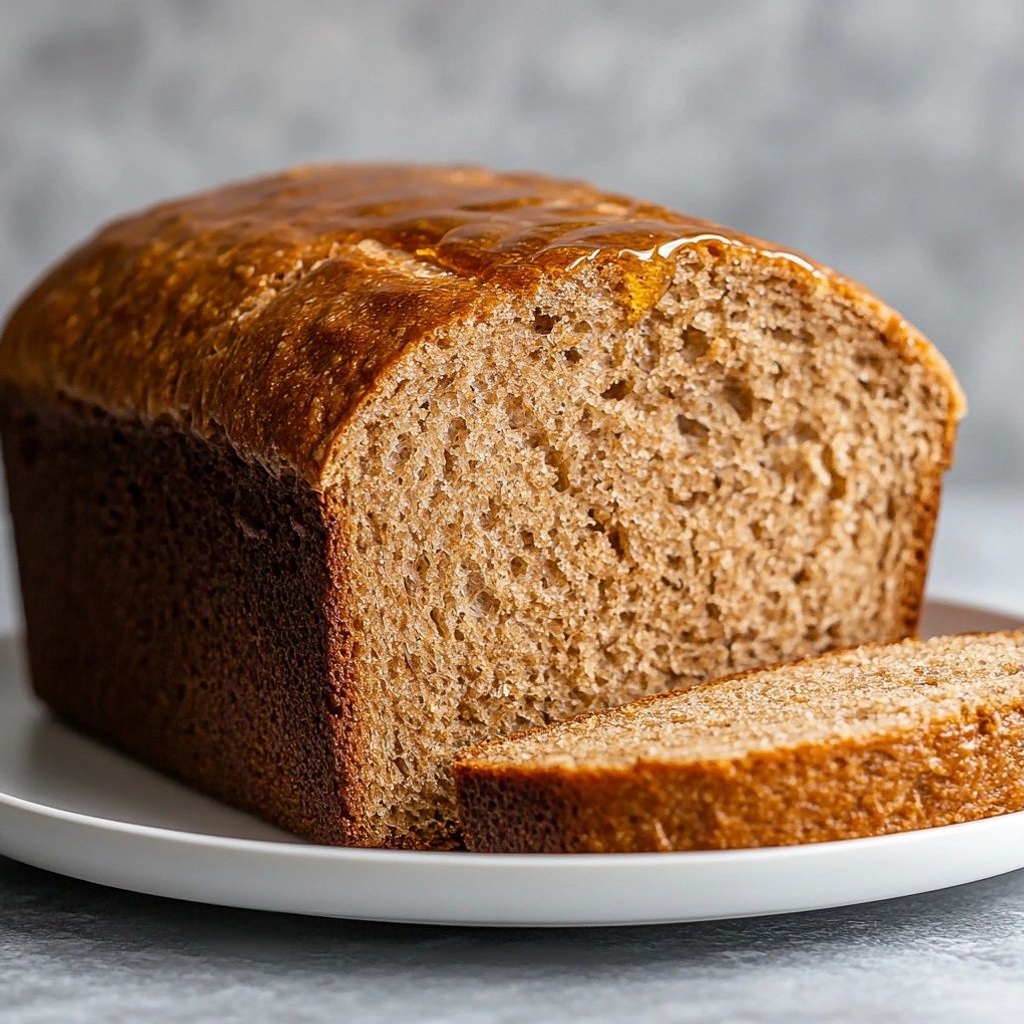
These honey whole wheat bread loaves are warmly fragrant with honey and olive oil, delivering a tender crumb and a subtle, natural sweetness that pairs beautifully with both savory and sweet toppings. The combination of whole wheat and a touch of all-purpose flour yields a sturdy loaf that still feels light and approachable.
Tips for best results:
– Because whole wheat flour absorbs more moisture, start with the stated liquid and add small amounts of warm water or additional flour as needed to achieve a smooth, elastic dough. The dough should spring back gently when poked and pass the windowpane test when ready to knead.
– Knead thoroughly to develop gluten for proper rise and structure. If the dough feels overly stiff, brush in a little extra warm water or oil during kneading to improve extensibility.
– For a lighter crumb, you can replace the 1 cup of all-purpose flour with an additional 1/2 cup whole wheat flour and adjust hydration gradually. If you prefer a 100% whole wheat loaf, be prepared for a denser crumb and longer rise times.
Variations and substitutions:
– For a richer, dairy-free option, skip the egg (if using) and increase the water by a few tablespoons, or use 1 tablespoon ground flaxseed mixed with 3 tablespoons water per egg as a vegan binding option.
– If you want a milder honey flavor, reduce honey to 2–3 tablespoons; for a deeper aroma, keep to 1/4 cup. You can also experiment with different honey varieties to introduce subtle floral notes.
Baking and finishing:
– An egg wash is optional and creates a glossy crust; if vegan, skip the wash or use a plant-based milk wash. Apply just before baking to help toppings adhere.
– A honey-water glaze brushed on the loaf after baking gives a subtle sheen and extra sweetness. Let the loaf cool slightly before glazing to prevent pooling.
– If topping with rolled oats, sesame seeds, or flax seeds, apply toppings just before baking and press gently to ensure they stick during proofing. Egg wash can help toppings adhere more securely.
Storage and serving ideas:
– Store cooled loaves in an airtight container at room temperature for up to 3–4 days, or slice and freeze for longer preservation. Toast slices to revive the crust and crumb, and pair with butter, jams, or savory toppings like avocado and tomato.
– This bread makes a hearty base for breakfast sandwiches, grilled cheese, or simple weekday lunches. Enjoy it fresh with olive oil and a pinch of sea salt for a rustic, comforting treat.
Tips
Tips to Perfect Honey Whole Wheat Bread
- When using a mix of whole wheat and all-purpose flour, start with the suggested 2 1/2 cups whole wheat and 1 cup all-purpose. If the dough feels too dense, add a tablespoon at a time of water or milk until it passes the “dough should form a ball” test.
- Whole wheat flour benefits from a bit more hydration. If your flour is coarse, expect to use a touch more liquid; the dough should be soft but not sticky. If using very coarse flour, add water gradually as you knead.
- Activate the active dry yeast in warm water (not hotter than 110°F/45°C) with a pinch of sugar to confirm it’s alive. A foamy surface within 5–10 minutes means your yeast is ready to work.
- Warm water around 110°F/45°C helps hydrate the flour and activates the yeast. If you use dairy, reduce the water slightly to keep a balanced dough consistency.
- Honey not only sweetens but also aids browning. If you want a lighter sweetness, reduce to 2–3 tablespoons. For a richer crust, brush the loaf with a honey-water glaze during the last minutes of bake.
- Fat (olive oil or melted butter) tenderizes the crumb and improves extensibility. If you prefer a milder flavor, olive oil is fine; for a richer crumb, use melted butter.
- Salt is essential for gluten development and flavor. Add with the flours to ensure even distribution. If using low-sodium ingredients, you may want to adjust after the first rise.
- The egg enriches texture and color. If omitting for vegan or dairy-free variations, increase the water slightly or use a flaxseed–water substitute (1 tablespoon ground flaxseed + 3 tablespoons water per egg).
- Only add extra yeast (beyond the standard 2 1/4 teaspoons) if you’re doubling the batch or aiming for extra rise. For a slower, more developed crumb, stick to the standard amount.
- Rolled oats on top give a rustic look and slight texture; press them gently so they adhere during proofing and baking.
- Sesame or flax seeds add flavor and crunch. Sprinkle right before baking to ensure they stick; avoid overcrowding the surface for even browning.
- An egg wash gives a glossy crust and helps toppings adhere. Brush lightly just before baking. For vegan dough, use a plant-based milk wash or a light olive oil brush instead.
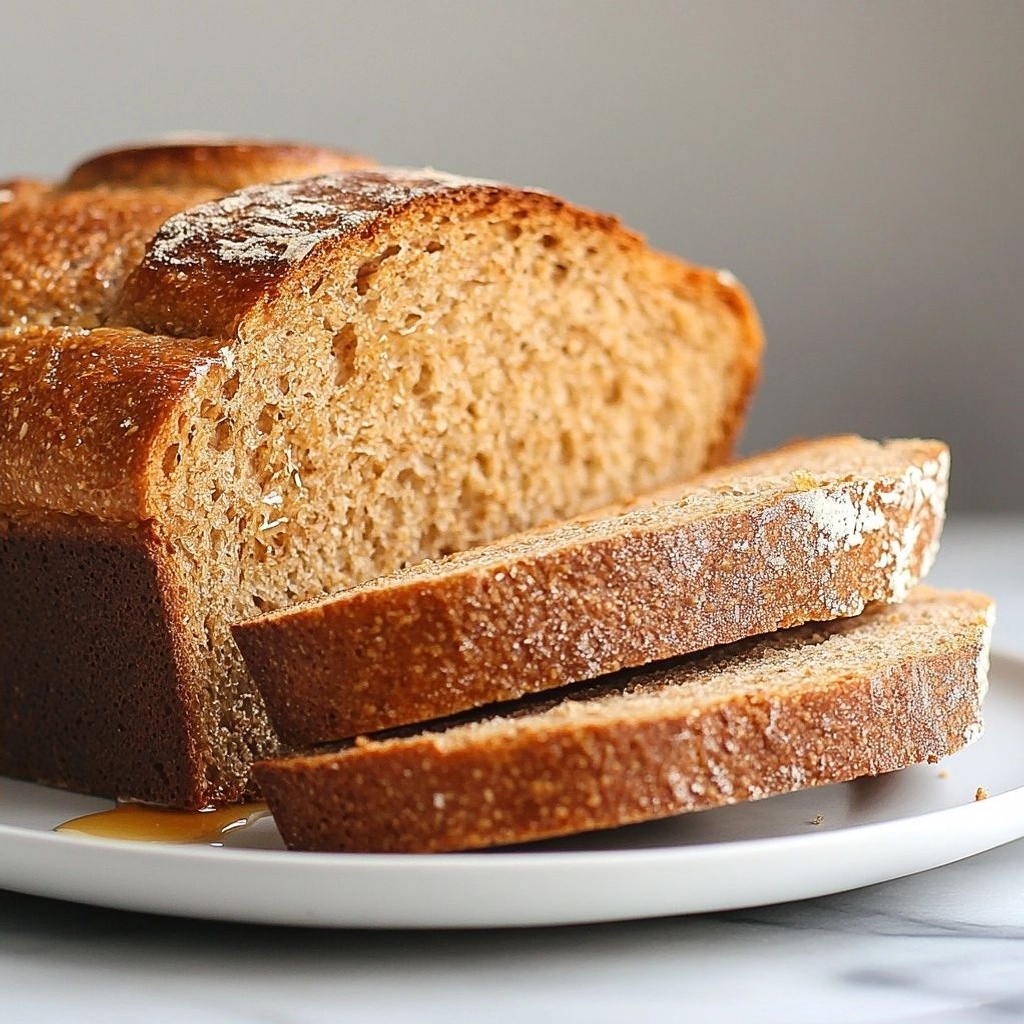
- A thin honey glaze brushed on after baking adds sheen and a touch more sweetness. Let the loaf cool slightly before applying to prevent pooling.
FAQ
What are the main ingredients for Honey Whole Wheat Bread?
This bread typically uses whole wheat flour, all-purpose or bread flour, honey for sweetness and moisture, warm water or milk, active dry yeast, salt, and a bit of oil or butter. Optional add-ins include seeds or nuts.
Can I replace honey with another sweetener?
Yes. You can use sugar, maple syrup, agave, or molasses. The flavor will change slightly, and choose the amount to maintain similar sweetness and moisture. Start with a 1:1 substitution and adjust as needed.
What’s the best way to proof the yeast for this bread?
Warm the liquids to about 110°F (43°C). Sprinkle active dry yeast over the liquid, stir, and let it sit 5–10 minutes until foamy. If it doesn’t foam, the yeast may be dead and you should start with fresh yeast.
How long should the dough rise, and can I cold-proof it?
The first rise (bulk fermentation) typically takes 1–2 hours at warm room temperature, or until roughly doubled. You can refrigerate the dough for 8–12 hours (cold-proof) to develop flavor; allow it to come to room temperature and complete the rise before shaping.
Is kneading necessary for whole wheat bread?
Kneading helps develop gluten structure. Whole wheat flour can be denser, so you may need longer or more vigorous kneading, or you can mix in some bread flour to improve elasticity. If the dough is very sticky, rest it 10 minutes to hydrate then knead again.
How do I shape and bake Honey Whole Wheat Bread?
After the dough has risen, gently deflate it, shape into a loaf, and place in a greased loaf pan. Cover and let rise until nearly doubled. Bake in a preheated 350°F (175°C) oven for about 30–40 minutes, until the top is golden and the loaf sounds hollow when tapped.
What should I do if my loaf browns too quickly?
If the crust browns early, tent the loaf with aluminum foil and continue baking. You can also reduce oven temperature by 25°F (about 15°C) and extend the bake time to ensure doneness without burning the crust.
How can I tell when the bread is fully baked?
Look for a deep golden crust, and an internal temperature of about 190–200°F (88–93°C) when measured with a thermometer. The loaf should sound hollow when tapped on the bottom.
How should I store leftover bread?
Allow the loaf to cool completely, then store in an airtight container or tightly wrapped in plastic at room temperature for up to 3–4 days. For longer storage, slice and freeze in freezer bags; thaw at room temperature or toast.