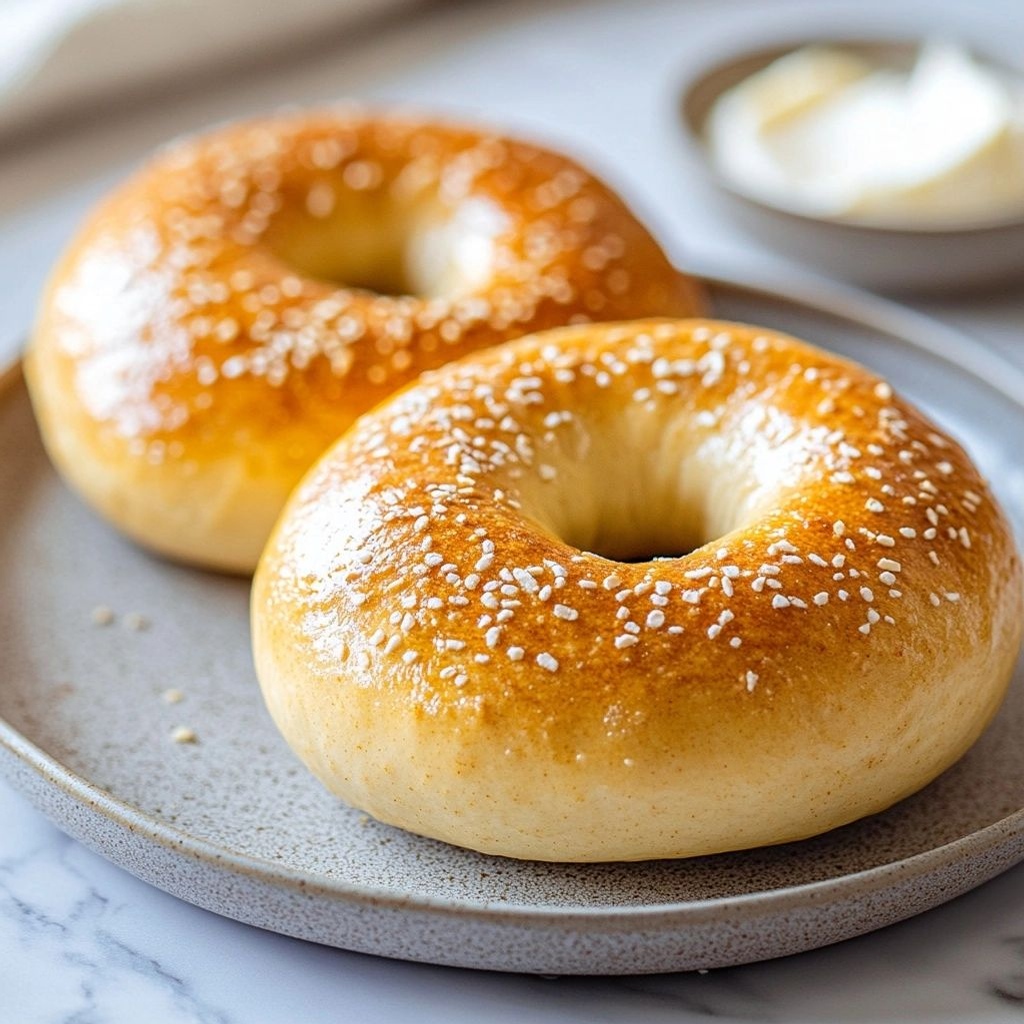
Introduction / Hook
There’s something almost meditative about shaping a perfect bagel—the way the dough yields to your touch, the quiet anticipation as it rests, and the moment you bite through a glossy, chewy crust into a tender, supple crumb. Homemade plain bagels are more than just bread; they are a ritual of patience and craft, a practice that rewards you with warm, aromatic warmth straight from the oven. The scent alone—malted sweetness, yeasty lift, a hint of malted flour—unfolds the house like a welcoming huella of comfort. When you take that first bite, you’ll understand why bagels have endured as a beloved staple around the world: they’re sturdy enough to hold a cream cheese or smoked fish, yet delicate enough to reveal the subtle sweetness of flour and a whisper of malt. If you’re new to bagel-making, this plain version is the perfect teacher—the blueprint upon which countless variations can be built, starting with the most essential knowledge: patience, attention to boil, and a gentle hand shaping dough into rings of warm, edible joy.
The Story Behind the Dish
Bagels have a long, storied history that travels across continents and generations. Originating in Central Europe, with particular roots in the Polish Jewish communities of Kraków, bagels began as a practical, portable bread for sailors, workers, and merchants—dense, sturdy, and long-lasting. The traditional method—briefly boiling before baking—gives bagels their iconic dense chew and glossy crust, a texture that distinguishes them from regular bread rings. When waves of Jewish immigrants carried their recipes to North America in the late 19th and early 20th centuries, bagels found a new home in urban centers, especially in cities with vibrant immigrant communities like New York, Montreal, and Chicago. Each city, each bakery, added its own tweaking: the thickness of the crust, the diameter of the ring, the balance of sweetness, the timing of the boil, the type of malt or malt extract used, and the baking time. Today, bagels are a global canvas—plain, sesame, poppy, sesame seeds, everything—yet the essence remains the same: a bread that is crisp on the outside, chewy within, and intimately satisfying with simple toppings or a cloud of cream cheese. Making plain bagels at home connects you to this lineage, a ritual that echoes back to the kitchens where bakers tended the dough by hand, listening to its texture, and trusted their senses more than their clocks.
Why You’ll Love This Recipe
- It’s approachable: you don’t need fancy equipment or obscure ingredients to get professional-style results.
- It builds confidence: mastering the boil-to-bake sequence teaches you the core techniques that unlock bagel texture and shine.
- Versatility at its core: plain bagels are a perfect canvas for endless toppings and fillings, from simple cream cheese to smoked lox, avocado, or an indulgent egg-salad creation.
- Texture mastery: the crust crackles softly under the bite, while the interior stays moist and resilient—chewy in the best sense.
- Make-ahead friendly: these bagels can be frozen and reheated, or shaped ahead of time for a quick weekend bake.
- Comfort with a cultural wink: they bring a comforting nostalgia while inviting you to customize and innovate.
Flavor Profile & Texture
Plain bagels, at their best, offer a refined simplicity. The crust presents a delicate sheen from a light boil, a subtle sheen that speaks to Maillard browning and the presence of malt or barley malt syrup in the dough. The scent during baking is a warm chorus of toasty notes with a hint of sweetness. Bite into the bagel and you’re greeted by a firm, compact chew that spring-loads with moisture. It’s not bread’s soft pillowiness; it’s a controlled, satisfying chew that makes each mouthful feel substantial without being heavy. The crumb is finely structured, with tiny, uniform air pockets that show the dough’s fermentation did its quiet magic. The flavor carries a whisper of malt sweetness, a nod to traditional bagel recipes, balanced by the neutral flour that makes the bagel a perfect partner for a variety of toppings. When toasted, the crust becomes crisp and lightly crisped at the edges, and the interior remains tender, a contrast that makes plain bagels infinitely versatile—from a simple smear of cultured cream cheese to more elaborate fillings. The beauty of plain bagels lies in their restraint: they don’t shout flavor; they invite you to dress them with your preferred savoriness or sweetness, letting the toppings do the talking while the bagel remains a reliable, delicious vehicle.
Occasions & Pairings
Plain bagels shine in many settings. For weekend breakfasts, they offer a sturdy foundation for eggs and bacon, or a luxurious smear of cream cheese with a drizzle of honey and cucumber slices. They are equally at home for a casual lunch with smoked salmon, red onion, capers, and a light lemon-dill cream cheese. For brunch, pair them with a bright fruit salad and a hot beverage—coffee, tea, or clarified apple juice—and watch their texture hold up against a variety of spreads. They’re also fantastic for kids, who appreciate the familiar doughy bite and the ability to customize with toppings like peanut butter and banana or chocolate-hazelnut spread. A few pairing ideas to consider:
– Toppings: classic cream cheese, chive and garden-herb schmear, or a tangy scallion-sesame spread.
– Proteins: smoked salmon, pastrami, egg salad, or a simple fried egg with a dusting of pepper.
– Sides: fresh fruit, sliced tomatoes with a pinch of salt, or a small green salad with a light vinaigrette.
– Beverages: coffee, black tea, fresh orange juice, or a sparkling citrus mocktail for brunch.
– Seasonal twists: a smear of maple yogurt with sliced pears in autumn, or a mild curried chickpea dip for a savory afternoon snack.
The beauty of plain bagels is that they don’t demand perfect accompaniments; they invite you to curate, adjust, and reimagine based on what you’re craving or what’s in the fridge.
Tips, Variations & Substitutions
While this description centers on plain bagels, the techniques you learn here open the door to a world of delicious variations. Consider these tips and substitutions to tailor the recipe to your dietary needs or flavor preferences:
- Active dry yeast vs. instant yeast: both work well, but you may need to adjust rising times slightly. Instant yeast generally requires less rest time.
- Sweetening the dough: a touch of sugar, honey, or malt syrup in the dough can enhance the classic malt flavor, especially if you’re using a milder flour.
- Portion size: traditional bagels are typically 3 to 4 inches in diameter. For mini bagels or sliders, divide the dough into smaller portions and adjust the boiling time accordingly.
- Gluten-free option: gluten-free flours require careful adjustment. A blend designed for bread can work, but you’ll likely need a binding agent like xanthan gum and a longer rise to help the dough develop structure.
- Vegan-friendly: this plain bagel recipe can be adapted to vegan butter or margarine substitutes; ensure your sweetness and liquid balance remains intact for optimal moisture and chew.
- Whole-grain twist: replace a portion of the all-purpose flour with whole-wheat, spelt, or rye for a nuttier flavor and denser crumb. You may need slightly more liquid to compensate.
- Sesame, poppy, or everything dusting: while these are toppings, you can coat the formed dough rings with seeds before boiling for extra flavor and crunch.
- Herb and garlic variation: add finely chopped fresh herbs (such as chives, parsley, or dill) to the dough for a fragrant, savory note that punctuates classic cream cheese pairings.
Storage & Make-Ahead Ideas
Bagels are surprisingly forgiving when it comes to storage, and making them in advance can save you time on busy mornings. Here are practical strategies to keep your bagels fresh and tasty:
- Room temperature: store cooled bagels in an airtight container for up to 2 days. If you’re keeping them longer, wrap them tightly in plastic wrap and place in a resealable bag to minimize staling.
- Freezing: bagels freeze beautifully. Slice them first, then place in a freezer-safe bag or airtight container. Reheat directly from the freezer in a toaster or oven until warmed through and crispy at the edges.
- Make-ahead dough: you can prepare the dough, allow it to rise, and refrigerate it overnight. The next day, shape, boil, and bake as usual for a fresh batch with reduced active prep time.
- Stale to crunchy: if your bagels have become a touch stale, toast them briefly to revive the crust’s texture and enjoy them with a hearty spread or as a base for open-faced sandwiches.
Fun Facts & Trivia (Optional)
Did you know that bagels have a distinctive ring shape with symbolic meaning in some cultures? The circular form is often said to symbolize eternity or the circle of life, while the hole made it easier for bagels to be stored on dowels or poles by bakers in bustling markets. The boil before bake technique serves multiple purposes: it creates a dense crumb and glossy crust, tightens the dough’s surface to trap moisture, and initiates a surface starch gelatinization that contributes to the chewy bite. Malt syrup in some traditional recipes helps promote browning and adds a subtle malty sweetness that complements the neutral flour base. In modern kitchens, home bakers recreate the classic look and feel with accessible ingredients, yet the essence remains a link to centuries of baking heritage.
From Our Kitchen to Yours
Embarking on the journey to make plain bagels at home is more than a culinary task—it’s a small celebration of everyday richness. The first batches may require a careful eye on dough hydration and a gentle, patient approach to shaping, boiling, and baking. As you gain confidence, you’ll notice how minor adjustments—a shorter or longer boil, a slightly higher oven temperature, a touch more malt or honey—can tilt the texture and flavor toward your personal preference. The satisfaction of snapping open a freshly baked bagel, steam curling from the cut surface, and spreading a luscious layer of creamy cheese or a salty salmon topping is a simple, grounding joy in a busy world. It’s a reminder that great bread begins with basic ingredients, a listening hand, and the willingness to invest time and care. Whether you’re baking for a quiet weekend breakfast or a lively brunch with friends, these plain bagels offer a reliable, comforting base that invites your creative voice to shine.
In Summary
Homemade plain bagels bring together technique, tradition, and taste in a single loaf with a mighty chew and a timeless appeal. They welcome experimentation, encourage mindful kitchen practice, and reward you with a versatile bread that pairs so elegantly with both savory and sweet accompaniments. The recipe is a gateway: learn the fundamentals, refine your boil and bake timing, and you’ll be rewarded with a perfect, slightly glossy crust and a tender interior every time. Once you’ve mastered the plain version, you’ll be ready to explore a world of toppings, fillings, and regional twists that transform the humble bagel into a canvas for your culinary imagination. So preheat the oven, prepare your dough, and let the kitchen fill with the inviting aroma of warm, chewy bagels—an invitation to slow down, savor, and celebrate the simple joy of homemade bread.
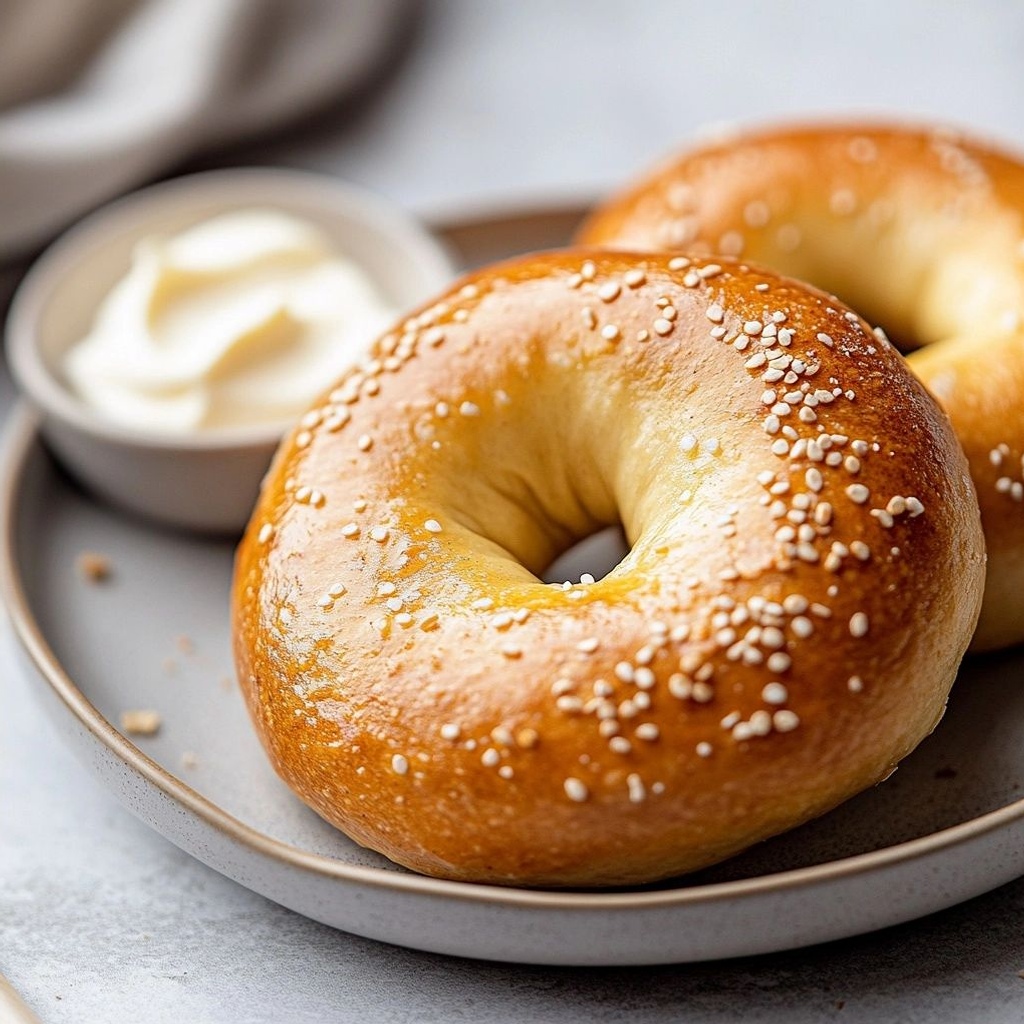
Ingredients
- Dough
- 4 cups high-gluten bread flour (or 100% bread flour)
→ This flour provides the strong gluten network needed for traditional bagel chew. Use bread flour rather than all-purpose to achieve a dense, chewy crumb. If you must substitute, mix in 1–2 tablespoons vital wheat gluten per cup of all-purpose flour to boost protein content and elasticity. - 1 1/2 cups warm water (approximately 110°F/43°C)
→ Water temperature matters: warm water activates the yeast without shocking it. If your kitchen is cooler, you may need a touch more water; if it’s very warm, start with a little less to maintain proper dough hydration. Hydration should result in a tacky, cohesive dough that is easy to shape. - 2 teaspoons instant yeast
→ Instant yeast (rapid-rise) is convenient for quick fermentation and reliable rise. Do not proof in water; simply whisk into the dry mix. If using active dry yeast, proof in the warm water with a pinch of sugar for 5–10 minutes until foamy before mixing with flour. - 2 tablespoons granulated sugar
→ Sugar feeds yeast for the initial rise and helps develop a slightly sweet flavor in the crust. It also aids browning during baking. If avoiding refined sugar, substitute with 1 tablespoon honey or maple syrup for a similar effect. - 1 1/2 teaspoons fine salt
→ Salt enhances flavor and strengthens dough structure by tightening gluten. Add at this stage to ensure even distribution. If using salted dough water or toppings, adjust to taste later to avoid over-salting. - 1 tablespoon diastatic malt powder (optional)
→ Diastatic malt powder contains active enzymes that help convert starches into fermentable sugars, boosting yeast activity and contributing a glossy crust. It also aids fermentation speed. If you don’t have it, you can omit; the dough will still perform well. - 2 tablespoons neutral oil (e.g., canola or vegetable)
→ Oil adds softness and helps with dough extensibility, making the bagels easier to shape. Use a neutral oil to avoid interfering with the bagel’s flavor; you can substitute with 1 tablespoon olive oil for a subtler taste, but this may slightly alter the crust. - 1 tablespoon barley malt syrup or malt extract (optional)
→ Barley malt syrup contributes a subtle malty flavor and aids crust color during baking. It also helps with crust sheen. If unavailable, substitute with an extra teaspoon of sugar or omit entirely without dramatically affecting results. - 1 large egg, beaten (for optional egg wash)
→ An egg wash gives a glossy, golden crust when you brush the bagels before baking. It’s optional for a more rustic finish; if avoiding eggs, brush with a little water or dairy-free milk instead. - 1 extra-large pinch of coarsely ground cornmeal or semolina (for dusting, optional)
→ Dusting the baking surface or peels with cornmeal helps prevent sticking and adds a subtle crunch under the crust. It also creates a traditional bagel exterior texture. - Boiling & Shine
- 2 quarts water for boiling
→ Bagels are boiled before baking to set the crust and create their characteristic chewy interior. A large, wide pot helps with even boiling and easier handling of multiple bagels at a time. - 2 tablespoons barley malt syrup or honey (in the boiling water)
→ Adding malt syrup or honey to the boiling liquid helps develop a traditional, slightly glossy crust and classic flavor. If you don’t have malt, a small splash of sugar can emulate some sweetness, but the crust may be less dark. - Toppings (optional)
- Sesame seeds, poppy seeds, or coarse kosher salt (to finish)
→ Apply by dipping the shaped dough into the topping of choice or pressing toppings onto a lightly moistened surface before proofing. Toppings add flavor and texture; seeds contribute crunch and aroma, while salt enhances crust savoriness. For a plain bagel, skip toppings altogether. - Coarse dried onion flakes or garlic flakes (optional)
→ Adds a savory, aromatic crust. Rehydrate briefly in a small amount of hot water if using very dry flakes, then pat dry before applying to the dough to help them adhere.
Instructions
- Preheat your oven to 425°F (220°C) and line two baking sheets with parchment or silicone mats to ensure even heat transfer and easy removal of baked bagels.
→ A hot oven starts browning the crust quickly, while lined sheets prevent sticking and promote uniform color across all bagels. - Whisk together the dry dough ingredients: 4 cups bread flour, 2 teaspoons instant yeast, 2 tablespoons granulated sugar, 1 1/2 teaspoons fine salt, and 1 tablespoon diastatic malt powder (if using) to create an even distribution of leavening and enzymes before adding liquids.
→ Even dispersion of dry components avoids clumps that could cause uneven rise or dense pockets inside the bagels. - Stir in the wet ingredients: 1 1/2 cups warm water (approximately 110°F/43°C) and 2 tablespoons neutral oil, then mix until a shaggy dough forms.
→ Warm water activates the yeast without shocking it, while the oil improves dough extensibility and chew by lubricating gluten strands. - Knead the dough on a lightly floured surface for 8–10 minutes until it is smooth, elastic, and passes the windowpane test when stretched thinly without tearing.
→ Proper gluten development is essential for the iconic bagel chew; the dough should be tacky but not sticky, and it should spring back when pressed. - Place the dough in a lightly oiled bowl, cover with plastic wrap or a damp towel, and let it ferment at room temperature for 60–75 minutes until doubled in size.
→ This fermentation develops flavor and weakens the gluten just enough to shape without compromising structure. - Gently punch down the dough to release excess gas, then divide it into 8 equal portions for traditional-sized bagels.
→ Dividing evenly ensures uniform cooking times and consistent bagel thickness, which affects texture and bite. - Roll each portion into a tight ball, then press your finger through the center to form a 1 1/2-inch hole; gently stretch the ring to about a 2 1/2-inch diameter.
→ Proper ring size ensures an even bake and the characteristic bagel shape; avoid tearing the dough to prevent weak points that may burst during boiling. - Let the shaped bagels rest on a lightly floured surface for 10–15 minutes to relax the gluten and strengthen the outer skin for boiling.
→ A short rest period helps the surface tauten, which reduces gaps and allows the bagels to hold their shape during boiling. - Meanwhile, prepare the boiling liquid by bringing 2 quarts of water to a rolling boil and adding 2 tablespoons barley malt syrup or honey.
→ The malt syrup or honey contributes surface gloss, improves crust development, and helps set the chewy interior during the boil. - Boil bagels, 1–2 at a time, for 30–60 seconds per side depending on desired chew; remove with a slotted spoon and drain briefly on a rack.
→ Boiling sets the crust, creating a chewy interior; shorter boil yields a softer crust, longer boil enhances chew and browning. - Optional: brush the hot bagels with beaten egg (egg wash) for a glossy, golden crust, or skip the wash for a rustic finish.
→ The egg wash promotes browning and shine, while omitting it yields a more natural, matte crust. - If using toppings, press sesame seeds, poppy seeds, or coarse salt into the surface of the bagels immediately after the boil or after the egg wash if using one.
→ Toppings adhere best when the surface is slightly damp from the bath or the wash, and provide flavor, crunch, and visual appeal. - Transfer the bagels to the prepared sheets with desired spacing and bake for 18–22 minutes, rotating halfway for even color, until deeply golden and crusty.
→ A full bake ensures the interior cooks through and the crust achieves the desirable chew and color; rotating prevents uneven browning on one side. - Remove the bagels from the oven and cool on a rack for at least 15 minutes before slicing to allow steam to escape and finish setting the crumb.
→ Cooling stabilizes the structure, prevents gummy interiors, and makes slicing cleaner with less crumbling.
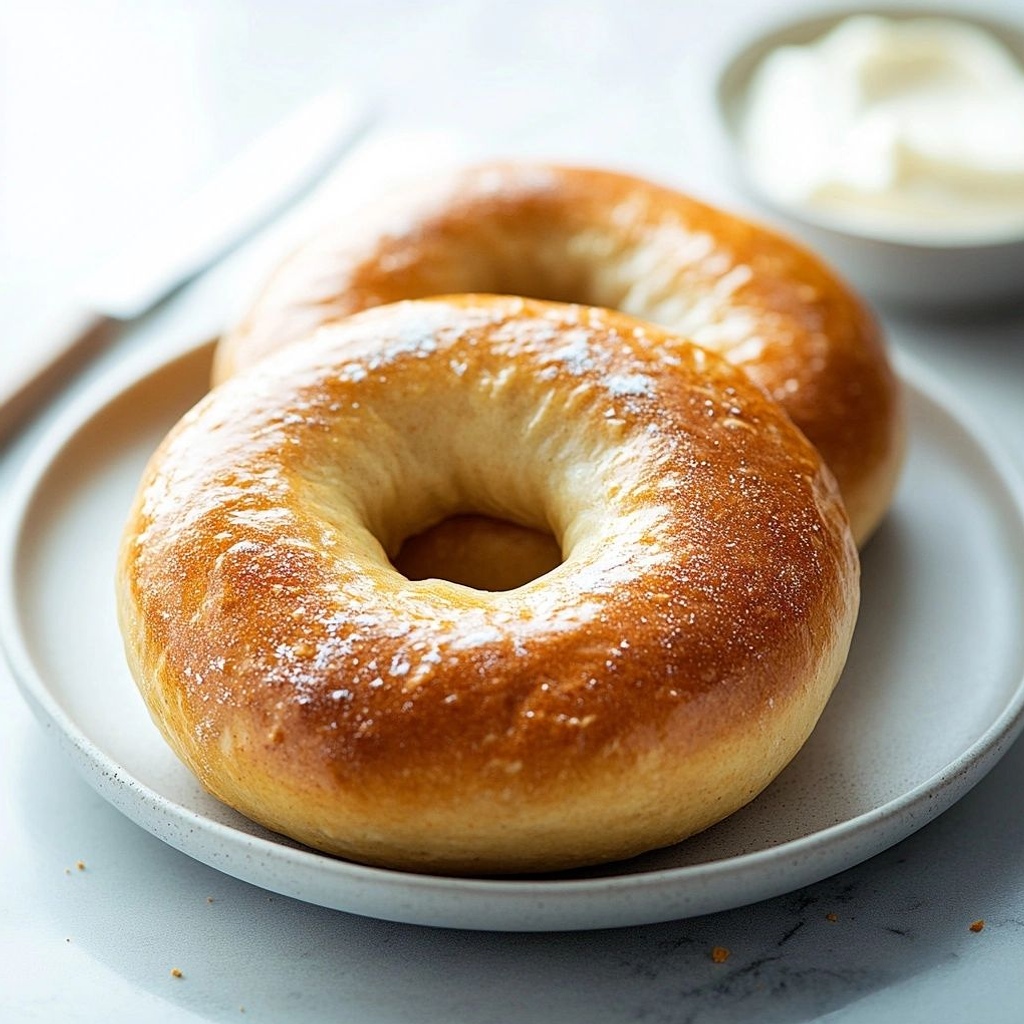
Notes
These Homemade Plain Bagels yield classic, dense-chewy bagels with a glossy crust and traditional chew. The key is strong gluten development using bread flour, proper hydration, and a hot boiling bath to set the crust before baking. Use a wide pot for easy boiling and handle the bagels gently to keep their shape intact.
Tips for best results:
- Use 100% bread flour or high-gluten bread flour to achieve the characteristic chew. If substituting with all-purpose flour, add 1–2 tablespoons vital wheat gluten per cup of flour to boost protein content and elasticity.
- Ensure the water for the dough is around 110°F/43°C. Too hot can kill the yeast; too cold will slow fermentation. Hydration should yield a tacky, cohesive dough that’s easy to shape.
- Instant yeast is convenient and reliable. If you only have active dry yeast, proof it in the warm water with a pinch of sugar for 5–10 minutes until foamy before mixing with flour.
- Fermentation should be gentle. If your kitchen is cool, you may need a longer rise; if warm, shorter rises avoid over- fermentation that can affect oven spring.
- The boil step is essential for bagel texture. Boil 2 quarts of water with 2 tablespoons of barley malt syrup or honey to help develop a glossy crust and traditional flavor. If unavailable, a small splash of sugar can help but will not color as deeply.
- For a shiny finish, brush with beaten egg (egg wash) before baking. If avoiding eggs, use a light wipe of water or dairy-free milk instead, though the crust may be less glossy.
- Dusting with cornmeal or semolina on the baking surface helps prevent sticking and adds a subtle crunch beneath the crust. It also creates a traditional exterior texture.
- Toppings are optional but recommended for extra flavor and aroma. Apply seeds or salt by dipping the shaped dough into toppings or pressing onto a lightly moistened surface before proofing.
Storage and serving ideas:
- Bagels can be stored airtight at room temperature for 2–3 days or frozen for longer storage. Slice and toast for quick breakfasts.
- For a classic sandwich egg bagel, consider adding a touch of cream cheese and smoked salmon, or your favorite veggie spread for a vegetarian option.
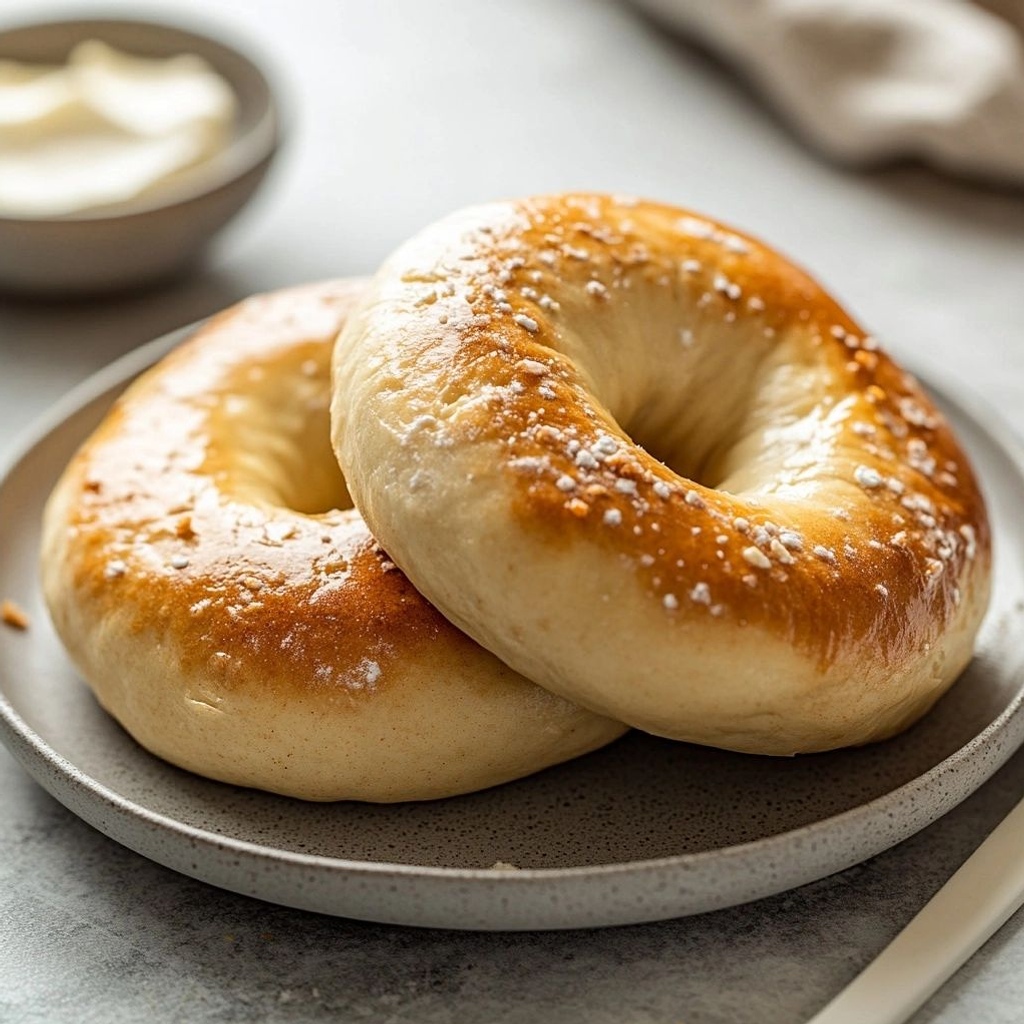
Tips
- Proofing and dough health: After mixing, knead until the dough passes the windowpane test—stretch a small piece between your fingers until it becomes thin enough to be translucent without tearing. This indicates strong gluten development for that classic bagel chew.
- Fermentation timing: Instant yeast is reliable, but if your kitchen is cool, allow a longer, slower first rise (about 60–90 minutes) until the dough doubles. In a warm kitchen, 45–60 minutes may suffice. Avoid over-proofing, which can lead to a flatter, less chewy crumb.
- Hydration and texture: The 4 cups of flour and 1 1/2 cups water are a good starting ratio. If your flour is particularly absorbent, you may need a tablespoon or two more water. The dough should be tacky but not sticky; dust your work surface with flour if it clings excessively.
- Shaping like a pro: Roll dough into a thick rope about 8–10 inches long, then join the ends to form a ring. Gently pinch the seam to seal; avoid twisting, which can cause uneven rise. For a uniform ring, use a circle of about 3–4 inches in diameter.
- Rest between steps: Let shaped bagels rest on a floured sheet or parchment for 15–20 minutes before boiling. This relaxes the dough and helps maintain an even shape during boiling and baking.
- Boiling technique: Use a wide, shallow pot with enough simmering water to keep bagels from crowding. Boil 1–2 minutes per side for a chewier crust; 2–3 minutes per side will yield a denser exterior. Keep the water at a gentle simmer, not a rolling boil.
- Glaze and shine options: For a glossy crust, brush with beaten egg wash just before baking or dust with malt syrup in the boiling water as directed. If you skip the egg wash, the crust will be more rustic and matte.
- Toppings adhesion: Ensure the surface is slightly damp before applying toppings, or dip the finished dough into a shallow plate of toppings. Press toppings gently to help them adhere during proofing and baking.
- Flavoring and substitutions: If you omit diastatic malt powder, the crust will still brown nicely, but it may be a touch paler. Malt syrup in the dough is optional; if unavailable, you can increase the small amount of sugar or use a touch of honey to aid browning.
- Crumb and crust texture: For a chewier, bagel-y interior, avoid overkneading once the dough has come together and keep the dough slightly stiff. A longer, slower cold fermentation (overnight in the fridge) can deepen the flavor, if you have time.
- Oven and steam: Bagels respond well to steam in the first 5–7 minutes of baking. If you don’t have a steamer, place a shallow pan of hot water on the bottom rack or in the oven during the first 5–7 minutes to help develop a blistered crust.
- Storage tips: Store cooled bagels in an airtight container for up to 2 days, or freeze already-baked bagels for longer. To refresh, slice and toast directly from frozen, or warm in a 350°F (175°C) oven for 5–8 minutes.
- Safety and cleanliness: Keep raw dough surfaces clean and sanitize countertops after handling dough with raw ingredients. If using egg wash, ensure it’s not runny to avoid pooling and uneven browning.
FAQ
What ingredients do I need to make Homemade Plain Bagels?
You’ll need flour (bread flour recommended), water, active dry yeast, salt, and a small amount of sugar or malt syrup. Optional toppings include sesame or poppy seeds if desired after boiling.
Can I use all-purpose flour or bread flour?
Bread flour is best because its higher protein helps chewy bagels. All-purpose flour can work with a bit more kneading, but the texture will be softer.
Do I have to use active dry yeast, or can I use instant yeast?
You can use instant yeast (rapid-rise). If using active dry yeast, dissolve it in warm water with a pinch of sugar and let it foam for 5–10 minutes before mixing.
What is the purpose of boiling the bagels before baking?
Boiling creates a chewy crust characteristic of bagels. A quick boil (1–2 minutes per side) in water with a bit of sugar or barley malt gives the traditional finish. Longer boils yield a chewier crust.
Can I skip boiling and bake directly?
No, boiling is key to achieving the classic bagel texture. Without boiling, you’ll get a bread roll with a softer crust.
How long do I knead and let the dough rise?
Knead until smooth and elastic, about 8–10 minutes by hand or 6–8 minutes with a mixer. First rise until doubled, about 60–90 minutes in a warm place. Point the dough, punch down, shape, then a short second rise before boiling.
How do I shape bagels?
Divide dough into equal pieces, roll into a smooth ball, then poke a hole in the center with your finger and gently stretch to form a ring. Rest briefly on a baking sheet before boiling.
What are good baking times and temperatures?
After boiling, bake at 425–450°F (220–230°C) for 15–20 minutes, until the crust is golden and glossy. Ovens vary, so start checking at 14 minutes.
How should I store or freeze plain bagels?
Cool completely, then store in an airtight bag at room temperature for 1–2 days. Freeze for longer storage (up to 1–3 months). Reheat by toasting or briefly warming in the oven.