Introduction: A Bite of Pure Bliss – Chocolate Vanilla Snack Cake
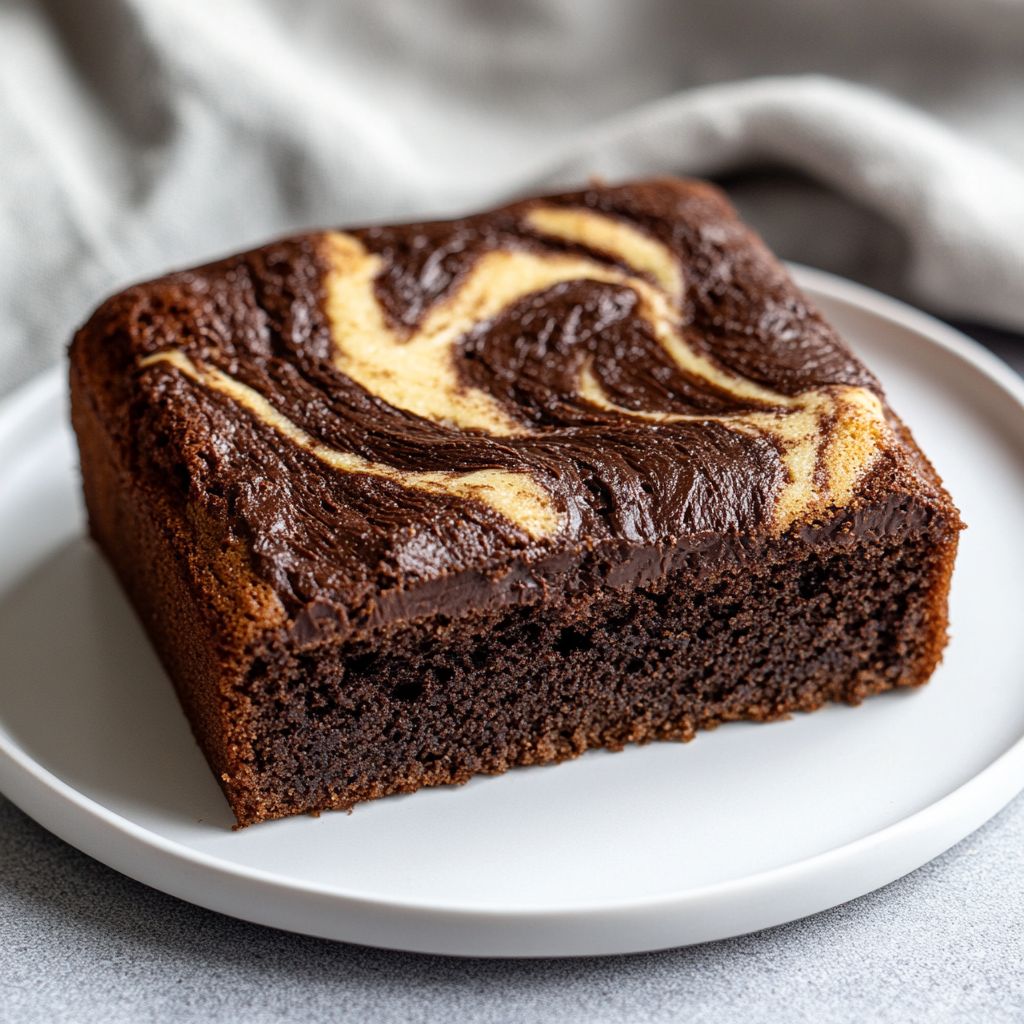
Imagine a decadent blend of rich chocolate and creamy vanilla swirled perfectly into each bite, capturing your senses with a sweet melody of flavors. The Chocolate Vanilla Snack Cake is not just a treat; it’s an experience—beckoning with its aroma of fresh-baked goodness and an inviting appearance that promises comfort in every slice. Soft, moist, and infused with nostalgia-inducing flavor, this snack cake takes you on a delightful journey of contrasting tastes and textures that are both familiar and intriguing. Whether you’re new to baking or a seasoned dessert enthusiast, the simplicity yet elegance of this dessert makes it a must-try in every sense.
The Story Behind the Dish
The allure of chocolate and vanilla together is a love story as old as time, a culinary classic that transcends cultures and generations. This harmonious pairing harks back to the 18th century, when vanilla, rare and exotic, began its long-lasting romance with cocoa. The marriage of these two ingredients emerged as a staple in desserts, admired for their complementary characteristics. While chocolate offers a profound, bold indulgence, vanilla softens it with its subtle sweetness and floral notes, creating a perfect balance.
Our Chocolate Vanilla Snack Cake is inspired by the American tradition of ‘snack cakes’—simple, quick treats designed for everyday enjoyment. These cakes gained popularity during the mid-20th century when convenience became a sought-after quality in home cooking. However, while snack cakes are easy to assemble, their charm lies in the comfort they bring, reminiscent of family gatherings and kitchen warmth.
Why You’ll Love This Recipe
- Simple Ingredients: Whip up this delight using pantry staples that you probably already have at home.
- Quick to Make: Perfect for when you crave a homemade treat without the wait, this cake is ready in just under an hour.
- Versatile: Enjoy it as a breakfast indulgence, an afternoon snack with tea, or a delightful after-dinner dessert.
- Food for All Ages: Its universally loved flavors make it a hit with both adults and children.
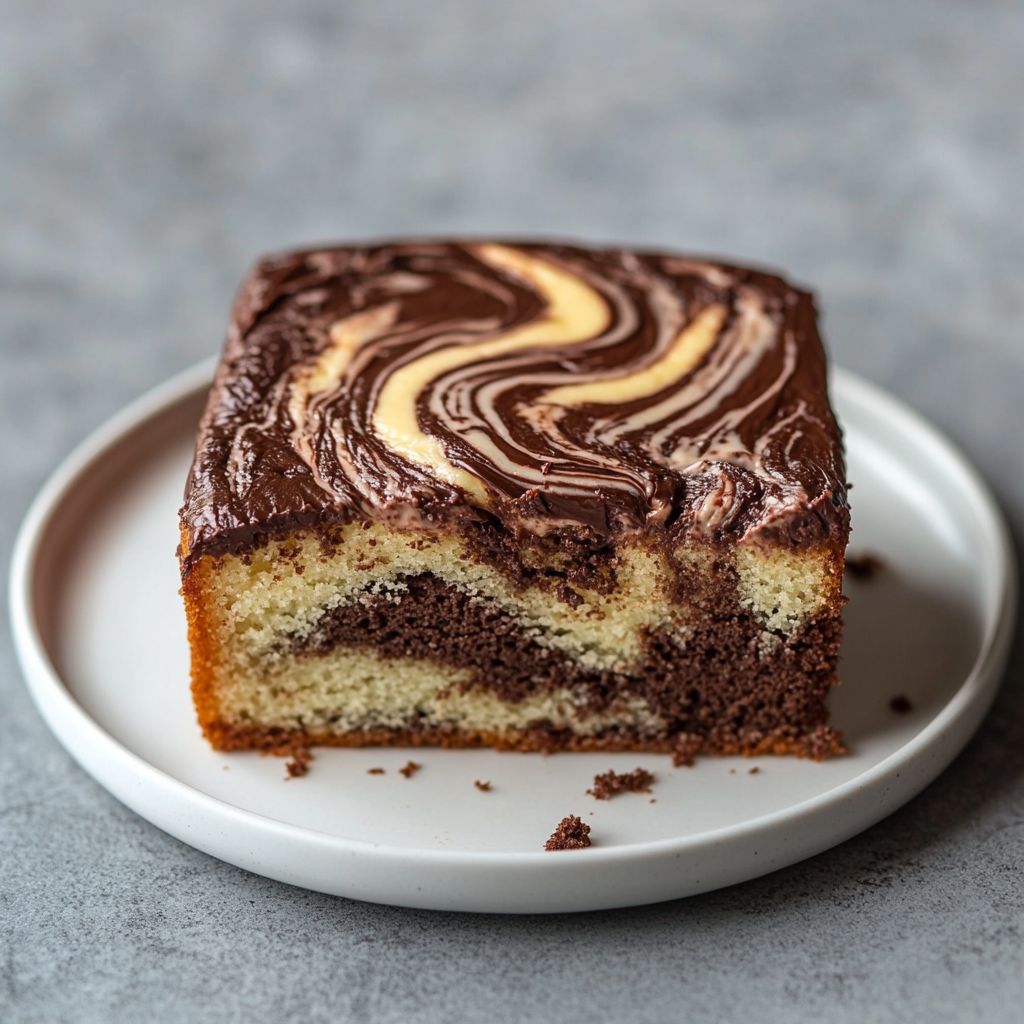
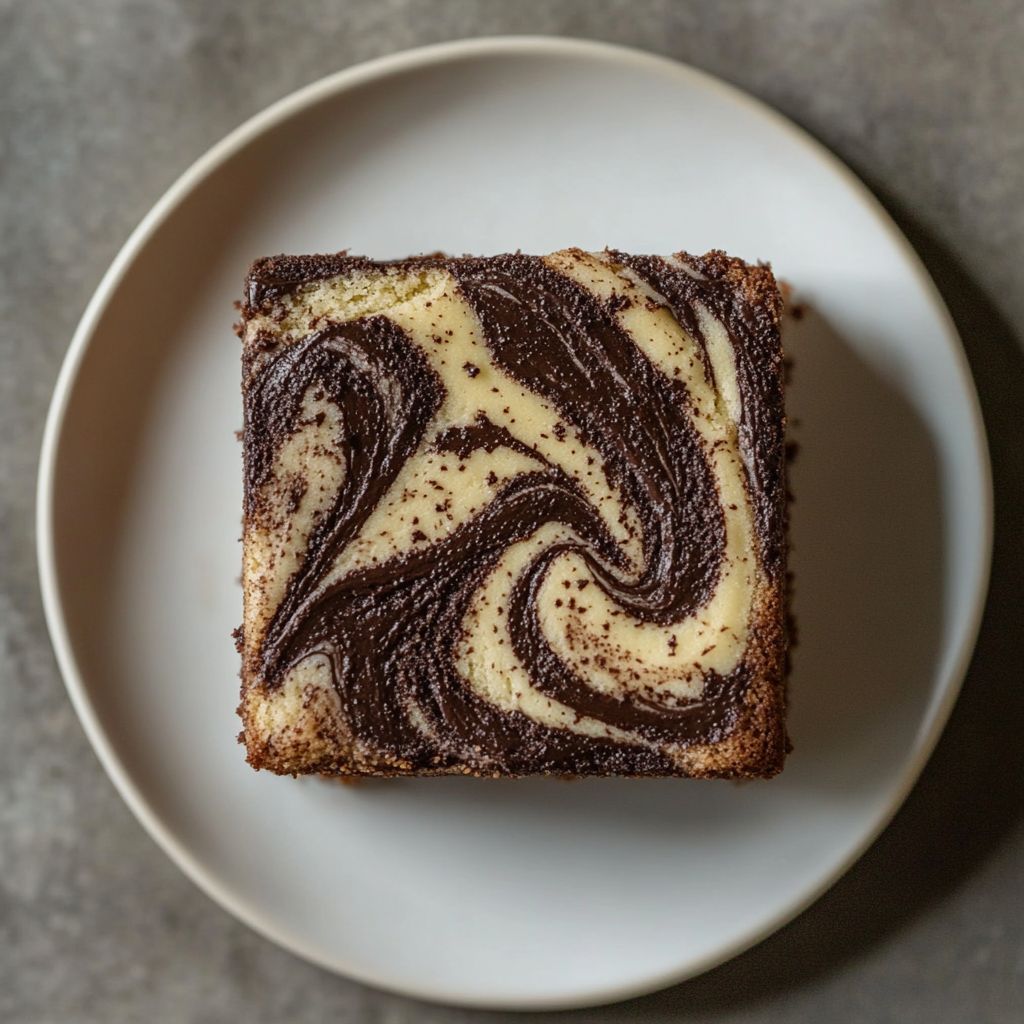
- Beautiful Presentation: The contrasting colors of chocolate and vanilla provide a visually appealing treat that’s sure to impress.
Flavor Profile & Texture
This cake epitomizes what it means for flavors to coexist in harmony. The chocolate offers a rich, slightly bitter depth that intertwines with the creamy sweetness of vanilla, offering a nuanced taste experience. Each bite reveals a pendulum swing from the slight dark allure of cocoa to the soft, aromatic richness of vanilla.
The texture is another highlight, as the cake boasts a light, airy crumb that melts in your mouth. The moistness achieved is that of perfection—dense enough to leave an impression, yet fluffy enough to feel like a sweet cloud grazing your palate. This delightful interplay of flavors and textures makes the cake utterly irresistible.
Occasions & Pairings
The Chocolate Vanilla Snack Cake is exceptionally versatile when it comes to serving occasions. Consider presenting it during:
- Casual Weeknight Dinners: Enjoy a slice as a perfect conclusion to a family dinner.
- Celebrations: With its appealing appearance, it’s a great addition to birthday parties or festive gatherings.
- Afternoon Tea: Pair this cake with a classic Earl Grey or a robust coffee for a full-bodied complement.
- Family Picnics: Pack it up for an outdoor lunch; it holds its texture well and doesn’t require frosting that could melt.
Consider pairing it with a scoop of vanilla ice cream or a drizzle of caramel sauce for extra indulgence.
Tips, Variations & Substitutions
While the classic combination of chocolate and vanilla is hard to beat, here are some ideas to make this recipe your own:
- Nuts & Fruits: Add a handful of chopped walnuts or pecans for a crunchy texture or swirl in some raspberries for a tart surprise.
- Flavored Extracts: Try adding a hint of almond or mint extract for a twist on the traditional flavor profile.
- Dairy-Free/Vegan Options: Substitute regular milk with almond or oat milk and use plant-based butter for a vegan-friendly version.
- Gluten-Free Adaptation: Use a one-to-one gluten-free flour blend to suit dietary needs without sacrificing taste.
Storage & Make-Ahead Ideas
This cake’s shelf life makes it an uncomplicated yet chic solution for preparing ahead:
- Room Temperature: Keep the cake in an airtight container on the counter for up to three days. It remains moist and flavorful.
- Freezing: Wrap individual slices in plastic wrap and store them in a freezer bag for up to three months. Thaw overnight in the fridge before serving.
- Reheating: Warm slices in the microwave for a few seconds to enhance the cake’s tenderness and amplify its flavors.
Fun Facts & Trivia
Did you know that vanilla pods were so precious in the ancient times that they once equaled the value of silver? Today, its legacy continues as one of the most beloved flavors worldwide. Additionally, the complex flavor of chocolate comes from over 600 aroma compounds, making it one of the most intricate foods on the planet, which might explain its universal appeal.
As you embark on making the Chocolate Vanilla Snack Cake, remember that you are partaking in a time-honored tradition—celebrating the effortless congeniality of these two iconic flavors. Enjoy the process, savor the outcome, and take pride in the smile it brings to every face.
Ingredients
- Chocolate Cake Base
- 1 3/4 cups all-purpose flour
→ This flour forms the main structure of the cake, providing the necessary framework for it to rise and hold its shape. For best results, use a high-quality all-purpose flour, and be sure to measure it accurately by spooning it into the measuring cup and leveling it off with a knife, avoiding compaction that could lead to a dense cake. - 1 cup granulated sugar
→ Sugar sweetens the cake and also helps create a tender crumb by breaking down gluten. It should be added to the bowl with the flour and mixed well with the other dry ingredients to ensure an even distribution throughout the cake. For a healthier option, consider using coconut sugar or a sugar substitute that measures like sugar. - 1/2 cup unsweetened cocoa powder
→ Cocoa powder adds rich chocolate flavor and color to the cake. Use high-quality cocoa powder for the best taste. Sift the cocoa powder together with the flour and sugar to avoid clumps and ensure an even integration into the batter. - 1 teaspoon baking soda
→ This leavening agent helps the cake rise by producing carbon dioxide when it comes into contact with moisture and acid in the ingredients. It’s crucial to ensure the baking soda is fresh to provide maximum leavening power, so check the expiration date before use. - 1/2 teaspoon salt
→ Salt enhances the flavors of the cake and balances the sweetness. It’s important to use fine salt, as it dissolves more easily and distributes evenly in the batter. Avoid skipping this ingredient, as it plays a critical role in flavor enhancement. - 3 large eggs
→ Eggs act as a binder and also add moisture and richness to the cake. They should be at room temperature for better incorporation into the batter. Whisk them lightly before adding to the mixture to help them blend more seamlessly with the other wet ingredients. - 1/2 cup vegetable oil
→ Vegetable oil adds moisture and richness to the cake, creating a tender crumb. It can be substituted with melted coconut oil or melted butter for a different flavor. Make sure it’s measured accurately for consistent results. - 1 teaspoon pure vanilla extract
→ Vanilla extract adds depth of flavor and aroma to the cake. Always opt for pure vanilla extract instead of imitation for the best taste. This should be mixed in with the wet ingredients for an even distribution. - 1 cup buttermilk
→ Buttermilk contributes moisture and acidity, which react with the baking soda for leavening. If you don’t have buttermilk on hand, you can make a substitute by mixing 1 tablespoon of vinegar or lemon juice with 1 cup of regular milk and letting it sit for 5-10 minutes until it curdles.
- 1 3/4 cups all-purpose flour
- Vanilla Frosting
- 1/2 cup unsalted butter (softened)
→ Softened butter is crucial for creating a creamy texture for the frosting. Allow it to come to room temperature to ensure it blends easily with the other ingredients. Start beating it until it’s light and fluffy, which will help create a smooth frosting. - 2 cups powdered sugar
→ Powdered sugar sweetens the frosting and gives it the desirable thick, spreadable consistency. Sift it to remove any lumps before adding to the butter, and add it gradually to avoid a cloud of sugar when mixing. - 1 teaspoon pure vanilla extract
→ Similar to the cake, vanilla extract enhances the flavor of the frosting. Using pure extract is recommended for a more pronounced and natural vanilla flavor. Mix it in with the butter before adding sugar for even distribution. - 2-3 tablespoons heavy cream
→ Heavy cream adds richness and helps to achieve the right consistency for spreading. Start with 2 tablespoons, and add more as needed until you reach your desired thickness. Whip it lightly with the other ingredients to keep the frosting airy and fluffy.
- 1/2 cup unsalted butter (softened)
Instructions
- Preheat your oven to 350°F (175°C) and prepare a 9×13 inch baking pan by greasing it lightly with cooking spray or butter, or by lining it with parchment paper.
→ Preheating the oven ensures that the cake bakes evenly and rises properly from the moment it enters. Lining the pan with parchment makes it easier to remove the cake after baking while greasing it helps prevent sticking. - In a large mixing bowl, combine 1 3/4 cups of all-purpose flour, 1 cup of granulated sugar, 1/2 cup of unsweetened cocoa powder, 1 teaspoon of baking soda, and 1/2 teaspoon of salt.
→ Whisk these dry ingredients together thoroughly to ensure they are evenly mixed. This step prevents clumping and guarantees a uniform flavor and texture in your cake. Sifting the cocoa powder is crucial to eliminate any lumps, contributing to a smoother batter. - In a separate bowl, crack 3 large eggs and lightly whisk them until they are blended. Add in 1/2 cup of vegetable oil, 1 teaspoon of pure vanilla extract, and 1 cup of buttermilk.
→ Whisking the eggs first allows them to mix more easily with the other wet ingredients. Using room temperature eggs helps them integrate better into the batter, yielding a lighter cake. If you’re creating a buttermilk substitute, ensure it sits for 5-10 minutes to curdle properly before mixing it in. - Add the wet ingredient mixture into the dry ingredients and stir gently using a spatula or wooden spoon until just combined.
→ Be careful not to overmix, as this can develop the gluten in the flour and lead to a denser texture. Stop mixing as soon as there are no dry flour pockets visible—some lumps are okay. - Pour the batter into the prepared baking pan, spreading it evenly with a spatula to ensure uniform baking.
→ Spreading the batter evenly helps the cake to rise uniformly, reducing the chances of doming or collapsing in the center. Tilt the pan gently to encourage even distribution before setting it down flat. - Bake in the preheated oven for 30-35 minutes or until a toothpick inserted into the center comes out clean or with a few moist crumbs.
→ Checking for doneness is critical to avoid overbaking, which can dry the cake out. Start checking at 30 minutes to prevent overcooking, and use a toothpick to ensure an accurate reading. - Once baked, remove the cake from the oven and let it cool in the pan for about 10 minutes. Then, carefully transfer it to a wire rack to cool completely.
→ Allowing the cake to cool helps it set properly. Cooling it in the pan prevents it from becoming soggy, while transferring it to a wire rack allows air to circulate underneath, keeping it light. - While the cake is cooling, prepare the vanilla frosting by placing 1/2 cup of softened unsalted butter in a mixing bowl and beating it with an electric mixer until light and fluffy, about 3-5 minutes.
→ Softened butter is essential for creating a smooth and creamy texture; if the butter is too cold, it won’t incorporate well. Beating it until fluffy introduces air, giving the frosting a light consistency. - Gradually add in 2 cups of sifted powdered sugar while mixing on low speed to prevent a sugar cloud, until fully incorporated.
→ Adding the sugar gradually allows it to mix in more easily, creating a uniform frosting without lumps. Sifting the sugar prior to adding removes any clumps that could affect the frosting’s smoothness. - Mix in 1 teaspoon of pure vanilla extract and then add 2-3 tablespoons of heavy cream until the frosting reaches your desired consistency.
→ The vanilla extract will enhance the flavor of your frosting. Adjusting the heavy cream ensures that the frosting is neither too thick nor too runny—start with 2 tablespoons and add more if necessary, mixing well after each addition. - Once the cake has cooled completely, spread the vanilla frosting evenly over the top of the cake using an offset spatula.
→ Use the spatula to create an even layer of frosting, and if desired, you can create swirls or peaks for decorative effect. Ensuring the cake is cool prevents the frosting from melting and sliding off. - For best flavor, let the frosted cake sit for at least 30 minutes before slicing, allowing the ingredients to meld. Serve and enjoy your Chocolate Vanilla Snack Cake!
→ This resting period enhances the overall flavor and allows the frosting to set slightly, making it easier to cut and serve. It is also a good time to prepare any additional toppings or accompaniments.
Notes
Indulge in this delightful Chocolate Vanilla Snack Cake that combines the rich flavors of chocolate with a smooth vanilla frosting. This cake is perfect for any occasion – a snack, dessert, or even a special celebration! To achieve the best results, follow these detailed notes:
- Preparing the Chocolate Cake Base:
- Begin by preheating your oven to 350°F (175°C). Prepare a 9×13-inch cake pan by greasing it with butter or lining it with parchment paper for easy removal.
- In a large mixing bowl, sift together the all-purpose flour, granulated sugar, unsweetened cocoa powder, baking soda, and salt. This vital step helps aerate the dry ingredients, ensuring a light and fluffy cake.
- In a separate bowl, whisk together the eggs, vegetable oil, pure vanilla extract, and buttermilk until well combined. Ensure the eggs are at room temperature for better incorporation into the batter.
- Gradually add the wet ingredients to the dry mixture, stirring until just combined. Be careful not to overmix, as this can lead to a dense texture.
- Pour the batter into the prepared cake pan, spreading it evenly. Bake in the preheated oven for 30-35 minutes, or until a toothpick inserted into the center comes out clean. Allow the cake to cool in the pan for about 10 minutes, then transfer it to a wire rack to cool completely.
- Making the Vanilla Frosting:
- While the cake is cooling, prepare the vanilla frosting. In a mixing bowl, beat the softened unsalted butter on medium speed until creamy and light.
- Sift the powdered sugar to remove lumps, then gradually add it to the creamed butter, mixing on low speed to prevent a sugar cloud. Once incorporated, increase the speed and beat until fluffy.
- Add the pure vanilla extract and heavy cream, mixing until smooth. Adjust the consistency of the frosting by adding more cream if needed – you want it to be thick yet spreadable.
- Assembling the Cake:
- Once the cake has completely cooled, spread a generous layer of vanilla frosting over the top using a spatula. If desired, you can also frost the sides for a more polished look.
- Decorate with chocolate shavings, sprinkles, or fresh berries for an added touch of elegance and flavor.
- Slice the cake into squares and serve it at room temperature. It can be stored in an airtight container in the refrigerator for up to 4-5 days.
This Chocolate Vanilla Snack Cake is not only delicious but also a visually appealing treat. Feel free to experiment with different toppings or mix-ins to make it your own. Enjoy this cake with friends and family or savor it on your own for a satisfying treat any time of the day!
Tips
Tips for Preparing Chocolate Vanilla Snack Cake
- Measure Ingredients Carefully: Accurate measuring is essential for baking. Use the spoon-and-level method for dry ingredients and a liquid measuring cup for wet. This ensures the right ratios, which are crucial for the cake’s texture and flavor.
- Room Temperature Ingredients: For the best results, make sure your eggs and buttermilk are at room temperature before mixing. This helps to emulsify the batter, resulting in a smoother, more uniform cake.
- Freshness is Key: Check the freshness of your leavening agents (baking soda) and spices (like vanilla extract) before use. Older ingredients may lead to poor rising and flavor.
- Mixing Technique: When combining wet and dry ingredients, mix just until combined. Overmixing can lead to a dense cake due to gluten development. It’s okay if there are a few lumps in the batter.
- Prepare Your Pans: Before pouring in the batter, grease your cake pans well and consider lining them with parchment paper. This will help prevent sticking and make for easier removal post-baking.
- Baking Time: Keep an eye on your cake in the last few minutes of baking. Ovens vary, so start checking for doneness a few minutes early by inserting a toothpick in the center; it should come out clean or with a few moist crumbs.
- Cool Properly: Allow the cakes to cool in the pans for about 10-15 minutes before transferring them to a wire rack. This helps them set and prevents breaking. Let them cool completely before frosting.
- Frosting Consistency: If your frosting is too thick, gradually add more heavy cream until you reach your desired consistency. If it’s too thin, add more powdered sugar to thicken it up.
- Decorative Touches: Consider adding chocolate shavings, sprinkles, or fresh fruit on top of the frosting for an attractive presentation. This adds both visual appeal and flavor contrast.
- Storage: Keep the cake covered at room temperature if you plan to eat it within a couple of days. For longer storage, refrigerate the cake in an airtight container, but let it come to room temperature before serving for the best texture.
FAQ
What is a Chocolate Vanilla Snack Cake?
A Chocolate Vanilla Snack Cake is a delightful dessert that combines rich chocolate flavors with a light and fluffy vanilla base, making it perfect for any occasion or as an everyday treat.
Can I use different types of flour for this recipe?
Yes, you can substitute all-purpose flour with cake flour for a lighter texture or whole wheat flour for a healthier option, although it may slightly alter the taste and texture.
How long does the Chocolate Vanilla Snack Cake last?
The cake can be stored in an airtight container at room temperature for up to 3 days. For longer storage, it can be kept in the refrigerator for up to a week or frozen for up to 3 months.
Can I make this cake in advance?
Yes! You can bake the cake ahead of time. Just make sure to let it cool completely, then wrap it in plastic wrap or store it in an airtight container before refrigerating or freezing.
What toppings work well with this cake?
This cake pairs well with whipped cream, chocolate ganache, fresh berries, or a dusting of powdered sugar. You can also enhance the flavors with chocolate frosting or a vanilla glaze.
Is this recipe suitable for vegetarian diets?
Yes, the Chocolate Vanilla Snack Cake can be made vegetarian as it typically does not contain meat or meat products. However, always check your ingredient labels to be sure.
Can I add nuts or chocolate chips to the batter?
Absolutely! Feel free to fold in your favorite nuts, such as walnuts or pecans, or chocolate chips for an extra burst of flavor and texture in the cake.
How do I tell when the cake is done baking?
The cake is done when a toothpick inserted into the center comes out clean or with a few moist crumbs. It should also spring back when gently pressed in the center.