Introduction / Hook
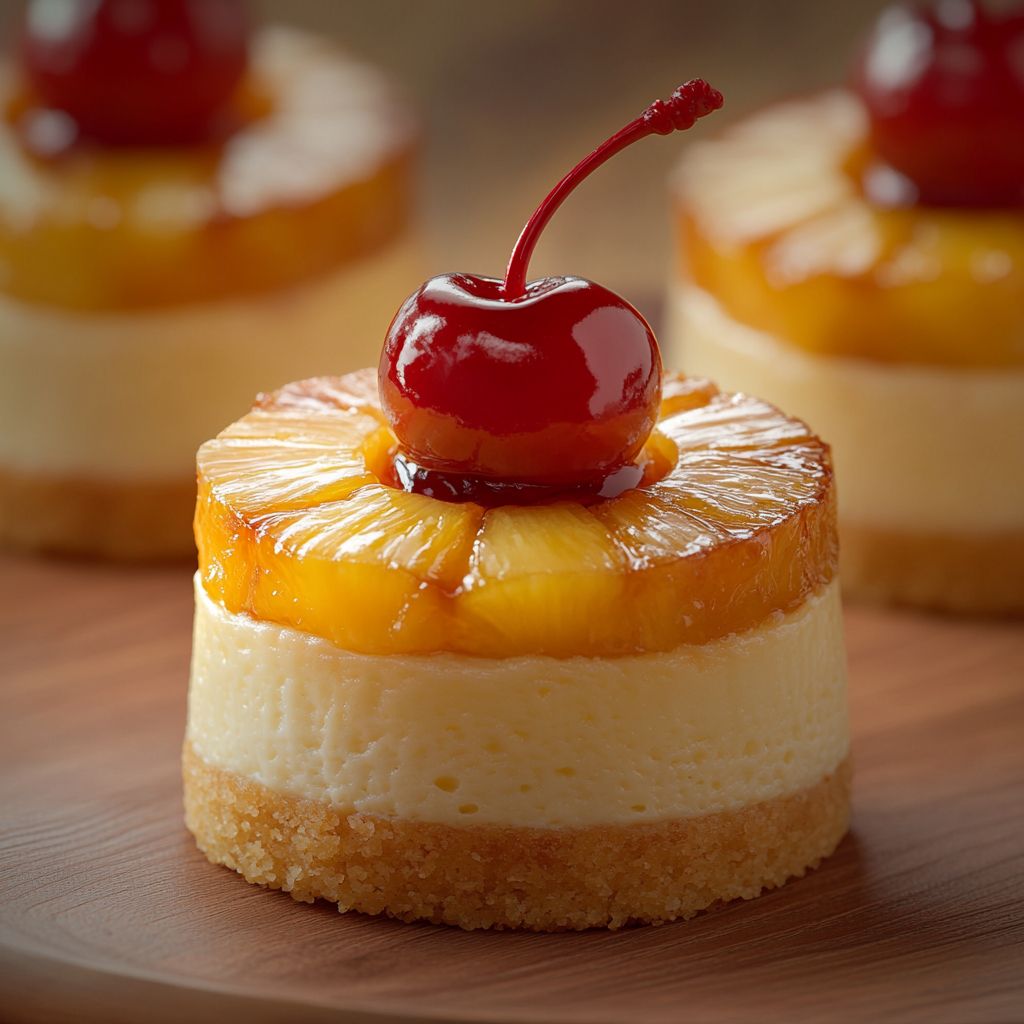
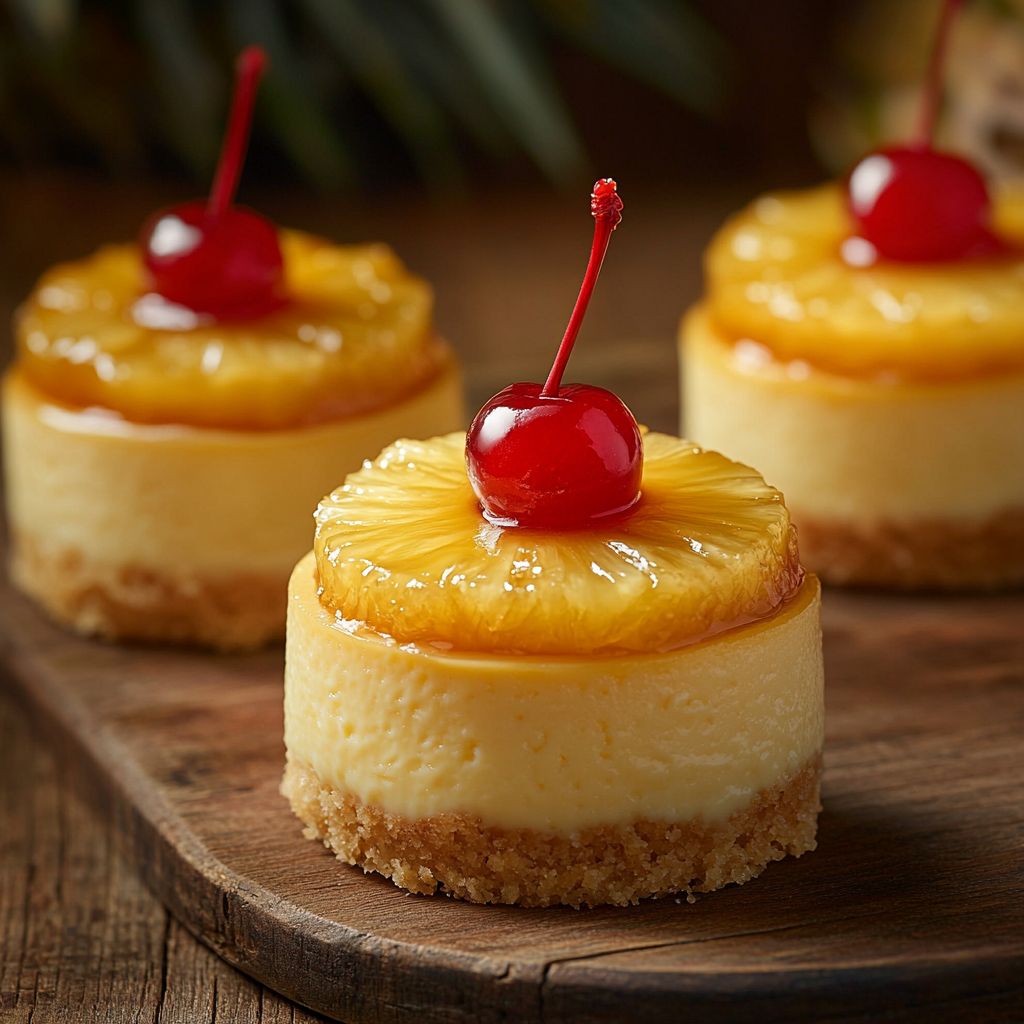
Imagine taking a bite of a dessert where the tropical sweetness of pineapple meets the creamy decadence of cheesecake, all effortlessly packed into a bite-sized indulgence. This is exactly what you experience with Mini Pineapple Upside-down Cheesecakes. Each delicate treat is a tiny masterpiece of flavors and textures, guaranteed to transport your taste buds to a sun-drenched paradise. Whether you’re looking to impress guests at a party, pamper yourself with a luxurious treat, or simply enjoy a tantalizing twist on a classic dessert, these mini cheesecakes hold the key. With visually stunning presentation and blissful flavors, they embody the joy of sharing and savoring something truly special.
The Story Behind the Dish
The Pineapple Upside-down Cake has been a beloved dessert in American homes for almost a century. Its origins can be traced back to the early 1900s when canned pineapple became readily available, thanks to the pioneering efforts of the Hawaiian Pineapple Company, now known as Dole. The pairing of pineapples with cherries, often accentuated by a luscious caramel glaze, quickly became an iconic dessert choice. Meanwhile, cheesecake’s roots delve deeper, originating in ancient Greece and transforming over centuries into a globally cherished dessert. By merging these two time-honored desserts, the Mini Pineapple Upside-down Cheesecakes pay homage to culinary innovation, capturing the essence of history and flavor in each tiny layer.
Why You’ll Love This Recipe
- Bite-sized Delight: Perfectly portioned for easy serving and sharing at gatherings.
- Flavor Fusion: Combines the tropical, caramelized delight of pineapple with creamy, rich cheesecake.
- Versatile Treat: Ideal for various occasions, from casual get-togethers to sophisticated dinner parties.
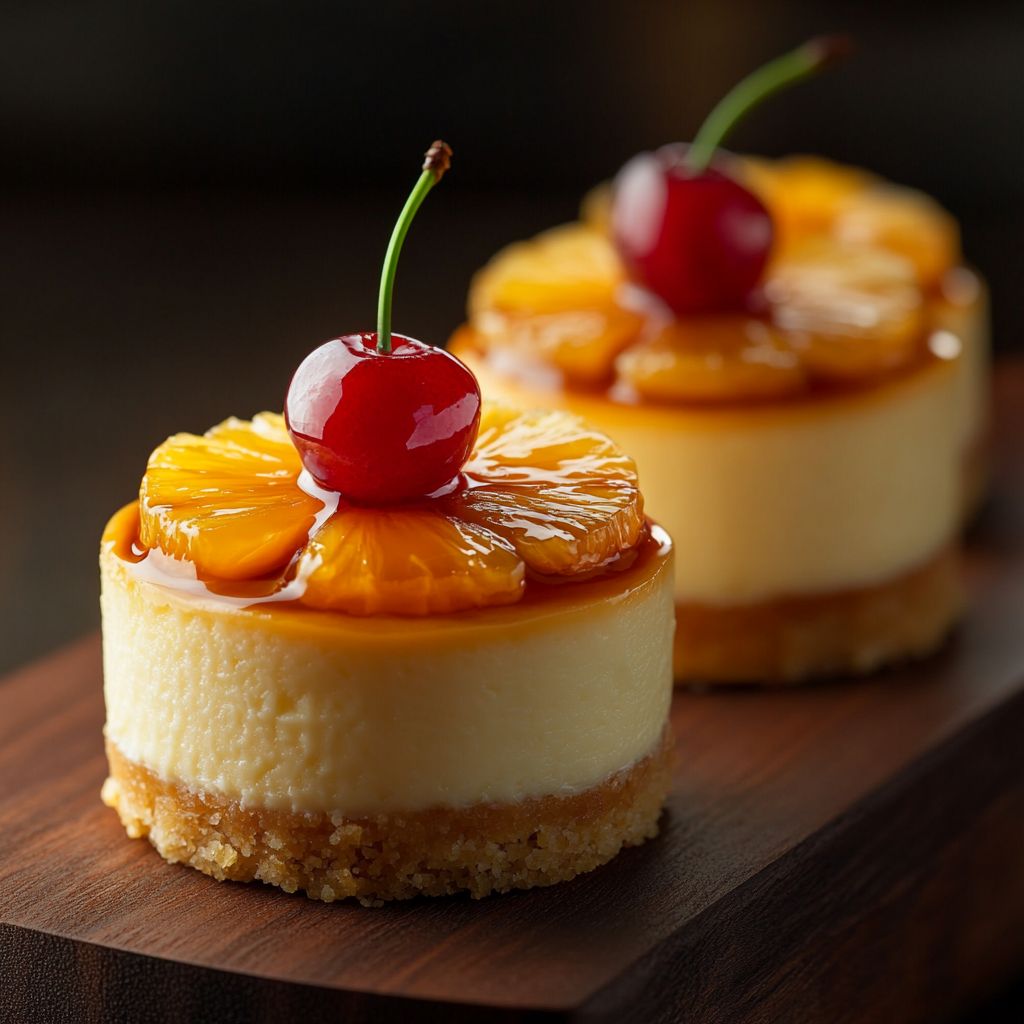
- Visual Appeal: Each mini cheesecake is visually stunning, offering an irresistible invitation to indulge.
- Easy to Make Ahead: Can be prepared ahead of time, freeing you to enjoy your event without stress.
Flavor Profile & Texture
The Mini Pineapple Upside-down Cheesecakes create a harmonious balance of zest, sweetness, and creamy richness. With their golden, caramelized pineapple tops, each bite starts with a burst of juicy, tropical flavor complemented by the luscious tartness of cherries. As you delve deeper, the smooth, dense cheesecake layer tempts your palate with its creamy allure. A hint of vanilla adds depth, while the subtle crust offers a pleasant, crumbly contrast. This intricate layering of textures — from the caramelized top to the velvety center and crunchy base — makes for a sumptuous tasting experience.
Occasions & Pairings
These delightful mini cheesecakes are incredibly versatile and can elevate numerous occasions:
- Celebrations: Host memorable birthdays, anniversaries, or showers with these charming treats.
- Holidays: They bring a refreshing summery touch to festive gatherings during Easter or Thanksgiving.
- Casual Gatherings: Perfect for potlucks or picnics, offering guests a sophisticated dessert option.
For ideal drink pairings, consider serving with:
- Sparkling Wine: Its effervescence enhances the dessert’s lightness and brings out fruity notes.
- Earl Grey Tea: Provides a citrus complement that harmonizes with the pineapple flavor.
Tips, Variations & Substitutions
Customization is key with this versatile recipe. Here are some suggestions to make it your own:
- Make it Vegan: Substitute the cream cheese with a vegan alternative and replace eggs with a flaxseed mixture.
- Gluten-Free Option: Use a gluten-free flour blend for the crust to cater to those with gluten sensitivities.
- Flavor Twists: Add a sprinkle of cinnamon or nutmeg to the cheesecake batter for a warm, spice-forward take.
- Fruit Variations: Try with other canned fruits like peaches or apricots for a different flavor profile and visual appeal.
Storage & Make-Ahead Ideas
Efficiency is crucial, especially for entertaining. These mini cheesecakes offer convenience with their make-ahead potential. Here’s how:
- Ahead of time, bake these treats up to two days before your event. Cover them and store in the refrigerator to maintain freshness.
- For longer preservation, freeze the cheesecakes. First, let them cool completely, then wrap each tightly in plastic wrap followed by foil. They can be frozen for up to three months.
- To serve, thaw in the refrigerator overnight and allow them to come to room temperature before enjoying.
Fun Facts & Trivia
The Pineapple Upside-down Cake surged in popularity thanks to a 1925 Dole recipe contest, which captured America’s fascination. The charming presentation of fruit in the dessert echoed the era’s obsession with intricate and artistic food displays. This mini version of the beloved cake not only adds a contemporary twist but also serves as a delightful nod to culinary history, proving that great taste and creativity in the kitchen stand the test of time.
By embarking on the adventure of making Mini Pineapple Upside-down Cheesecakes, you’re not only treating yourself to a delightful taste of the tropics but also engaging in an enduring culinary tradition, connecting the past’s flavors with the innovations of modern gastronomy. Each cheesecake is a testament to the richness of dessert heritage, inviting you to savor and share its delicious story, one bite at a time.
Ingredients
- Cream Cheese Layer
- 16 oz cream cheese (softened)
→ Cream cheese forms the creamy base of the cheesecake layer. It should be at room temperature to ensure easy mixing and a smooth texture. Softening it allows for incorporation air, creating a light and fluffy filling. Choose a full-fat cream cheese for the best richness and flavor. - 1/2 cup granulated sugar
→ Sugar acts as the sweetener for the cheesecake layer, balancing the tartness of the cream cheese. It should be mixed thoroughly with the cream cheese to dissolve properly. Avoid using powdered sugar, as it can change the texture. - 1 teaspoon vanilla extract
→ Pure vanilla extract enhances the overall flavor of the cheesecake. It should be added to the mixture to deepen the taste profile and complement the other ingredients. Avoid imitation vanilla for a more authentic flavor. - 2 large eggs
→ Eggs are essential for binding the cheesecake mixture and providing structure. They should be at room temperature for even mixing and to prevent curdling when added to the batter. Be careful not to overmix once the eggs are added to maintain a smooth texture.
- 16 oz cream cheese (softened)
- Pineapple Topping
- 1 cup crushed pineapple (drained)
→ Crushed pineapple provides both moisture and natural sweetness, along with a tropical flavor. It must be well-drained to prevent a soggy cheesecake. You can use fresh, canned, or frozen pineapple, but be sure to remove excess liquid for the best results. - 1/4 cup brown sugar
→ Brown sugar adds a rich, caramel-like flavor to the topping. It helps create a beautiful syrup while baking. Remember to pack the brown sugar into the measuring cup for accurate measuring. - 2 tablespoons butter
→ Butter adds richness and helps to caramelize the sugar during baking. It should be melted to easily combine with the pineapple and sugar, enhancing the overall flavor of the topping.
- 1 cup crushed pineapple (drained)
- Crust
- 1 1/2 cups graham cracker crumbs
→ The graham cracker crumbs form the base of the cheesecake, providing texture and a slight sweetness. Use crushed graham crackers or pre-packaged crumbs, and ensure they are finely crushed for a cohesive crust. Alternatively, you can use digestive biscuits for a similar flavor. - 1/4 cup granulated sugar
→ Sugar in the crust balances the earthy flavor of the graham crackers, adding a touch of sweetness. Similar to the cream cheese layer, it should be mixed well with the crumbs for even distribution. - 1/2 cup unsalted butter (melted)
→ Melted butter acts as the binder for the graham cracker crumbs, helping to hold the crust together. It should be melted and slightly cooled before mixing with the dry ingredients for better integration and a firmer crust.
- 1 1/2 cups graham cracker crumbs
- Garnish (Optional)
- Whipped cream (for topping)
→ Whipped cream adds a fluffy, light texture to the cheesecake, providing a contrast to the creamy filling. Use heavy cream and whip until soft peaks form, then dollop on top before serving for an elegant finish. You can sweeten it lightly with powdered sugar, if desired. - Maraschino cherries (for topping)
→ Maraschino cherries provide a pop of color and sweetness, making the dessert visually appealing. Place one cherry on each cheesecake for a classic touch. Ensure they are drained well before use to avoid excess moisture.
- Whipped cream (for topping)
Instructions
- Preheat your oven to 325°F (163°C) and line a 12-cup muffin tin with paper liners or grease it well.
→ This step is crucial as it ensures the mini cheesecakes bake evenly and prevents them from sticking to the tin, allowing for easy removal after baking. Preheating the oven helps to create the right environment for the cheesecakes to rise properly. - Prepare the crust by combining 1 1/2 cups graham cracker crumbs and 1/4 cup granulated sugar in a mixing bowl.
→ Mixing the dry ingredients first ensures the sugar is evenly distributed throughout the crumbs, providing a uniform sweetness in the crust. Use a fork or whisk to break up any clumps in the graham cracker crumbs. - Pour in 1/2 cup of melted unsalted butter into the graham cracker mixture and stir until all crumbs are well moistened.
→ The melted butter acts as a binder, helping the crumbs stick together for a cohesive crust. Ensure the butter is not too hot to avoid cooking the crumbs. - Evenly distribute the crumb mixture among the prepared muffin cups, pressing down firmly to form a compact crust.
→ Pressing down helps the crust hold its shape during baking. Use the back of a measuring spoon or your fingers to ensure an even, flat surface. - Bake the crusts in the preheated oven for 8-10 minutes until lightly golden and fragrant, then remove and let cool slightly.
→ Baking the crust helps to develop its flavor and sets it before adding the cheesecake layer, ensuring it won’t become soggy later. Letting it cool slightly prevents the filling from melting when added. - In a large mixing bowl, beat 16 oz of softened cream cheese with 1/2 cup granulated sugar using an electric mixer on medium speed until smooth and creamy.
→ Beating the cream cheese first allows for a smooth texture, preventing lumps in the final cheesecake. Make sure to scrape down the sides of the bowl to incorporate all ingredients evenly. - Add 1 teaspoon of vanilla extract and mix until fully incorporated.
→ Vanilla extract enhances the flavor profile of the cheesecake, creating a more complex taste. Avoid using imitation vanilla, as it can detract from the quality. - Carefully add 2 large eggs, one at a time, mixing on low speed after each addition until just combined.
→ Adding eggs gradually helps to avoid overmixing, which can introduce too much air and lead to cracks in the cheesecake. Mixing on low allows for gentle incorporation. - Use a spatula to gently fold in the well-drained 1 cup of crushed pineapple until evenly distributed.
→ Folding ensures that the pineapple is mixed into the batter without deflating it, maintaining a light and fluffy texture. Make sure to press out excess liquid from the pineapple before adding it. - Evenly spoon the cheesecake mixture over the pre-baked crusts, filling each muffin cup about 3/4 full.
→ This gives the cheesecakes room to rise slightly while baking. Using a spoon or small measuring cup helps with even distribution. - Prepare the pineapple topping by melting 2 tablespoons of butter in a small skillet over medium heat.
→ Melting the butter in a skillet allows for easier mixing with the sugar and pineapple, as well as ensuring it doesn’t cool and solidify. Make sure it is fully melted but not browned. - Stir in 1/4 cup of packed brown sugar and 1 cup of drained crushed pineapple into the melted butter and cook for 2-3 minutes, until slightly bubbly.
→ Cooking the pineapple with the sugar creates a glossy, syrupy topping that enhances the overall flavor. Make sure to stir continuously to prevent burning. - Remove from heat and carefully spoon the warm pineapple topping over each cheesecake.
→ Adding the topping while it’s warm helps it meld into the cheesecake, providing a smooth and flavorful finish. Be generous to ensure each cheesecake is lovingly topped. - Bake the mini cheesecakes in the oven at 325°F (163°C) for 20-25 minutes or until the edges are set but the center slightly jiggles.
→ The slight jiggle indicates that the cheesecakes will firm up as they cool, preventing them from becoming overcooked and dry. Use the pale color as another sign they are properly baked. - Remove the cheesecakes from the oven, and allow them to cool in the muffin tin for at least 30 minutes before transferring them to a wire rack to cool completely.
→ Gradually cooling the cheesecakes helps to prevent cracking as they adjust to the temperature change. Leaving them in the tin for a while also helps them set without sticking. - Chill the cooled cheesecakes in the refrigerator for at least 2 hours, or until they are completely chilled and set.
→ Chilling enhances the flavors and helps firm up the texture, leading to a classic cheesecake experience. Cover with plastic wrap if chilling for longer. - Before serving, optionally top each cheesecake with whipped cream and a maraschino cherry.
→ Whipped cream adds a light, airy contrast to the rich cheesecake, and cherries contribute a touch of color and sweetness. Use a piping bag for an elegant presentation if desired.
Notes
- These mini pineapple upside-down cheesecakes are a delightful twist on the classic dessert, featuring a creamy cheesecake filling and a sweet, caramelized topping. Start by ensuring that your cream cheese is fully softened, as this will prevent lumps and create a silky texture. Plan to make the cheesecake layers in small ramekins or muffin tins for easy serving.
- When preparing the crust, be sure to mix the graham cracker crumbs with melted butter and granulated sugar until the mixture resembles wet sand. This helps to ensure a firm and cohesive base. Press this mixture firmly into the bottom of your containers to create a solid foundation for the cheesecake layers.
- As you prepare the pineapple topping, draining the crushed pineapple thoroughly is crucial to avoid excess moisture that could make the cheesecakes soggy. Consider slightly heating the mixture of pineapple, brown sugar, and melted butter on the stovetop before adding it to the crust, enhancing the caramelization and flavor development.
- For baking, setting the oven temperature correctly is essential. Bake the cheesecakes just until the edges are set but the centers still have a slight jiggle; this helps to maintain a creamy texture without becoming overly firm.
- If you’re feeling creative, feel free to experiment by adding different flavor extracts to the cream cheese layer, such as almond or coconut, for a unique twist. Similarly, you can substitute the crushed pineapple with other fruits, like peaches or cherries, to suit your taste preferences.
- These cheesecakes can be made in advance; let them cool completely before refrigerating. They taste even better the next day as the flavors meld together. When ready to serve, garnish with freshly whipped cream and maraschino cherries for an extra special touch that elevates presentation.
- This dessert not only brings a fantastic combination of flavors but also is a fun way to enjoy a classic with a twist. Perfect for parties or a special occasion, these mini cakes are sure to impress your guests!
Tips
Cooking Tips for Mini Pineapple Upside-down Cheesecakes
- Prepare Ahead: Consider preparing the cream cheese layer and crust a day in advance. Refrigerate the cheesecake batter and crust separately, then assemble when ready to bake. This can enhance flavors and reduce prep time on the day of serving.
- Mixing Technique: When mixing the cream cheese, use a hand mixer or stand mixer on low speed to prevent incorporating too much air. Overmixing can lead to cracks in the cheesecakes during baking. Mix until smooth and just combined instead.
- Cools Before Baking: After mixing the cream cheese layer, let it sit at room temperature for about 10-15 minutes before pouring over the crust. This ensures it bakes evenly and prevents a temperature shock that may result in cracks.
- Crust Consistency: Ensure that the graham cracker crumbs are finely crushed and evenly mixed with the melted butter and sugar. The crust should hold together when pressed; if it feels too dry, add a touch more melted butter until the right consistency is reached.
- Layering Topping: When layering the pineapple topping, spoon it evenly over the cream cheese layer before baking. This will help create a beautiful caramelization effect and allow the flavors to meld together as it cooks.
- Temperature Check: To ensure the cheesecakes are done, gently shake the pan. The center should be slightly jiggly but not liquid-like. It will firm up as it cools. Avoid opening the oven door frequently, as it can cause sudden temperature changes.
- Pineapple Drainage: Be diligent in draining the crushed pineapple thoroughly. Excess liquid can lead to a soggy bottom crust. Press the pineapple between paper towels or let it sit in a strainer for extra drainage if needed.
- Cooling Time: After removing from the oven, cool the cheesecakes in the pan for about an hour before transferring them to the refrigerator. This helps them set properly and prevents them from cracking.
- Garnishing Tips: For the whipped cream topping, chill your mixing bowl and whisk beforehand. This helps the cream whip more easily, achieving a light and fluffy texture. If using maraschino cherries, make sure they are well-drained to avoid excess juice running into the whipped cream.
- Storage Advice: These mini cheesecakes can be stored covered in the refrigerator for up to 3 days. They also freeze well for up to a month. To freeze, wrap them tightly in plastic wrap and place in an airtight container.
FAQ
What ingredients do I need to make Mini Pineapple Upside-down Cheesecakes?
You will need cream cheese, sugar, vanilla extract, crushed pineapple, crushed graham crackers, butter, eggs, and maraschino cherries.
How long does it take to prepare Mini Pineapple Upside-down Cheesecakes?
The preparation time is about 20 minutes, followed by 25-30 minutes of baking time.
Can I use fresh pineapple instead of canned pineapple for the recipe?
Yes, you can use fresh pineapple. Just make sure to cut it into small pieces and cook it down with some sugar to caramelize before adding it to the cheesecakes.
Are Mini Pineapple Upside-down Cheesecakes suitable for gluten-free diets?
You can make them gluten-free by substituting the crushed graham crackers with gluten-free options, such as almond flour or gluten-free cookies.
How should I store leftover Mini Pineapple Upside-down Cheesecakes?
Store them in an airtight container in the refrigerator for up to 3 days. For longer storage, they can be frozen for up to 2 months.
Can I make Mini Pineapple Upside-down Cheesecakes ahead of time?
Yes, you can prepare the cheesecakes a day in advance and store them in the refrigerator until ready to serve.
What can I use as a topping for the Mini Pineapple Upside-down Cheesecakes?
You can top them with whipped cream, additional caramelized pineapple, or toasted coconut for extra flavor and decoration.
How do I know when Mini Pineapple Upside-down Cheesecakes are done baking?
They are done when the edges are set and the center has a slight jiggle. A toothpick inserted into the center should come out clean or with only a few crumbs attached.