Introduction: Embrace the Spooky Spirit with Delicious Treats
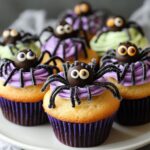
As the leaves fall and days grow shorter, a crisp chill begins to fill the air, signaling the arrival of one of the most exciting holidays of the year—Halloween. This is the season of haunted houses, eerie costumes, and, perhaps most importantly, delightfully spooky treats. Our Spooky Halloween Treats recipe collection offers a unique opportunity to explore your culinary creativity while getting into the festive spirit. Imagine the excitement as you unveil ghoulishly delightful edibles that enchant everyone from kids to adults, making each bite a memorable adventure of taste and fun.
The Story Behind Spooky Treats: From Superstitions to Celebrations
Halloween, rooted in the ancient Celtic festival of Samhain, was originally a celebration marking the end of harvest and the onset of winter. The Celts believed that on the night of October 31st, the boundary between the living and the dead blurred, allowing spirits to roam the Earth. As the years progressed, these mystical traditions evolved into the spirited celebrations we know today. Foods originally served to ward off spirits became fun, thematic treats that are now integral to Halloween festivities. Each treat, from ghostly marshmallows to sinister spider cookies, tells a story echoing these ancient traditions while embracing modern creativity.
Why You’ll Love These Spooky Halloween Treats
- Fun and Engaging: These treats are as enjoyable to make as they are to eat, making them perfect for family gatherings and parties.
- Creative Expression: Halloween treats allow you to unleash your imagination, transforming ordinary food into extraordinary, thematic experiences.
- Kid-Friendly: With simple steps and ingredients, children can participate in the baking fun, learning new skills while indulging in holiday spirit.
- Entertaining for All Ages: From kids to adults, everyone will appreciate the mischievous charm and delicious taste of these spooky creations.
Flavor Profile & Texture: A Hauntingly Good Experience
The allure of Halloween treats lies in their ability to surprise and delight. Each creation offers a distinct flavor profile, ensuring a captivating taste experience. The rich, indulgent chocolatey undertones are often paired with vibrant accents of vanilla, zesty citrus, or warm spices like cinnamon and nutmeg. Texturally, these treats range from gooey marshmallow softness to the satisfying crunch of perfectly baked cookies, creating a playful contrast that enhances each bite. Whether it’s a velvety pumpkin cupcake or a mysteriously tender ghost-shaped macaroon, the balance of flavors and textures is sure to enchant.
Occasions & Pairings: Perfect for Parties and Gatherings
Halloween treats elevate the ambiance of any occasion with their eerie charm and delicious flavors. Serve them at Halloween parties, school gatherings, or make them the highlight of a family movie night. They pair wonderfully with a variety of beverages—think hot apple cider, creamy hot chocolate, or even a sparkling vanilla-infused soda. Complement the spooky theme with chilling décor and maybe a horror movie marathon for a complete Halloween experience that’s both fun and frightful.
Tips, Variations & Substitutions: Customize Your Creepy Creations
There are countless ways to adapt our Spooky Halloween Treats to meet your needs or dietary preferences. Consider these tips for a personalized touch:
- Vegan Alternatives: Replace dairy with almond or soy milk, and use egg substitutes like flax eggs to make vegan-friendly options.
- Gluten-Free Options: Utilize gluten-free flour blends to ensure everyone can enjoy these treats regardless of dietary restrictions.
- Add Nutty Textures: Incorporate crushed nuts for a nutty crunch or use almond flour for added richness.
- Regional Twists: Experiment by incorporating local flavors, like adding matcha for a green-themed ghost or using chili for a spicy, ghostly kick.
Storage & Make-Ahead Ideas: Keepsake of Sweet Memories
Halloween treats can often be prepared ahead of time, allowing you to focus on enjoying the event itself. Most baked goods can be made a day or two in advance, stored in airtight containers to preserve their freshness. For longer storage, freeze decorated treats in a dedicated box, separating layers with parchment paper. When ready to serve, thaw at room temperature, ensuring each treat is just as delightful as the day it was made. Making treats ahead of time helps reduce stress, allowing you to savor the holiday with friends and family.
Fun Facts & Trivia: Unveiling the Secrets of Halloween
Did you know that Halloween is rooted in the Celtic festival of Samhain, symbolizing the end of the harvest season? Or that trick-or-treating has its origins in the Middle Ages, where people dressed as ghosts and demons performed antics in exchange for food and drink? These morsels of history not only make your Halloween treats more intriguing but also enrich the cultural significance of this beloved holiday.
So this Halloween, as you craft your culinary delights, remember that each treat is steeped in centuries of tradition, folklore, and fun, making them all the more delectable.
Ingredients
- Ghostly Marshmallow Topping
→ These marshmallows will be the main decoration for your spooky treats, representing ghostly figures. Choose large, fluffy marshmallows for easier decorating. You can cut them in half or leave them whole, depending on your preference for size. For best results, use fresh marshmallows that are soft and pliable; this will ensure they stick well to the base and won’t dry out. - Chocolate Melt
→ This will serve as both a delicious coating and an adhesive for the marshmallow toppings. Use high-quality chocolate chips or a chocolate bar that melts smoothly. Melt the chocolate gently using a double boiler or in short increments in the microwave, stirring frequently. This prevents the chocolate from burning and ensures a glossy finish to your treats. - Oreos or Chocolate Cookies Base
→ Crushed Oreos or chocolate cookies provide a crunchy, flavorful base for your spooky treats. You can either pulse them in a food processor for a fine crumb or place them in a zip-top bag and crush them with a rolling pin. The cookie crumbs should be mixed with a little melted butter to help them hold together when pressed into the pan. - White Chocolate Drizzle
→ This drizzle adds a sweet contrast to the chocolate and marshmallow, enhancing both flavor and decoration. Use high-quality white chocolate to achieve a smooth melt. Drizzle it over the assembled treats using a fork or piping bag. The drizzle should set quickly, so work swiftly after melting to get a nice effect. - Edible Eyes
→ These fun decorations will enhance the spooky appeal of your treats. They can be purchased at baking supply stores or online. Place the edible eyes on the marshmallow toppers before the chocolate sets to ensure they stick properly. For added fun, place them randomly to give your ghosts unique expressions! - Sprinkles (optional)
→ Halloween-themed sprinkles add a festive touch to your treats. Choose vibrant colors like orange, black, and purple to match the Halloween theme. Sprinkle them over the treats right after adding the chocolate drizzle while it’s still wet to ensure they adhere well. They can also be added after the chocolate has cooled for decorating purposes.
Instructions
- Prepare a clean, flat work surface where you will assemble your spooky Halloween treats.
→ A clean workspace ensures that your treats are prepared in a hygienic environment, preventing any potential contamination. Having everything within reach will also streamline the assembly process. - Crush your Oreos or chocolate cookies into fine crumbs.
→ You can do this by placing the cookies in a food processor and pulsing until you achieve a fine consistency, or alternatively, place the cookies in a zip-top bag and crush them with a rolling pin. Aim for crumbs that resemble sand; this will help them bind together when mixed with butter. - In a mixing bowl, combine the crushed cookies with melted butter.
→ Melt 4 tablespoons of butter (half a stick) in the microwave or on the stove. Pour the melted butter over the cookie crumbs and mix well until all crumbs are moistened. This will help the base hold its shape. The mixture should clump together when pressed. - Press the cookie mixture firmly into the bottom of a prepared pan.
→ Use the back of a measuring cup or your fingers to compact the crumbs evenly across the bottom of a lined 9×9 inch (or similar) baking dish or tray. Pressing firmly will ensure that the base is solid and won’t crumble when you remove the treats. - Melt your chocolate chocolate using a double boiler or microwave.
→ For a double boiler, fill a saucepan with a couple of inches of water and bring it to a simmer, then place a heatproof bowl over the top to melt your chocolate chips or chopped chocolate bar. If using the microwave, heat in short bursts of 20-30 seconds, stirring in between until smooth. Be careful not to overheat to maintain its glossy finish. - Carefully coat the pressed cookie base with the melted chocolate.
→ Use a spatula to spread the melted chocolate evenly over the cookie base. This layer not only provides rich flavor but also acts as an adhesive for placing the marshmallows on top, so cover the entire surface thoroughly. - Allow the chocolate coating to set for a few minutes until it starts to firm up but is still tacky.
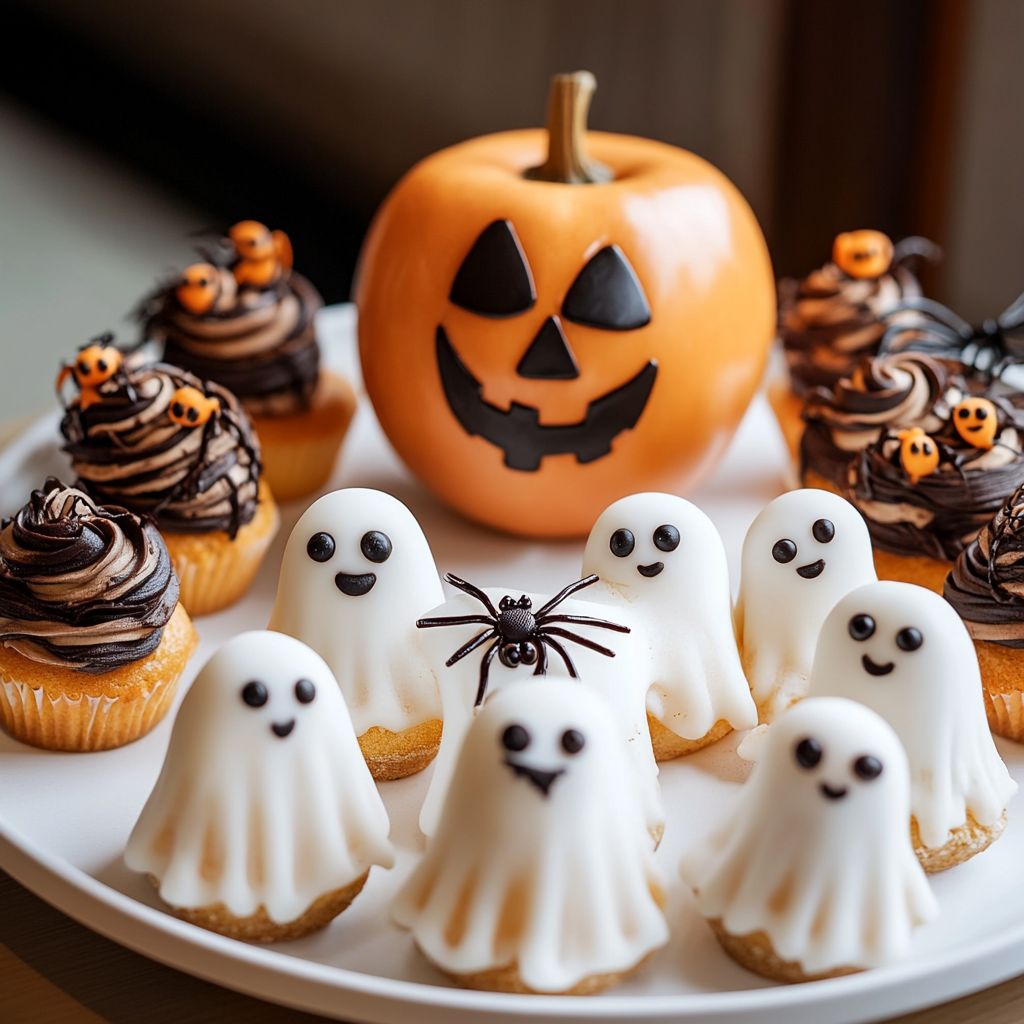
→ Wait for about 10-15 minutes at room temperature, depending on the temperature of your kitchen. This ensures the marshmallows will stick well and not slide off when you place them on top. - Place your large marshmallows on top of the chocolate-coated base.
→ Space them evenly across the surface, pressing down gently so they adhere to the chocolate. You can cut some marshmallows in half for variety, creating different sizes to give your treats a unique look. - Melt the white chocolate for drizzling.
→ You can use the same method as before. Melt enough white chocolate to create a thin drizzle—about 1 cup should suffice. As soon as it’s melted, prepare to drizzle while it’s still warm to maintain fluidity. - Use a fork or piping bag to drizzle white chocolate over the marshmallow ghosts.
→ If using a fork, dip it into the white chocolate and flick it back and forth over the treats to create a whimsical drizzle pattern. If using a piping bag, snip a small corner and squeeze gently to control the drizzle. Work quickly as the chocolate will set fast! - While the white chocolate is still wet, place edible eyes onto the marshmallow ghosts.
→ Position them in a way that gives each ghost its own personality. Press down gently to ensure they adhere to the melting chocolate and do not fall off later. - Sprinkle Halloween-themed sprinkles over the treats for an extra festive touch.
→ Use a variety of colored sprinkles like orange, black, and purple. Do this while the chocolate is still wet to ensure the sprinkles stick. If the chocolate has already set, you can still sprinkle some for an added chocolate layer for decoration. - Allow the completed spooky treats to cool completely at room temperature or in the refrigerator.
→ Let them sit for at least 30 minutes to an hour to ensure the chocolate and toppings are fully set. Once cooled, you can slice into squares or serve as is for a delightful Halloween treat!
Notes
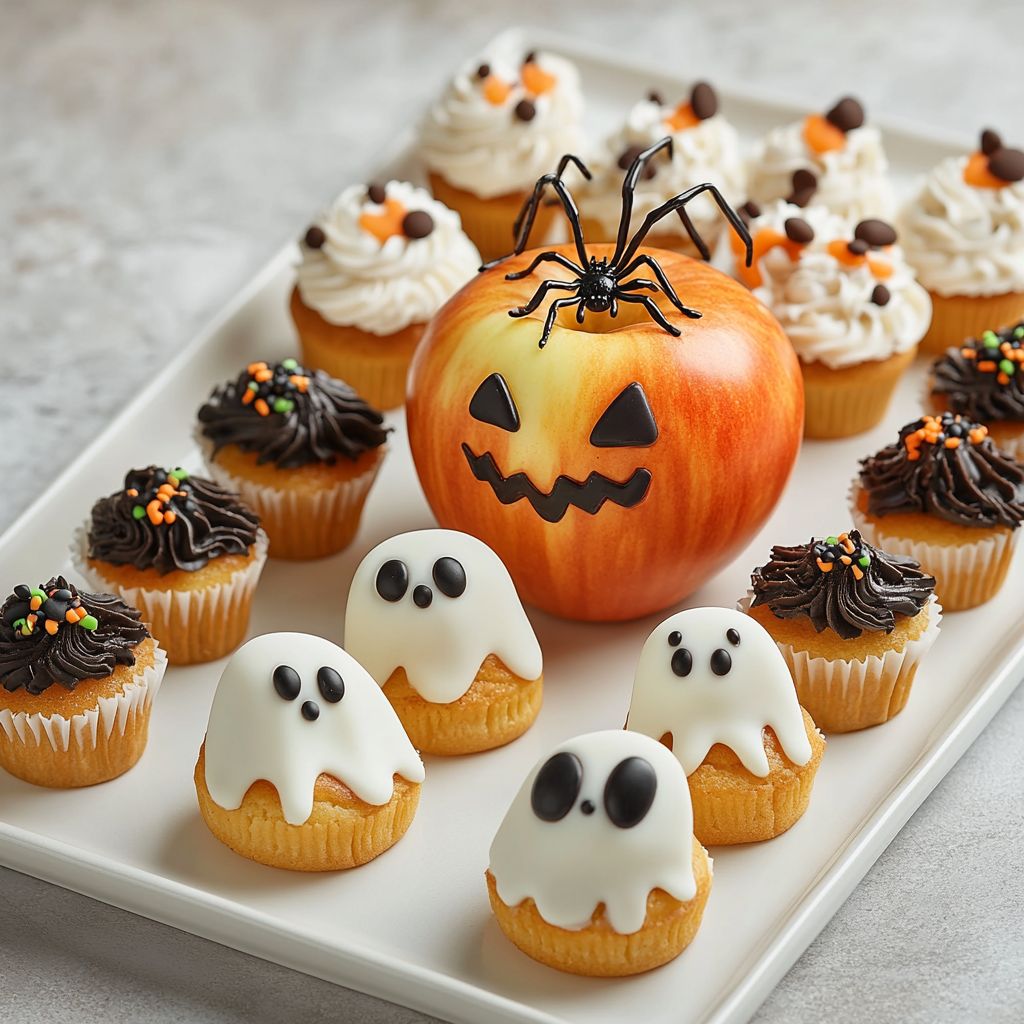
These spooky Halloween treats are not only fun to make but also perfect for festivities! The ghostly marshmallow topping creates an adorable appearance, while the rich chocolate and crunchy cookie base provide a delightful combination of textures. You can customize your ghosts with various edible eyes to add personality, and for extra fun, we recommend using vibrant, Halloween-themed sprinkles. These treats are perfect for parties, ensuring that everyone has a spooky and delicious indulgence. Remember to let the chocolate set completely before serving, and feel free to get creative with your decoration, making a whole ghostly population!
Tips
Cooking Tips for Spooky Halloween Treats
- Choose the Right Marshmallows: Opt for large, fresh marshmallows to create your ghostly figures. If cutting them in half, use a sharp knife for clean edges. This will help them stick better and look more professional.
- Melting Chocolate: When melting chocolate, avoid overheating. If using the microwave, heat in 15-30 second intervals with stirring in between. This will help maintain a smooth consistency without burning.
- Achieving the Perfect Cookie Base: If your cookie base feels too dry, add a bit more melted butter to achieve the right consistency. Press the mixture firmly into the pan to ensure it holds its shape when cut.
- Timing Your Drizzle: For the white chocolate drizzle, melt it just before you’re ready to decorate. Work quickly and make short, even zigzag movements for a beautiful effect.
- Placing Edible Eyes: To give your marshmallows personality, apply the edible eyes immediately after applying the chocolate melt. This will secure them and allow you to create spooky or funny faces.
- Decorative Sprinkle Tips: For a neat look, sprinkle decorations gently from a height to ensure even coverage. If you plan to add sprinkles after the chocolate has set, consider using a little edible glue or softened chocolate to help them stick.
FAQ
What are Spooky Halloween Treats?
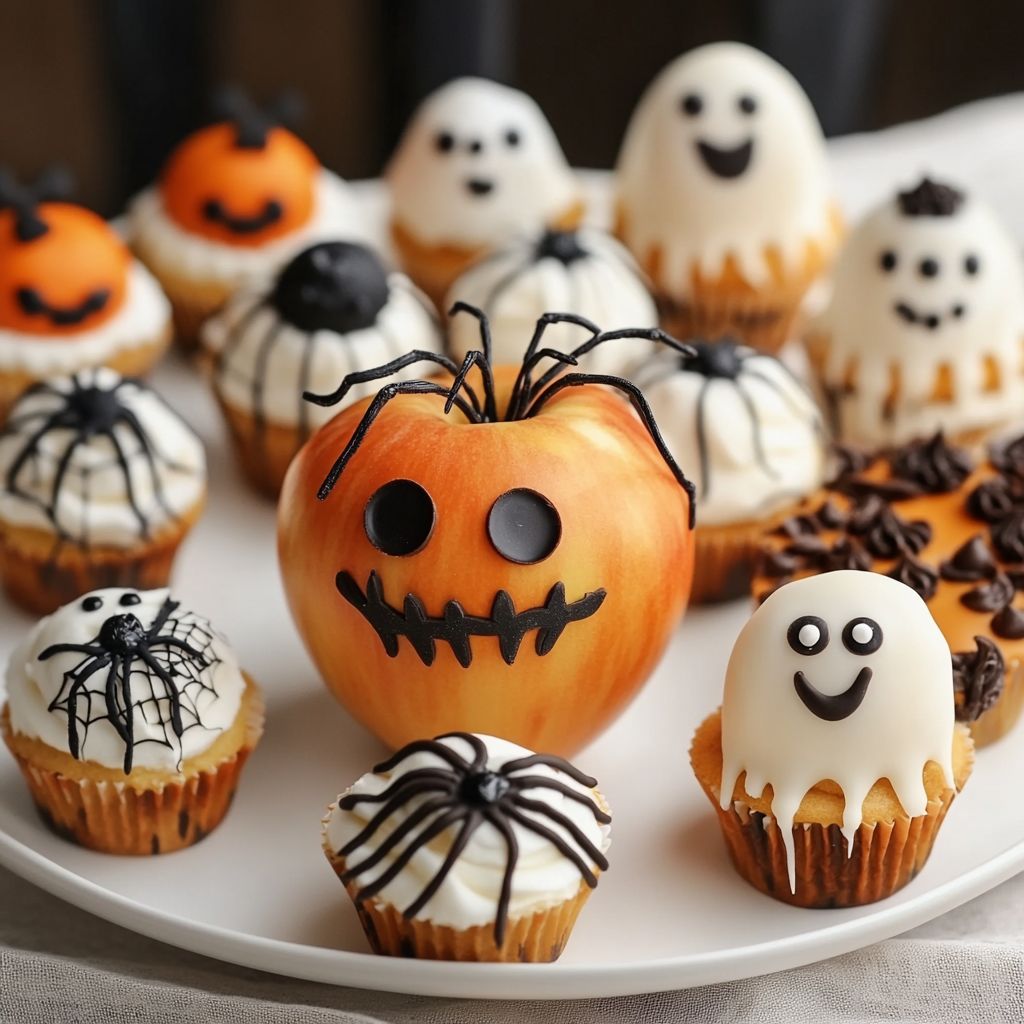
Spooky Halloween Treats are fun, festive snacks and desserts designed to celebrate Halloween. They often feature creepy decorations and spooky themes, such as ghosts, monsters, and pumpkins.
Are Spooky Halloween Treats safe for kids?
Yes, Spooky Halloween Treats are generally safe for kids, as long as they are made with safe ingredients and no allergens are present. Always check for allergies and supervise young children while they enjoy these treats.
What ingredients are commonly used in Spooky Halloween Treats?
Common ingredients include chocolate, candy corn, edible ghosts, gummy worms, pretzels, cookies, and various types of frosting. Decorations may also include colored sprinkles and food coloring.
How can I make my Spooky Halloween Treats healthier?
To make Spooky Halloween Treats healthier, consider using whole-grain flours, natural sweeteners (like honey or maple syrup), and incorporating fruits and nuts. You can also limit the amount of candy used for decoration.
Can I make Spooky Halloween Treats in advance?
Yes! Many Spooky Halloween Treats can be made in advance and stored properly. However, certain treats like those with fresh fruit or whipped cream may be best prepared close to serving time to maintain freshness.
What are some creative decorating ideas for Spooky Halloween Treats?
Some creative decorating ideas include using melted chocolate to drizzle over cookies, creating spider web designs with icing, and using candy eyes to transform treats into spooky creatures. Use food-safe markers to draw faces on treats as well!
Are there vegan options for Spooky Halloween Treats?
Absolutely! Vegan options can be made using plant-based ingredients such as almond milk, coconut oil, and dairy-free chocolate. There are plenty of recipes available that are both fun and vegan-friendly.
How should I store leftover Spooky Halloween Treats?
Leftover Spooky Halloween Treats should be stored in an airtight container at room temperature or in the refrigerator, depending on the ingredients. Ensure they are properly sealed to keep them fresh and avoid contamination.